Learn a vet-assistant-approved way to transition your dog to homemade food: a 10–14 day schedule, gentle starter recipes, portion guidance, calcium basics,...
Article
•
Designer Mixes
Vet Approved Homemade Dog Food Starter Plan

Shari Shidate
Designer Mixes contributor
As a veterinary assistant in Frisco, Texas, I love how excited people get when they realize homemade dog food can be both simple and safe. The key is to start with a plan that supports your dog’s basic nutrition needs, then transition slowly so your dog’s gut can adapt.
This starter plan is designed for healthy adult dogs and focuses on what many veterinarians emphasize: meeting nutrient requirements consistently over weeks (not just in a single meal), solid food safety, and steady transitions. If your dog is a puppy, senior, pregnant, or managing a health condition (kidney disease, pancreatitis, allergies, bladder stones, IBD), please check with your veterinarian before changing diets.
What “vet approved” means
Homemade can be a wonderful choice, but it is not automatically balanced. A “vet approved” approach generally means:
- Complete and balanced nutrition using either a board-certified veterinary nutritionist recipe, or a properly formulated supplement (“balancer”) added to whole foods. In practical terms, this means the overall diet is formulated to meet recognized nutrient profiles (like AAFCO or FEDIAF) for your dog’s life stage.
- Correct calcium and phosphorus support, especially important for bones, muscles, and nerves. This is the #1 issue I see with well-meaning homemade diets.
- Food safety that reduces the risk of foodborne illness for pets and people.
- Monitoring your dog’s weight, stools, skin, coat, and energy during the transition.
Quick reality check: no recipe is truly “vet approved” unless your veterinarian (or a veterinary nutritionist) has reviewed it for your dog.
If you want the gold standard, ask your vet for a referral to a board-certified veterinary nutritionist (DACVN in the U.S.).
Before you start
Talk to your vet if your dog has any of these
- History of pancreatitis or very sensitive stomach
- Kidney, liver, or heart disease
- Frequent ear infections, itchy skin, or suspected food allergy
- Recurrent diarrhea or vomiting
- Growing puppy (especially large-breed puppies)
Foods to avoid
- Grapes/raisins
- Onion (all forms), chives, garlic
- Xylitol (common in sugar-free gum and some peanut butters)
- Cooked bones (splinter risk)
- Alcohol, caffeine
- Macadamia nuts
- Chocolate
- Nutmeg
- Excess fatty scraps or fried foods
Food handling basics
- Cook meats and eggs thoroughly, especially during your first months of homemade feeding.
- Refrigerate cooked food within 2 hours (within 1 hour if your kitchen is above about 90°F or 32°C).
- Use clean cutting boards and wash hands after handling raw meat.
- Freeze portions you will not use within 3 to 4 days.
Balance made easier: use a balancer
If you are new to homemade dog food, the simplest, most reliable path is to pick a reputable complete-and-balanced homemade diet supplement and follow its recipe directions. These are often called balancers or formulation supplements.
Why this matters: many homemade meals look healthy but miss key nutrients like calcium, iodine, vitamin D, zinc, and essential fatty acids. A balancer helps cover those gaps while you focus on real food.
Tip: choose a product intended specifically for dogs and intended for home-prepared diets. Then follow the exact measurements for your dog’s weight.
How to choose a good one
- Clear directions for home-cooked diets (not just “topper” language)
- Dosing based on your dog’s weight and the amount of food used
- Reputable manufacturer with transparent labeling and quality control
- States the life stage it is formulated for (adult maintenance versus growth)
- If you are unsure, ask your veterinarian which products they trust
Important: do not add calcium (eggshell powder, bone meal, calcium tablets) unless your recipe or balancer specifically instructs it. Incorrect dosing can be harmful.
14-day transition
A slow transition can dramatically reduce diarrhea and gassiness. Keep everything else stable during these two weeks: no new treats, no new chews, and avoid table scraps.
- Days 1 to 3: 25% homemade, 75% current food
- Days 4 to 6: 50% homemade, 50% current food
- Days 7 to 9: 75% homemade, 25% current food
- Days 10 to 14: 100% homemade (if stools are stable)
If stools get soft, pause at the current step for 2 to 3 days before increasing. If your dog has watery diarrhea, repeated vomiting, lethargy, or blood in stool, contact your veterinarian.
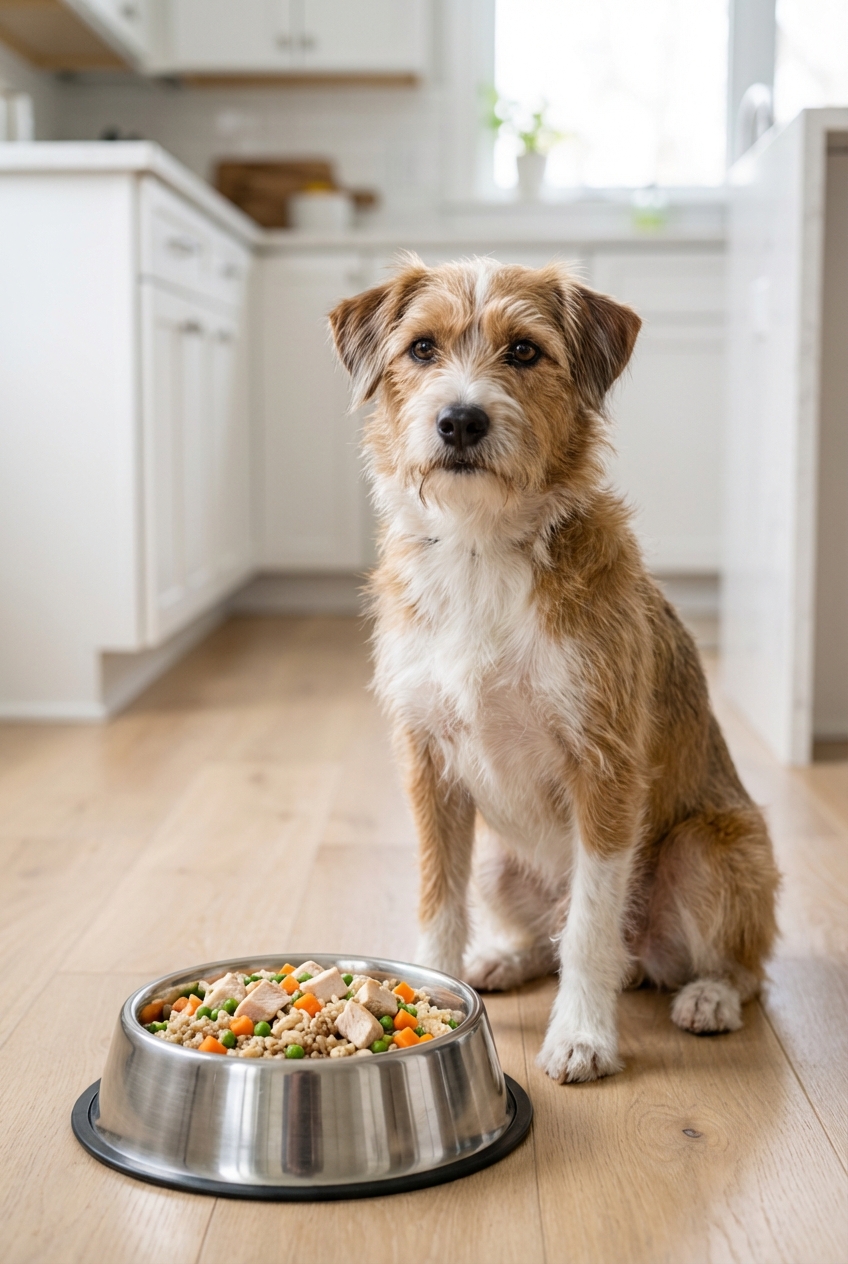
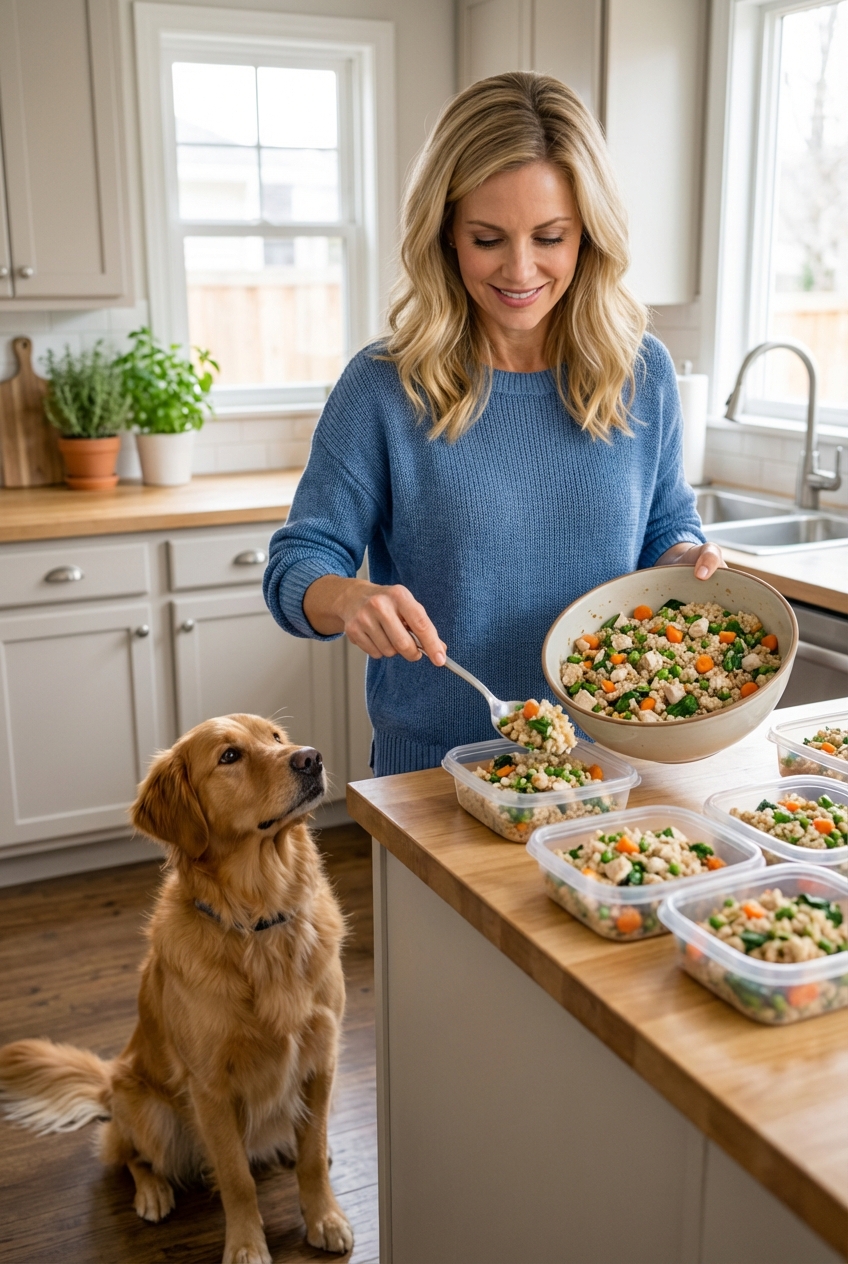
Starter plate template
For most healthy adult dogs, a practical starter plate can look like this:
- Protein (about 50%): chicken, turkey, lean beef, pork loin, eggs, or cooked fish
- Carb (about 25%): rice, oats, quinoa, or sweet potato
- Veg (about 20%): lightly cooked and chopped or pureed
- Healthy fat (about 5%): small amount of salmon oil, sardines in water, or a vet-approved omega-3
Please do not treat this as a complete recipe. This is a visual template only. Exact grams and nutrients must come from a properly formulated balancer or a veterinary nutritionist recipe so you do not miss essentials like calcium, iodine, vitamin D, zinc, or essential fatty acids.
Grocery list (Week 1)
Pick 1 item from each category to keep things simple.
Proteins
- Boneless, skinless chicken thighs or breast
- Lean ground turkey
- Lean ground beef (drain fat)
- Eggs
Carbs
- White rice (gentle on digestion)
- Brown rice (more fiber, can be harder for sensitive dogs)
- Oats
- Sweet potato (baked or steamed)
Vegetables (cook until soft)
- Carrots
- Green beans
- Zucchini
- Spinach (small amounts)
- Broccoli (small amounts to reduce gas)
Optional add-ins
- Plain, unsweetened yogurt or kefir (if your dog tolerates dairy)
- Blueberries (a few as a topper)
- Fish oil or algae-based omega-3 (confirm dosing with your vet)
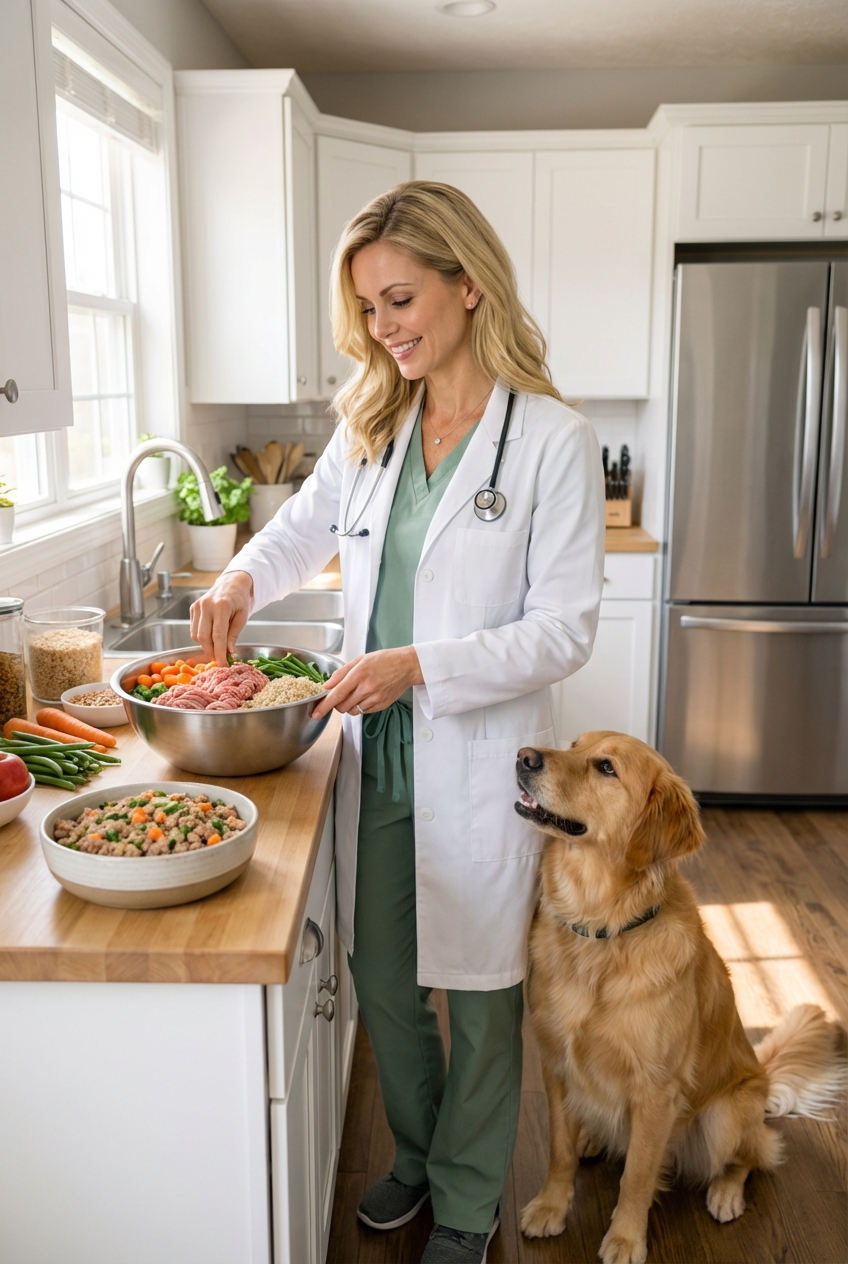
Three starter meals
These are intentionally basic. If you are using a balancer, add it according to label directions once the food is cooled (many supplements should not be cooked).
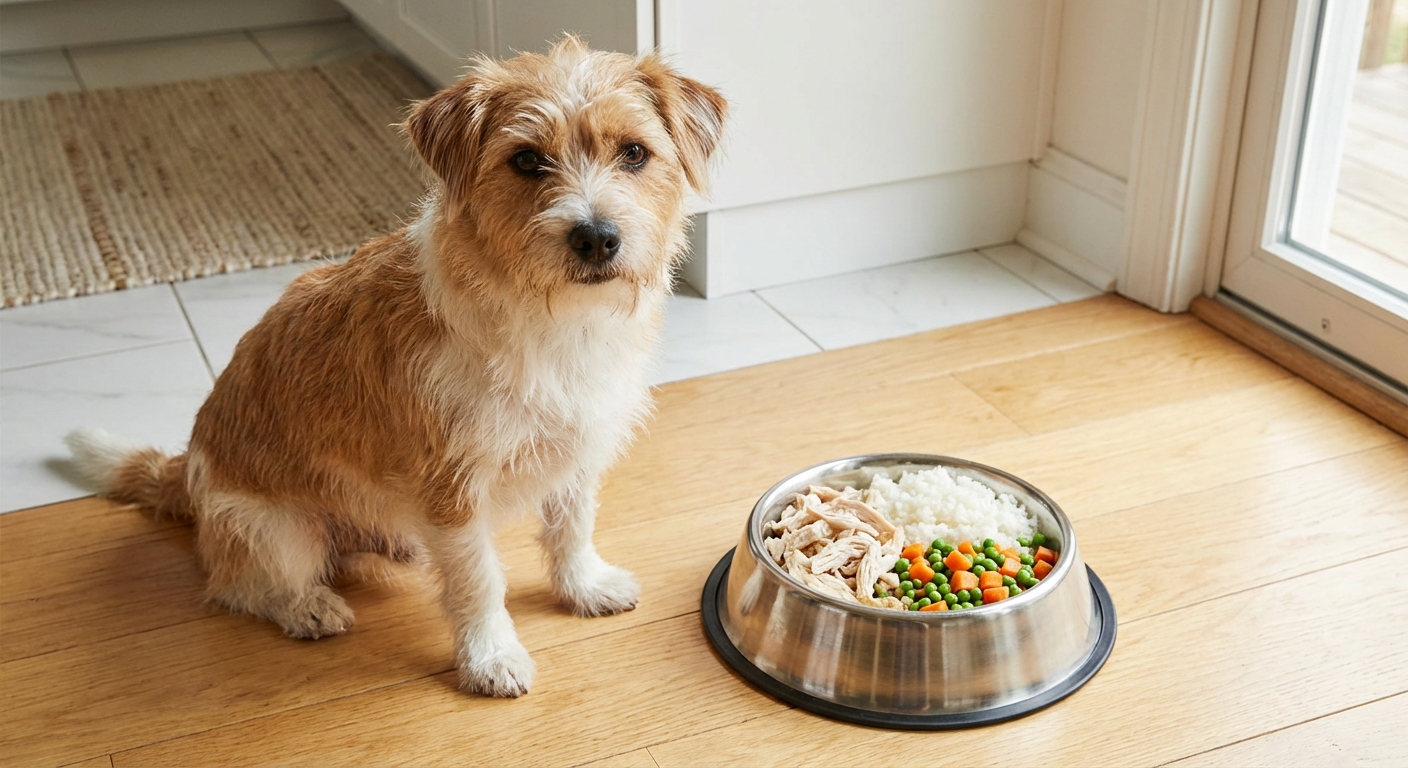
1) Chicken, rice, veggie bowl
- Cooked chicken (chopped)
- Cooked rice
- Steamed carrots and green beans (chopped or lightly mashed)
- Add balancer per instructions
2) Turkey and sweet potato
- Cooked lean ground turkey
- Baked or steamed sweet potato (mashed)
- Steamed zucchini (chopped)
- Add balancer per instructions
3) Beef and oats
- Cooked lean ground beef (drain fat)
- Cooked oats
- Steamed spinach (small amount, chopped)
- Add balancer per instructions
Texture tip: if your dog is unsure about the new food, warm it slightly and add a splash of warm water or low-sodium broth to boost aroma. If you use broth, make sure it is onion-free and garlic-free, and check ingredients for sweeteners.
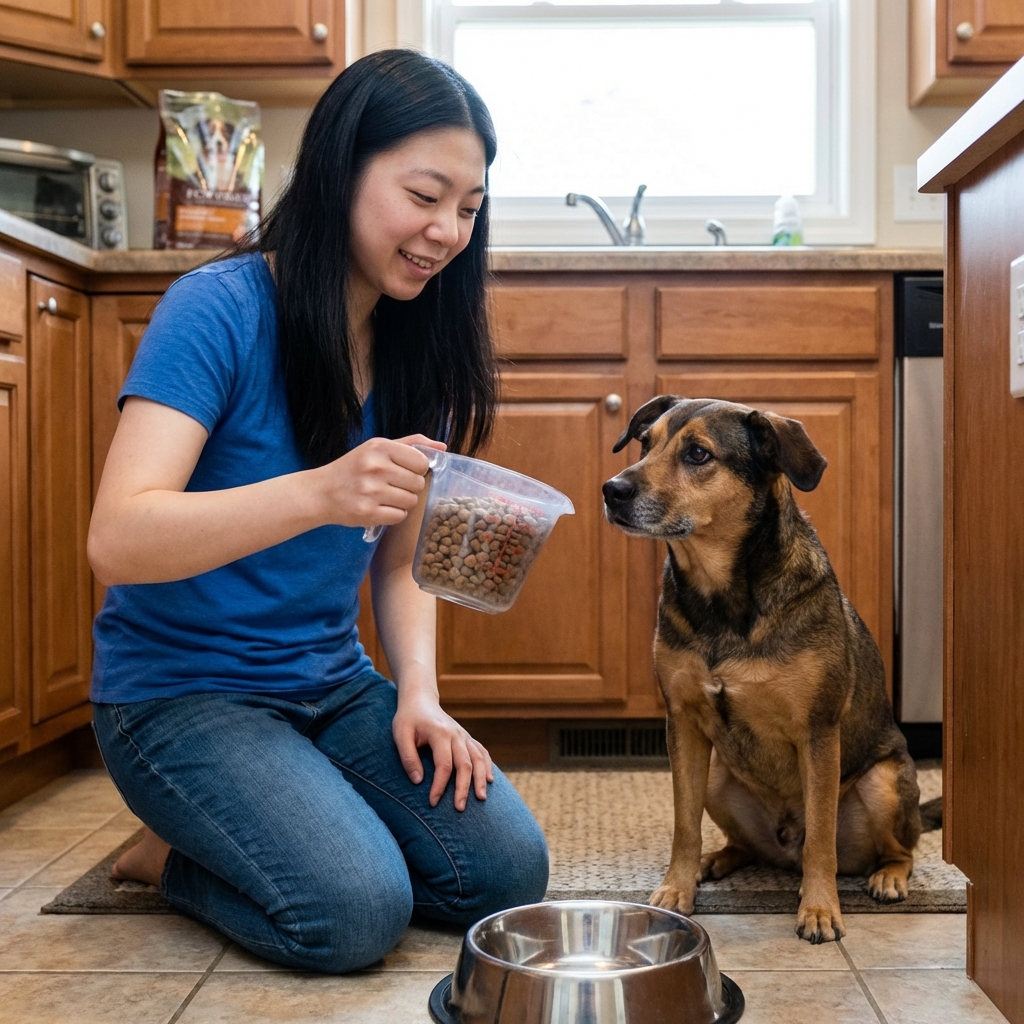
How much to feed
Calorie needs vary by age, activity, and breed mix. The safest way to portion homemade food is to start with calories, then adjust based on body condition every 1 to 2 weeks.
Best method: calories plus a kitchen scale
- Ask your veterinarian for your dog’s daily calorie target, or use a standard RER and a vet-appropriate activity factor (DER).
- Weigh your cooked food on a kitchen scale (grams or ounces), especially during the first month. Measuring by cups can be inaccurate.
- Adjust up or down by about 10% based on body condition, energy, and stool quality.
Optional shortcut (use with caution)
You may hear “2% to 3% of body weight per day” as a rule of thumb. That can be a rough starting point for some adult dogs, but it is not consistently accurate because homemade food calorie density varies a lot by ingredients and cooking method. If you use this shortcut, treat it as a temporary estimate and correct it quickly based on calorie targets and body condition.
The “poop and coat” feedback loop
- Soft stool: slow the transition, reduce rich foods, use gentler carbs (white rice), and keep fat low
- Dry, crumbly stool: consider a bit more moisture, a touch more fat, or ask your vet about fiber balance
- Dull coat or flaky skin over time: check omega-3 intake and overall balance, not just protein
If stool or skin issues persist more than a few days, or keep recurring, your veterinarian should be involved. Diet tweaks are helpful, but they should not replace a medical workup when needed.
Storage and serving
- Fridge: store in sealed containers and use within 3 to 4 days.
- Freezer: freeze meal-sized portions for best freshness and safety.
- Room temperature: do not leave cooked food out for more than 2 hours (or 1 hour if above about 90°F or 32°C).
- Reheating: warm gently until just lukewarm. If using a microwave, stir well and check temperature to avoid hot spots.
Common mistakes
Skipping calcium
Meat-heavy meals without an appropriate calcium source can create long-term imbalance. Do not guess with calcium. Use a veterinary recipe or a trusted balancer formulated for home-prepared diets.
Too much fat too fast
Suddenly adding oils, fatty meats, or lots of cheese can trigger GI upset and can be risky for dogs prone to pancreatitis. Start lean, then add fats thoughtfully.
Assuming variety is required
If a diet is truly complete and balanced, variety is optional. That said, once your dog is stable, gradual rotation can help some dogs stay interested in meals. If you rotate, do it slowly and do not break the nutrient balance your recipe or balancer provides.
Treating toppers like free calories
Treats count. If you add training treats, subtract a bit from meals so weight stays steady.
Overdoing fish oil
Omega-3s can be helpful, but dose matters. If you use fish oil, ask your vet for a target in mg of EPA + DHA per day. Too much can cause GI upset and may affect clotting in some situations.
When to call your vet
Homemade feeding should make your dog feel better, not worse. Check in with your veterinarian if you notice:
- Vomiting more than once in 24 hours
- Watery diarrhea, black/tarry stool, or blood in stool
- Refusing food for a full day (adult dogs)
- Itching, hives, facial swelling, or new ear infections
- Signs of pain, bloating, or restlessness after meals
Next step
If you tell your vet you want to feed homemade, ask for one of these:
- A referral to a board-certified veterinary nutritionist
- A balanced home-cooked recipe appropriate for your dog’s age, weight, and health goals
- A recommendation for a home-prepared diet supplement that they trust
Homemade feeding does not have to be all-or-nothing. Even a 50/50 approach can be a meaningful step toward fresher, more purposeful nutrition, especially when it is done safely and stays nutritionally complete.