Teach “paw” (shake) with kind, reward-based training. Choose the best setup, try capturing or a closed-fist lure, add the cue, fix common mistakes, and f...
Article
•
Designer Mixes
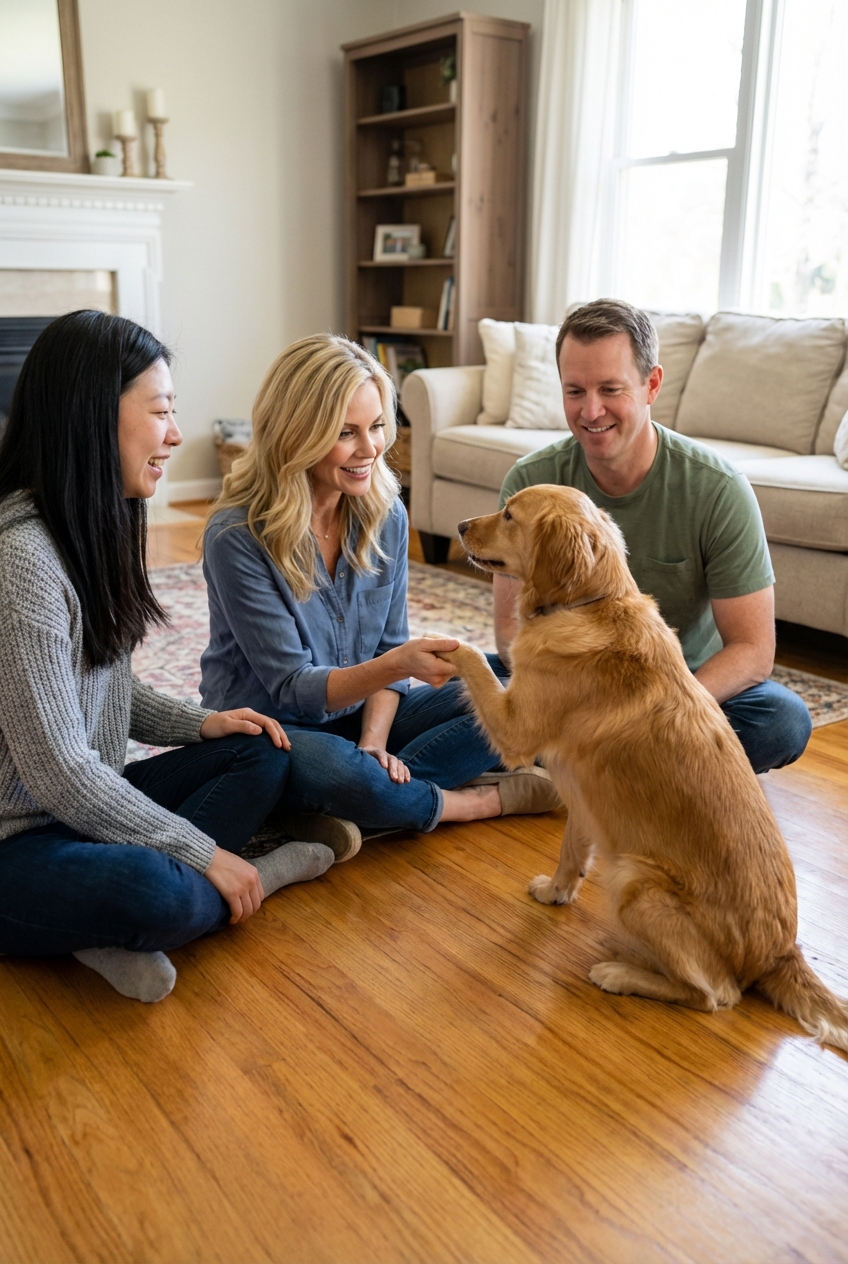
Teach Your Dog to Shake

Shari Shidate
Designer Mixes contributor
“Shake” is one of those classic tricks that feels like pure fun, but it is also a genuinely useful skill. It teaches polite paw handling, builds confidence, and helps your dog learn how to learn. As a veterinary assistant in Frisco, Texas, I also love shake because it gives you a low-stress way to start building comfort with gentle foot handling, which can support easier grooming and calmer vet visits over time.
The best part: many dogs can learn a solid shake in short sessions, as long as you keep it positive, clear, and consistent. Timelines vary based on age, temperament, and physical comfort, so it is totally fine if your dog needs a slower pace.
Before you start
What you need
- Tiny, soft treats (pea-sized). Think training treats, bits of cooked chicken, or a small piece of cheese.
- A clicker (optional) or a consistent marker word like “Yes.”
- A calm space with minimal distractions.
- 2 to 5 minutes per session, 1 to 3 times a day.
Set your dog up for success
- Train when your dog is a little hungry, not right after a big meal.
- Start on a non-slip surface so your dog feels stable offering a paw.
- Keep your hand low (near chest level) so your dog can place their paw without reaching or slipping.
- Stop while it is still fun. Ending early prevents frustration and keeps motivation high.
- Add an “all done” cue. A simple “All done” plus putting treats away helps prevent persistent pawing after the session.
Safety note
If your dog seems reluctant to offer a paw, pulls away, freezes, or reacts when you touch their feet, pause training and consider a quick check for soreness, cracked pads, broken nails, or arthritis. When in doubt, ask your veterinarian. Comfort comes first.
How dogs learn “shake”
We are using positive reinforcement: your dog does a behavior, then immediately gets something they value (treat, praise, a toy). This increases the chance they will do the behavior again.
Many dogs learn “shake” fastest when we:
- Capture a natural paw movement and reward it, or
- Lure the paw lift with a treat, then reward.
We will also use a marker (click or “Yes”) to clearly tell your dog, “That exact moment was correct.”
Method 1: Capture a paw lift
This is my favorite approach for many dogs because it encourages choice, confidence, and gentle paw handling.
Step-by-step
- Get ready with 10 to 15 treats in your hand or treat pouch.
- Wait quietly while your dog sits or stands in front of you.
- The moment your dog lifts a paw even slightly (or makes a light, polite paw motion toward you), mark (“Yes”) and treat.
- Repeat until your dog is offering paw lifts more often to make treats happen.
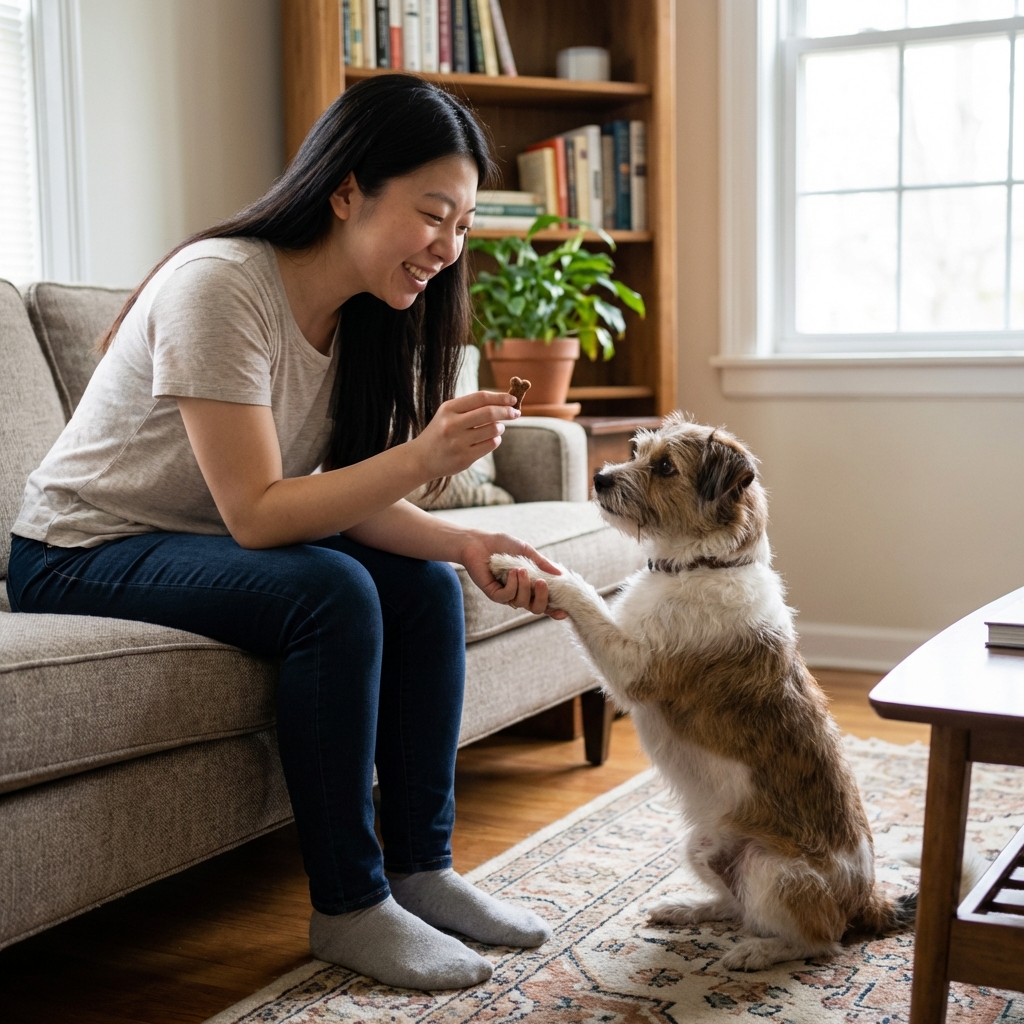
- Now begin to present your hand (palm open, relaxed) low and close to your dog’s chest. When the paw touches your hand, mark and treat.
- Add the cue “Shake” right before you present your hand. Keep the timing consistent.
Goal for this phase
Your dog reliably taps your open hand with their paw when you say “Shake.”
Method 2: Gentle lure
If your dog is not naturally offering paw lifts, a lure can help you start the motion.
Step-by-step
- Ask for a sit if your dog knows it. Sitting helps reduce jumping and wiggling.
- Hold a treat in a closed fist near your dog’s nose.
- Many dogs will sniff and then touch your fist with a paw. The instant the paw makes contact, mark and treat (with a treat from your other hand if possible).
- Keep your “treat fist” closed. Do not open that fist to deliver the reward. This helps reduce mouthing and keeps the lesson clear: paws earn treats.
- After a few reps, open your hand and reward paw-to-palm contact.
- Add the cue “Shake” right before you present your open hand.
Tip: If your dog mouths at your hand, keep the treat out of reach and reward only when you get a paw touch. You are teaching that paws, not teeth, make the treat happen.
If your dog will not paw at all
Some dogs are very polite and will not paw at hands, even when treats are involved. In that case, shape tiny steps and reward each one.
- Reward a weight shift: mark and treat when your dog shifts weight back or to one side (often a precursor to lifting a paw).
- Reward a toe lift: mark and treat any tiny lift of the paw, even a fraction of an inch.
- Reward a higher lift: gradually wait for a clearer paw lift before marking.
- Add your hand: present your open palm low and close, then reward when your dog places their paw on it.
Go slowly and keep the criteria easy. If your dog looks stuck, make the step smaller again.
Build a reliable “shake”
Once your dog can offer a paw, you will make it cleaner, calmer, and more consistent.
1) Keep it gentle
- Reward softer paw touches more often.
- If your dog slaps hard, lower your hand and reward only gentle contact.
- Keep your body language relaxed. Excited humans create excited paws.
2) Add a short hold
When your dog places their paw in your hand, wait half a second, mark, then treat. Gradually build to 1 to 2 seconds.
Comfort note: Avoid squeezing the paw, pulling the leg forward, or holding for long stretches. Let your dog place their paw voluntarily and keep the hold brief, especially for seniors and dogs with stiff joints.
3) Fade treats the right way
When the behavior is dependable, start rewarding every other successful shake, then shift to variable reinforcement (treats given unpredictably, not every time). Keep praise consistent. Variable reinforcement can help maintain a behavior long-term, as long as you fade gradually and your dog is already fluent.
If reliability drops, simply go back to rewarding more frequently for a while.
4) Practice in new places
Dogs often need practice to understand that “Shake” means the same thing in different locations. Go in small steps: living room, backyard, front porch, then on a walk.
Common problems
My dog will not lift a paw
- Try the closed-fist method to build engagement, then reward any tiny paw movement.
- If your dog starts to get stressed or stuck, make it easier or take a break. We want curiosity, not escalating frustration.
- Train on carpet or a rug for stability.
- Use higher-value treats.
- Consider discomfort in the paws, wrists, shoulders, or spine and check with your vet if you suspect pain.
My dog jumps or gets too excited
- Start with your dog in a sit.
- Reward calm behavior first. You can treat for sitting still before you ask for shake.
- Keep sessions very short, 60 to 90 seconds at a time.
My dog mouths my hand
- Do not punish. Simply remove your hand, reset, and reward only paw contact.
- Deliver treats from your other hand so your “shake hand” stays boring.
- Use the closed-fist setup and do not open that fist to give the treat.
My dog gives the wrong paw
This is normal. Teach one paw first. If you want both, add separate cues like “Left” and “Right” later. For now, reward the paw you prefer and gently ignore the other.
My dog scratches me
- Keep your palm lower and closer to your dog’s chest level.
- Trim nails as needed, and work on gentle contact by rewarding soft taps.
- Practice “touch” (nose-to-hand) as an alternative polite greeting while you refine shake.
Make shake useful
Once your dog knows shake, you can turn it into a helpful routine skill.
Paw handling for grooming and vet care
- Ask for “Shake,” then gently touch one toe, mark, treat.
- Gradually progress to holding the paw briefly, then touching nails, then lightly tapping with nail clippers (without cutting).
- Keep it slow and positive. This is cooperative care, not restraint.
Important: Shake can be a great starting point, but it is not the same as a full nail-trim desensitization plan. If nail trims are a struggle, build a separate step-by-step conditioning routine.
In clinic, I see the biggest wins when families practice tiny “paw consent” moments at home, then stop before the dog feels overwhelmed.
Polite greetings
If your dog tends to jump on guests, you can redirect to a sit plus shake. The goal is a calm, controlled interaction.
Fun variations
- High five: raise your palm a little higher and reward contact.
- Fist bump: offer a closed fist and reward a gentle paw tap.
- Double shake: ask for shake twice in a row, then jackpot reward.
Simple training plan
Day 1 to 2
- 2 to 3 sessions per day, 2 to 5 minutes each
- Mark and treat any paw lift or paw-to-hand touch
- End with “All done,” then put treats away
Day 3 to 5
- Say “Shake,” present your hand, mark and treat on contact
- Begin rewarding gentler touches
- Add a brief 0.5 to 1 second hold if your dog is comfortable
Day 6 to 10
- Practice in 2 or 3 different rooms
- Work toward a 1-second hold
- Start shifting from constant treats to variable reinforcement once the skill is consistent
Consistency beats intensity. A few minutes a day, done kindly, will teach more than a long session that leaves your dog confused.
Breed and body tips
- Small dogs: keep your hand low and close so they do not have to hop or reach.
- Large and giant breeds: sit on a chair or kneel so your posture stays comfortable and your dog can place their paw without you lifting it.
- Seniors: prioritize comfort. Avoid lifting high, do shorter holds, and stop if you notice stiffness, panting, or reluctance.
When to get help
If your dog shows signs of pain, fear, or defensiveness when you reach toward their paws, it is smart to involve your veterinarian or a qualified, force-free trainer. Some dogs need a slower, more cooperative approach, especially seniors, dogs with past injuries, or dogs who have had scary nail trims.
Your dog is not being stubborn. They are communicating. When we listen early, training becomes so much easier.
Quick recap
- Use positive reinforcement, tiny treats, and short sessions.
- Capture, lure, or shape a paw lift, then reward paw-to-hand contact.
- Add the cue “Shake” only after the behavior is happening reliably.
- Build gentleness, brief duration, and practice in new places.
- Shift to variable reinforcement gradually and increase rewards again if reliability dips.
- Pause and check for discomfort if your dog avoids paw handling.
- Use an “All done” cue to end sessions and reduce persistent pawing.