
Teach “paw” (shake) with kind, reward-based training. Choose the best setup, try capturing or a closed-fist lure, add the cue, fix common mistakes, and f...
Article
•
Designer Mixes
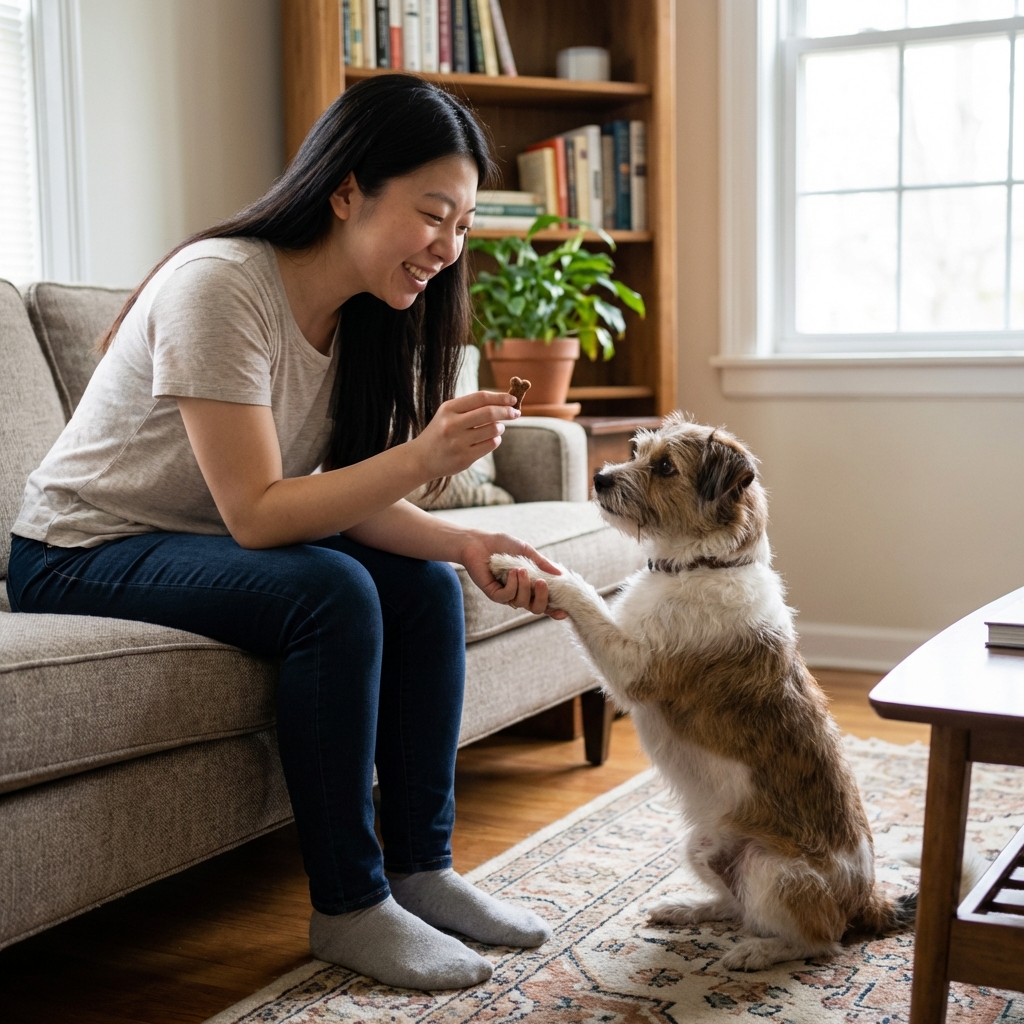
Teach Your Dog to Give Paw

Shari Shidate
Designer Mixes contributor
“Give paw” is one of those tricks that looks adorable, but it is also a practical life skill. A dog who understands paw handling is often calmer for nail trims, towel-drying, vet visits, and getting burrs or mud cleaned off after a fun day outside.
As a veterinary assistant in Frisco, Texas, I have seen how a simple paw cue plus gentle handling practice can turn a stressful moment into a quick, confident routine. The key is keeping it positive, breaking it into tiny steps, and watching your dog’s comfort level.
Quick note: I can share training and handling tips, but I cannot diagnose your dog. If your dog is limping, licking a paw nonstop, or seems painful, a vet exam is the safest next step.
What “paw” means to your dog
To us, “shake” or “paw” feels like a handshake. To your dog, it is a body movement that involves balance, trust, and being comfortable with you reaching toward their feet. Some dogs offer their paw naturally. Others feel unsure because paws are sensitive, especially if nails are long, pads are dry, or there is a past negative experience.
When you teach paw with rewards, you are building two things at the same time:
- A clear cue: “Lift your paw and place it in my hand.”
- Positive associations: “Humans touching my paws leads to good things.”
Before you start
Pick the right moment
Train when your dog is a little calm, not overexcited. After a walk or play session is often perfect. Keep sessions short, around 1 to 3 minutes, and end on a win. Many dogs do best with 1 to 3 mini sessions a day rather than one long session.
Choose a marker
Decide how you will tell your dog, “Yes, that was it.” A clicker works great, or a consistent word like “Yes!” Pick one and use it the same way every time so your dog is not guessing.
Choose the right rewards
Most dogs learn fastest with soft, pea-sized treats. If your dog loves toys or praise more, that can work too, but food is usually the clearest teacher for a new behavior.
Check paws quickly
If your dog flinches or avoids paw touch, do a quick visual check for obvious issues like cracked pads, a broken nail, redness, swelling, or debris stuck between toes. In North Texas and other foxtail-heavy areas, also watch for signs like persistent licking, sudden tenderness, or a swollen spot between toes. Foxtails are not always easy to see, and they can embed.
If you suspect pain, skip training and call your vet. Pain can make learning harder and may contribute to ongoing paw sensitivity, so it is worth ruling out medical causes early.
When not to train
- If your dog may be sore: seniors with arthritis, dogs with known orthopedic pain, or dogs recovering from injury should be cleared by your vet before you practice lots of paw lifting.
- If attention is limited: very young puppies may only manage a few seconds at a time. Keep it extra short and focus on gentle touch and rewards.
- If your dog is stressed: if you see stiff body language, tucked tail, whale eye, or freezing, switch to comfort-building exercises instead of pushing for a paw.
Teach “paw” step by step
There are a few good ways to teach paw. The best method depends on your dog’s personality. Here are two beginner-friendly options.
Method 1: Capture the paw lift
This is great for gentle, thoughtful dogs and dogs who like to offer behaviors.
- Sit your dog in front of you. Show a treat in your hand, then close your fist.
- Wait quietly. Many dogs will paw at your hand to try to get the treat. Some will only lick or nose-bump at first. If that happens, lower your fist closer to their chest level, wait for any paw movement, or switch to Method 2.
- Mark the moment their paw lifts (say “Yes!” or click), then give the treat.
- Repeat until your dog is reliably lifting a paw toward your closed hand.
- Add your open palm slightly under their paw. Mark and reward when their paw touches your hand.
- Add the cue “Paw” right before you expect the paw lift. Then mark and reward.
Method 2: Gentle prompt
This is helpful for dogs who do not offer a paw on their own.
- Ask for a sit.
- Place your open hand near your dog’s chest level, palm facing up.
- Lightly touch your dog’s front leg just above the paw, near the carpus (wrist joint). Many dogs will shift and lift the paw.
- The moment the paw lifts, support it briefly in your palm, mark (“Yes!”), and treat.
- Gradually reduce the touch prompt until your dog lifts the paw from the verbal cue alone.
If your dog startles, stiffens, or pulls away: stop the prompt and switch to the comfort steps in the “anxious about paw touch” section below. The goal is consent and confidence, not “getting it done.”
Tip: Reward for calm. If your dog starts slapping your hand like a drum solo, only reward the gentler paw lifts. You are shaping manners, not just the trick.
Body position tips
- Avoid leaning over your dog. Sit or kneel to the side so you feel less intimidating.
- Help with balance. Keep your hand close to your dog’s body so they do not have to reach far and wobble.
- Use steady footing. A rug or yoga mat helps many dogs feel secure when lifting a paw.
Make it reliable
Build a longer hold
Once your dog places their paw in your hand, wait half a second before marking and rewarding. Slowly increase to 1 to 2 seconds. This helps with real-world handling like wiping paws or checking pads.
Teach “other paw”
Dogs can get stuck offering only one side. After your dog knows “paw,” teach the other side by switching your hand position and rewarding the opposite paw. You can name it “Other” or “Left” and “Right,” but keep cues simple.
Generalize the skill
Practice in different rooms, then outdoors, then around mild distractions. Dogs do not automatically understand that “paw” in the kitchen means “paw” at the park.
Common problems
Your dog will not lift a paw
- Try a higher-value treat like tiny bits of chicken, or a lick of dog-safe peanut butter on a spoon.
- Peanut butter safety tip: only use peanut butter that does not contain xylitol (also labeled as birch sugar), which is highly toxic to dogs.
- Use Method 2 with a very light prompt, then fade it out.
- Train after light exercise so your dog is relaxed and focused.
Your dog mouths your hand
- Keep treats out of your paw hand. Treat from the other hand after the behavior.
- Reward faster for gentle paw contact before excitement ramps up.
- If mouthing continues, pause for 5 to 10 seconds, then restart calmly.
Your dog scratches you or hits too hard
- Only reward soft paw touches. If it is too forceful, calmly reset and try again.
- Trim nails regularly to reduce accidental scratches.
- Teach a “paws down” reset by tossing a treat on the floor so your dog returns to four paws on the floor, then cue again.
Your dog pulls the paw away
- Shorten the hold. Reward for one quick touch, then build duration slowly.
- Pair paw handling with treats even when you are not training, like one-second touch, treat, done.
- If you suspect discomfort, check nails and pads and consult your vet.
Your dog seems anxious about paw touch
This is more common than people realize. Go back to basics and focus on comfort.
- Start by rewarding your dog for looking at your hand near their paw.
- Then reward for a brief touch to the shoulder, then leg, then near the paw.
- Only progress when your dog stays relaxed, with loose body language.
Make it a health habit
Once your dog loves giving paw, you can gently expand it into cooperative care. This can make a big difference over a lifetime.
Easy add-ons
- Paw wipe practice: ask for paw, touch with a soft towel for one second, treat.
- Nail trim prep: ask for paw, touch nail clippers to the nail without cutting, treat.
- Pad check: spread toes briefly, treat, release.
If you ever notice bleeding, limping, constant licking, swelling between toes, or a broken nail, those are reasons to check in with your veterinarian.
Weekly training plan
If you like structure, here is a friendly pace that works for many dogs.
- Days 1 to 2: reward any paw lift, keep it fun and quick.
- Days 3 to 4: reward paw touching your hand, add the cue “paw.”
- Days 5 to 7: build a 1 to 2 second hold, practice in a new room.
- Week 2: teach the other paw and add gentle towel touches.
Remember, slow is fast in dog training. A confident dog learns better than a pressured one.
Clinic safety notes
- Avoid forcing the paw or holding it tightly. That can create fear and resistance.
- Stop if your dog growls or snaps. Those are communication signals. Get help from a qualified trainer, and talk with your vet to rule out pain.
- Use non-slip footing like a rug or yoga mat so your dog feels stable when lifting a paw.
Little trick, big confidence
Teaching “paw” is more than a cute party trick. It is a trust-building exercise that can make grooming and vet care smoother, and it gives your dog a simple way to earn praise and rewards.
Keep it light, keep it positive, and celebrate the tiny steps. Your dog is learning, and you are building a relationship that pays off in everyday life.