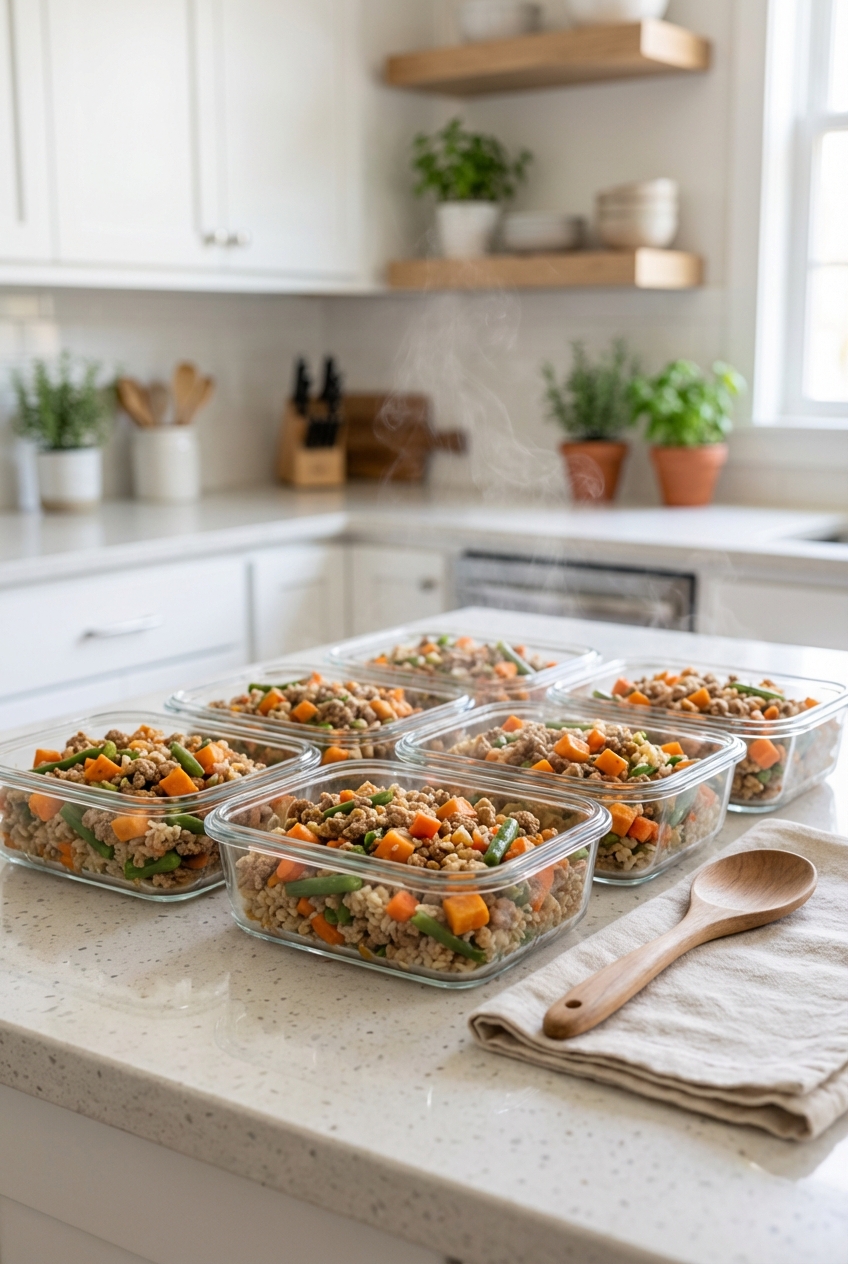
Batch-cook homemade dog food with confidence. Follow simple food-safety rules for fast cooling, fridge storage (3–4 days), freezing (2–3 months), and saf...
Article
•
Designer Mixes
Storing, Freezing, and Reheating Homemade Dog Food

Shari Shidate
Designer Mixes contributor
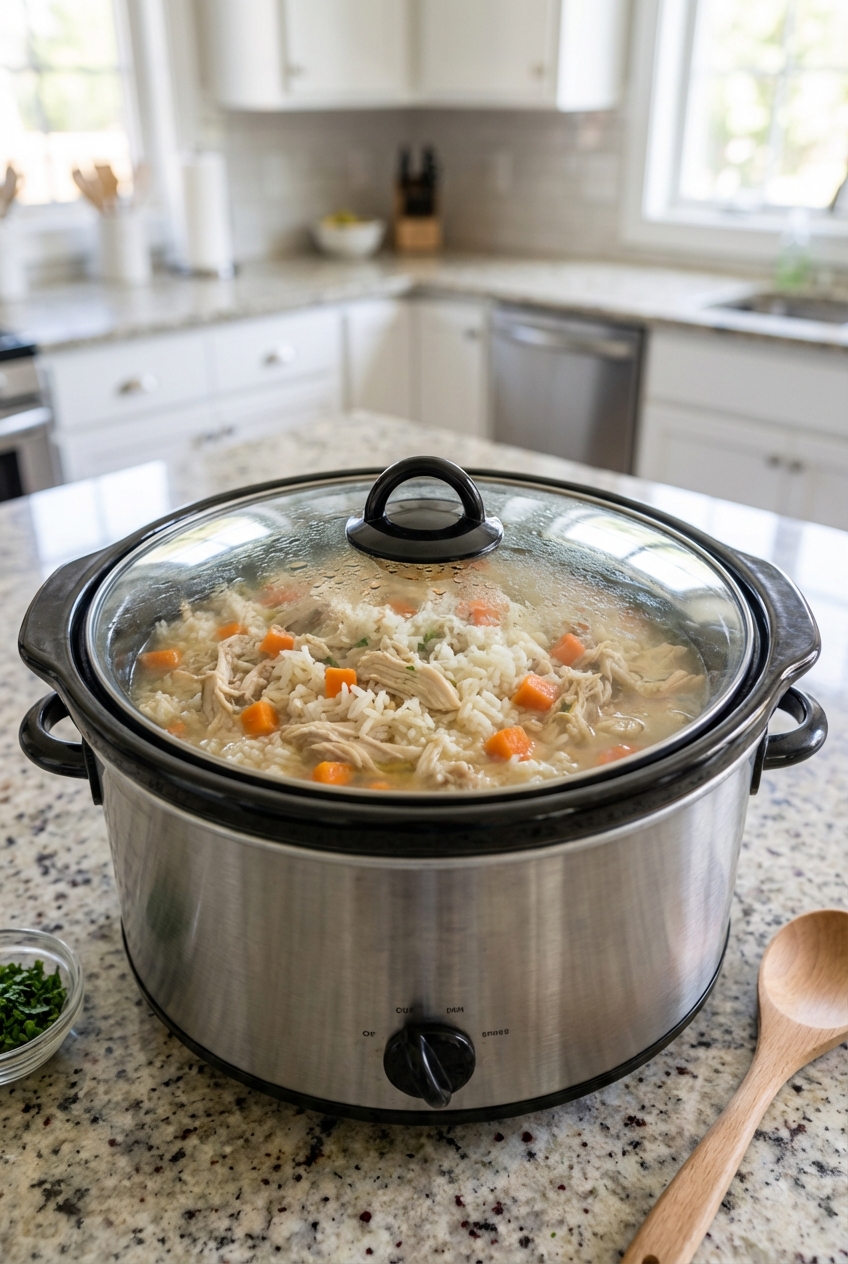
Homemade dog food is one of the kindest gifts you can give your pup, and it gets even easier when you learn how to store it safely. The goal is simple: keep food fresh, reduce bacterial growth risk, and make mealtime quick on busy days.
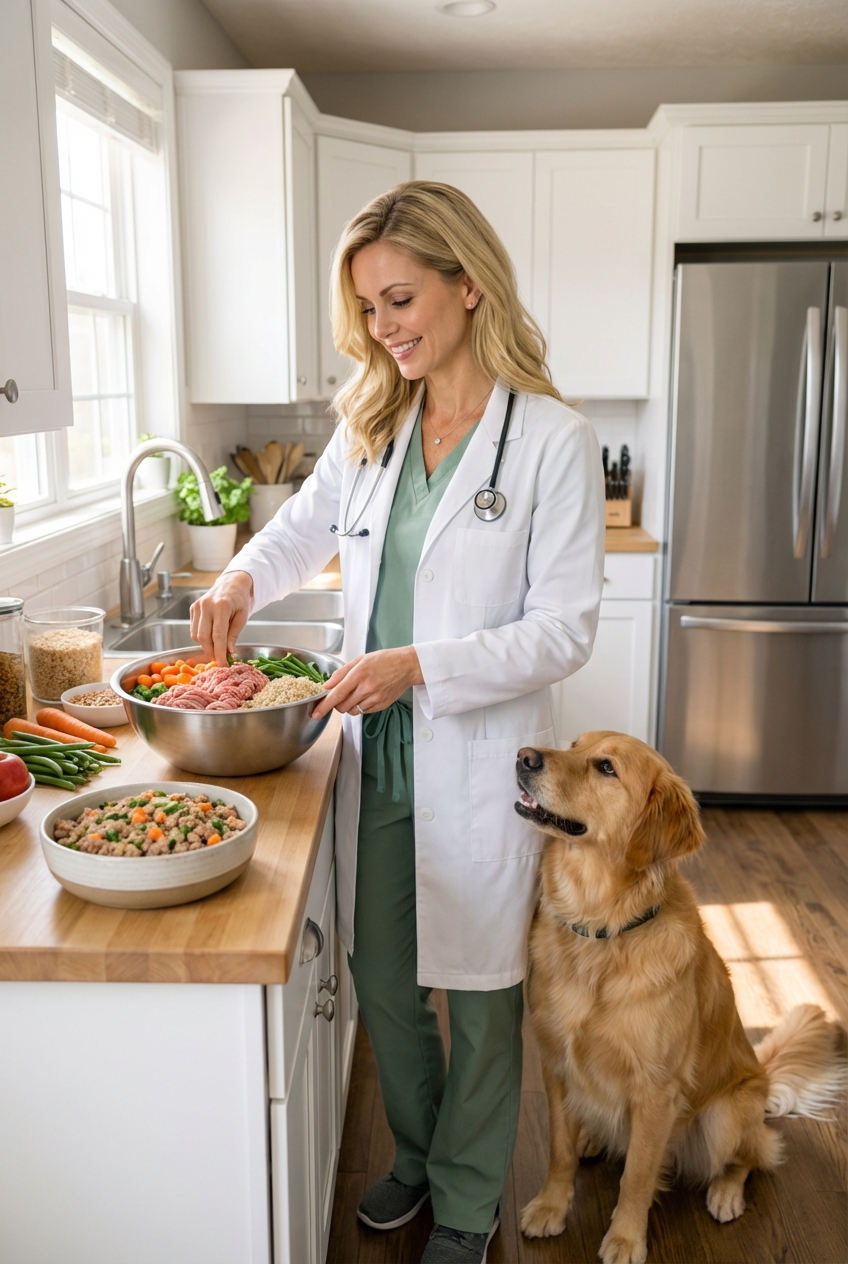
Below are practical storage, freezing, and reheating tips I use as a veterinary assistant, based on widely used food-safety guidance from sources like the USDA and FDA. I also included a few routines that help pet parents stay consistent.
How long homemade dog food lasts
Homemade food does not contain the preservatives found in many commercial diets, so storage time matters. These time frames follow common cooked-food guidance used by food-safety authorities.
In the refrigerator
- Use within 3 to 4 days when stored at 40°F (4°C) or colder.
- If you are unsure when you made it, it is safer to discard rather than guess.
In the freezer
- For best quality, aim to use within 2 to 3 months.
- Food kept frozen continuously at 0°F (-18°C) is generally safe longer, but flavor and texture can decline.
Tip from my kitchen: If you cook twice a week, freezing half right away prevents that "end of the week" fridge risk.
Cooling first: lower the risk
Cooling quickly before refrigerating or freezing is one of the most important safety steps. Bacteria grow fastest in the danger zone between 40°F and 140°F (4°C to 60°C).
- Portion into shallow containers so heat can escape faster.
- Get it into the fridge within about 2 hours of cooking (within 1 hour if the room temperature is above 90°F/32°C).
- For big batches, spread food out on a clean sheet pan for 10 to 15 minutes, then portion and refrigerate.
Containers, portions, labeling
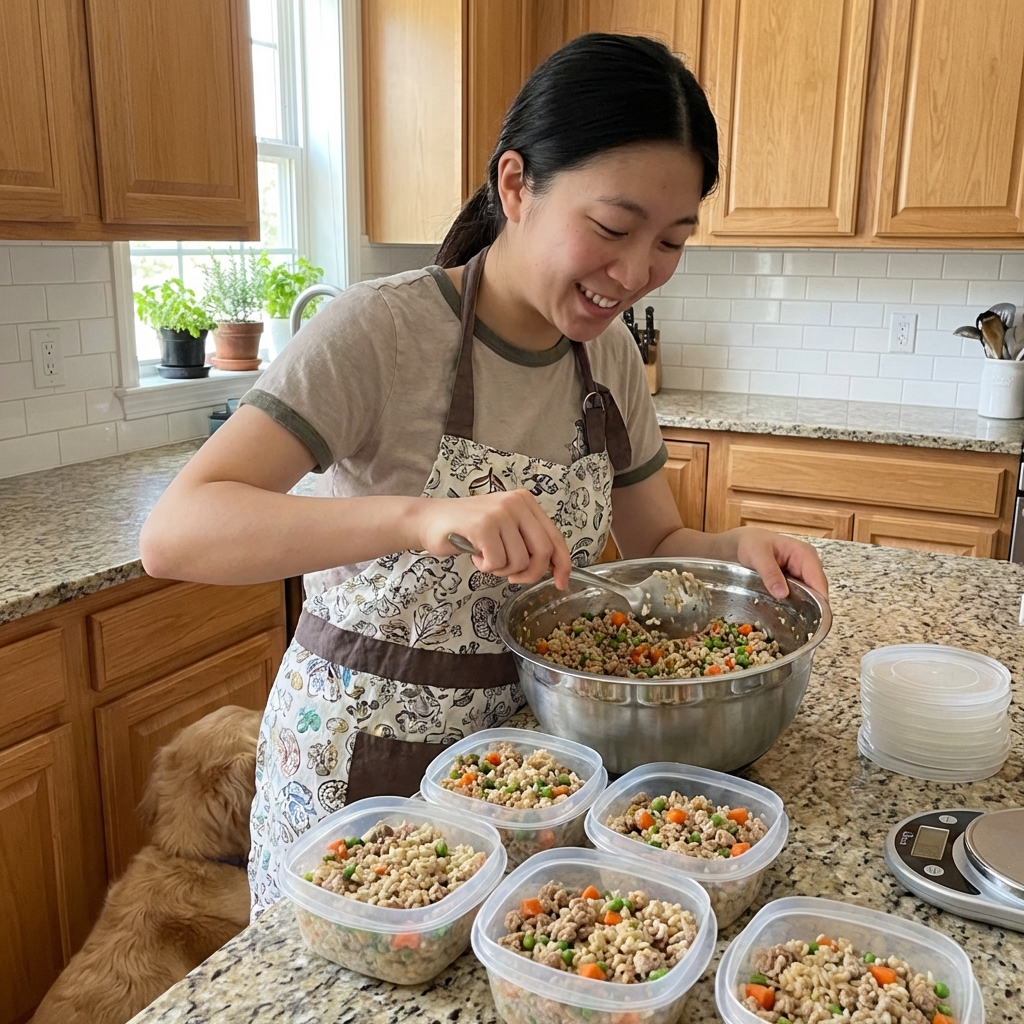
Portioning is the difference between homemade food that feels like a chore and homemade food that feels doable.
Container options
- Freezer-safe glass containers: great for avoiding stains and odors, but leave headspace for expansion.
- BPA-free plastic freezer containers: lightweight and stackable.
- Freezer bags: lay flat for fast freezing and quick thawing, then stand them up like files.
- Silicone muffin trays: freeze individual pucks, then store pucks in a larger bag.
How to portion
- Daily portions for your dog’s meals are the easiest for routine feeding.
- If you use homemade food as a topper, freeze in 2 to 4 tablespoon portions.
Labeling that saves you later
- Write the recipe or protein and the date cooked on each container or bag.
- Add a simple use-by date (example: “Cooked Jan 3, use by Jan 7” for fridge portions).
- If you rotate recipes, a quick batch note (Batch A, Batch B) helps you track what your dog did well on and prevents waste.
Freezing the right way
Freezing helps lock in freshness, but the process matters. The faster food freezes, the better the texture tends to stay.
- Freeze in thin layers when possible (bags laid flat work beautifully).
- Do not overfill containers, especially with brothy mixtures.
- Freeze same-day if you know you will not use it within 3 to 4 days.
- Keep your freezer consistent. Repeated warming and cooling can increase risk if food spends time above 40°F/4°C.
Refreezing note: Refreezing is safest only if the food thawed in the fridge and stayed at or below 40°F/4°C, and it has not been warmed. Even then, quality usually drops.
After thawing: For peak freshness and a cautious approach for pet food, I try to use thawed, refrigerated portions within 1 to 2 days. Some general cooked-food guidance allows up to 3 to 4 days if handled perfectly, but shorter is a safer routine for most households.
Thawing safely
It is tempting to thaw on the counter, but that is exactly where bacteria can multiply on the outer layer while the center is still frozen.
Best thawing methods
- Refrigerator thawing: Move tomorrow’s portion to the fridge today.
- Cold water thawing: Put the sealed bag or container in cold water and change the water every 30 minutes. Use promptly.
- Microwave thawing: Only if you will feed immediately after, and you stir well to prevent hot spots.

Reheating and warming
Many dogs eat chilled food just fine. Others prefer it slightly warmed, especially seniors or picky eaters. The key is to warm gently and avoid burning your dog’s mouth.
Safe warming options
- Warm water bath: Place the sealed container or bag in warm (not hot) water for a few minutes.
- Stovetop: Low heat with a splash of water, stirring often.
- Microwave: Use short intervals, stir thoroughly, then check temperature with your finger before serving.
A few important details
- Warm only what you will serve. Avoid reheating the same batch over and over. Portion first, then warm.
- Serve lukewarm, not hot.
- Stir well so there are no hidden hot pockets, especially with microwaved food.
- If you add broth to loosen texture, use dog-safe broth that is low sodium and free of onion and garlic.
Prevent contamination at mealtime
Safe storage is only half of it. Your handling routine matters too, especially if your dog has a sensitive stomach.
- Use clean utensils when scooping food. Do not dip a used spoon back into the container.
- Wash bowls daily with hot water and dish soap.
- Do not leave moist food out for grazing. Pick up leftovers within 20 to 30 minutes.
- If your dog is immunocompromised or very young, talk with your veterinarian about extra precautions.
Fridge and freezer temps
Storage timelines only work if your appliances are actually cold enough.
- Keep your fridge at 40°F (4°C) or colder and your freezer at 0°F (-18°C).
- A small appliance thermometer is inexpensive and removes guesswork.
- Avoid packing the fridge so tightly that cold air cannot circulate.
Signs food may be spoiled
Trust your senses and your dog’s body. If something feels off, it is not worth the risk.
- Sour or unusual odor
- Visible mold
- Excess slime or sticky texture
- Container looks swollen or pressurized
- Your dog suddenly refuses a food they normally love
- Vomiting or diarrhea after eating (call your veterinarian if symptoms persist or are severe)
One more safety note: Spoilage is not always obvious. When in doubt, throw it out.
A simple routine
If you want a schedule that works for most households, try this:
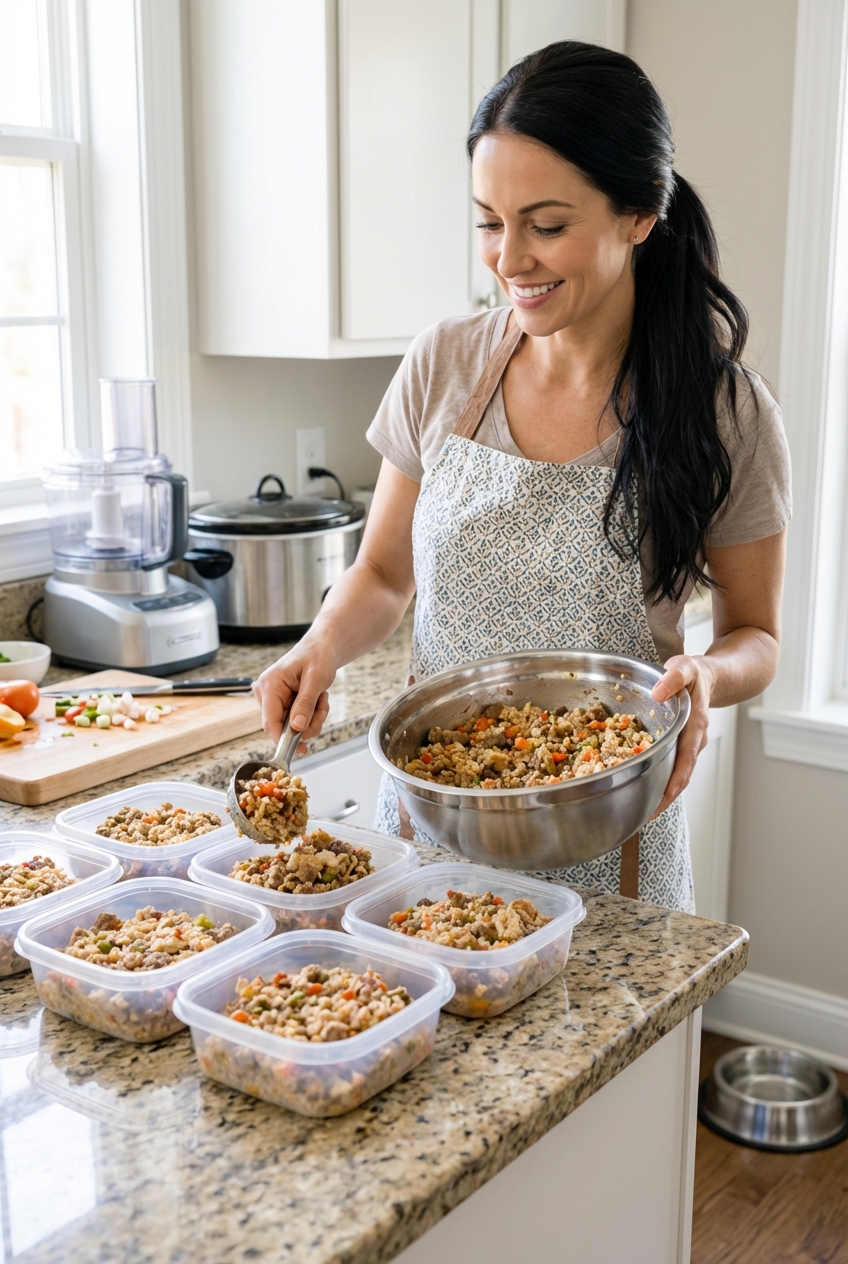
- Cook day: Make a batch, cool quickly, portion 3 to 4 days into the fridge, and freeze the rest.
- Night before: Move the next day’s portion from freezer to fridge.
- Mealtime: Serve chilled or gently warmed, then refrigerate promptly.
This rhythm keeps you organized, keeps food safer, and helps you stick with homemade for the long haul.
Homemade feeding does not have to be perfect to be powerful. Consistency and safe handling are what protect your dog and make your effort really count.
Quick note on balanced nutrition
Storage is only one piece of homemade feeding. Dogs need balanced nutrients over time. Variety can help with palatability and can prevent waste, but rotating proteins does not automatically create a balanced diet. If you are feeding homemade as more than an occasional topper, it is worth asking your veterinarian or a board-certified veterinary nutritionist to review your recipe, especially for growing puppies, seniors, and dogs with kidney, liver, or GI conditions.
About raw diets
This guide is for cooked homemade food. Raw diets require different handling and carry higher food-safety risk for pets and people. If you feed raw, ask your veterinarian for specific storage and sanitation guidance.
Sources
- USDA Food Safety and Inspection Service (FSIS): Leftovers and food storage guidance
- FDA: Food safety basics (refrigeration, thawing, and the danger zone)