Step-by-step dog tick removal with tweezers, what to do if mouthparts remain, aftercare warning signs, and proven prevention plus home and yard tick control ...
Article
•
Designer Mixes
Removing Dog Ticks

Shari Shidate
Designer Mixes contributor
If you have ever found a tick on your dog, I know that little rush of panic. Take a breath. Most tick removals are simple when you use the right tools, remove the tick promptly, and keep an eye on your pup for the next few weeks.
This guide walks you through exactly how to remove a tick safely, what not to do, and when it is time to call your veterinarian.
Why fast, careful removal matters
Ticks feed on blood and can carry diseases. The good news is that risk often increases the longer a tick stays attached, though timing varies by disease and pathogen. Some infections are more likely after a longer attachment window, while others may transmit sooner. Either way, removing a tick correctly and as soon as you find it helps:
- Lower disease transmission risk by shortening feeding time
- Reduce skin irritation and secondary infection
- Prevent mouthparts from breaking off in the skin
Common species in many parts of North America include the American dog tick, brown dog tick, lone star tick, and blacklegged tick (deer tick). Depending on your region, ticks can be associated with illnesses such as ehrlichiosis, anaplasmosis, Rocky Mountain spotted fever, Lyme disease, and others. Not every tick transmits disease, but every tick bite deserves respect.
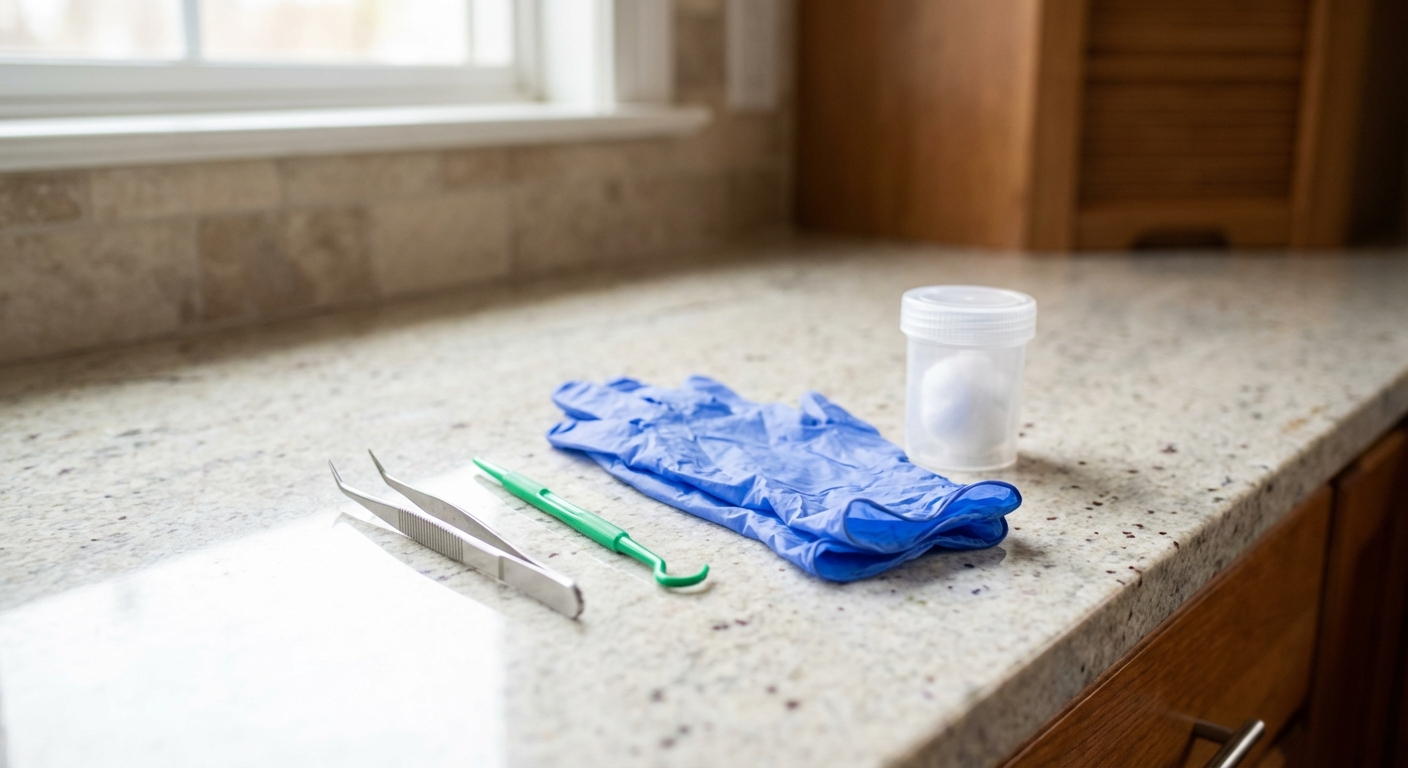
What you need before you start
Set yourself up for success. Having supplies ready keeps removal quick and calm.
- Fine-tipped tweezers or a tick removal tool (tick key or hook)
- Disposable gloves (optional but helpful)
- Rubbing alcohol (70% is typical)
- Small container or zip bag to save the tick
- Antiseptic (chlorhexidine or povidone-iodine) for the skin
- Good lighting and a way to gently restrain your dog (treats help)
Quick safety note: Ticks can carry germs that affect people, too. Avoid touching tick fluids, and wash your hands well after removal.
Step-by-step: The safest way to remove a tick
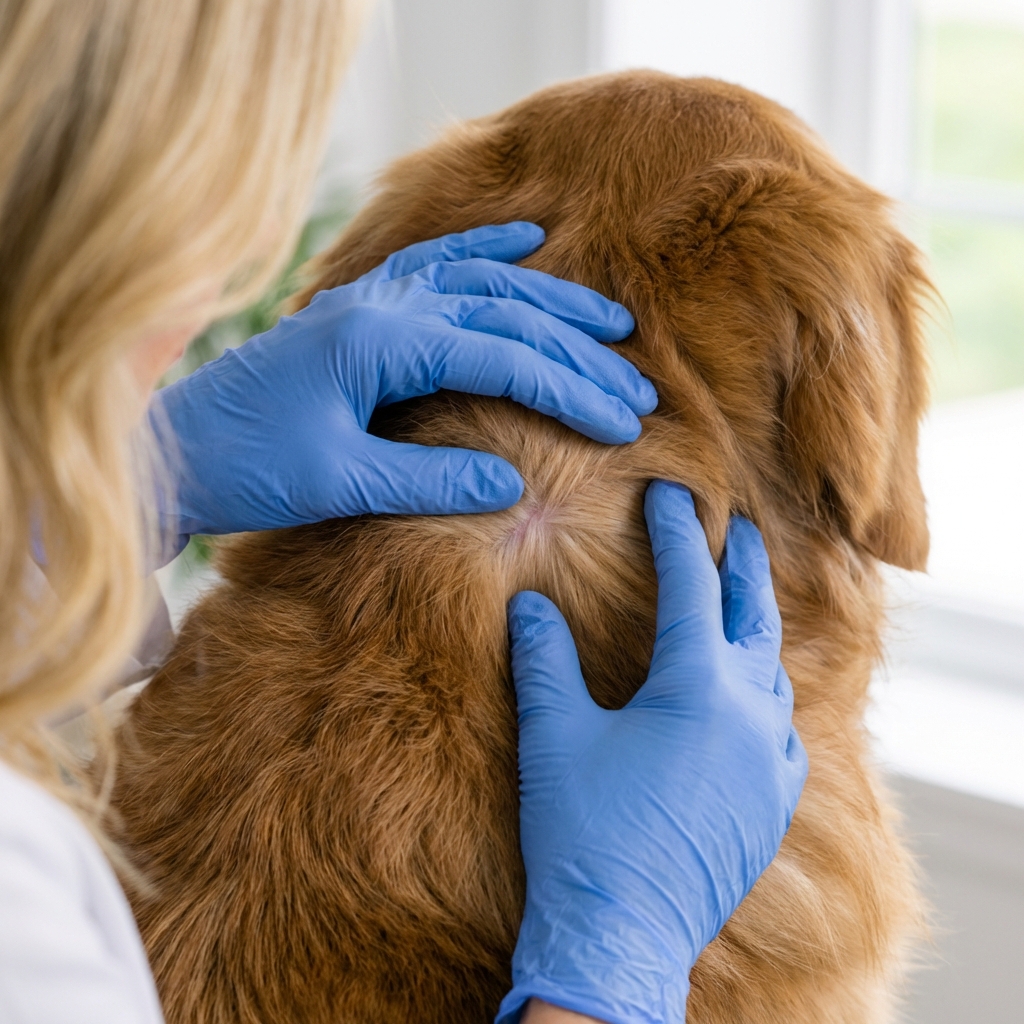
1) Keep your dog still and comfortable
Choose a calm spot. If your dog is wiggly, ask someone to offer treats while you work. Avoid scolding. You want this to be a low-stress moment.
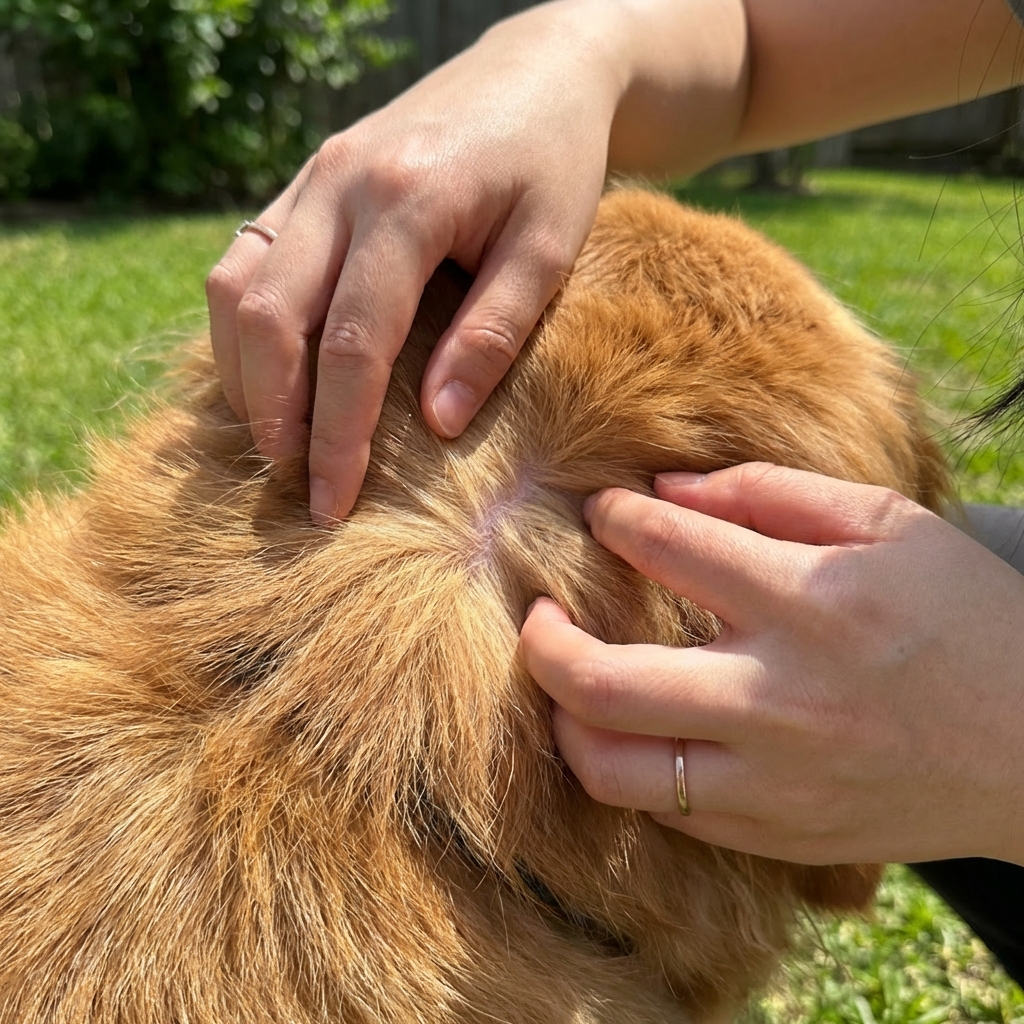
2) Part the fur and find where the tick attaches
Ticks can hide in warm, tucked-away places like:
- Inside and around the ears
- Under the collar
- Armpits and groin
- Between toes
- Under the tail
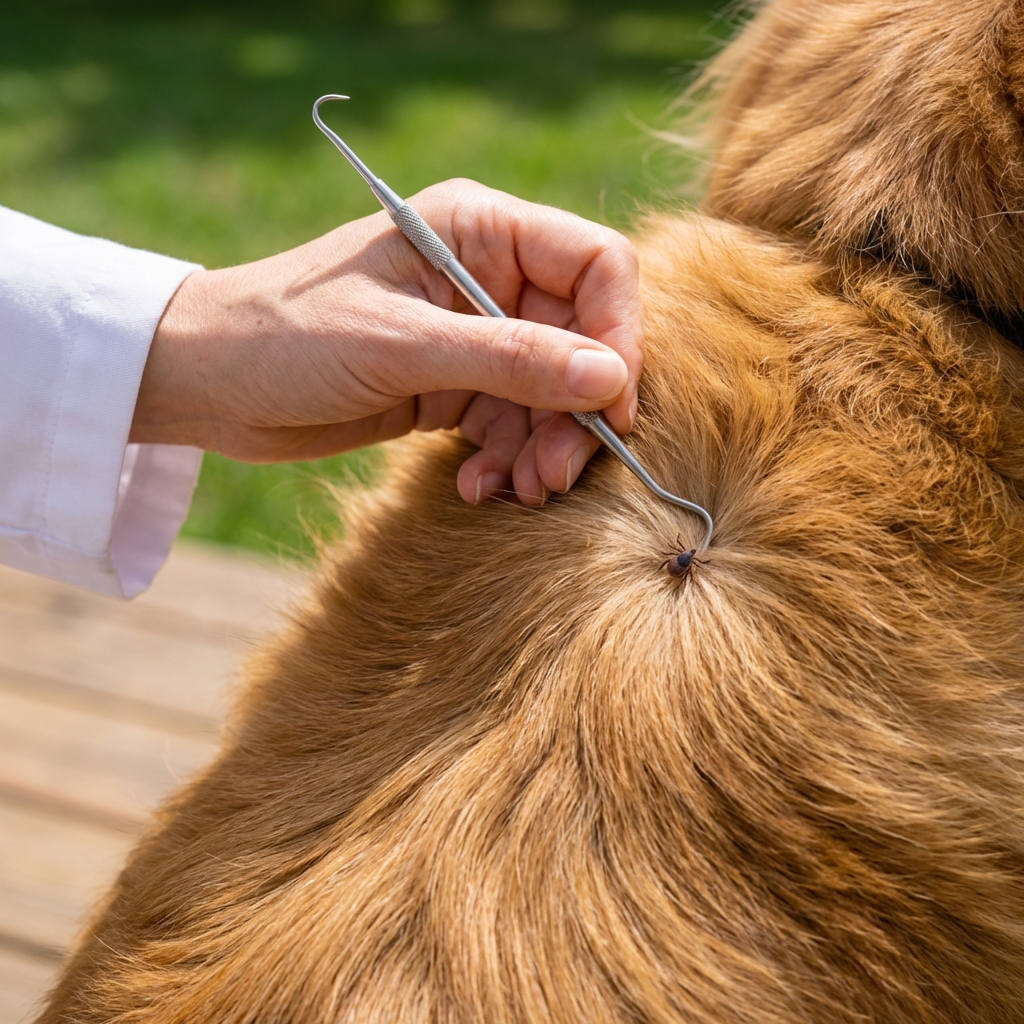
3) Grasp the tick close to the skin
Using tweezers or a tool, grab the tick as close to your dog’s skin as possible. Aim for the tick’s head and mouthparts, not the swollen body.
4) Pull upward with steady, even pressure
With tweezers, pull straight up with steady, even pressure. Do not jerk or crush. Avoid twisting with tweezers. If you are using a tick hook or tick key, follow the product’s directions, since some tools use a gentle lift or slide technique.
5) Check the site
Look at the tick. Ideally, the mouthparts come out with the body. If you see a tiny dark speck remaining in the skin, do not dig aggressively. Often, small remnants work themselves out like a splinter, but they can sometimes cause local irritation. If redness, swelling, or discharge worsens, call your vet.
6) Clean the skin and your hands
Clean the bite area with antiseptic. Wash your hands well even if you used gloves.
7) Save the tick and note the date
Place the tick in a sealed container or bag and write down the date and where on your dog you found it. If you think your vet may want to identify the tick or consider testing, ask how they prefer it stored (some prefer the tick kept dry; others may suggest alcohol). This can help if symptoms appear later.
8) Dispose of ticks safely
If you are not saving the tick, do not crush it with bare fingers. You can kill it by placing it in alcohol, sealing it in tape, or sealing it in a bag before throwing it away.
Veterinary assistant tip: If your dog has multiple ticks, remove them one at a time and take breaks. Staying gentle prevents accidental skin pinching and helps your dog tolerate future checks.
What not to do
These approaches can make things worse by irritating the tick, increasing saliva regurgitation, or causing mouthparts to break.
- Do not burn the tick off with a match
- Do not smother it with petroleum jelly, nail polish, or essential oils
- Do not yank quickly or crush the tick’s body
- Do not twist forcefully with tweezers
- Do not try “home surgery” if the area is sensitive, swollen, or your dog is in pain
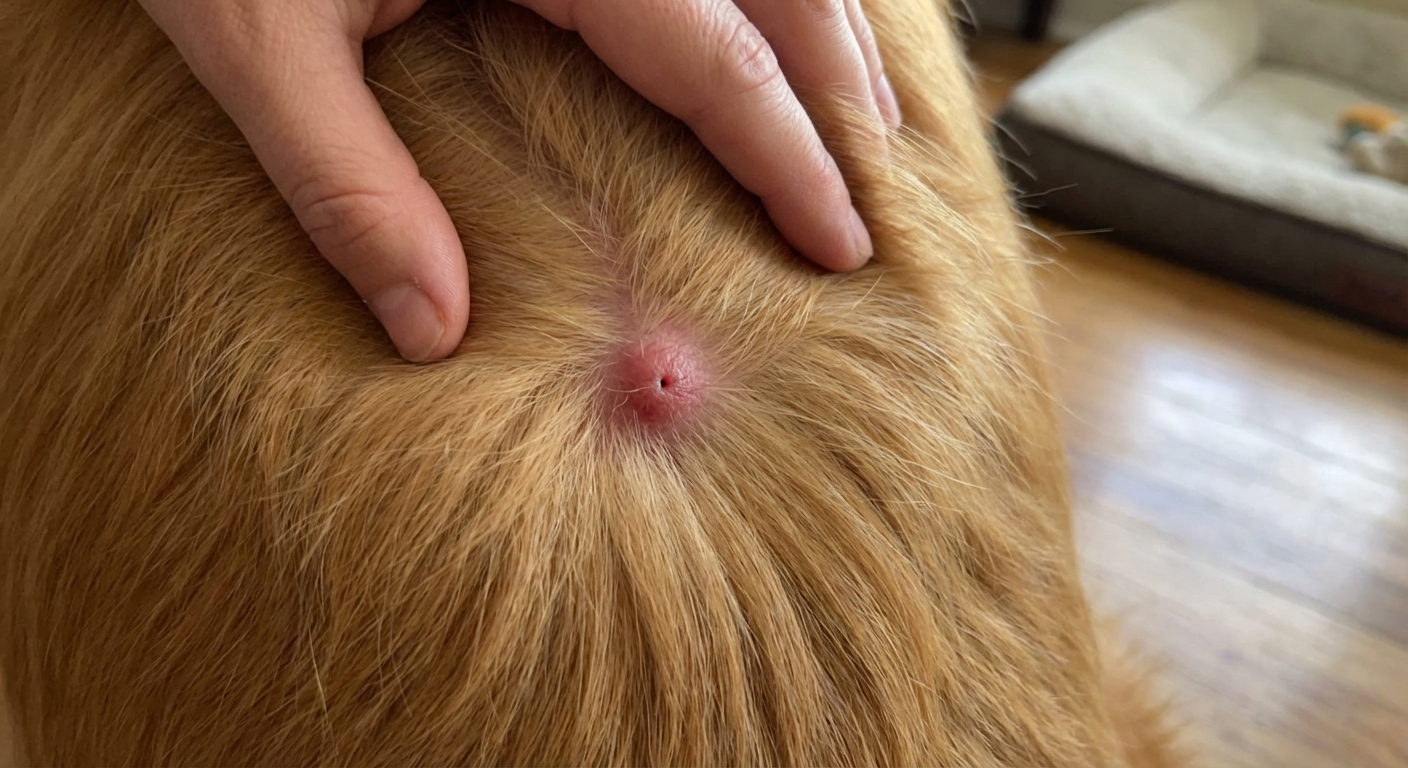
What the bite should look like
It is normal to see a small red bump at the bite site for a day or two. Mild itchiness can happen. Keep the area clean and discourage licking if possible.
Call your veterinarian if you notice:
- Increasing redness, swelling, heat, or oozing
- A scab that becomes large or painful
- A lump that keeps growing over several days
- Your dog obsessively licking or scratching the site
When to call the vet right away
Tick removal is usually a home task, but there are times you should get professional help.
- The tick is attached near the eye, inside the ear canal, or in another delicate spot
- Your dog is in pain or you cannot safely restrain them
- The tick appears deeply embedded or you cannot get a good grip
- You removed the tick but the area becomes very swollen or infected
- Your dog is a puppy, senior, pregnant, or immunocompromised and seems unwell
Symptoms to watch for (2 to 30 days)
Many tick-borne diseases do not show up immediately. If any of the following appear, contact your veterinarian and mention the tick bite and date.
- Lethargy, weakness, or “not themselves” behavior
- Fever
- Decreased appetite
- Limping or joint pain
- Swollen lymph nodes
- Vomiting or diarrhea
- Bruising, nosebleeds, or unusual bleeding
Early treatment matters. Do not wait it out if your gut says something is off.
How to prevent ticks
Prevention is kinder than removal. A consistent routine makes a big difference.
Use vet-recommended prevention
There are effective options including oral chewables, topical products, and collars. Your veterinarian can help you choose based on your dog’s size, health history, lifestyle, and local tick pressure.
One helpful reminder: tick preventives can dramatically reduce risk, but they do not always prevent every attachment. Tick checks still matter.
Do tick checks after outdoor time
Especially after walks in tall grass, wooded areas, creek lines, and leaf litter. Run your fingers through the coat and feel for small bumps.
Make your yard less tick-friendly
- Mow regularly and trim brush
- Remove leaf piles
- Create a barrier of gravel or mulch between woods and lawn if possible
- Discourage wildlife that carry ticks (like rodents and deer) from lingering near the house
Ask about testing
Many clinics run annual screening tests for common tick-borne diseases. If you live in a high-risk area or your dog gets frequent tick exposure, ask what schedule makes sense.
Quick FAQ
What if the tick’s head breaks off?
Often, what looks like a “head” is actually mouthparts. If a small piece remains, keep the area clean and monitor. If there is swelling, discharge, or ongoing irritation, your vet may need to remove it.
Should I put antibiotic ointment on the bite?
Sometimes it is fine, but many dogs lick it off. A pet-safe antiseptic rinse is often a better choice. If your dog is licking a lot, ask your vet what to use and whether an e-collar is needed.
Can ticks infest my house?
Some species, especially the brown dog tick, can survive indoors. If you find ticks repeatedly or see them crawling inside, talk with your vet about a prevention plan and consider professional pest control guidance.
The bottom line
You do not need fancy equipment to remove a tick, but you do need a calm approach and good technique: grab close to the skin, pull with steady pressure, clean the area, and monitor your dog afterward. If anything about the bite, the tick, or your dog’s behavior worries you, your veterinarian is your best partner.
Your dog counts on you, and you are absolutely capable of handling this.