Vet-assistant guidance on removing ticks from cats safely: what tools to use, how to pull the tick cleanly, what not to do, aftercare warning signs, and prev...
Article
•
Designer Mixes
Removing a Tick From Your Cat

Shari Shidate
Designer Mixes contributor
Ticks are more than a nuisance. They can transmit infections and cause painful skin reactions, and they often hitch a ride indoors on outdoor cats, dogs, or even people. As a veterinary assistant here in Frisco, Texas, I have seen many worried pet parents do the right thing by acting quickly, but a calm, correct removal is what protects your cat the most.
This handbook walks you through veterinarian-recommended, step-by-step tick removal, what to avoid, and when it is time to call your vet.
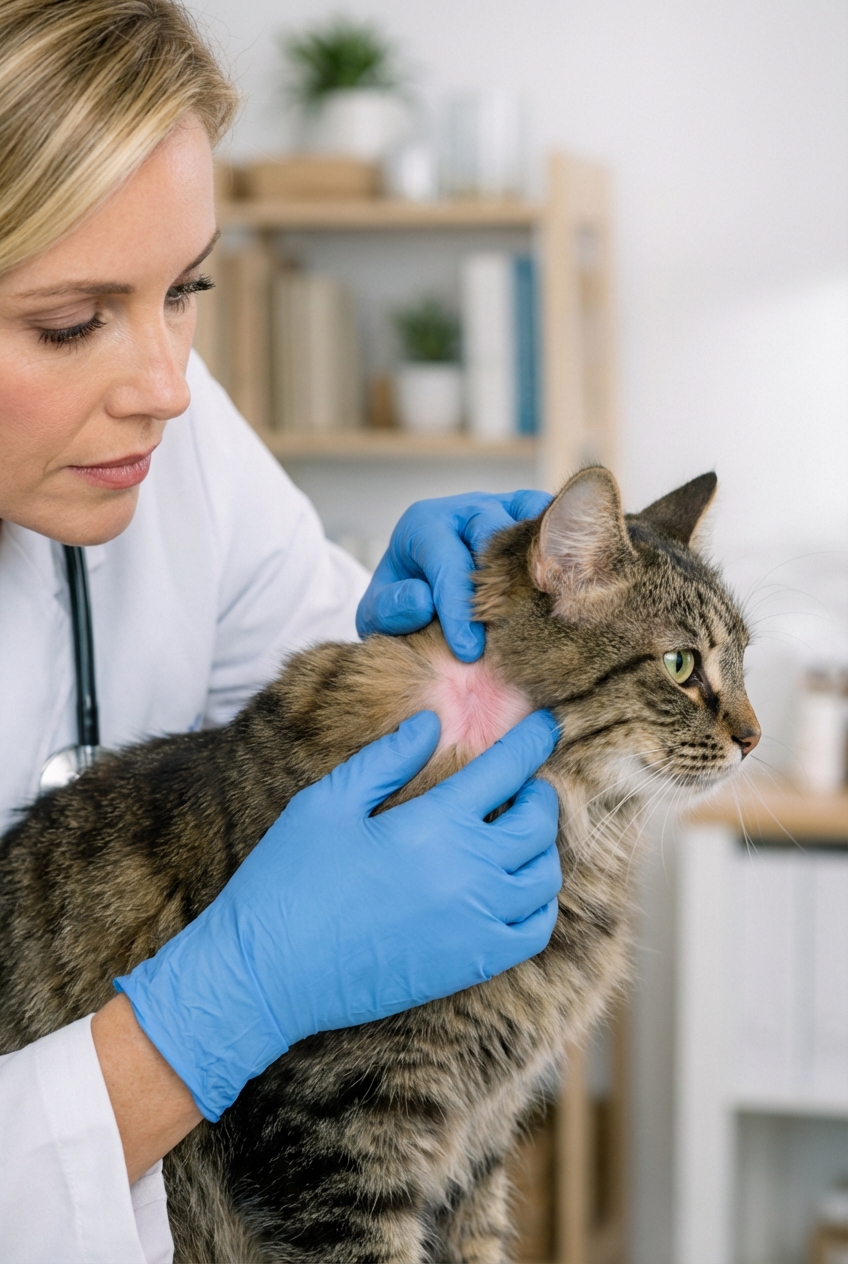
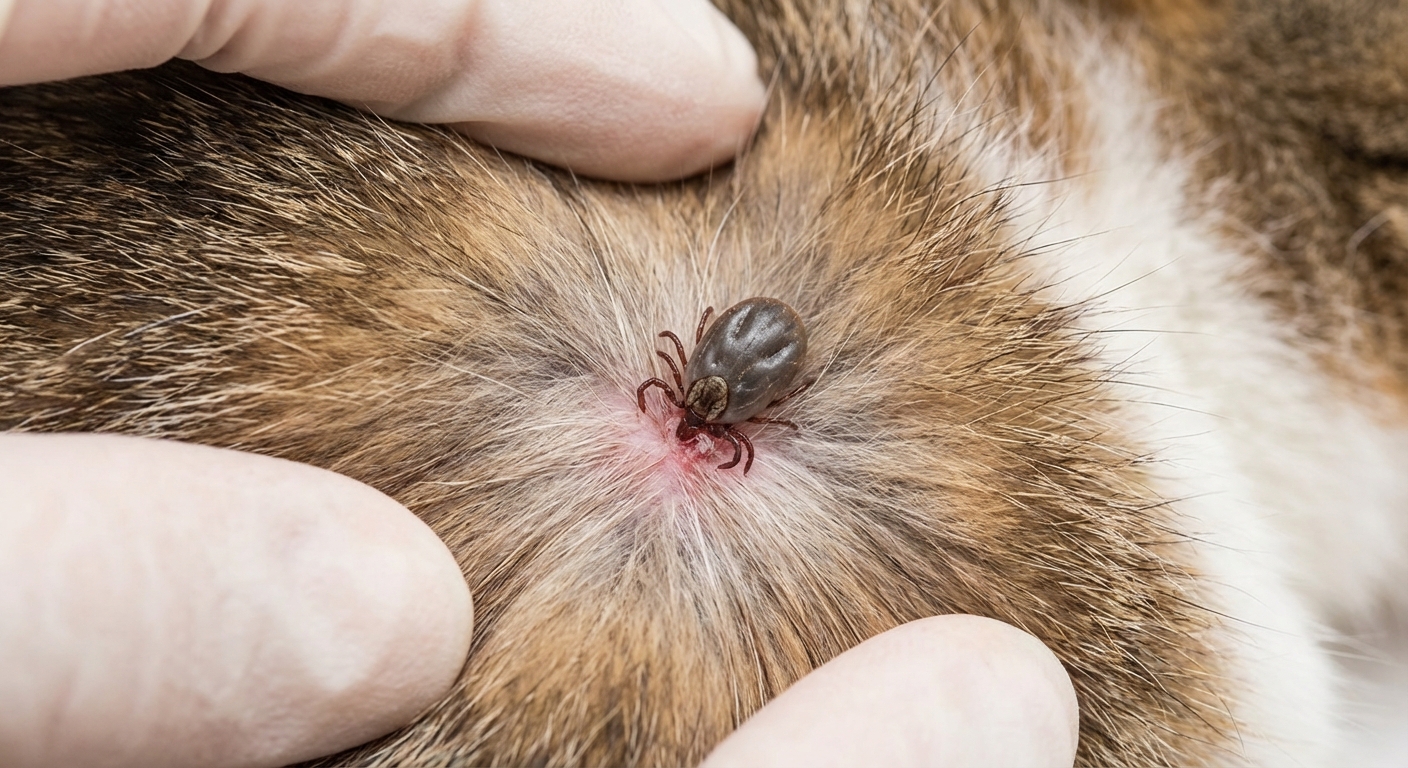
First, confirm it is a tick
Not every bump is a tick. Before you grab tweezers, take a closer look.
- Tick: Usually looks like a small, rounded, gray-brown or black “seed” attached to the skin. If it has fed, it may look swollen like a tiny bead.
- Scab, skin tag, nipple, or debris: Often does not have legs and may not be firmly anchored in one spot.
If you can, use your phone’s flashlight. A tick will typically have visible legs near the end attached to the skin.
What you need
Gather these supplies
- Fine-tipped tweezers or a tick-removal tool
- Disposable gloves
- Soap and water
- Optional: rubbing alcohol (for the tick, and for skin only in a small amount if tolerated)
- Cotton balls or gauze
- A small jar or zip bag (to save the tick)
- Treats to reward your cat
Avoid these common mistakes
- No petroleum jelly, nail polish, oils, or “smothering” methods. These can irritate the tick and may increase the chance it regurgitates material into the bite.
- No essential oils. Many are unsafe for cats and can cause toxicity or skin irritation.
- No burning or heat. This can burn your cat’s skin and does not improve safe removal.
- No bare fingers. Ticks can carry pathogens. Gloves are a simple safety step.
- Do not crush the tick. Crushing can expose you to tick fluids and makes a mess of the bite site.
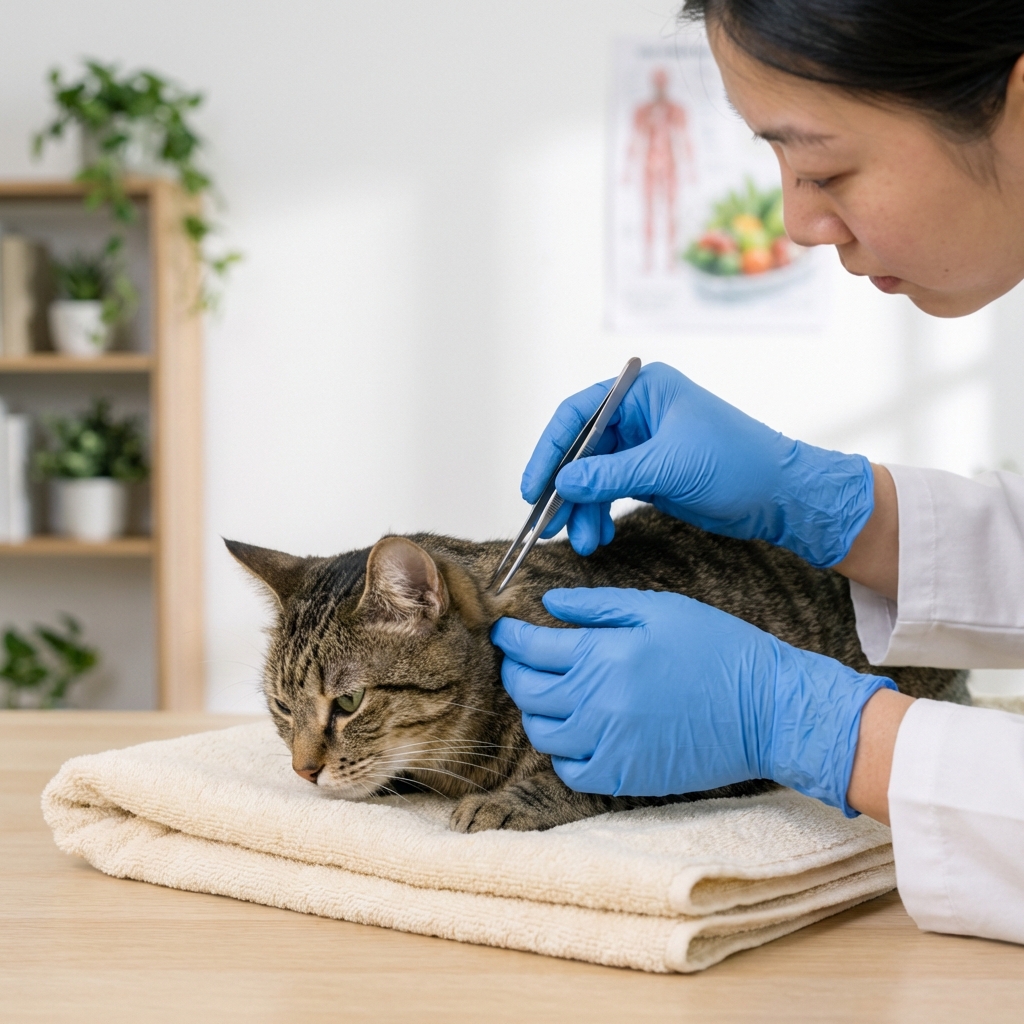
Step-by-step removal
Choose a well-lit area. If your cat is anxious or wiggly, wrap them gently in a towel like a burrito, leaving the tick area exposed.
If your cat is struggling, stop. Injury can happen quickly, and it is safer to call your veterinarian for help.
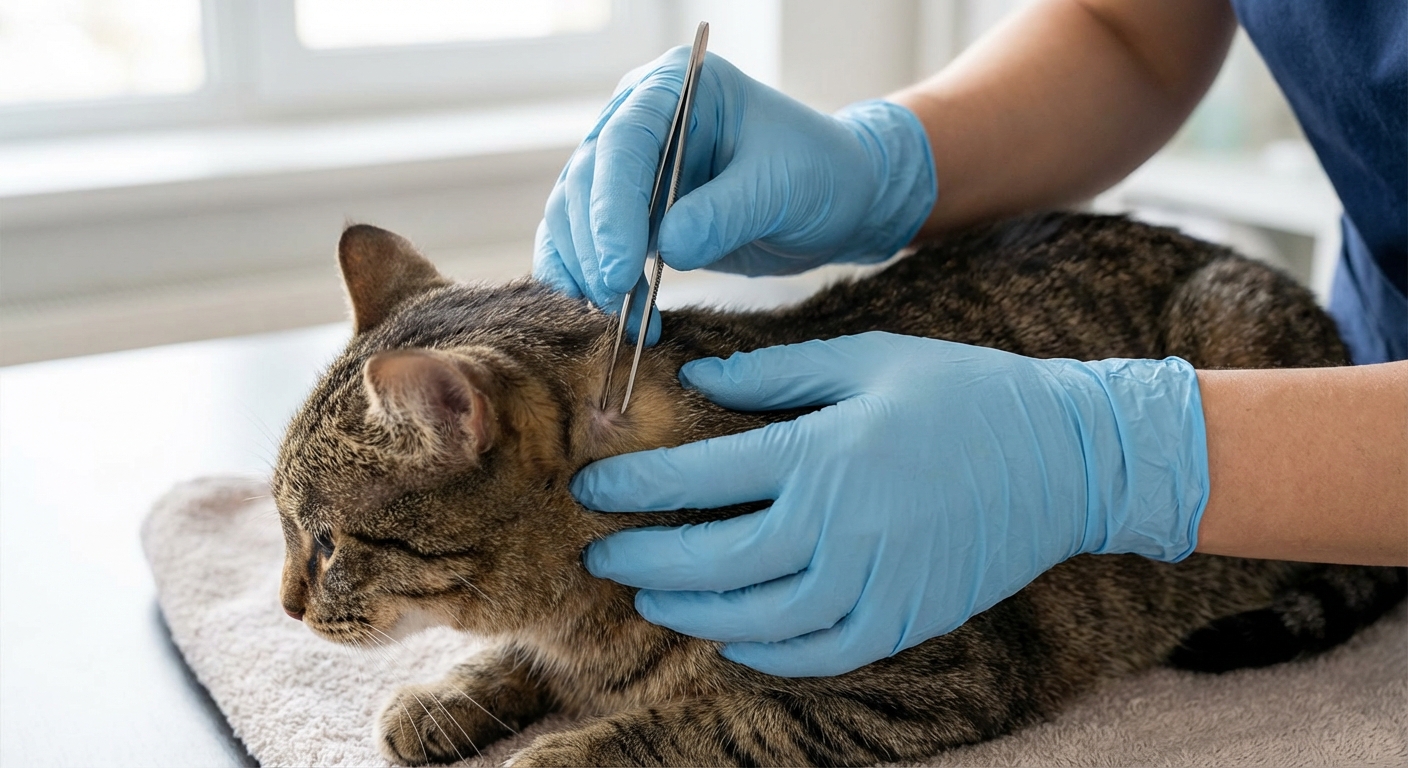
- Put on gloves.
- Part the fur. Find where the tick attaches to the skin.
- Choose the right technique for your tool.
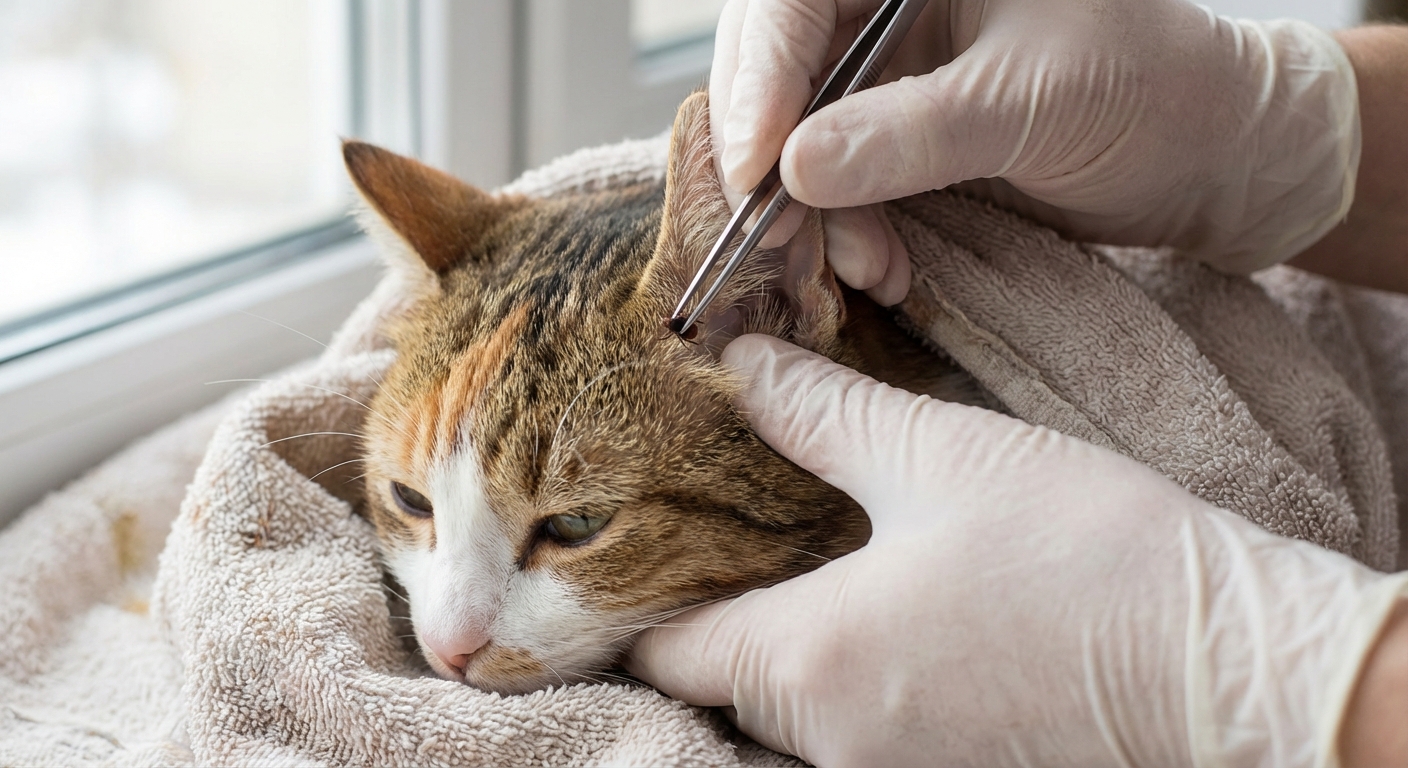
- If using fine-tipped tweezers: Grasp the tick as close to the cat’s skin as possible, right at the head and mouthparts. Avoid squeezing the swollen body.
- If using a tick-removal tool: Follow the product instructions. Some tools use a gentle lifting motion, and some use a slight twist by design.
- Remove with steady pressure.
- Tweezers: Pull straight out with a slow, firm, steady pull until it releases.
- Tool: Use the motion recommended by that specific tool.
- Check the area. A small red bump can be normal. If you see a dark fragment that looks embedded, do not dig aggressively. Call your vet for guidance.
- Clean the bite site. Soap and water is typically best. If you use rubbing alcohol on skin, use only a small amount on gauze and stop if it seems to irritate your cat.
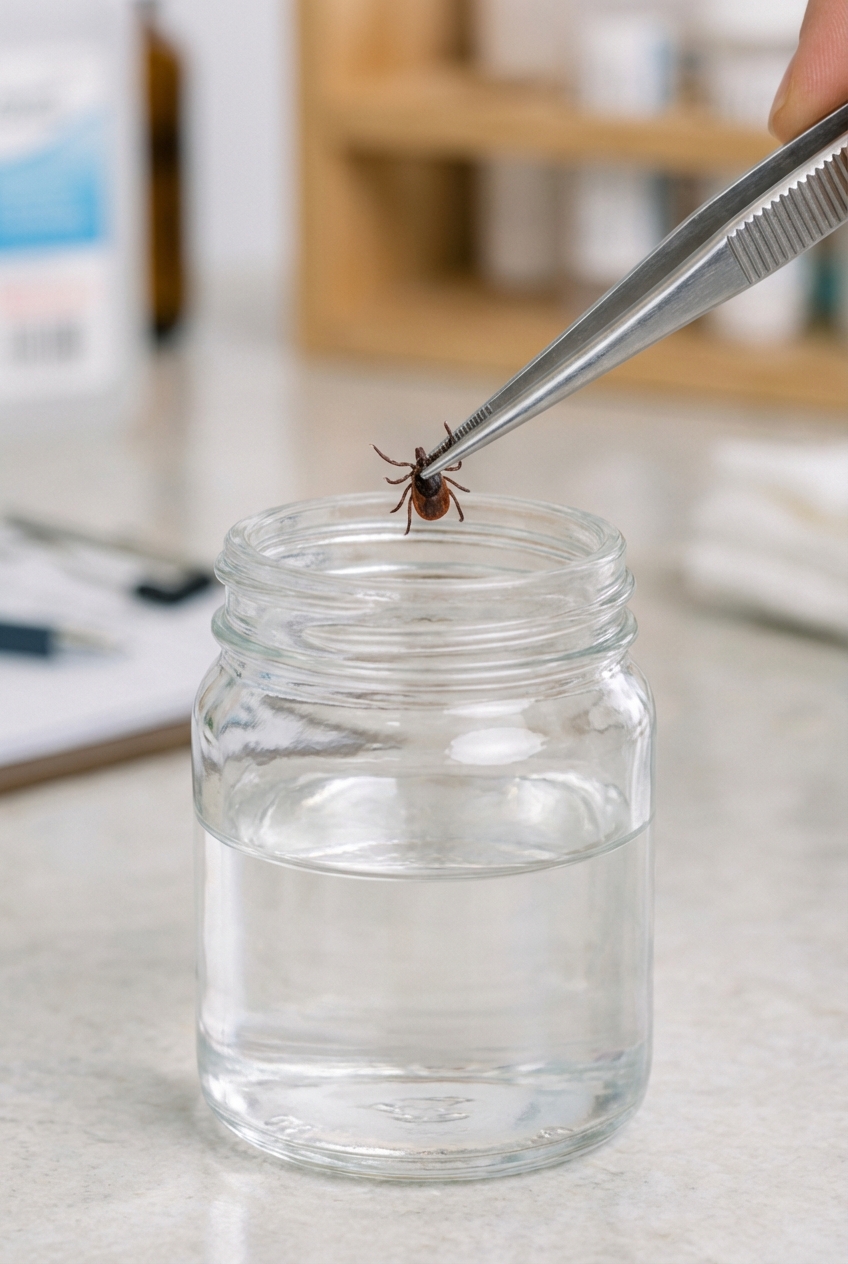
- Save the tick. Place it in a jar or sealed bag with a little rubbing alcohol, and write the date and where on the body you found it.
- Wash your hands and reward your cat. Treats and calm praise go a long way.
If mouthparts remain
This is a very common fear. The good news is that what people call the “head” is usually mouthparts. If small mouthparts remain, the skin may act like it has a splinter and become mildly irritated.
- Do not dig deeply with a needle. This can cause more trauma and infection.
- Clean the area and monitor. Watch for increasing redness, swelling, oozing, or pain.
- When in doubt, call your veterinarian. Your vet can remove retained parts safely if needed.
What to do with the tick
If you are saving the tick for your vet, keep it sealed (bag or jar) and labeled with the date. If you are disposing of it, avoid crushing it with bare hands. Options include sealing it in tape or a bag after it is dead, or disposing of it according to your local guidance.
Watch your cat after
Most cats do perfectly fine after prompt removal. Still, I recommend keeping a close eye on your cat for the next few weeks.
Normal, mild reactions
- A small red bump or scab at the bite site
- Mild itchiness for a day or two
Call your veterinarian if you notice
- Loss of appetite, lethargy, or fever
- Vomiting or diarrhea
- Limping, stiffness, or sensitivity to touch
- Pale gums
- Swollen lymph nodes
- A bite site that becomes increasingly red, hot, painful, or draining
- Any neurologic changes like wobbliness or weakness
Tick-borne illnesses vary by region and by tick species. Your veterinarian will consider your location, the tick type if known, and your cat’s symptoms when deciding whether testing or treatment is needed.
When not to remove at home
Home removal is often safe, but these situations deserve a veterinary visit:
- The tick is in or near the eye, inside the ear canal, or near the genitals.
- Your cat is aggressive, extremely fearful, or painful.
- You see many ticks. Heavy infestations can cause anemia, especially in kittens.
- Your cat is a kitten, elderly, pregnant, or medically fragile.
- The bite site looks infected.
Preventing ticks
In practice, the best tick removal is the one you never have to do. Prevention is safer, easier, and more effective.
Use vet-recommended prevention
Ask your vet which product fits your cat’s age, weight, lifestyle, and local tick pressure. Common options include prescription topicals, collars, or oral preventives, and your veterinarian can tell you what is safe for cats.
Never use a dog product on a cat unless your veterinarian specifically instructs you to. Some dog tick products, especially those containing permethrins, can be toxic to cats.
Do quick tick checks
After outdoor time, run your hands over your cat and check common hiding spots:
- Around the ears and under the collar area
- Under the chin
- Armpits and groin
- Between toes
- Base of the tail
Protect your home
- Check other pets in the household, too. Ticks often travel between animals.
- Wash pet bedding on hot and vacuum areas where your cat sleeps if you find ticks indoors.
Make your yard less tick-friendly
- Keep grass trimmed and remove leaf litter
- Create a barrier (like gravel) between woods and lawn
- Limit wildlife attractants when possible

Quick FAQ
How soon should I remove a tick?
As soon as you safely can. The longer a tick is attached, the higher the risk of disease transmission.
Should I put antibiotic ointment on the bite?
Usually not unless your veterinarian advises it. Many topical products are not meant to be licked, and cats are excellent groomers. Cleaning with soap and water is typically enough.
Can indoor cats get ticks?
Yes. Ticks can come in on people, dogs, or other pets. Indoor-only cats still benefit from discussing prevention with your veterinarian, especially in high-tick areas.
Do I need to send the tick for testing?
Often, no. Regional practices vary, though, so ask your veterinarian or follow local public health guidance. Saving the tick can still be helpful if your cat develops symptoms later and your veterinarian wants to identify the tick type.
Bottom line
You do not need to panic, but you do need to be precise. Use fine-tipped tweezers to pull straight out with steady pressure, or follow your tick-removal tool instructions, then clean the area and watch your cat closely afterward. If the tick is in a delicate location, your cat is not cooperating, or your cat seems unwell in the following days, your veterinarian is your safest next step.
If you want, tell me your cat’s age, indoor or outdoor routine, and your general location, and I can share prevention questions to bring to your vet.