A calm, step-by-step guide to removing a tick from your dog safely using tweezers or a tick tool—plus what to do if mouthparts remain, signs to watch, and ...
Article
•
Designer Mixes
Remove a Tick From Your Dog

Shari Shidate
Designer Mixes contributor
Finding a tick on your dog can make your stomach drop. I get it. I have helped plenty of families in Frisco deal with this, and the good news is that removing a tick correctly is usually quick, safe, and very doable at home.
Ticks matter because they can spread diseases like Lyme disease, ehrlichiosis, anaplasmosis, Rocky Mountain spotted fever, and babesiosis. Not every tick carries disease, and not every bite leads to illness. But smart removal and good prevention dramatically reduce risk.
Before you start: what you need
Set yourself up for a calm, clean removal. Gather:
- Fine-tipped tweezers or a tick removal tool
- Disposable gloves (optional but helpful)
- Isopropyl alcohol (for cleaning and, if you choose, dispatching the tick)
- Antiseptic like chlorhexidine or povidone-iodine (pet-safe)
- Small container or zip bag (if you want to keep the tick for identification)
- Treats to keep your dog relaxed and cooperative
- Good lighting and maybe a flashlight
Tip: If your dog is wiggly, ask someone to gently hold them and reward with treats while you work. Calm and steady beats fast and frantic every time.
How to remove a tick (step by step)
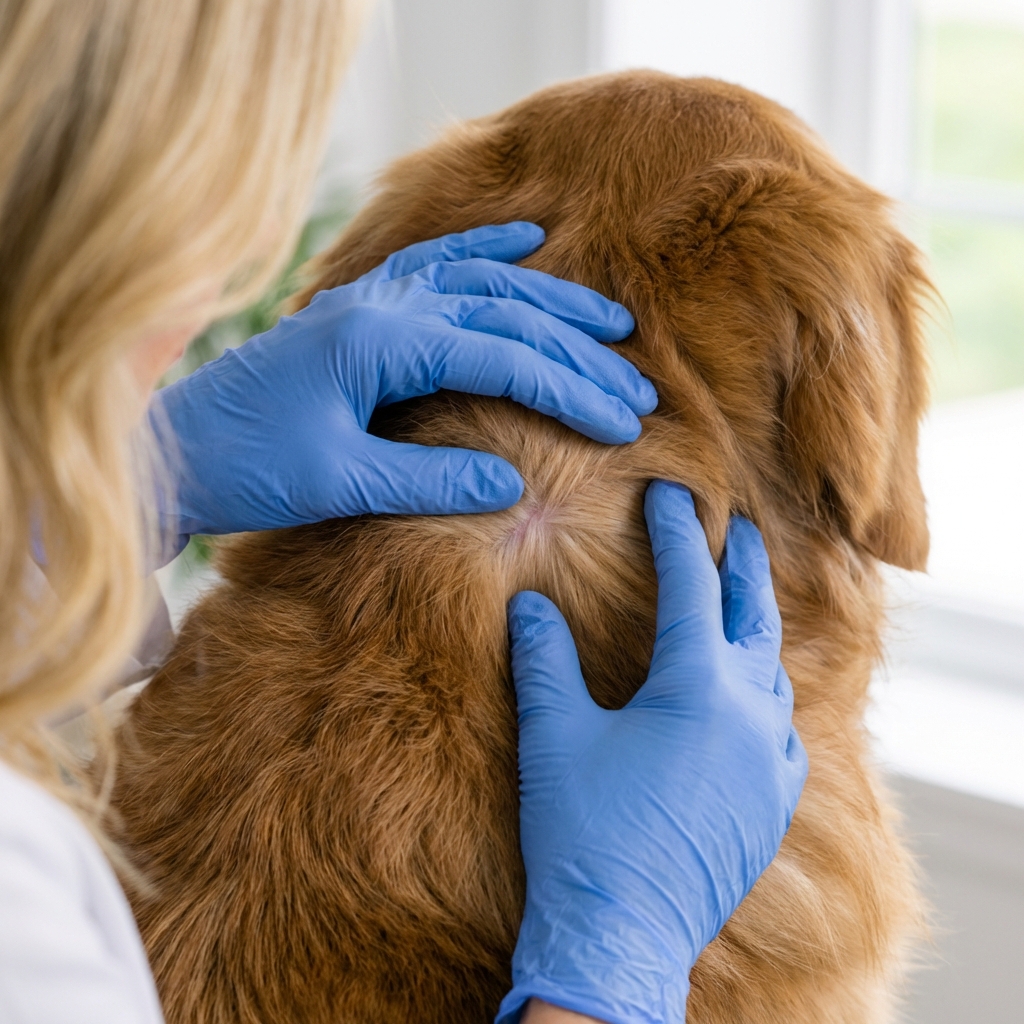
1) Part the fur and find the bite
Ticks often hide around the head, ears, neck, between toes, armpits, groin, and under the collar. Part the fur until you can clearly see where the tick’s mouthparts meet the skin.
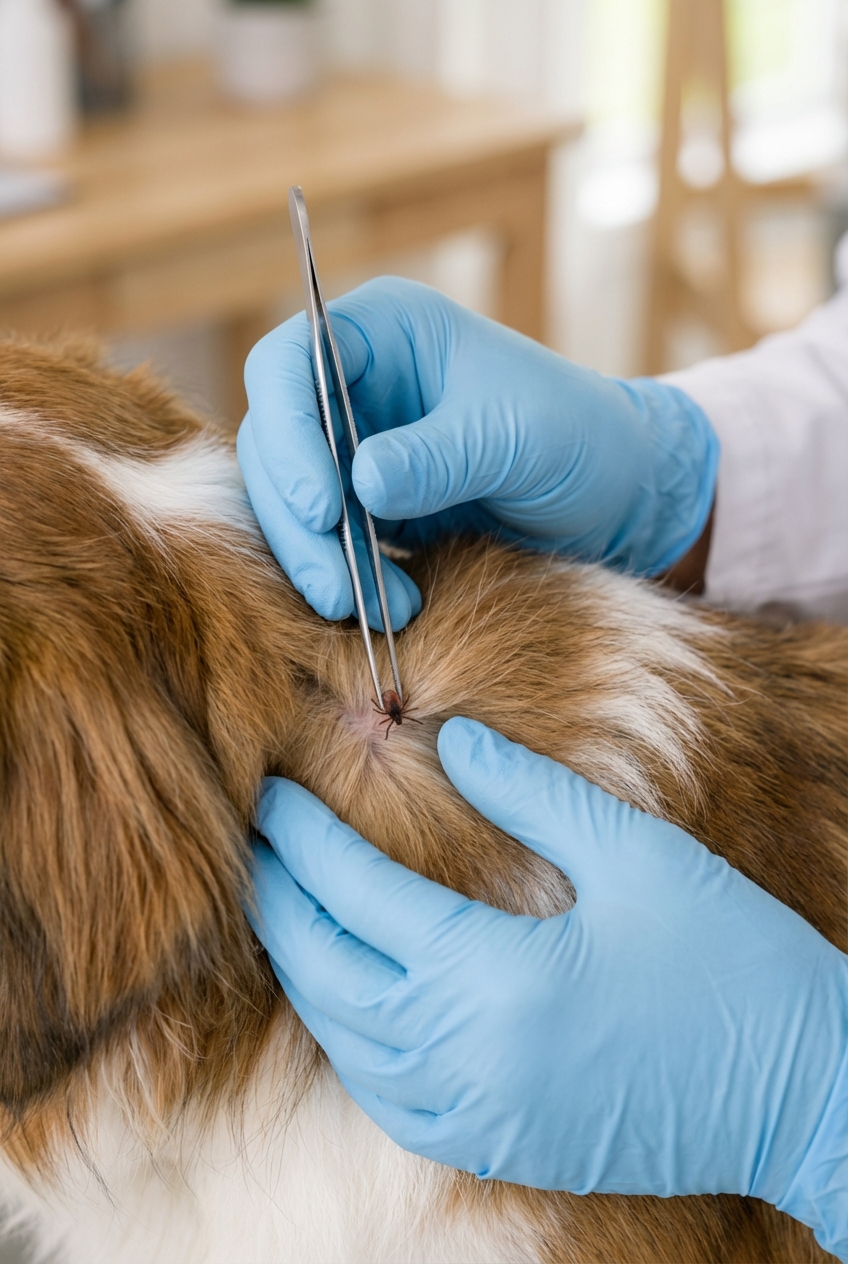
2) Grab close to the skin
Using tweezers, grasp the tick as close to your dog’s skin as possible. You are aiming for the tick’s head and mouthparts, not the swollen body.
3) Pull straight out
Pull upward in a slow, steady motion. Avoid twisting, jerking, or rocking when using tweezers. A smooth, straight pull reduces the chance of mouthparts breaking off in the skin.
If you are using a tick removal tool: Follow the tool’s instructions. Some tools use a gentle lifting or rotating motion by design, and that is different from twisting with tweezers.
4) Clean the area
After the tick releases, clean the area with a pet-safe antiseptic. Wash your hands, too, even if you wore gloves.
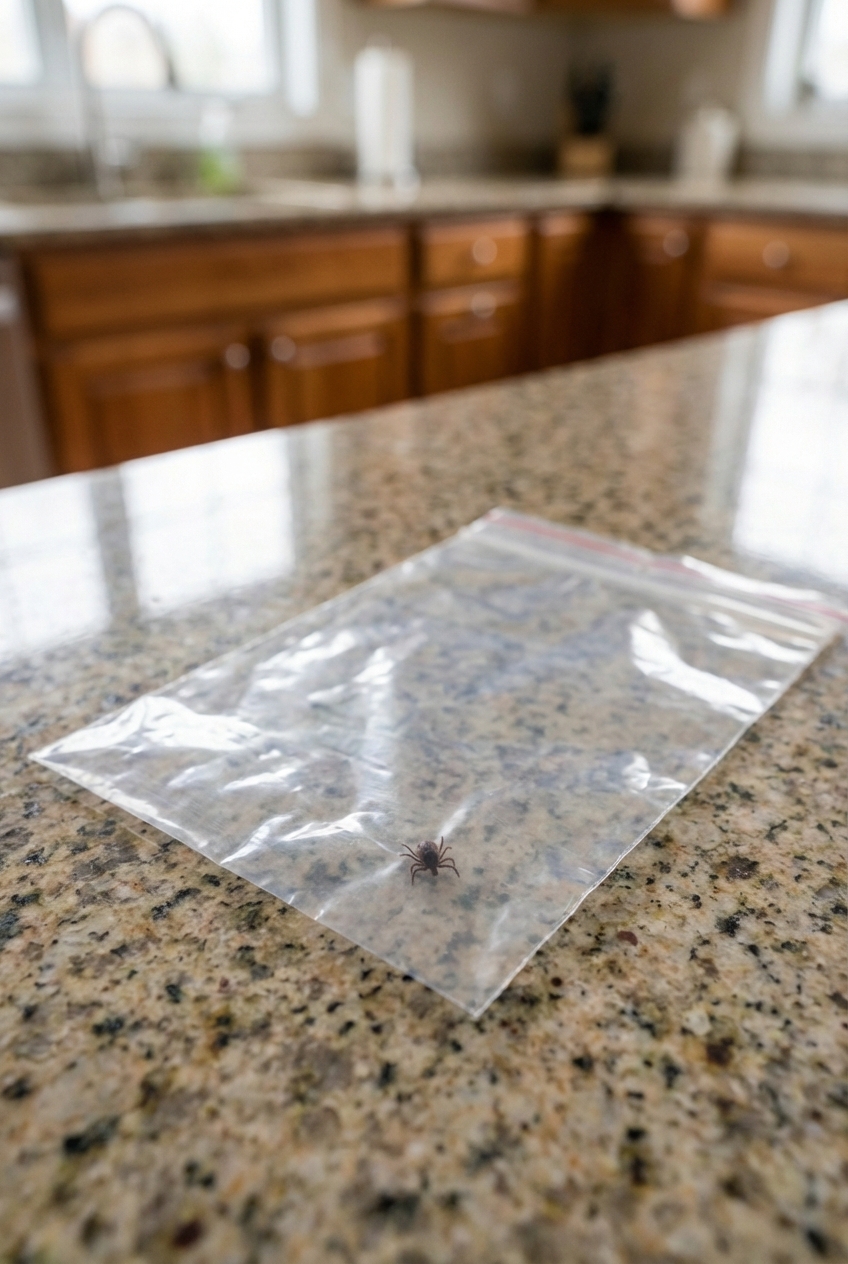
5) Save the tick (optional, but often smart)
Place the tick in a small container or zip bag. If your dog later shows symptoms, your veterinarian may appreciate knowing what kind of tick it was and when it was removed.
Storage note: Some clinics or labs prefer ticks kept dry (or refrigerated) rather than stored in alcohol if testing is planned. If you think you might want it tested, ask your veterinarian or local lab how they prefer it stored.
6) Dispose of the tick safely
If you are not saving it, avoid crushing it with your fingers. A simple option is to drop it into rubbing alcohol, seal it in a bag or container, and put it in the trash. Flushing is often discouraged because ticks can sometimes survive.
What not to do
These methods can irritate the tick and increase the chance it releases infectious material:
- Do not burn the tick with a match or lighter
- Do not smother it with petroleum jelly, essential oils, nail polish, or soap
- Do not squeeze the tick’s body while pulling
- Do not twist it out like a screw with tweezers
If you have already tried one of these methods, do not panic. Just remove the tick properly, clean the area, and monitor your dog.
If mouthparts stay in
Sometimes the mouthparts can remain in the skin. It looks like a tiny black splinter. Here is what I recommend:
- If you can easily lift it out with clean tweezers, you can try.
- If it is embedded and your dog is sensitive, stop. Digging can cause more trauma and infection.
- Clean the area and monitor. The body may naturally push it out like a splinter.
Call your veterinarian if you see increasing redness, swelling, pain, oozing, or if your dog keeps scratching and cannot leave it alone.
What to watch for
Most dogs act totally normal after a tick is removed. Still, I always tell families to keep an eye on things for the next 2 to 4 weeks.
What can be normal: A small red bump or mild scab at the bite site for a day or two.
Call your vet if you notice
- Fever, lethargy, or sudden tiredness
- Decreased appetite
- Lameness or shifting leg pain
- Swollen lymph nodes
- Vomiting or diarrhea that does not resolve
- Unexplained bruising, nosebleeds, or pale gums
- Dark urine
Note: Testing for tick-borne disease may not be accurate immediately after exposure. Depending on your region, the tick species, and your dog’s risk, your vet may recommend baseline testing now with follow-up testing later, especially if symptoms appear.
When to go to the vet
Home removal is fine in many cases, but please get veterinary help if:
- The tick is in the ear canal, near the eye, or in another delicate spot
- Your dog is very painful, reactive, or you cannot safely restrain them
- You see multiple ticks or suspect a heavy infestation
- The bite site becomes significantly inflamed or starts draining
- Your dog is a puppy, senior, immunocompromised, or already ill

Prevention that works
Removal is important, but prevention is the real wellness win. The best plan is layered protection.
1) Use a proven preventive
Talk with your veterinarian about what fits your dog’s lifestyle and health history. Options include oral chewables, topical treatments, and tick collars. Many preventives also protect against fleas, and some cover heartworm too. Tick species and tick-borne diseases vary by region, so the best choice is often a local one.
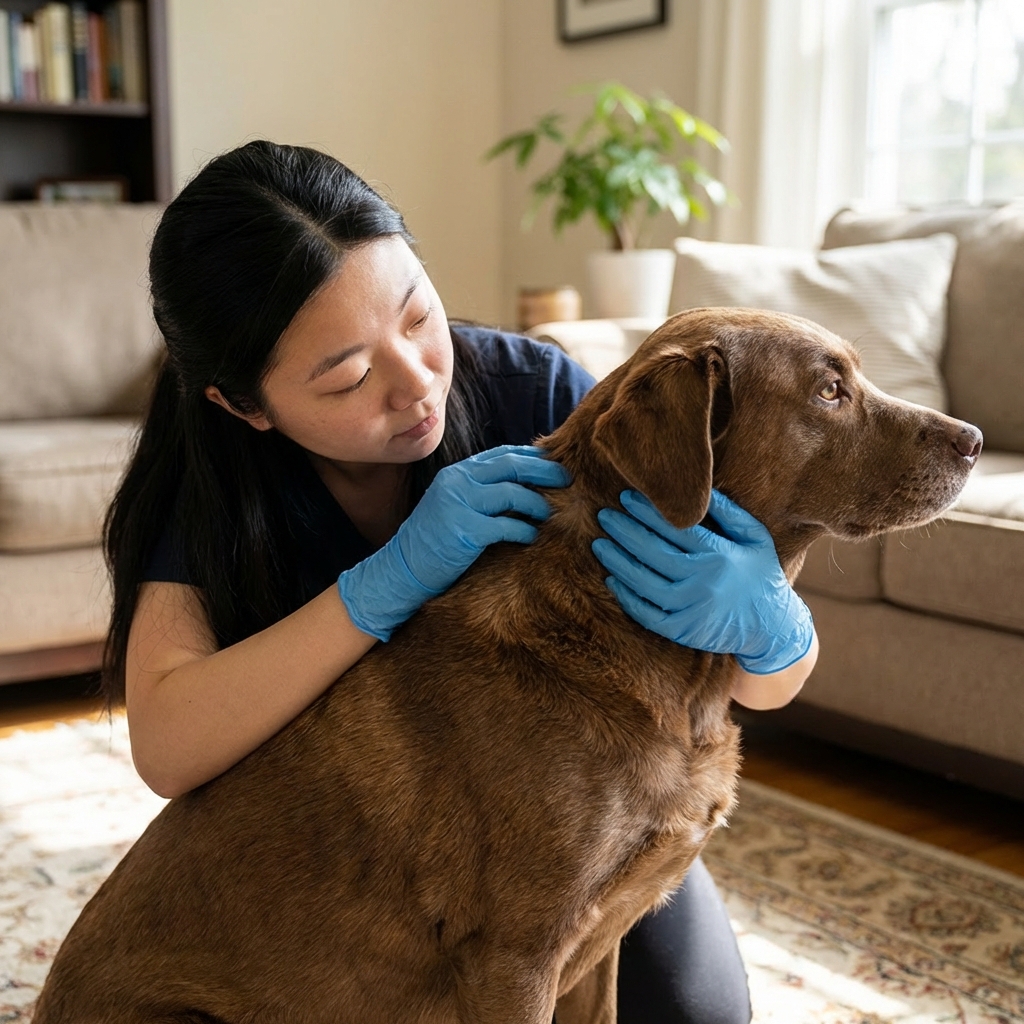
2) Do quick tick checks
Especially after hikes, tall grass, wooded areas, or dog parks. Run your hands over the coat and check common hiding spots.
Early removal helps, but do not rely on a guaranteed safe window. Some infections (like Lyme disease) typically require longer attachment, while others may transmit sooner.
3) Reduce tick habitat at home
- Keep grass trimmed and remove leaf litter
- Create a barrier of gravel or mulch between lawn and wooded areas
- Discourage wildlife that carries ticks, like deer and rodents
4) Keep the coat manageable
Regular grooming makes it much easier to spot ticks, especially on fluffy or curly coated mixes.
Protect your household too
Ticks can hitch a ride indoors. After you remove a tick:
- Check yourself and kids for ticks, especially around hairlines, behind ears, and along waistbands
- Wash hands and consider changing clothes after heavy tick exposure outdoors
- Talk with your doctor if you develop a rash or flu-like symptoms after a tick bite
Quick checklist
- Get tweezers, good light, and treats
- Grab tick close to the skin
- Pull straight out with steady pressure
- Clean bite area
- Save the tick if you can, and store it the way your vet prefers
- Dispose of the tick safely if you are not saving it
- Monitor your dog for 2 to 4 weeks
Trust your instincts. If something feels off after a tick bite, call your veterinarian. Early help can make a huge difference.