Step-by-step puppy weaning guidance from weeks 3–8: when to start, how to make puppy gruel, meal schedules, weight checks, parasite tips, and how to protec...
Article
•
Designer Mixes
Newborn Puppy Care Week by Week

Shari Shidate
Designer Mixes contributor
Newborn puppies are sweet, tiny, and surprisingly fragile. In the first days of life, their bodies cannot regulate temperature well, their immune systems are still developing, and they rely on mom for warmth, nutrition, and bathroom help. Your job is to support that natural process while watching closely for the small signs that something is off.
As a veterinary assistant, I always tell new puppy caregivers the same thing: keep it warm, keep it clean, keep it calm, and track everything. A simple daily log of each puppy’s weight and behavior can save lives.
Before day 1: set up the whelping area
If you are caring for a litter, the environment you provide matters as much as feeding. Newborns can chill quickly, get dehydrated, or be accidentally injured if the space is not thoughtfully arranged.
Essentials checklist
- Whelping box large enough for mom to stretch out, with low sides for easy access and “pig rails” if available. Pig rails are low safety bars along the inside walls that create a small gap so puppies are less likely to be trapped if mom lies against the side.
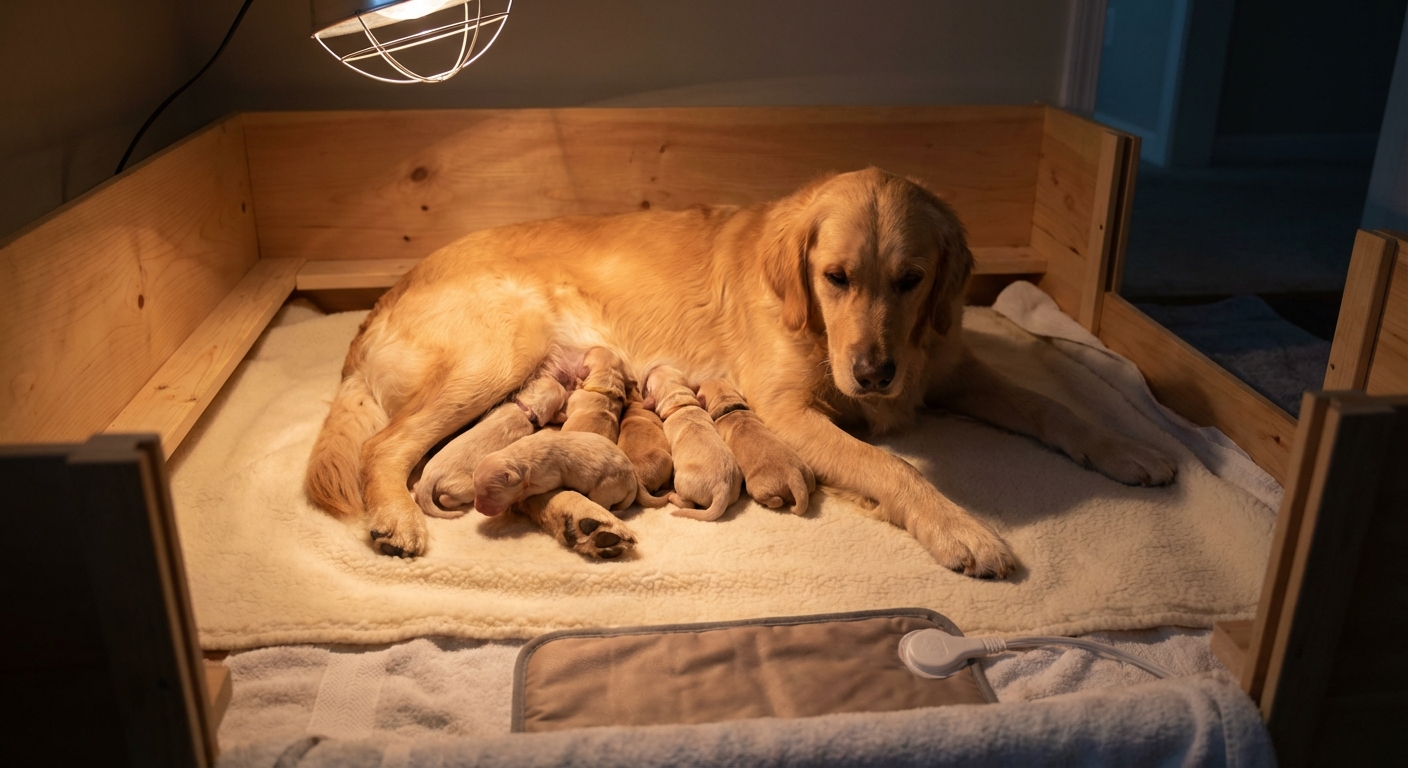
- Heat source like a heating pad made for pets or a heat lamp placed safely. Always give puppies room to move away from heat.
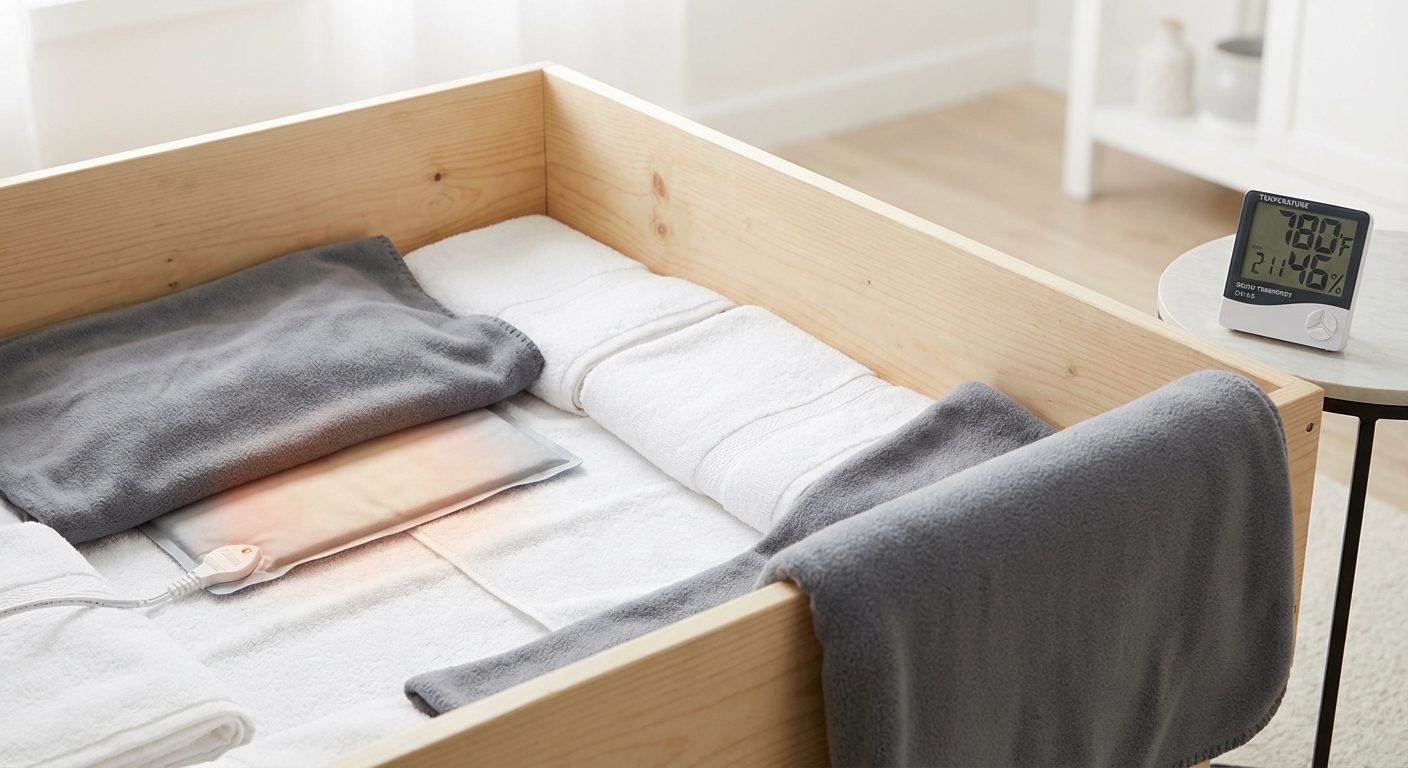
- Thermometer to monitor the whelping area temperature.
- Clean bedding that is non-fraying and easy to wash.
- Kitchen scale that measures in grams for accurate daily weigh-ins.
- Puppy-safe disinfectant and lots of towels. Choose products labeled safe around pets, and rinse and dry surfaces thoroughly.
Temperature and comfort basics
A warm environment is critical because newborn puppies cannot maintain body temperature well in the first week.
- Week 1: approximately 85 to 90°F (29 to 32°C) in the puppy area.
- Week 2: approximately 80 to 85°F (27 to 29°C).
- Week 3: approximately 75 to 80°F (24 to 27°C).
- Week 4: approximately 70 to 75°F (21 to 24°C), depending on the room and the puppies’ comfort.
Targets vary by litter and setup, so use these as a starting point and ask your veterinarian what they recommend. What matters most is a warm zone and a cooler zone so puppies can self-regulate.
Watch the puppies: if they are piled tightly and crying, they may be cold. If they are sprawled out away from the heat and panting, they may be too warm.
Heat safety
- Never place puppies directly on a heating pad. Put it under half of the box, use a low setting, and add layers of bedding so heat is gentle.
- Heat lamps must be secured and positioned to prevent burns and fire risk.
- Avoid drafts and damp bedding. A warm room with steady airflow is better than a hot spot with cold corners.
If you can, aim for moderate humidity and avoid overly dry air. Dry air can irritate airways, but humidity guidance varies, so focus on warmth, good ventilation, and no drafts.
Week 1 (days 1 to 7): warmth and daily weights
In week 1, puppies eat, sleep, and grow. Their eyes and ears are closed, and they should spend most of the day nursing and resting.
What normal looks like
- Frequent nursing and long sleep periods
- Warm bodies and pink gums
- Quiet most of the time, with brief crying when hungry or separated
Daily weight gain is your best early warning system
Weigh each puppy at the same time every day and write it down. Healthy puppies typically gain weight daily.
- As a general benchmark, many puppies gain roughly 5 to 10% of their birth weight per day, but breed and litter size matter.
- Many puppies regain birth weight by about 10 to 14 days, though some do it sooner.
A puppy who is not gaining, or who is losing weight, needs attention quickly.
Call your veterinarian promptly if a puppy is weak, cold to the touch, cannot latch, or is falling behind littermates.
Bathroom help: mom usually stimulates
Mom should lick the genital area to stimulate urination and defecation. If she is not, you may need to help with a warm, damp cotton ball after feeding. Be gentle and patient.
Red flags in week 1
- Persistent crying despite warmth and access to mom
- Separation from the group, limpness, or low activity
- Cold body temperature
- Milk coming from the nose, coughing, or trouble breathing
- Green discharge from the vulva in mom with fever or lethargy

Week 2 (days 8 to 14): routines matter
Week 2 is still delicate, but you will start seeing tiny developmental changes. Eyes typically begin opening around 10 to 14 days, though timing varies.
Care priorities
- Keep the nesting area clean and dry. Damp bedding can chill puppies and irritate skin.
- Continue daily weights. Consistent gains are what you want to see.
- Monitor mom for mastitis (painful, hot mammary glands), poor appetite, fever, or foul discharge.
Gentle handling
Short, calm handling sessions help puppies become comfortable with human touch. Keep it brief, warm, and quiet. If the puppy squeals and chills, the session is too long.
If you are working with a breeder program that uses Early Neurological Stimulation (ENS), follow your veterinarian or experienced breeder’s guidance carefully. ENS is optional, and it is not required for healthy development. These exercises are short and should never stress puppies.

Week 3 (days 15 to 21): mobility starts
Week 3 is a big transition week. Puppies start to hear, wobble, and explore. They also begin to regulate temperature better, though they still need a warm, draft-free environment.
What you will notice
- More awake time and early play
- Little wobbly steps
- Beginning of tail wags and sibling interaction
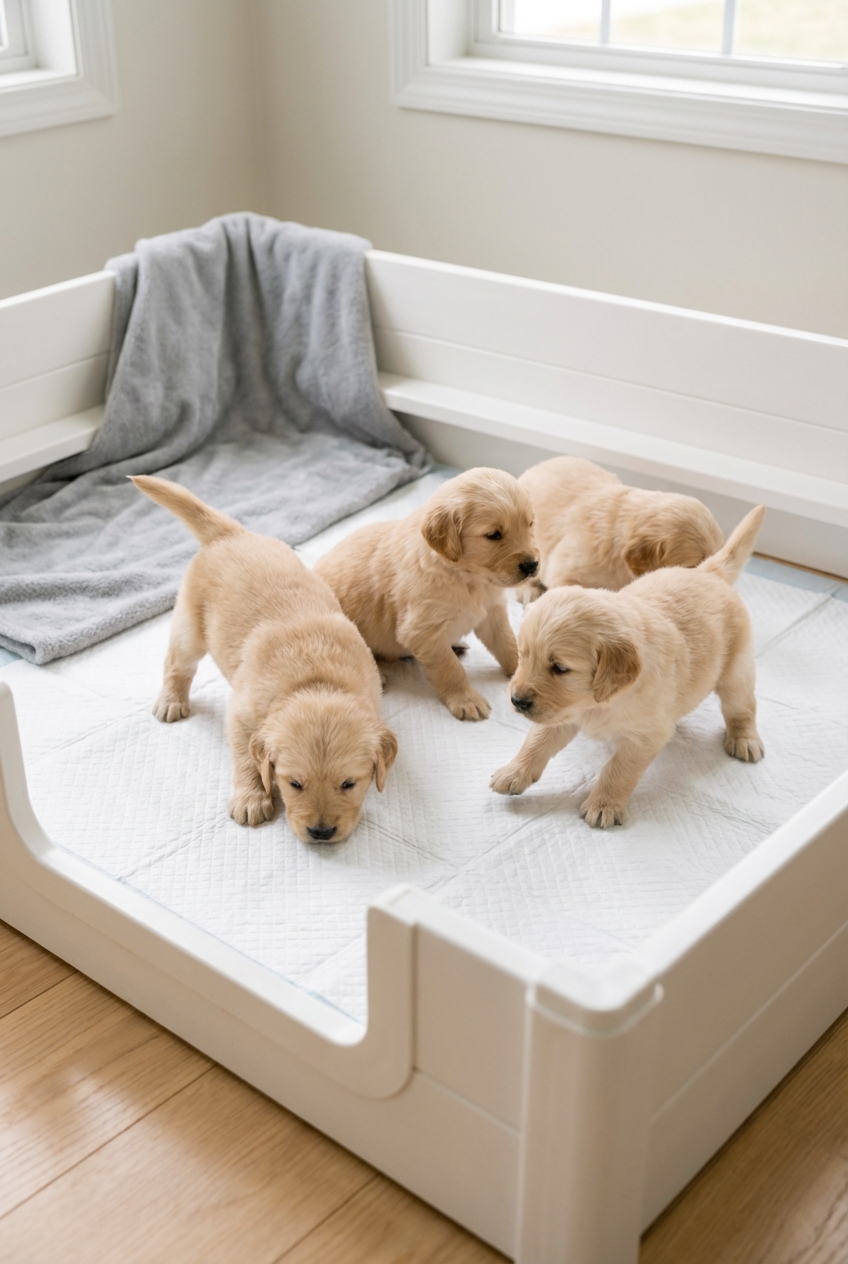
Set up a potty area
As the litter becomes more mobile, they will naturally move away from the sleeping area to eliminate. You can encourage this by creating a separate potty zone with puppy pads or a washable surface.
Deworming and vet planning
Many veterinarians recommend routine deworming for puppies because intestinal parasites are common, even in well-cared-for litters. Schedules vary by region and risk, so follow your veterinarian’s protocol.
If you want a typical example to discuss with your vet: many start deworming around 2 weeks of age and repeat every 2 weeks until weaning, then continue based on fecal testing and lifestyle.
Week 4 (days 22 to 28): weaning begins
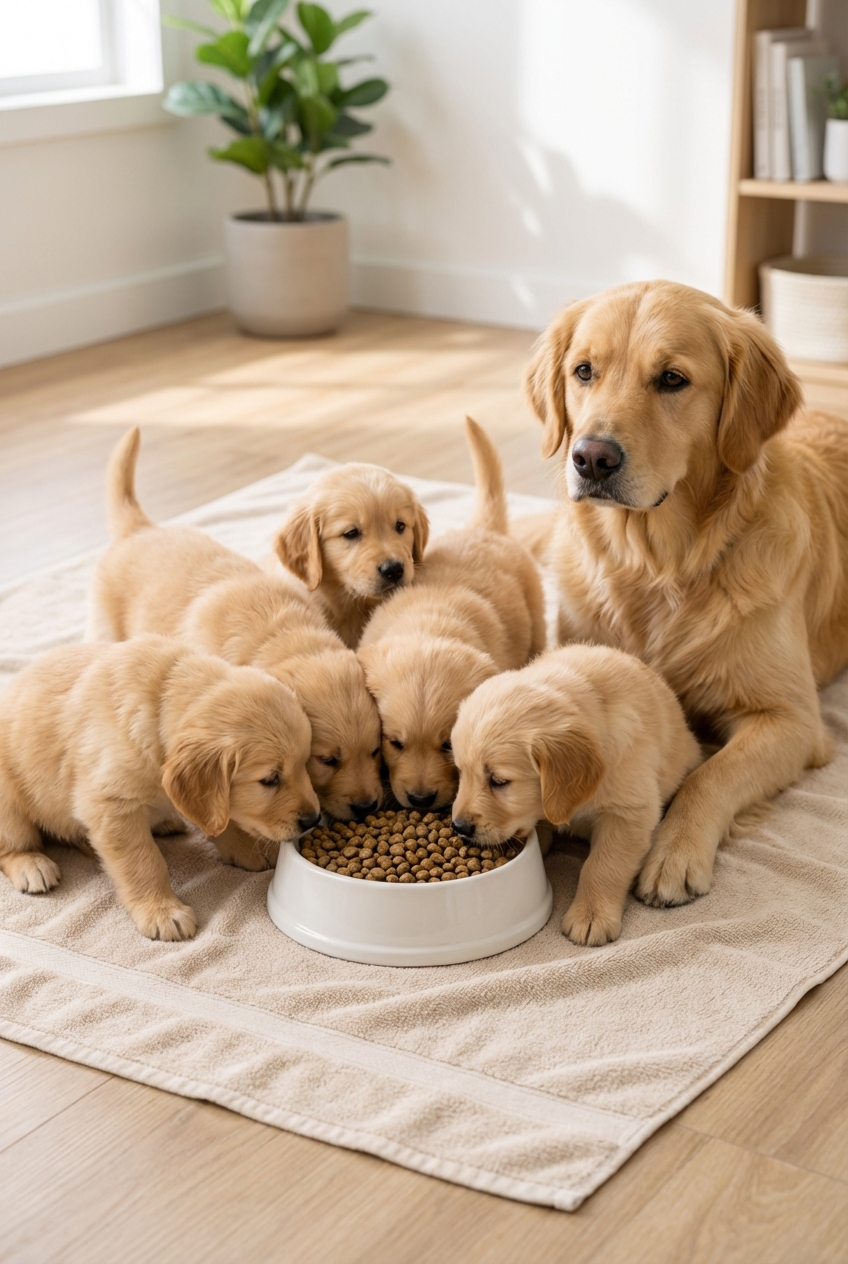
By week 4, puppies are more alert and curious. This is often when weaning begins, though some litters start a bit earlier or later. Think of weaning as a gradual introduction to new textures and tastes, not an abrupt switch.
How to start weaning safely
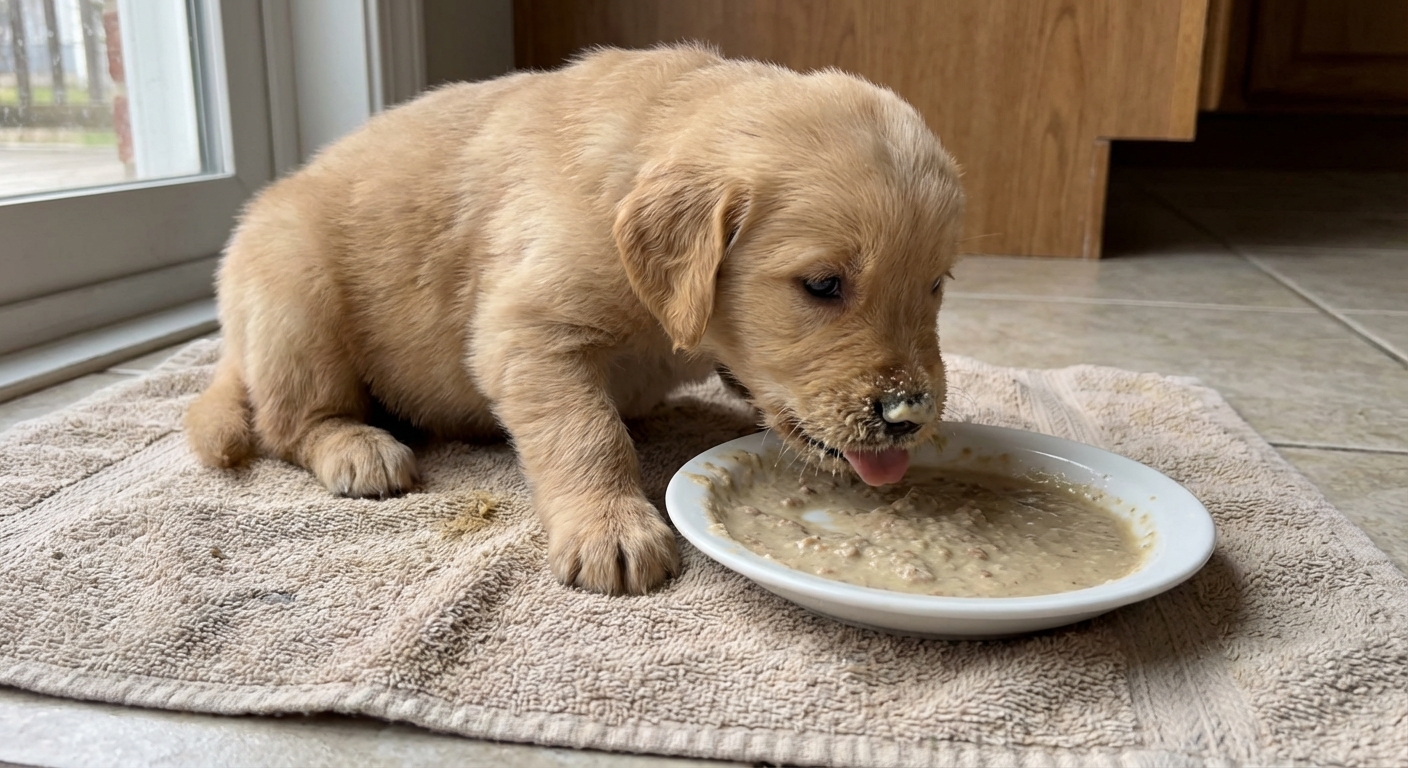
- Offer a puppy gruel: high-quality puppy food (or a veterinarian-approved weaning diet) softened with warm water or puppy milk replacer.
- Keep meals small and frequent: 3 to 4 times daily is common at this stage.
- Expect messy faces: keep the area clean and gently wipe pups after meals to prevent skin irritation.
Important: cow’s milk is not a good substitute for puppy milk. It can cause diarrhea (which can lead to dehydration).
Socialization starts in the nest
At this age, gentle exposure to normal household sounds and brief, positive handling helps build confidence. Keep things calm. You are aiming for “curious,” not “overwhelmed.”
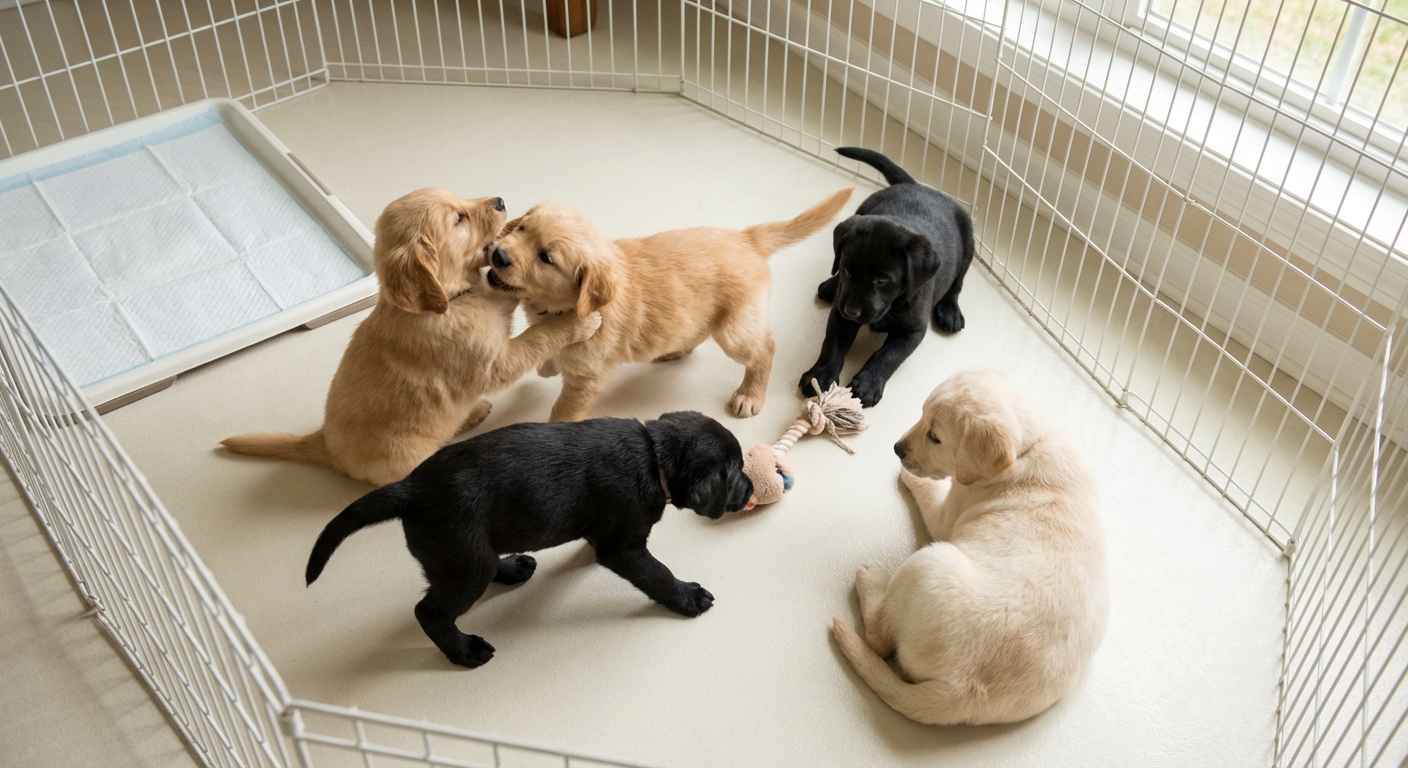
Week 5 (days 29 to 35): stronger play
Puppies now learn through play. They mouth, wrestle, and practice dog-to-dog communication. This is also when many caregivers notice the litter’s personalities start to peek through.
Feeding
- Increase the thickness of the gruel gradually.
- Continue frequent meals and fresh water access in a shallow, tip-resistant bowl.
- Monitor stool quality. Loose stool can mean diet changes are too fast, a parasite issue, or illness.
Hygiene and safety
- Trim tiny nails as needed to prevent scratches on littermates and mom.
- Remove hazards from the puppy area: dangling cords, small chewable objects, gaps they can squeeze into.
Week 6 (days 36 to 42): confidence building
Week 6 is often when puppies rely much more on food and less on nursing, though mom may still allow brief sessions. Energy increases, and so does the need for enrichment.
Care priorities
- Continue weaning toward mostly solid puppy food.
- Introduce simple enrichment: soft toys, safe tunnels, different safe surfaces underfoot.
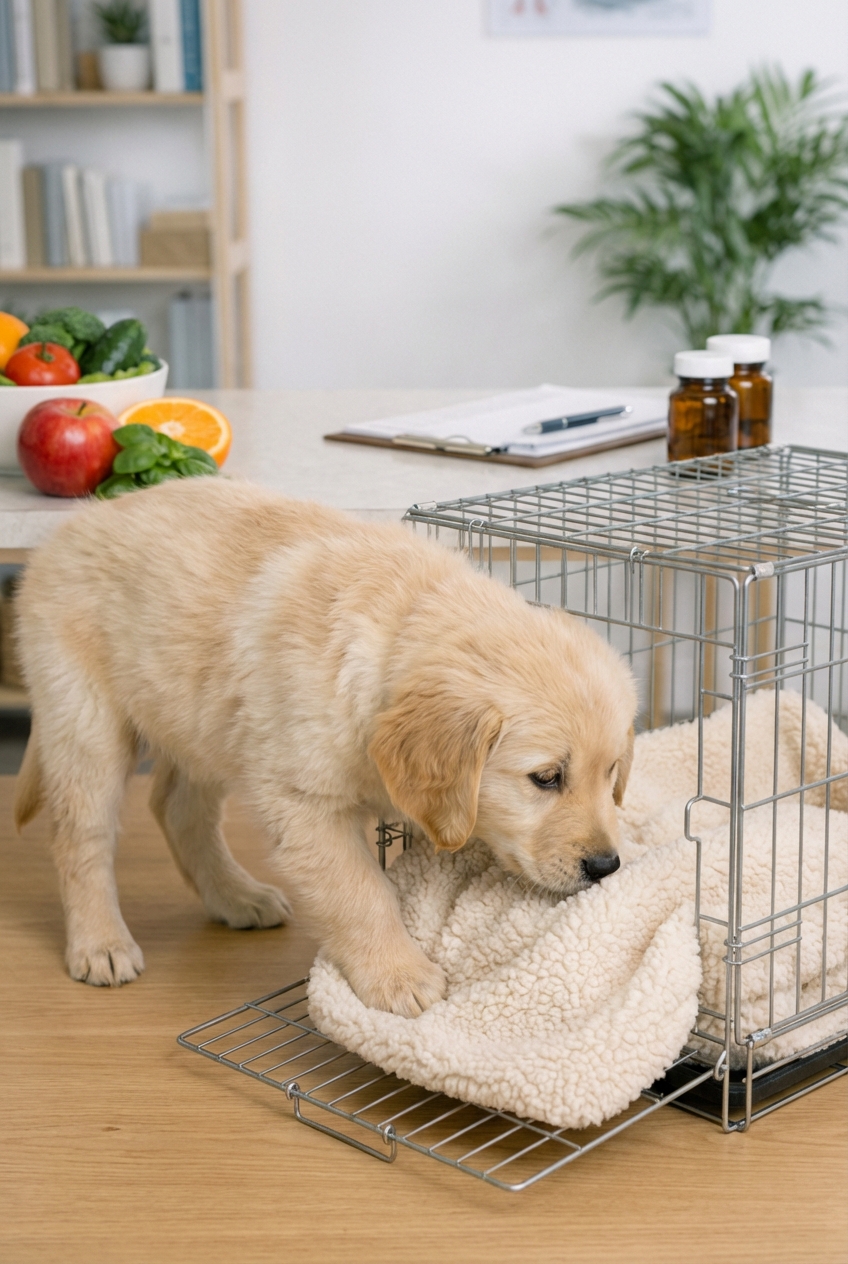
- Begin crate exposure in a gentle way, like leaving an open crate with cozy bedding so puppies can explore.
Keep experiences positive and brief. Fear periods can start later, and early overwhelm can set you back.
Week 7 (days 43 to 49): vet prep
Week 7 is a wonderful time to build gentle routines. Puppies are highly impressionable and benefit from predictable schedules.
What to practice
- Short, positive handling of paws, ears, and mouth
- Brief separations from littermates to prevent distress later
- Very short “come” practice using a happy voice and rewards (tiny bites of puppy-safe food)
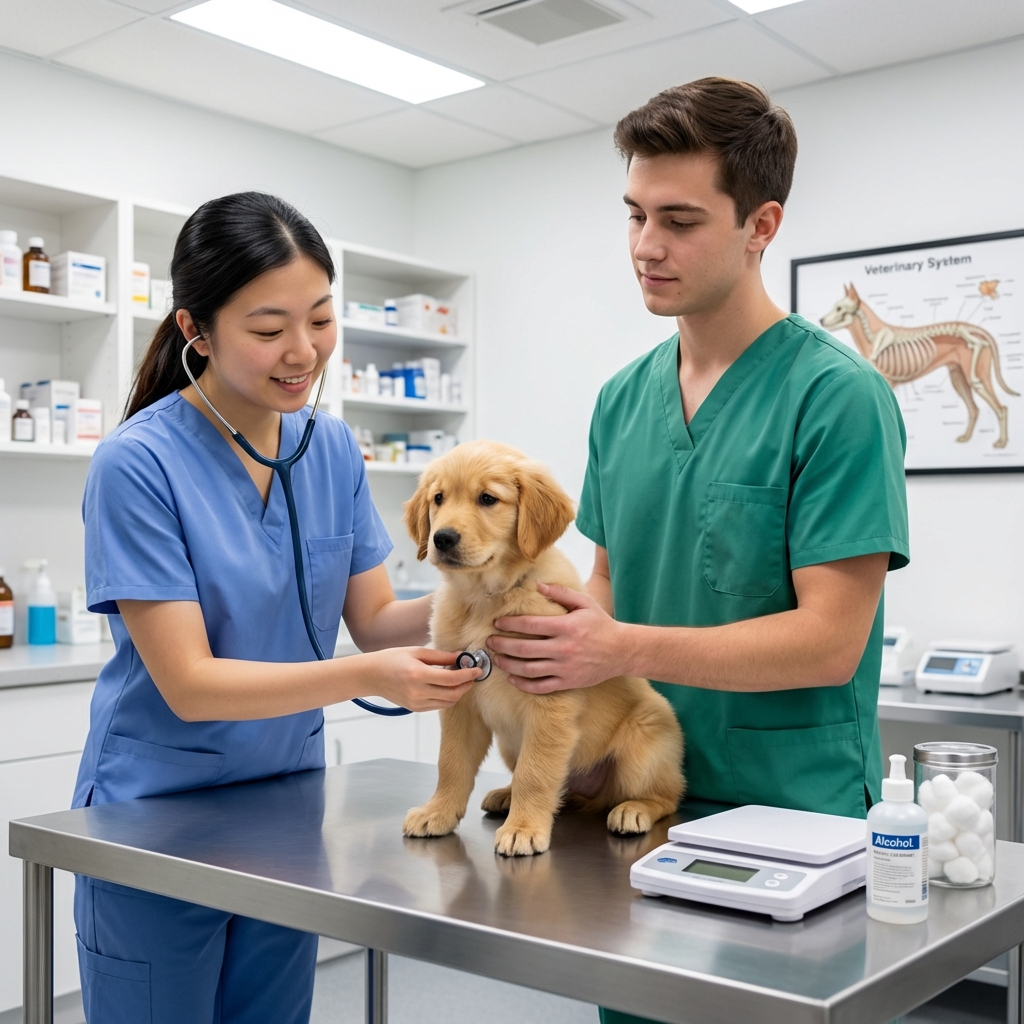
Vaccines and wellness exams
Most puppies begin their core vaccine series around 6 to 8 weeks, depending on your veterinarian’s protocol, the puppy’s health, and local disease risk. Your vet can also check for congenital concerns, heart murmurs, hernias, parasites, and overall growth.
Week 8 (days 50 to 56): transition home
Many puppies go to their new homes around 8 weeks. This timing supports physical growth, bite inhibition learning, and basic social development with littermates and mom.
Send-home basics for new families
- A written feeding schedule and the exact food brand and amount
- Vet records, deworming history, and vaccine dates
- A plan for the next vet visit
- Comfort item with the litter’s scent (like a small blanket)
First 48 hours in a new home
Keep it simple. Limit visitors, stick to the same food, and prioritize sleep. Stress can cause tummy upset, and that is common in the first days after a big change.
Most veterinarians recommend a new-puppy check within the first few days after going home. Schedule it early so you can stay on track with vaccines, parasite prevention, and any needed fecal testing.

Orphaned newborn puppies: special notes
If mom is not available, please contact your veterinarian or a local rescue with neonatal experience. Orphan care is doable, but timing and technique matter.
Key safety points
- Warmth comes first. Never feed a cold puppy. A chilled puppy cannot digest properly and can crash.
- Use puppy milk replacer, not cow’s milk.
- Feeding position matters: feed on the belly with the head level, not on the back, to reduce aspiration risk.
- Stimulate to potty after each feeding if needed.
Feeding basics (ask your vet for exact amounts)
- Frequency: newborns need frequent feedings around the clock. A common starting point is every 2 to 3 hours at first, then gradually spacing out as puppies grow.
- How much: volume depends on puppy size and formula, so use your veterinarian’s guidance and the milk replacer directions as a starting point. Overfeeding can be as dangerous as underfeeding.
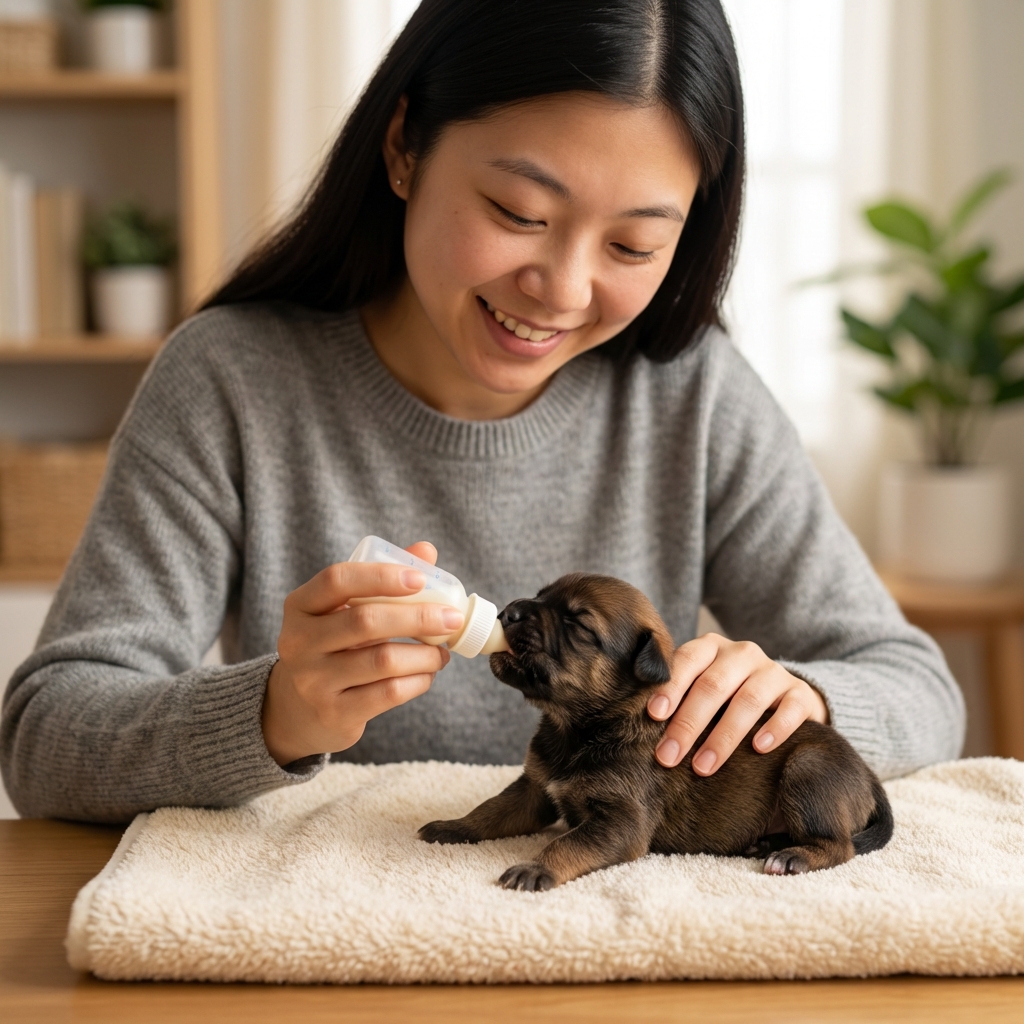
- Bottle vs. tube: bottle feeding is typical for home care. Tube feeding should only be done by trained people under veterinary direction.
Hydration and monitoring
Orphans can dehydrate quickly. If gums look tacky, the puppy feels unusually weak, or weight is not increasing, call your veterinarian right away. Daily weights are non-negotiable with orphans.
If you see coughing, milk bubbles at the nose, or labored breathing, treat it as urgent and call a veterinarian immediately.
When to call the vet right away
With newborns, waiting can be risky. Contact your veterinarian urgently if you notice:
- A puppy that is cold, limp, or unresponsive
- Continuous crying or restlessness that does not improve with warmth and feeding
- Refusing to nurse or repeatedly falling off the nipple
- Diarrhea, bloating, or vomiting
- Any breathing difficulty, coughing, or milk from the nose
- Mom is lethargic, has a fever, stops eating, or has swollen painful mammary glands
Trust your gut. If something feels “not right” with a neonate, it is always okay to call your vet and ask.
Quick daily checklist
- Check the whelping area temperature and bedding dryness
- Confirm there is a warm zone and a cooler zone
- Weigh each puppy and log it
- Confirm each puppy is warm and nursing well
- Scan for red flags: constant crying, separation, weakness, diarrhea
- Check mom’s appetite, hydration, and mammary glands
- Clean and refresh bedding as needed