Learn a simple Instant Pot batch method for homemade dog food: protein, carbs, veggies, and the must-have calcium and micronutrients. Includes portioning, st...
Article
•
Designer Mixes
Instant Pot Homemade Dog Food Safe Cook Times

Shari Shidate
Designer Mixes contributor
If you are making homemade dog food in an Instant Pot, you are already doing two wonderful things: choosing whole ingredients and cooking efficiently. The piece that trips most loving pet parents up is timing. Undercook meat and you risk harmful bacteria. Overcook everything and you can end up with mush, reduce some heat-sensitive vitamins, and create a picky pup who turns up their nose.
Below are practical Instant Pot cook times for common dog food ingredients, plus safety tips I share often as a veterinary assistant here in Frisco, Texas. This is general education, not medical advice. You will also find a simple base recipe you can customize to your dog.
Instant Pot safety basics (do this first)
Pressure cooking is great for dog food because it reliably heats the entire pot to temperatures that kill common pathogens. But safety still depends on good handling.
- Keep raw meat cold until you are ready to cook. Wash hands and sanitize cutting boards.
- Use enough liquid to come to pressure. Most Instant Pots need at least 1 cup of thin liquid, but follow your specific model’s minimum.
- Do not thicken before pressure cooking. Avoid flour, heavy purees, or lots of pumpkin during cooking. Thicken after, if desired.
- Cut ingredients to consistent sizes so everything finishes together. Big chunks can lag behind.
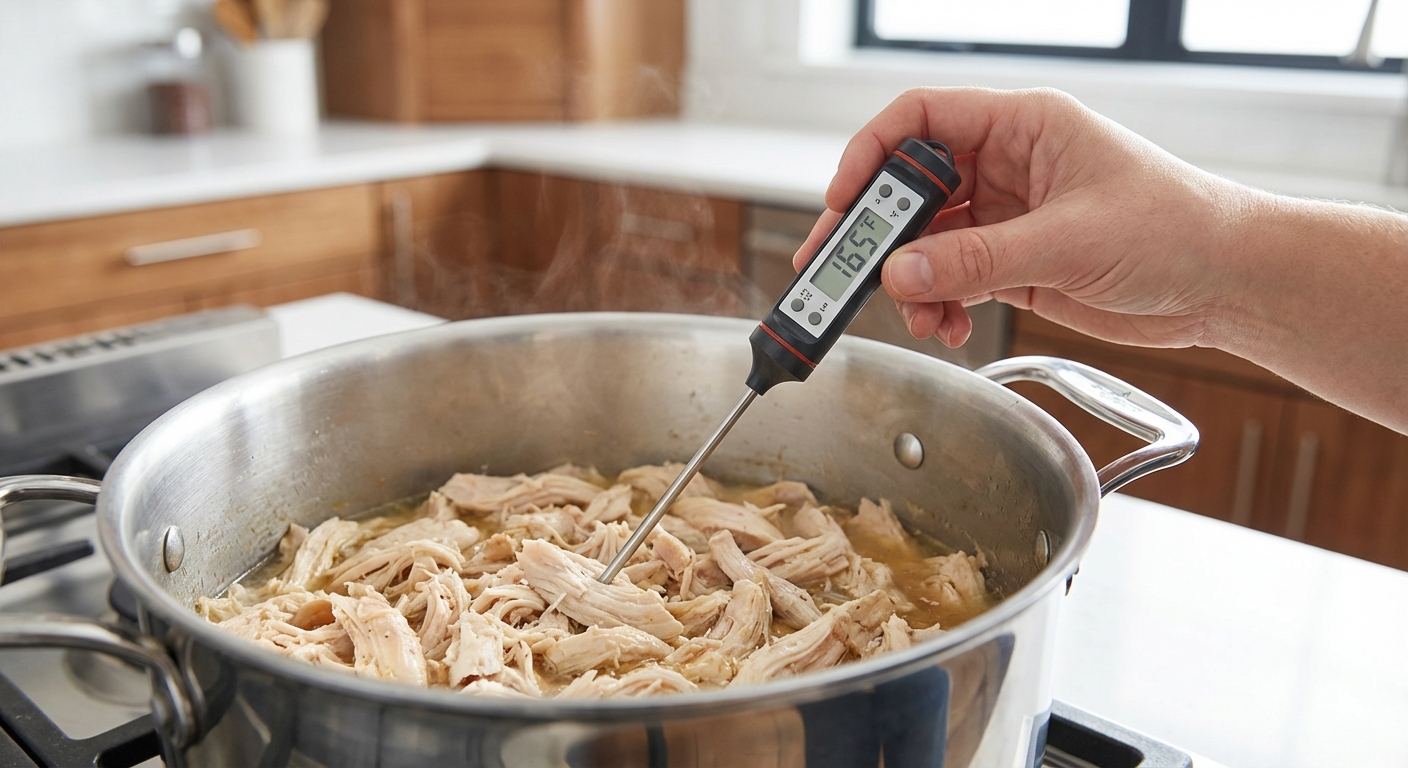
- Use a food thermometer when you are learning your pot. You want cooked meat to reach safe internal temperatures.
- Cool quickly: portion into shallow containers, refrigerate within 2 hours (within 1 hour if your kitchen is very warm).
Do not use: cooked bones (splinter risk), onion/garlic/chives, grapes/raisins, xylitol (often in sugar-free peanut butter), macadamia nuts, or salty seasoning blends. Use unsalted broth and double-check the label for onion and garlic.
Helpful rule of thumb: Pressure cooking is forgiving, but your thermometer is your best friend the first few times you batch cook.
Safe internal temps for meats (for dogs too)
Dogs can get sick from the same bacteria we worry about in people. When in doubt, cook to these USDA-style minimum internal temperatures:
- Chicken or turkey (ground or whole pieces): 165°F
- Ground beef/pork/lamb: 160°F
- Beef, pork, lamb (whole cuts): 145°F plus a short rest, but many pet parents prefer going a bit higher for shred texture
- Fish: 145°F and flakes easily
Important: If you are cooking a mixed “stew” style dog food where meat is chopped and stirred in, you should generally treat it like mixed meat and aim for 165°F in the thickest part for an extra margin of safety. Stir well and check in more than one spot, especially if the pot is packed tightly.
Instant Pot cook times for common dog food proteins
These times are designed for typical “homemade dog food batch” setups where ingredients are in the pot with liquid. Times assume you are cooking on High Pressure. Always allow the pot to come to pressure first, then the cook timer begins. Treat these as starting points since thickness, starting temperature (fresh vs. frozen), how full the pot is, and whether food is submerged can change the results.
Thermometer check (quick guide): For stews and mixed batches, stir first, then check the thickest meat pieces or the center of the largest clump. If you hit a cool pocket, put the lid back on and cook 1 to 3 minutes more, then re-check.
Chicken
- Boneless, skinless chicken breasts (whole): 8 to 10 minutes, Natural Release 10 minutes
- Boneless chicken thighs: 10 to 12 minutes, Natural Release 10 minutes
- Chicken breast, diced (1-inch pieces): 6 to 8 minutes, Natural Release 5 to 10 minutes
- Ground chicken or turkey (broken up): 6 to 8 minutes, Quick Release or short Natural Release. Tip: Break it up very well before cooking, or sauté first to crumble. After pressure cooking, stir and check the center of the largest clump with a thermometer.
Turkey
- Boneless turkey breast chunks: 8 to 10 minutes, Natural Release 10 minutes
- Ground turkey: 6 to 8 minutes (crumb well and verify temp in the thickest clump)
Beef, pork, lamb
- Ground beef/pork/lamb: 6 to 8 minutes (break up well, stir after, and check the thickest clump)
- Beef stew meat (1.5-inch chunks): 20 to 25 minutes for tender shredding
- Pork loin chunks: 15 to 20 minutes
Fish
- Salmon or white fish fillets: 1 to 3 minutes, Quick Release (fish overcooks quickly)
Fish notes: Remove bones. Avoid high-mercury fish (like shark, swordfish, king mackerel, tilefish). Fully cook salmon and other fish to reduce parasite risk.
Notes that matter: If you are cooking meat together with dense vegetables like sweet potato, you may need to use the longer end of the range so the vegetables soften. If you are cooking meat alone, use the shorter end.
Instant Pot cook times for dog-safe carbs and veggies
Vegetables can be a wonderful addition for fiber and phytonutrients, but dogs digest most veggies better cooked and softened. Here are reliable pressure-cook times on High (standalone, not necessarily in a mixed batch with meat).
Starches and grains
- White rice: 4 minutes, Natural Release 10 minutes (typical ratio 1:1 rice to water)
- Brown rice: 20 to 24 minutes, Natural Release 10 minutes
- Quinoa: 1 minute, Natural Release 10 minutes
- Oats (steel cut): 4 to 6 minutes, Natural Release 10 minutes
- Sweet potato (1-inch chunks): 6 to 8 minutes
- White potato (1-inch chunks): 6 to 8 minutes
- Pumpkin (plain, not pie mix): If using fresh chunks, 4 to 6 minutes. If using canned pumpkin, stir in after cooking.
Common vegetables
- Carrots (sliced): 3 to 4 minutes
- Green beans: 2 to 3 minutes
- Peas (frozen): add after cooking, or 0 minutes with Quick Release
- Broccoli florets: 0 to 1 minute with Quick Release (or steam after)
- Cauliflower florets: 0 to 1 minute with Quick Release
- Zucchini (chunks): 1 to 2 minutes
- Spinach/kale: stir in after cooking and let it wilt, or cook 0 minutes with Quick Release
Why so many “0 minute” recommendations? Tender veggies turn to mush under pressure. If you love adding greens, the simplest method is to stir them into the hot food after pressure cooking.
Best release method for dog food batches
How you release pressure affects texture, especially for meats.
- Natural Release (NR) is gentler and helps keep meat moist. It is ideal for chicken breasts, thighs, and larger cuts.
- Quick Release (QR) stops cooking fast and helps prevent overcooking delicate foods like fish and broccoli.
- Hybrid: NR for 10 minutes, then QR. This is my go-to for mixed dog food batches.
Safety tip: If your pot is very full or starchy, quick release can sputter. Use the hybrid method and keep your hands and face away from the valve.
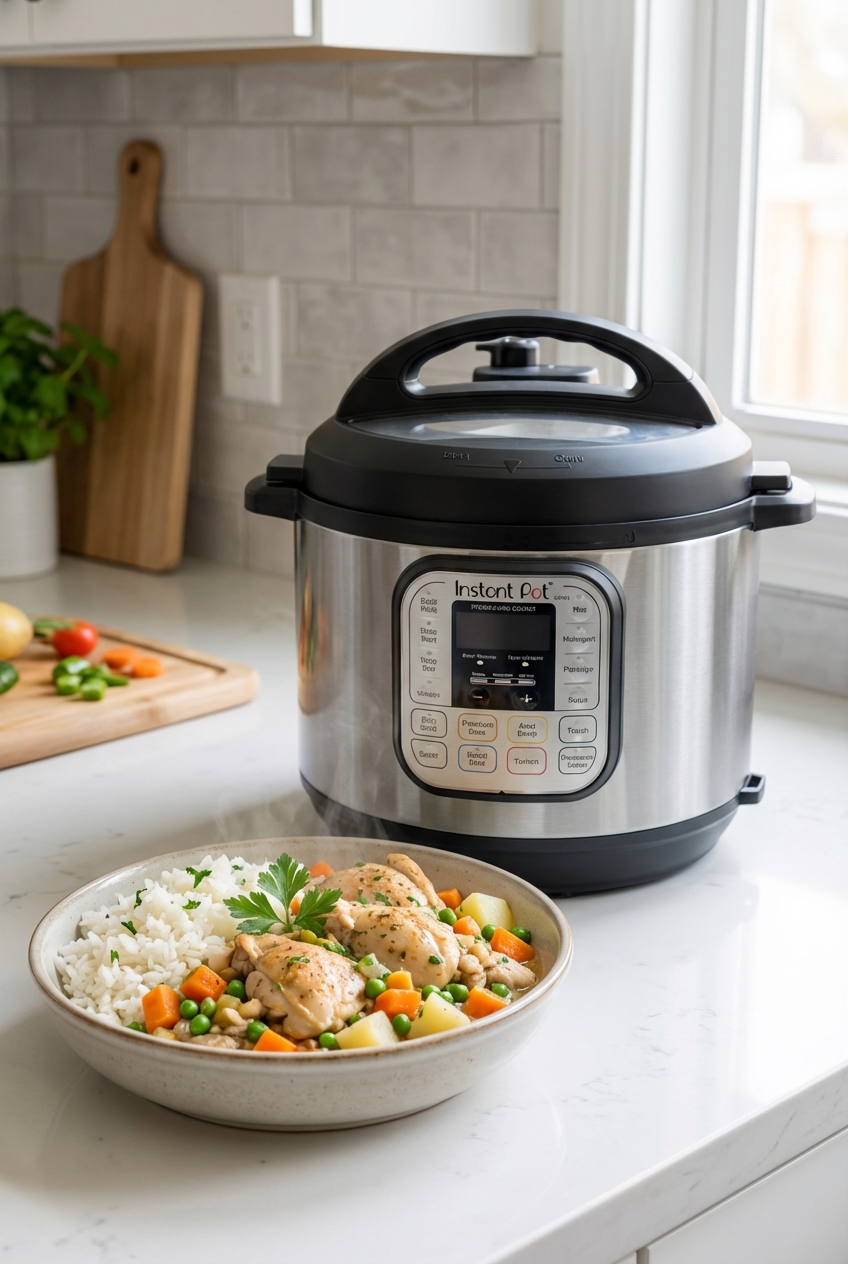
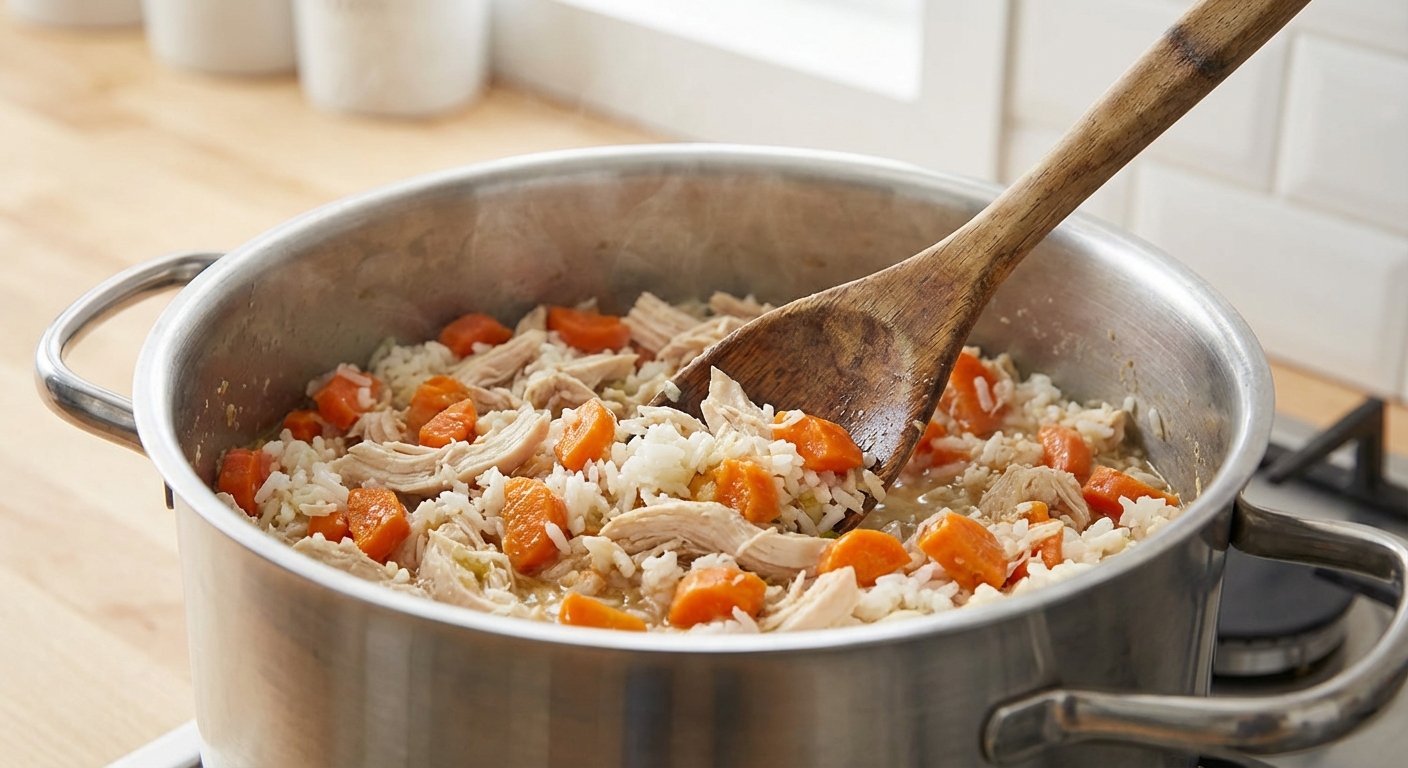
A simple Instant Pot base recipe (easy to customize)
This is a gentle, beginner-friendly batch that works for many healthy adult dogs. It is not a prescription diet. If your dog has kidney disease, pancreatitis, allergies, diabetes, or a history of bladder stones, please ask your veterinarian for a tailored plan.
Long-term note: This is a base, not a complete and balanced diet by itself. For long-term feeding, talk with your vet or a board-certified veterinary nutritionist about a calcium and micronutrient plan (often a vet-formulated supplement) that fits your dog.
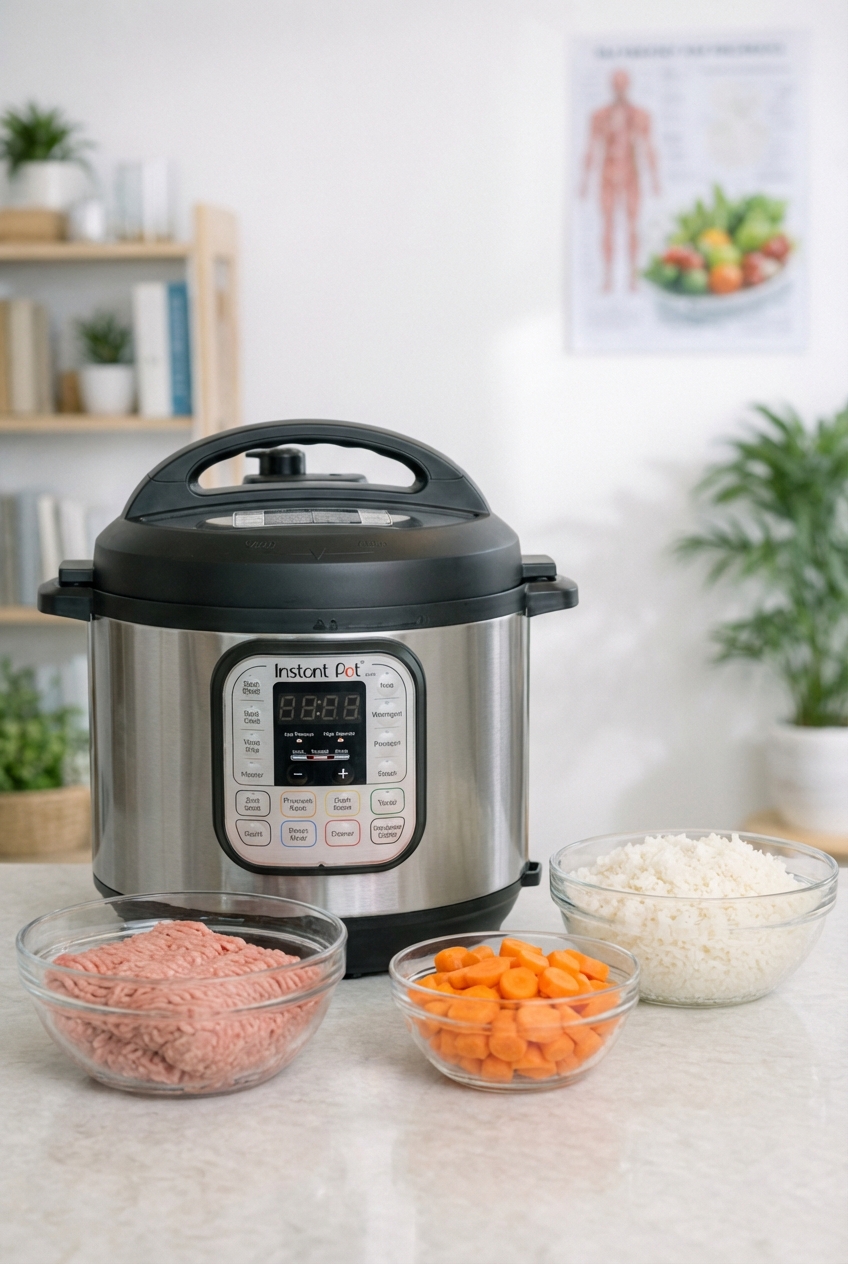
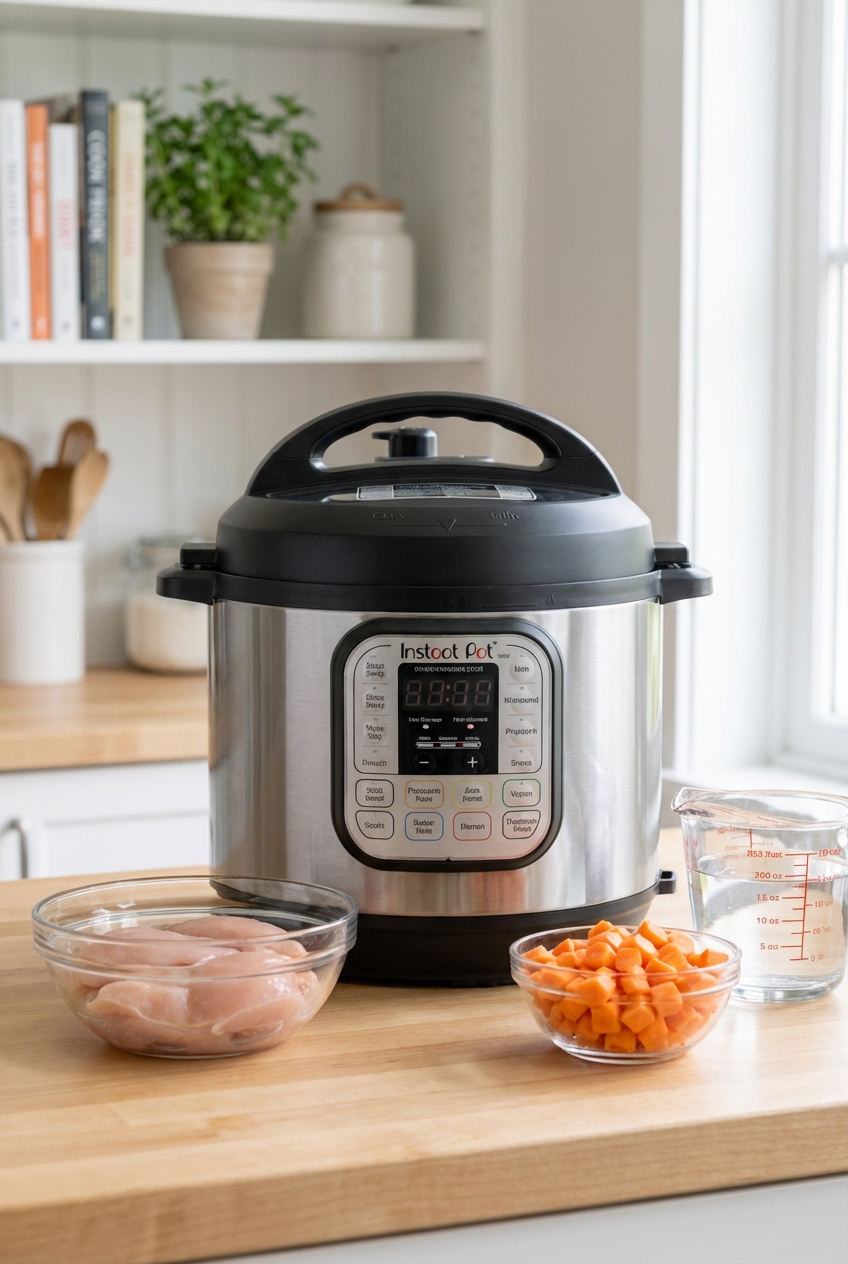
Ingredients
- 2 to 3 lb boneless chicken thighs (or turkey)
- 1 cup brown rice or 1 cup white rice
- 2 cups chopped carrots and green beans (or a similar veggie mix)
- 3 to 4 cups water or unsalted broth (enough liquid to pressure cook plus moisture for the batch)
- Optional after cooking: a handful of chopped spinach, a spoonful of plain yogurt, or a measured fish oil supplement recommended by your vet
Cook
- Add rice, veggies, and liquid first, then place meat on top.
- White rice version: 8 to 10 minutes High Pressure, NR 10 minutes, then QR.
- Brown rice version: 20 to 24 minutes High Pressure, NR 10 minutes, then QR.
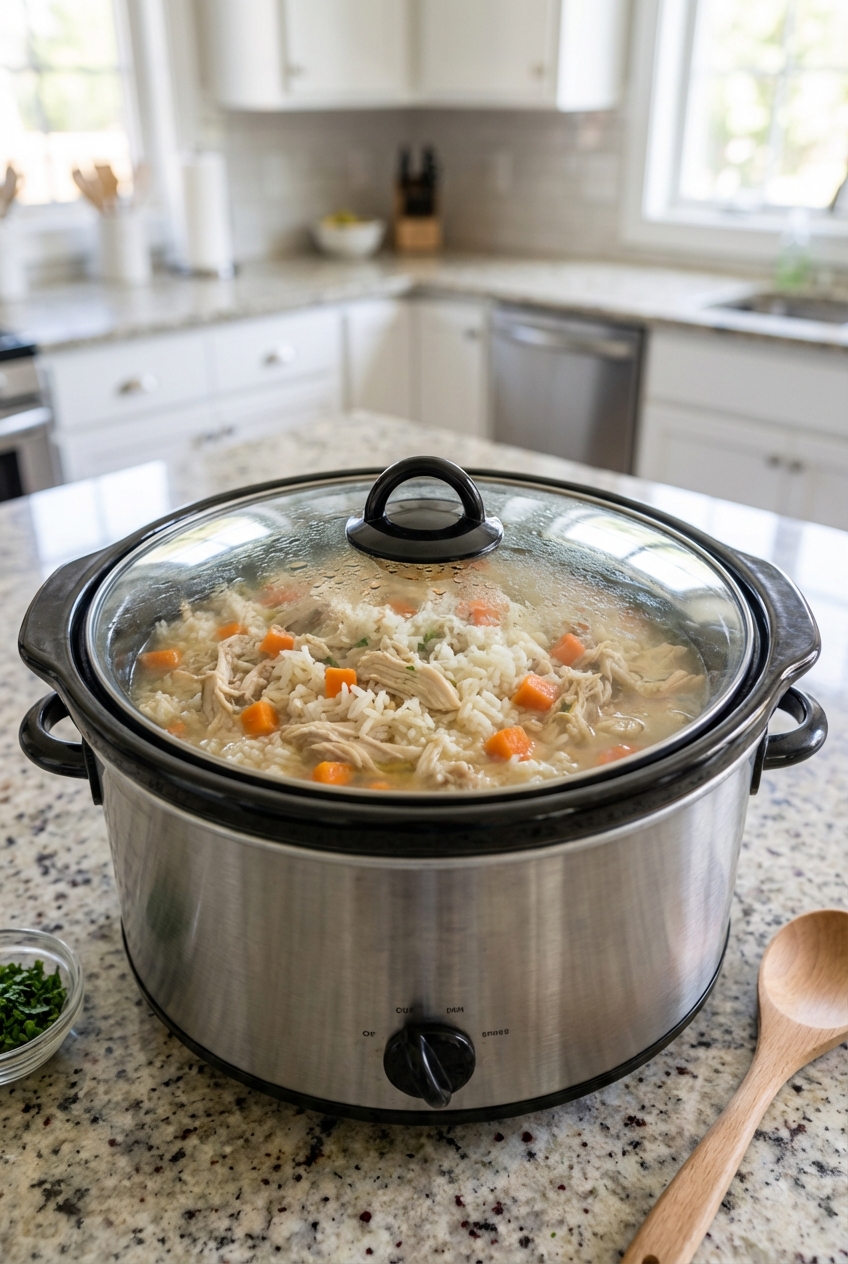
Rice texture note: The white rice will be very soft and porridge-like at this cook time and liquid level. That is normal for this stew style batch, and many dogs digest it well. The standalone rice chart (4 minutes) is for regular rice texture when cooked by itself.
Why the time difference? Brown rice needs much longer than chicken. Chicken thighs can handle the longer cook without drying out as easily as breasts, and you can shred and mix everything well afterward.
After cooking: Shred meat, stir thoroughly, and let cool. Stir in delicate greens after cooking to preserve texture. If you used ground meat, break up any remaining clumps and double-check that the thickest bits hit a safe temp.
Common mistakes (and how to avoid them)
- Cooking everything for the veggie time. Meat still needs to reach a safe internal temp. When in doubt, use meat-focused timing and verify with a thermometer.
- Too much fat for sensitive dogs. Rich batches can trigger diarrhea, especially during a diet change. Choose leaner cuts or drain excess fat after cooking.
- Feeding an unbalanced plan long-term. Dogs need appropriate calcium, essential fatty acids, and micronutrients. A “meat + rice + carrots” plan can be fine short-term, but long-term diets should be formulated with your veterinarian or a board-certified veterinary nutritionist.
- Seasonings from human recipes. Skip onions, chives, and heavy salt. Also avoid broths that contain onion or garlic powder. Keep it simple and dog-safe.
Storage, portioning, and food safety
- Refrigerator: 3 to 4 days in airtight containers. Discard if you notice an off smell, slimy texture, or visible mold.
- Freezer: 2 to 3 months for best quality. Cool in the fridge first, then freeze.
- Thaw safely: overnight in the fridge, or in a sealed bag in cold water (change water periodically).
- Reheat gently: warm, not hot. Many dogs prefer room temperature food.
How much to feed
There is no one perfect number because it depends on your dog’s calories, age, activity level, and body condition. A practical approach:
- Start with calories (your vet can give you a target), then adjust based on weight and body condition over 2 to 4 weeks.
- Recheck weekly at first: if your dog is gaining, reduce portions; if losing, increase gradually.
If you are transitioning from kibble, go slow. Many dogs do best starting at 25% homemade mixed with their current food for a few days, then gradually increasing as their stool stays normal.
When to talk to your veterinarian
Please check in with your veterinarian if your dog is a puppy, pregnant, a senior with health conditions, or if you notice vomiting, persistent diarrhea, itching, recurring ear infections, or unexplained weight change after switching foods. Homemade diets can be amazing, but they should fit your dog.
If you want, tell me your dog’s breed, age, weight, and any health issues, and I can suggest an Instant Pot timing plan and ingredient list you can bring to your vet for approval.