Busy schedule? Cook real dog food in your Instant Pot with a simple turkey, rice, and veggie batch. Get meal-prep, storage, feeding tips, and how to keep hom...
Article
•
Designer Mixes
Instant Pot Homemade Dog Food Batch Method

Shari Shidate
Designer Mixes contributor
If you have ever wanted to feed your dog more whole, human-grade foods but felt overwhelmed by the time and mess, your Instant Pot can be a game-changer. Batch cooking lets you make a week’s worth of gently cooked base meals in one session, portion it out, and get your evenings back.
As a veterinary assistant here in Frisco, Texas, I love approaches that are realistic for busy families and that support health with simple, evidence-based nutrition principles. This article will walk you through a safe, repeatable batch method you can customize for your dog.
Quick note: This is general education, not individualized medical advice. Your dog’s needs vary by age, breed, lifestyle, and medical history.
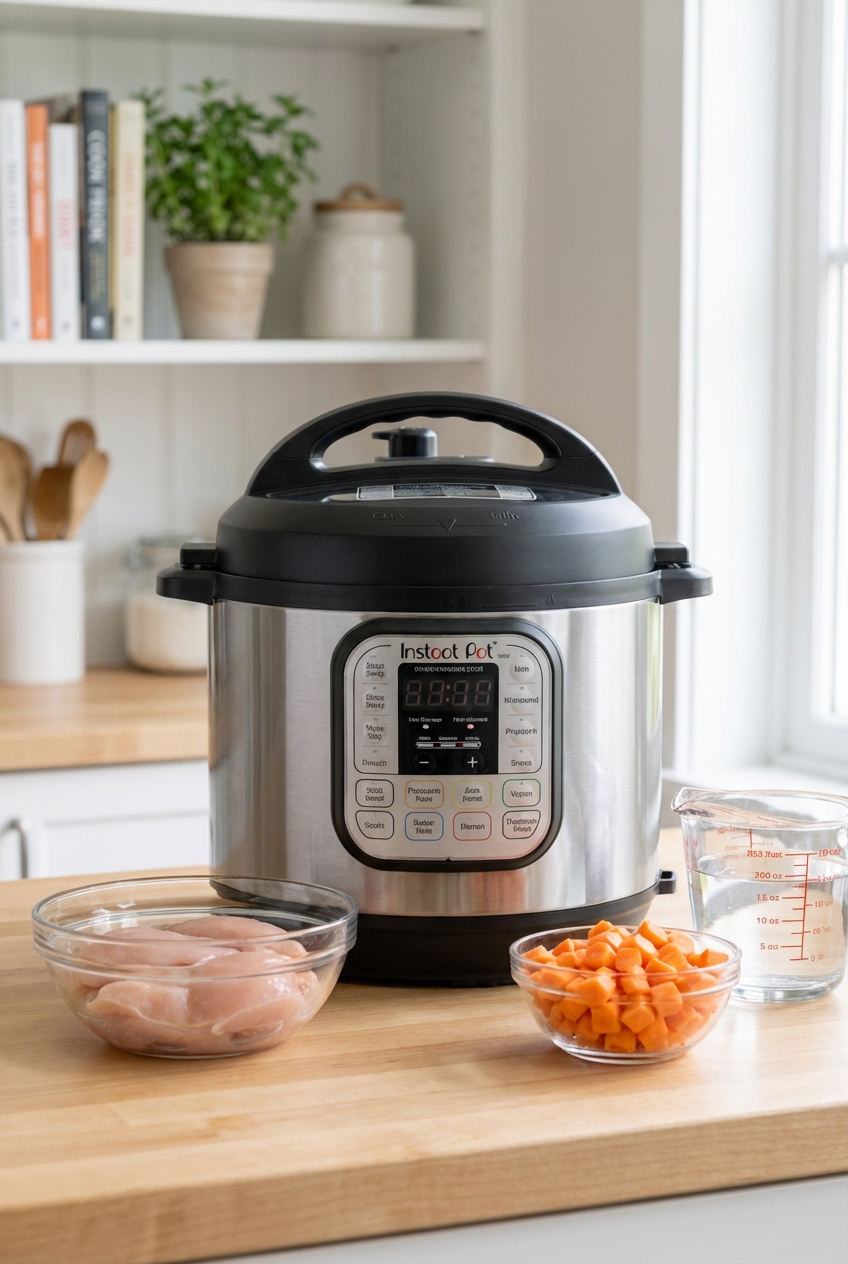
Why the Instant Pot works so well
Pressure cooking makes it easier to turn whole ingredients into soft, digestible meals. It also supports consistency, which matters if you are cooking regularly.
- One-pot cooking: Less cleanup and fewer pans.
- Batch-friendly: You can cook, cool, and portion in under 2 hours (hands-on time is usually much less).
- Gentle on sensitive tummies: Many dogs do well with lightly cooked foods and simple ingredient lists.
- Easy to repeat: Once your dog thrives on a recipe, it is simple to make again.
First, a quick safety note
Homemade food can be wonderful, but long-term balance matters. The most common problem I see is incomplete nutrition, especially calcium and phosphorus issues, and missing key vitamins and trace minerals. If your dog has kidney disease, pancreatitis, diabetes, food allergies, growth needs (puppies), or is pregnant or nursing, please talk with your veterinarian or a board-certified veterinary nutritionist before making changes.
Tip: For long-term homemade feeding, ask for a recipe designed to be complete and balanced, ideally from a board-certified veterinary nutritionist. If you are using a commercial framework, look for guidance aligned with AAFCO complete-and-balanced standards and, when available, feeding-trial evidence.
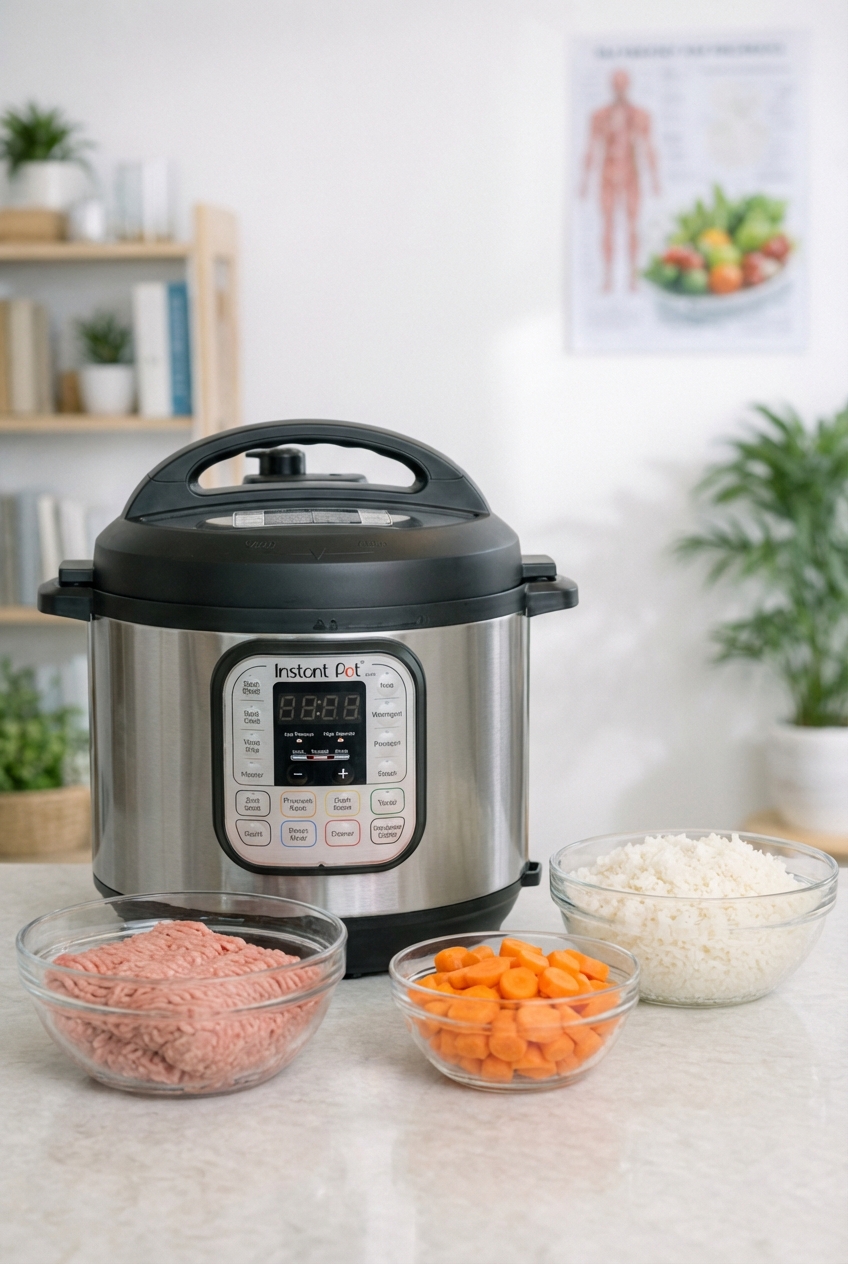
The batch method overview
Think in layers. Most dogs do best when meals are built around protein, then you add digestible carbs and cooked vegetables, and finally you add the nutrients you cannot skip, especially calcium and omega-3s.
Batch building blocks
- Protein: Chicken thighs, turkey, lean ground beef, pork loin, or fish like salmon (avoid added salt and seasoning). Cook fish fully.
- Carbs (optional but helpful for many dogs): White rice, brown rice, oats, quinoa, or sweet potato.
- Vegetables: Carrots, zucchini, green beans, spinach, kale, pumpkin, peas.
- Healthy fats: A little olive oil, sardines in water, or salmon oil as directed.
- Calcium source: A properly measured calcium supplement or finely ground eggshell powder.
Avoid: onions, leeks, chives, grapes, raisins, macadamia nuts, xylitol, nutmeg, cooked bones, and heavy seasoning. Garlic is debated and dose-dependent, so if you want to use it, do so only under professional guidance for your specific dog. Be cautious with broth and added salt, even “unsalted” products can vary by brand.
Fat caution: If your dog has a history of pancreatitis or gets loose stool with richer foods, keep fat lower (skip skin, choose leaner cuts, and go easy with oils).
A simple Instant Pot base recipe
This is a gentle, easy recipe style that works for many adult dogs as a starting point. Think of it as a base meal. For long-term feeding, you will still need a complete vitamin and mineral plan (more on that below).
Ingredients
- 2 to 3 lb boneless skinless chicken thighs (or ground turkey)
- 1 1/2 cups white rice (rinsed) or 1 1/4 cups brown rice (rinsed)
- 2 to 3 cups chopped carrots and green beans (or zucchini)
- 3 1/2 to 4 cups water or low-sodium broth (check labels)
- Optional: 1/2 cup pumpkin puree (plain, not pie filling)
Instant Pot steps
- Add rice and liquid first, then vegetables, then place the protein on top.
- Cook on High Pressure using these typical starting settings (models and ingredient amounts vary):
- White rice: 10 minutes, natural release 10 minutes.
- Brown rice: 22 minutes, natural release 10 minutes.
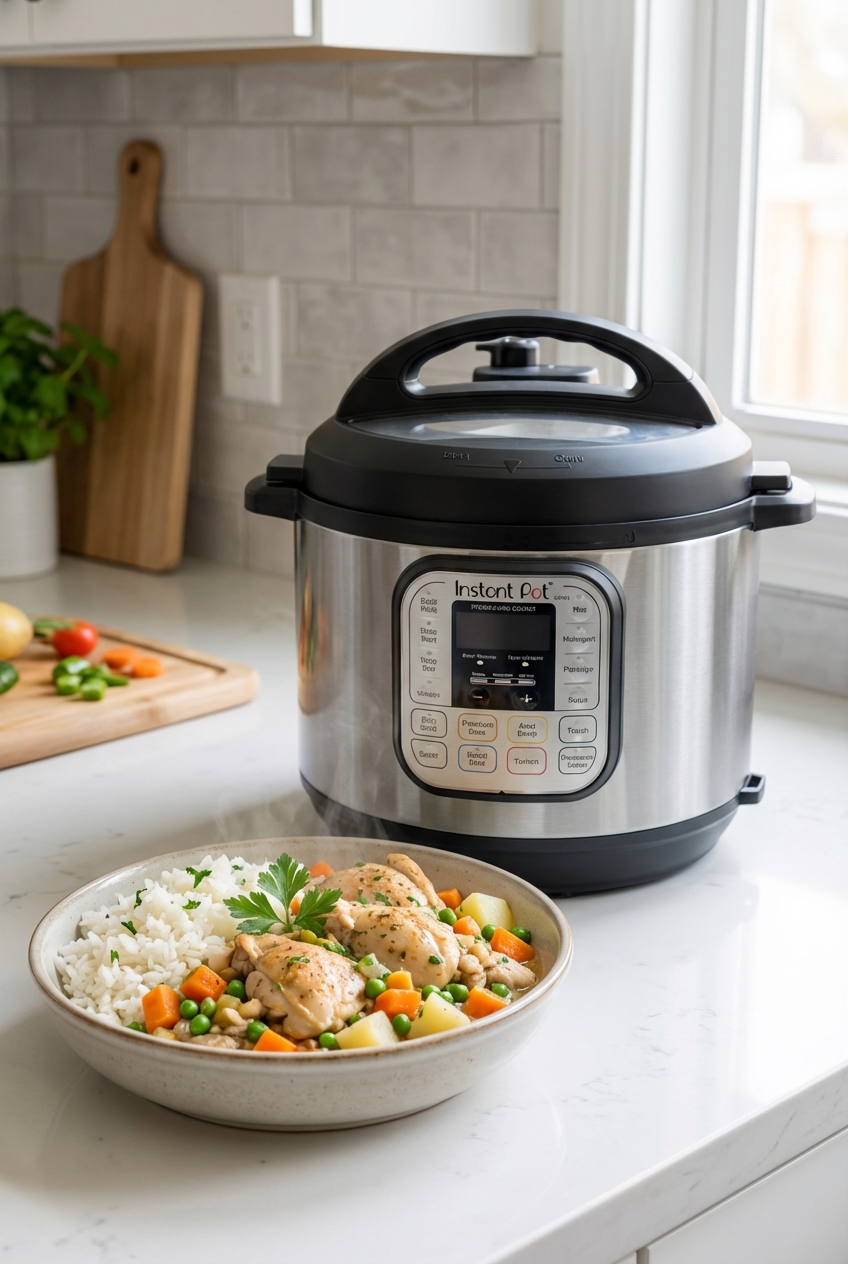
- Open the lid, shred the chicken, and stir thoroughly.
- Doneness check: Make sure poultry is fully cooked. If you use a thermometer, aim for 165°F / 74°C in the thickest pieces.
- Cool quickly: spread food into shallow containers and refrigerate. Do not leave it out at room temperature for long.
Important: Do not pressure cook oils or mix supplements into a hot batch. Add sensitive nutrients like fish oil and many vitamin and mineral supplements after the food has cooled, or add them right before serving for best consistency.
Texture tip: If your dog prefers a softer texture, you can mash part of the batch or pulse briefly with an immersion blender once cooled.
What this makes: Yield varies, but most batches land around 12 to 16 cups of finished food depending on water, rice type, and shredding. For example, a dog eating 2 cups per day would get roughly 6 to 8 days from one batch.
What is usually missing
This is the part people do not hear enough: most home-cooked recipes need a plan for micronutrients. Even a beautiful mix of meat, rice, and veggies can come up short over time.
Common gaps in homemade diets include: vitamin D, vitamin E, iodine, zinc, copper, manganese, choline, and essential fatty acids (including omega-3s).
Practical solution: Use a reputable canine vitamin and mineral premix designed for home-cooked diets, or follow a recipe created by your veterinarian or a board-certified veterinary nutritionist. If you choose a premix, follow its instructions exactly (some are made to be added to cooked food, some require specific ingredients, and many should be added after cooling).
The step most people miss: calcium
Meat is naturally high in phosphorus and low in calcium. Dogs need both in the right ratio, and homemade meals often come up short on calcium unless you add it intentionally.
Two common options:
- Calcium supplement: Follow label dosing specifically for homemade diets, or follow your veterinarian’s recipe.
- Eggshell powder: Only if you can measure it consistently and your veterinarian agrees it is appropriate for your dog.
Timing matters: Stir calcium (and most vitamin and mineral powders) into cooled food, or add per-portion right before serving. This helps prevent uneven distribution and protects more sensitive nutrients.
Dosing note: Calcium needs depend on your dog and the recipe. A common target many veterinary recipes use is roughly 900 to 1,000 mg elemental calcium per 1 lb (450 g) of boneless meat, but do not treat that as a one-size-fits-all rule. Please verify with your vet or nutritionist, especially for puppies and dogs with medical conditions.
If you are rotating recipes or feeding homemade only part-time, calcium balance is still important, but precision matters most when you are feeding homemade as the primary diet.
How much to feed
Every dog is different, so treat this as a starting estimate and adjust based on body condition, energy, and stool quality. Homemade diets vary a lot in calorie density, especially with water content and carbs, so volume-based rules can underfeed or overfeed.
Two practical ways
- Best method: Ask your vet for a daily calorie target (often based on RER and MER), then measure how many calories are in your recipe. This is the most reliable way.
- Quick starting point: Many adult dogs start around 2 to 3 percent of ideal body weight per day in food, but you must adjust. If your dog is gaining, reduce. If losing too fast or acting hungry and low-energy, increase.
Split the daily amount into 2 meals for most dogs. Puppies need a different plan, including more frequent meals and precise mineral balance.
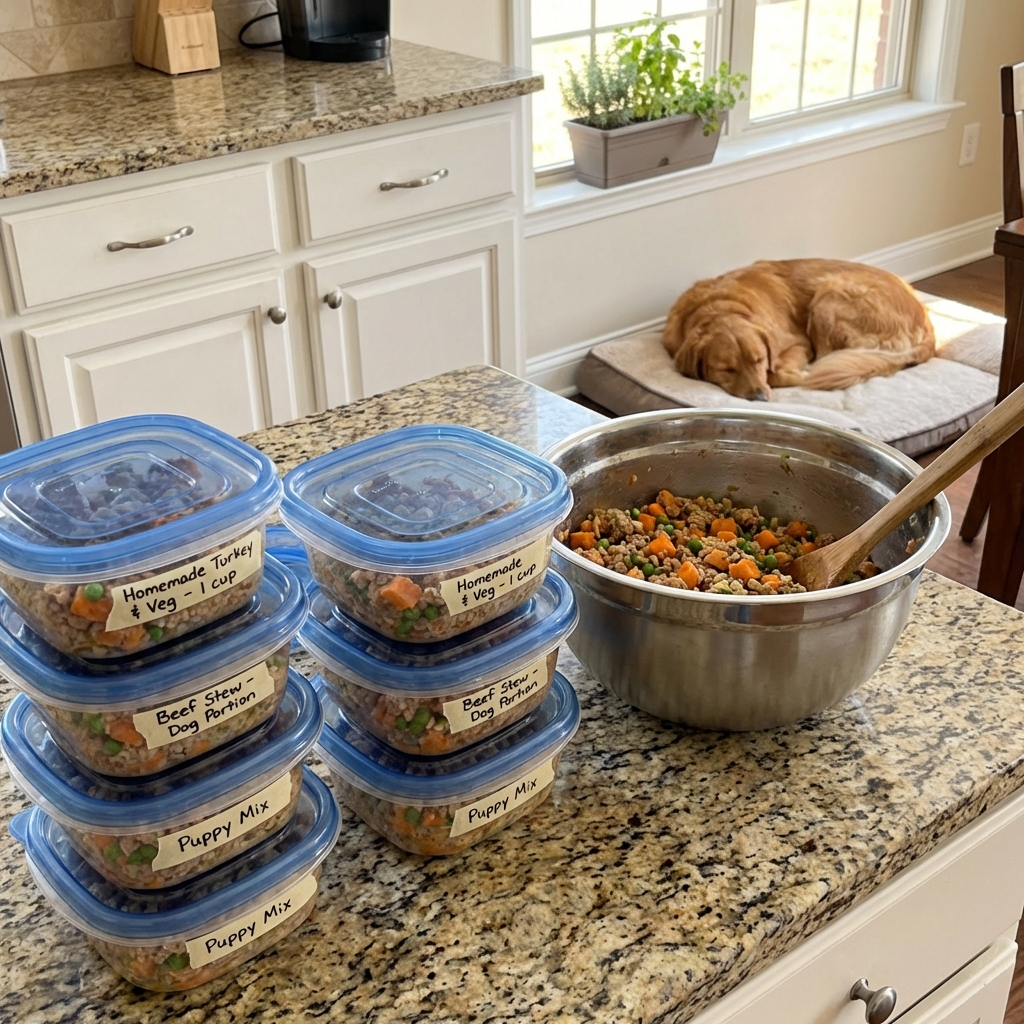
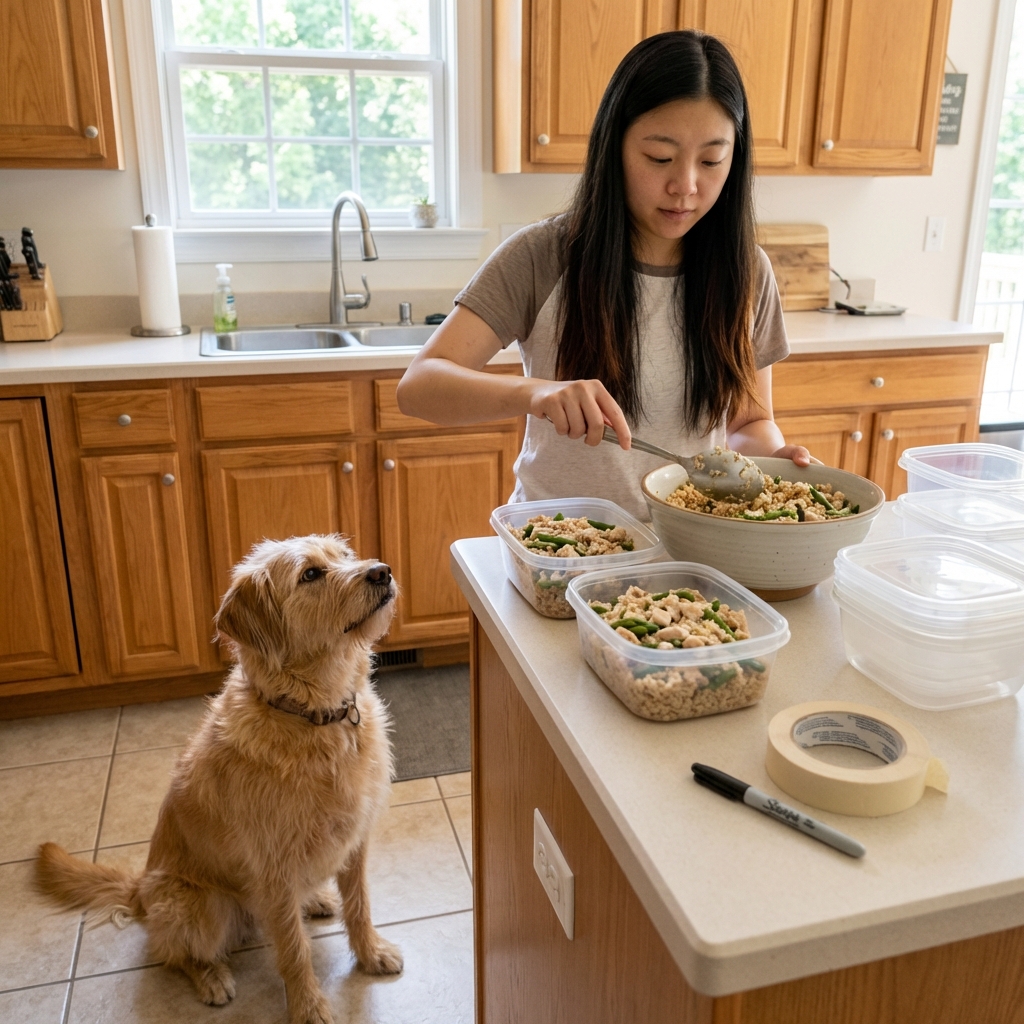
Portioning and storage
Cooling
Food safety matters. After cooking, portion into shallow containers so it cools quickly, then refrigerate.
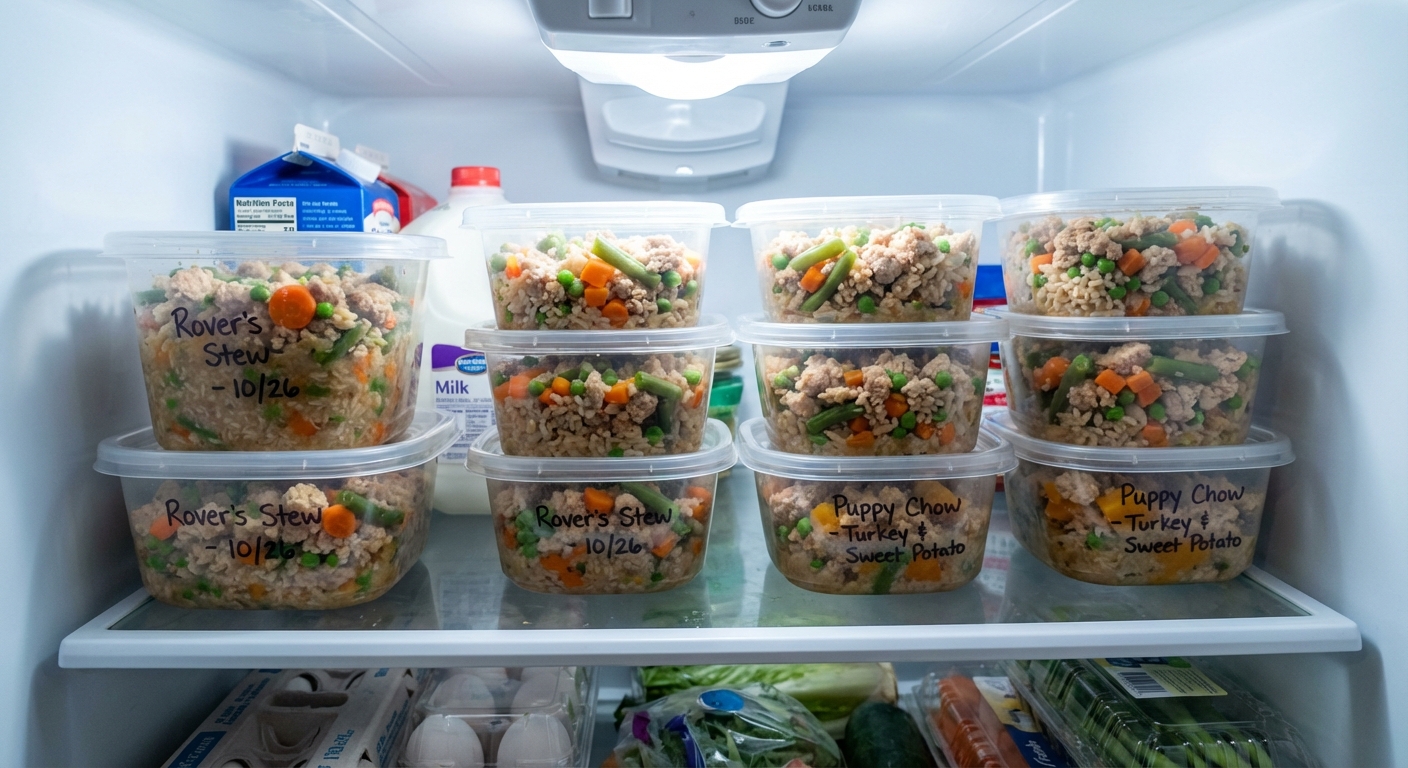
Refrigerator and freezer
- Refrigerator: typically use within 3 to 4 days.
- Freezer: portion into meal-size containers and freeze for up to 2 to 3 months for best quality.
- Thawing: thaw overnight in the refrigerator, not on the counter.
Supplement tip: If you are using fish oil or a vitamin and mineral premix, many families find it easiest to add it per meal (after thawing and right before serving) to keep dosing consistent.
Easy variations
Variety can help broaden nutrients, but go slowly with changes to avoid tummy upset.
Protein swaps
- Turkey instead of chicken
- Lean beef once or twice a week if your dog tolerates it
- Sardines in water added after cooking for omega-3 support (small amounts, and account for calories)
Vegetable swaps
- Green beans, carrots, zucchini, spinach
- Pumpkin can help some dogs, but not all. If stool gets worse, stop and try a different approach.
Carb swaps
- Oats or quinoa (rinse quinoa well)
- Sweet potato (cook separately or use the Instant Pot with a bit more liquid)
When you try a new ingredient, introduce it in a small amount for a few days and watch stool quality and itchiness.
Transition slowly
Even healthy foods can cause diarrhea if you switch too fast. Here is a gentle timeline many dogs tolerate well:
- Days 1 to 3: 25% homemade, 75% current food
- Days 4 to 6: 50% homemade, 50% current food
- Days 7 to 9: 75% homemade, 25% current food
- Days 10 to 14: 100% homemade if all is going well
If your dog has a sensitive stomach, slow this down. There is no prize for rushing. Consistency beats speed every time.
When to call your vet
Stop the new food and reach out to your veterinarian if you notice:
- Vomiting, persistent diarrhea, or blood in stool
- Refusing food for more than a day
- Itchiness, ear flare-ups, facial rubbing, or new skin redness
- Lethargy or signs of abdominal pain
And if your dog has a history of pancreatitis, keep fat low and get a vet-approved recipe. Those dogs can do great on homemade, but the details matter.
My best tip: make it sustainable
Homemade feeding does not have to be all-or-nothing. Even a 50/50 approach, mixing a high-quality commercial diet with a thoughtfully made homemade topper, can be a meaningful step toward better hydration, better stool quality, and better enthusiasm at mealtime.
If you want to start this week, pick one protein, one carb, and two vegetables, make one Instant Pot batch, and keep notes on your dog’s energy, coat, and stool. Then, before you go fully homemade long-term, set up a complete plan with your veterinarian, a board-certified veterinary nutritionist, or a reputable home-cooked premix that is designed to make your recipe complete and balanced.