Not getting hummingbird visits? Learn where to hang your feeder for shade, visibility and safety, plus window-safe placement, predator-proofing, nectar basic...
Article
•
Designer Mixes
Hummingbird Feeder Best Location Tips

Shari Shidate
Designer Mixes contributor
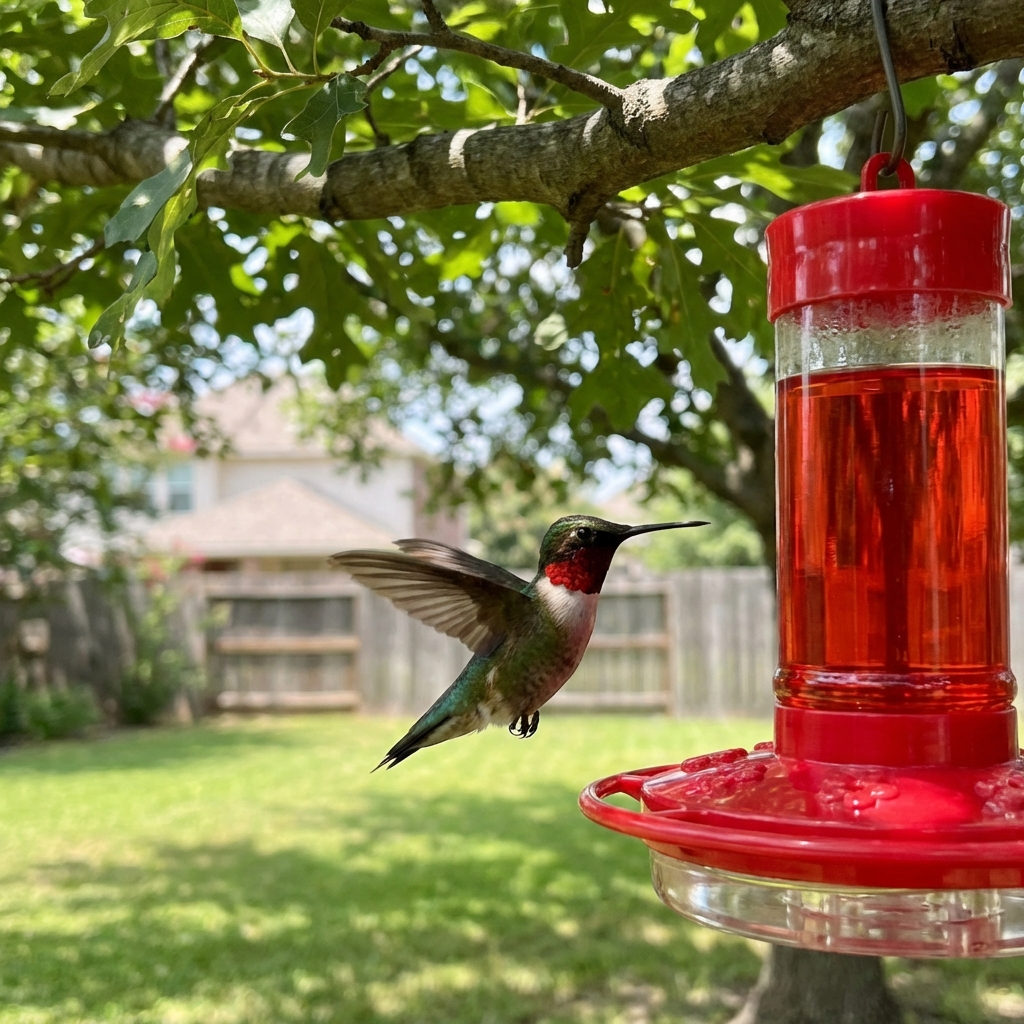
Hummingbirds are tiny, determined, and surprisingly picky about where they eat. If your feeder is in the wrong spot, the birds may skip it. If it is in the right spot but cared for poorly, it can become a health risk for hummingbirds, and a magnet for ants and bees, while also encouraging mold growth.
As a veterinary assistant here in Frisco, Texas, I love helping families enjoy wildlife in a way that is safe and responsible. The good news is that a few evidence-based placement and care habits can make your feeder both popular and hygienic.
What “veterinarian-approved” means
Veterinarians do not “prescribe” hummingbird feeders, but we absolutely care about wildlife health and disease prevention. Think of these as best-practice wildlife-care and hygiene recommendations, not a formal clinical endorsement.
A vet-minded setup focuses on four things:
- Clean nectar so birds are not exposed to fermentation, bacteria, or mold.
- Smart placement that reduces overheating, predators, and window strikes.
- Low pest pressure so bees, wasps, and ants do not take over.
- Pet safety so your dog or cat cannot knock down the feeder or injure a bird.
Best location
1) Bright shade is best
Place the feeder where it gets morning sun and afternoon shade, or dappled shade most of the day. Direct hot sun speeds up nectar spoilage, especially in North Texas heat. Shade also helps keep the feeder comfortable for birds that may visit dozens of times a day.
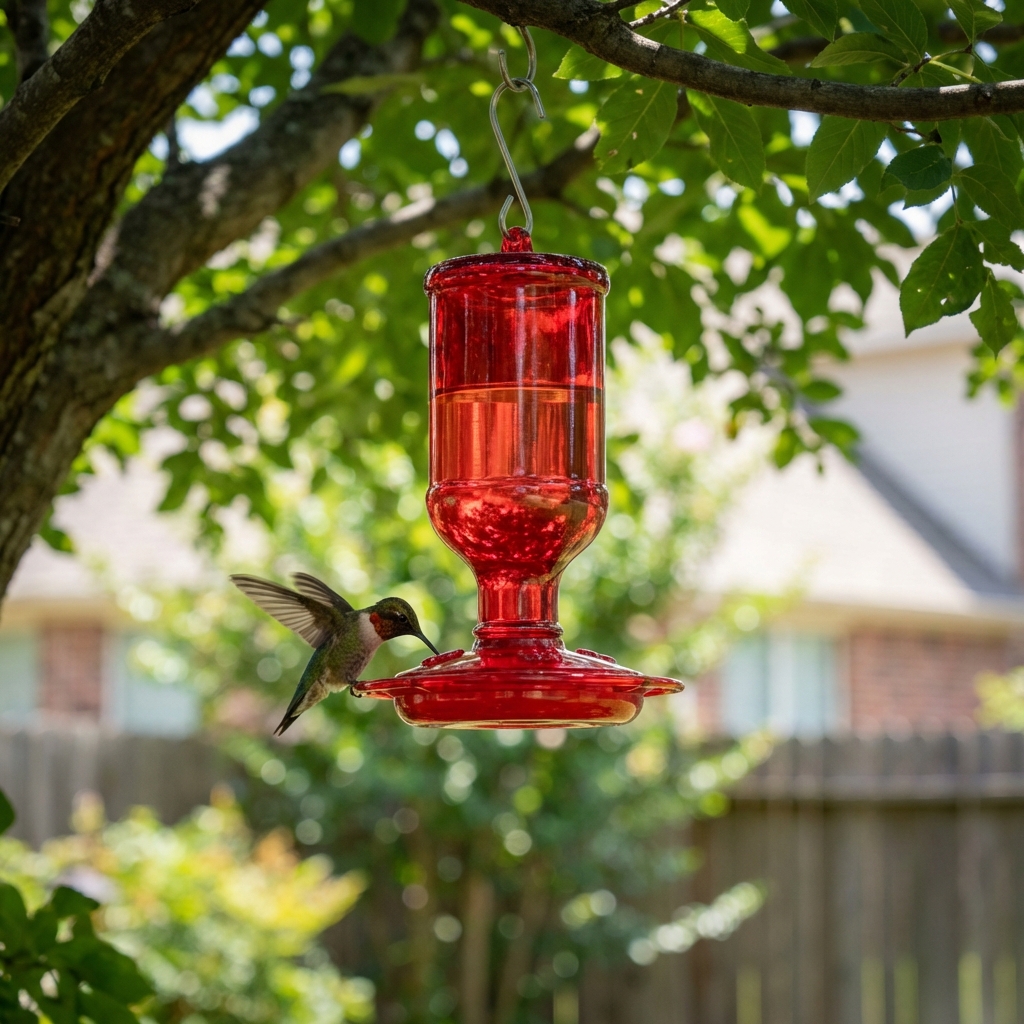
2) Hang it 4 to 6 feet high
This height is easy for you to service and helps keep it out of reach of curious pets. It is also high enough to make many predators think twice.
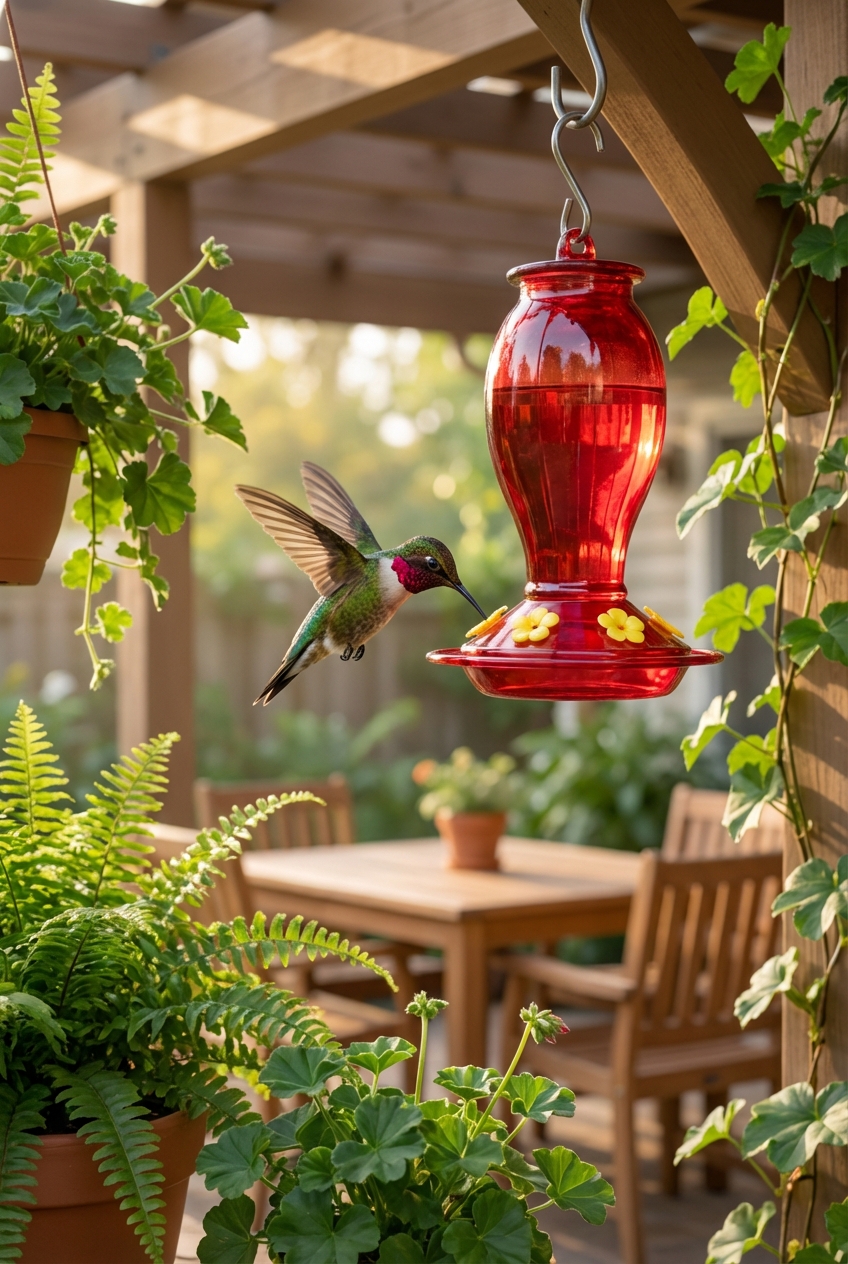
3) Keep it near cover, with escape space
Hummingbirds like nearby cover, but you do not want a feeder tucked deep inside dense shrubs where cats can stalk. Aim for nearby greenery for security, with a clear line of sight and enough open space for birds to zip away quickly.
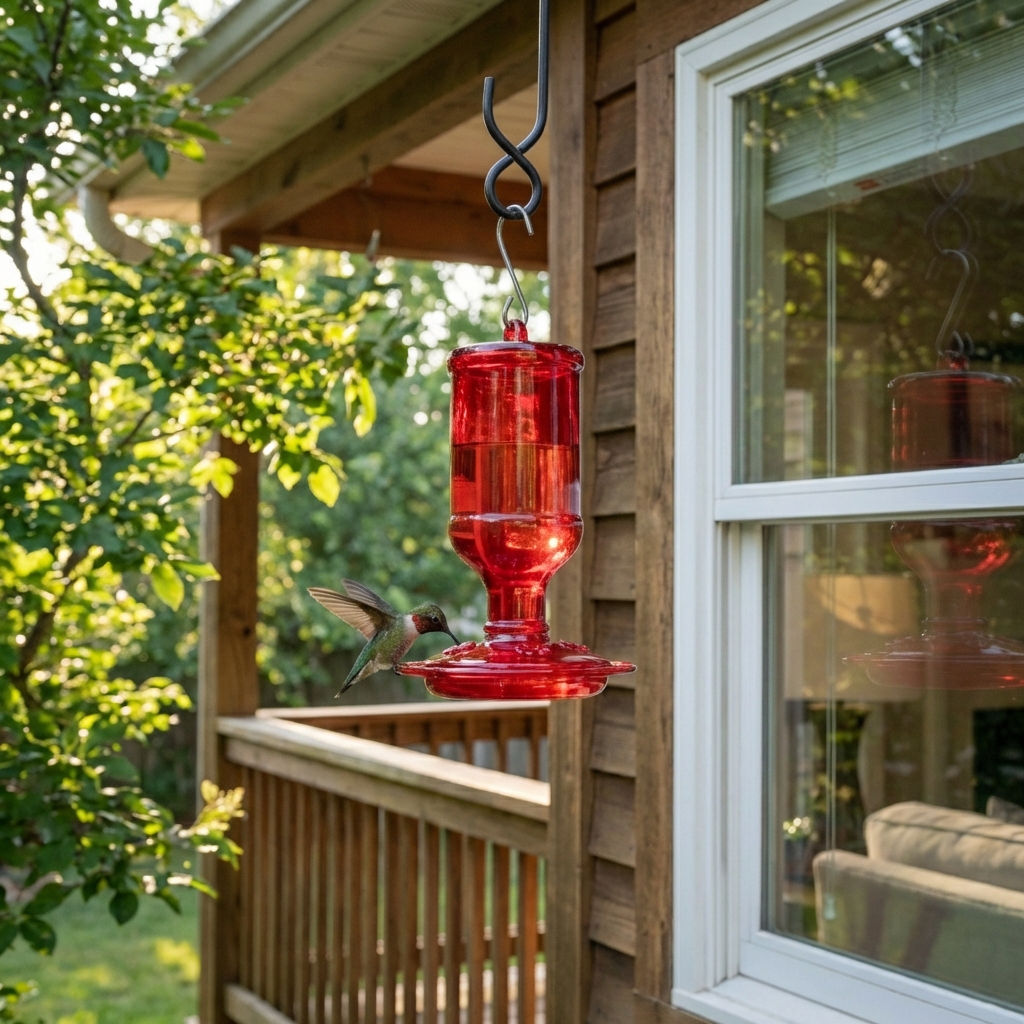
4) Watch the window distance
A spot you can see from indoors helps you notice when nectar needs changing. For window safety, a common rule of thumb is:
- Very close: within 3 feet of a window can reduce dangerous speed if a bird bumps it.
- Or farther away: more than 30 feet away reduces reflection confusion.
If your feeder must be near glass, add exterior window markers, decals, or screens to reduce strikes.
Nectar and cleaning
Simple nectar recipe
Use a simple ratio: 1 part white granulated sugar to 4 parts water.
You can heat the water to help the sugar dissolve (many people bring it just to a boil). Boiling is not a strict requirement, but it can make dissolving easier and starts you off with a cleaner mix. Cool completely before filling.
- Do not use honey, brown sugar, powdered sugar, or artificial sweeteners. These can spoil faster or contain additives.
- Do not add dye. Red coloring is unnecessary. Many store-bought “nectar” mixes include dyes you do not need. A feeder with red plastic parts is enough.
How often to change nectar
Heat and direct sun speed up fermentation. Use this as practical guidance, then adjust based on what you see and smell (especially during Texas summers):
- 90°F and up: change daily.
- 80 to 89°F: change every 1 to 2 days.
- 70 to 79°F: change every 2 to 3 days.
- Below 70°F: change every 3 to 5 days.
If the nectar looks cloudy, has floating bits, smells “yeasty,” or the feeder feels slimy, dump it immediately and scrub.
Cleaning steps
A clean feeder is your best disease prevention tool.
- Empty leftover nectar.
- Rinse with hot water.
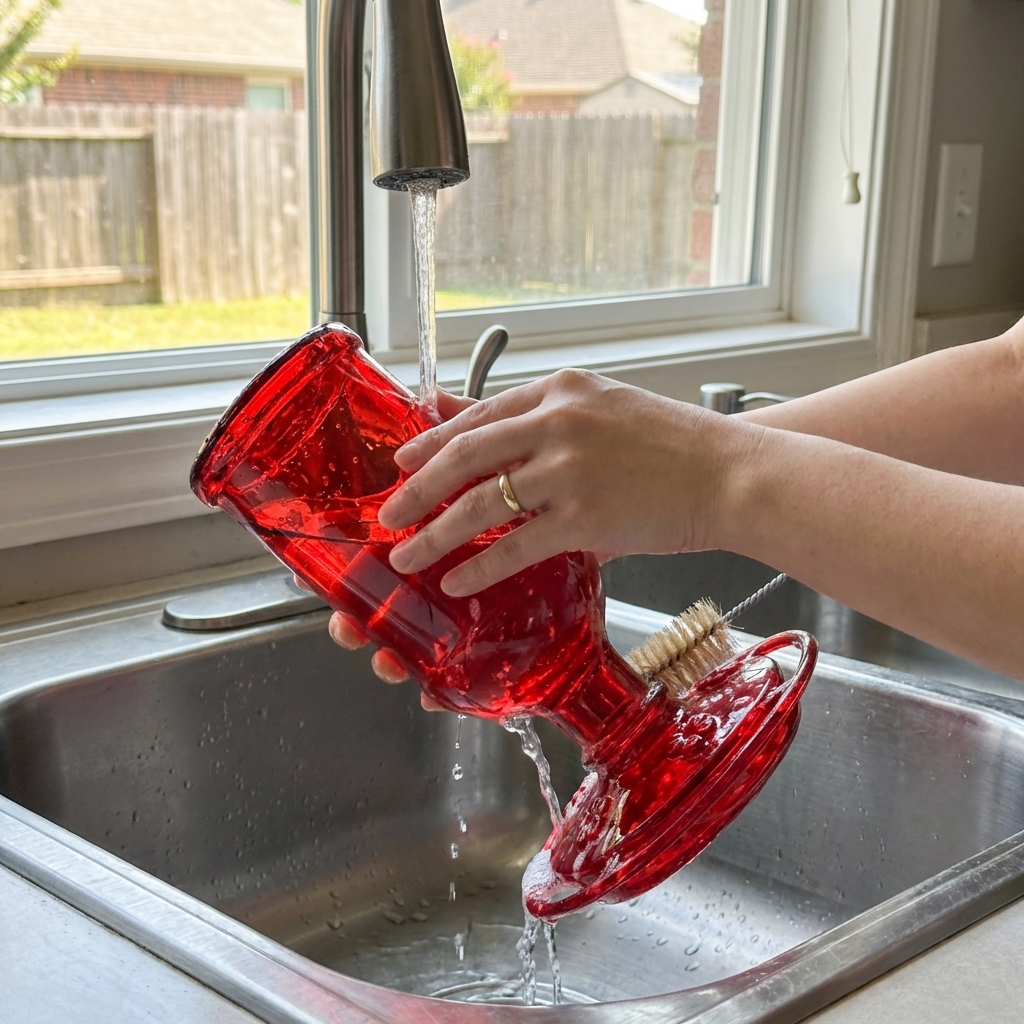
- Scrub all ports and seams with a dedicated bottle brush.
- Soak weekly (or more often in high heat) in a mild vinegar and water solution, then rinse extremely well so no odor remains.
- Air dry completely before refilling when possible.
Avoid harsh cleaners that can leave residues. If you ever need to disinfect after heavy mold, use a dilute bleach solution such as 1 tablespoon of unscented bleach per 1 quart of water, soak briefly, then rinse multiple times until there is no bleach smell at all. Replace cracked or cloudy feeders that trap grime and biofilm in scratches.
Pest control
Ants
- Use an ant moat above the feeder and keep it filled with water.
- Do not smear petroleum jelly where birds might contact it.
Bees and wasps
- Choose feeders with bee guards and smaller ports.
- Avoid letting nectar drip. Drips invite insects.
- If wasps are persistent, move the feeder a few yards and remove any nearby wasp attractants.
- Skip feeders with lots of yellow parts. Yellow can attract wasps.
What not to use
Skip insecticides near the feeder. Even “natural” sprays can irritate birds and contaminate feeding areas.
Feeder tips
- Pick easy-clean designs: feeders that fully come apart (often saucer styles) make it easier to scrub ports and seams.
- Avoid hard-to-clean bottles with narrow necks and lots of crevices unless you can access every surface.
- Replace worn feeders: cracks, sticky seams, and cloudy plastic can harbor biofilm even when it looks “mostly clean.”
Attracting hummingbirds
You cannot train a hummingbird like a dog, but you can absolutely teach them where reliable food is.
Start with visibility
New feeders are easiest to find when they are placed where hummingbirds already travel. Put it near flowering plants they like, and keep it in a clear line of sight.
Be consistent
Once birds adopt your feeder, keep it clean and filled. Consistency builds a “routine route” and repeat visits.
Use plants too
Native, nectar-producing plants help draw birds in and reduce reliance on feeders. Great options for many Texas yards include salvia, Turk’s cap, bee balm, and trumpet vine. Choose plants that suit your microclimate and avoid pesticide use.
Move it slowly
If you move a feeder, shift it a few feet every couple of days so the regulars can follow the change.
Pets and safety
From a clinic perspective, the biggest issues I see are injuries from falls and predation.
- Keep cats indoors or supervise outdoor time. Cats can seriously injure birds.
- Prevent knock-downs: hang the feeder from a secure hook, not a flimsy branch.
- Pick up broken plastic quickly. Curious dogs may chew sharp pieces.
- Skip sticky traps near feeders. They can trap birds and other wildlife.
Cold weather notes
During freezes, nectar can slush or freeze. Bring the feeder in at night and put it back out during the warmest part of the day. Always swap out any nectar that has been frozen and thawed repeatedly.
Troubleshooting
- Nectar is too strong or too weak: stick to 1:4 sugar to water.
- Feeder is dirty: even a little slime can discourage visits.
- Too much sun: nectar spoils fast and can taste “off.”
- Competing blooms: when flowers are abundant, birds may prefer them.
- Insects or aggressive birds: add a second feeder placed out of sight of the first to reduce guarding.
If you are doing everything right, give it time. Migration timing and local food sources matter. Your feeder is one piece of their bigger map.
Also, a common worry I hear is whether feeders “stop migration.” In general, reliable food sources do not prevent hummingbirds from migrating. Day length and biology drive migration, not just your feeder.
Quick checklist
- Hang in bright shade, 4 to 6 feet high.
- Keep near cover but with a clear escape path.
- Use only white sugar and water (1:4). No dye.
- Change nectar often, daily in extreme heat.
- Scrub ports and seams, and soak occasionally in mild vinegar water, rinsing very well.
- Use an ant moat and a drip-free feeder with bee guards.
- Avoid yellow parts if wasps are a problem.
- Keep pets from stalking or knocking down the feeder.
When your feeder is clean, shaded, and easy to access, you are not just attracting hummingbirds. You are supporting their health and helping them thrive through hot days, migration, and nesting season.