
Make nail trims safer and calmer with vet-backed restraint methods: lap hold, table tuck, towel purrito, and two-person help—plus quick safety and clipping...
Article
•
Designer Mixes
How to Trim Your Cat’s Nails By Yourself

Shari Shidate
Designer Mixes contributor
Trimming your cat’s nails at home can feel intimidating, but it is one of those small routines that makes a big difference. Shorter nails can mean fewer accidental scratches, less snagging on blankets, and less damage to furniture. Most importantly, you can do it in a way that is calm, gentle, and aligned with what many veterinarians recommend.
As a veterinary assistant, I like to remind cat parents of one evidence-based principle: stress is the enemy of good grooming. Research-backed, low-stress handling improves cooperation and makes future sessions easier. Your goal is not to “get it done at all costs.” Your goal is a safe, low-stress experience that you can repeat.

Safety note: If your cat has painful paws, severe arthritis, an injured toe, or you see swelling, bleeding, or a broken nail, skip the DIY trim and call your veterinarian. Pain changes behavior quickly, even in very sweet cats.
Why nail trims matter
Indoor cats still need nail care. Nails keep growing, and the sharp tip can curve and snag. In some cats, especially seniors or less active cats, nails can overgrow and start to curl toward the paw pad.
Signs your cat is due
- They get “stuck” in blankets or carpet
- You hear clicking on hard floors
- More accidental scratches during play or cuddles
- Visible sharp, needle-like tips
- Dewclaws (the “thumb” claws) look long or hooky, since they can be easy to miss and do not always wear down normally
Many cats do well with a trim every 2 to 4 weeks, but it varies by age, activity level, and whether you are trimming front paws, back paws, or both.
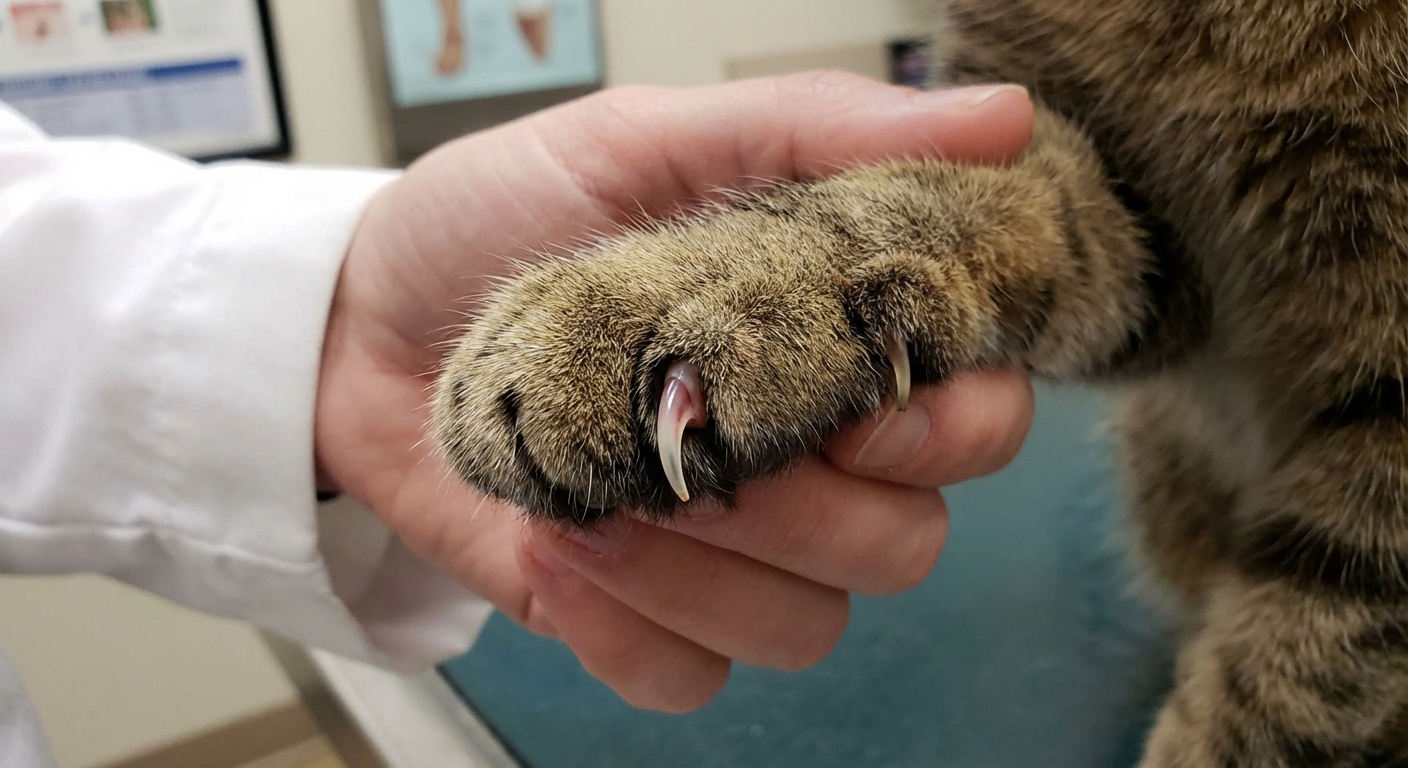
Nail anatomy basics
Cat nails have a hard outer shell and a sensitive inner core called the quick, which contains blood vessels and nerves. Cutting into the quick hurts and will bleed, so the goal is to remove only the sharp tip.
Clear vs. dark nails
- Clear or light nails: the quick is usually visible as a pink triangle inside the nail.
- Dark nails: the quick is harder to see, so trim in tiny amounts and stop as soon as the tip looks blunted.
If you are unsure, take less off. You can always trim again in a week.
What you need
You do not need fancy equipment, but the right tool helps you make a clean cut quickly.
- Cat nail clippers: scissor-style or small guillotine-style made for cats
- Styptic powder (or styptic pencil): for accidental quick nicks
- Treats your cat loves: tiny, high-value rewards
- A towel (optional): for gentle wrapping if needed
- A bright light: a lamp or flashlight can help you see the quick
Avoid dull clippers. They can crush the nail, which can be uncomfortable and may increase your cat’s resistance next time.
Low-stress setup
Most nail trim struggles come from going too fast. Before you clip anything, build a positive association.
Prep checklist
- Choose a quiet room and close the door
- Trim when your cat is naturally calmer, often after a meal or play
- Set everything within arm’s reach before you pick up your cat
- Start with short sessions, even 30 to 60 seconds
Desensitization mini-plan (2 to 5 days, if needed)
- Day 1: Touch a paw, reward, stop
- Day 2: Gently press to extend a nail, reward, stop
- Day 3: Bring clippers near the paw without clipping, reward, stop
- Day 4: Clip 1 nail, reward, stop
- Day 5: Clip 2 to 4 nails, reward, stop
This approach is slow, but it is how many clinics teach “fear-free” handling. It is also how you turn a stressful task into a routine.
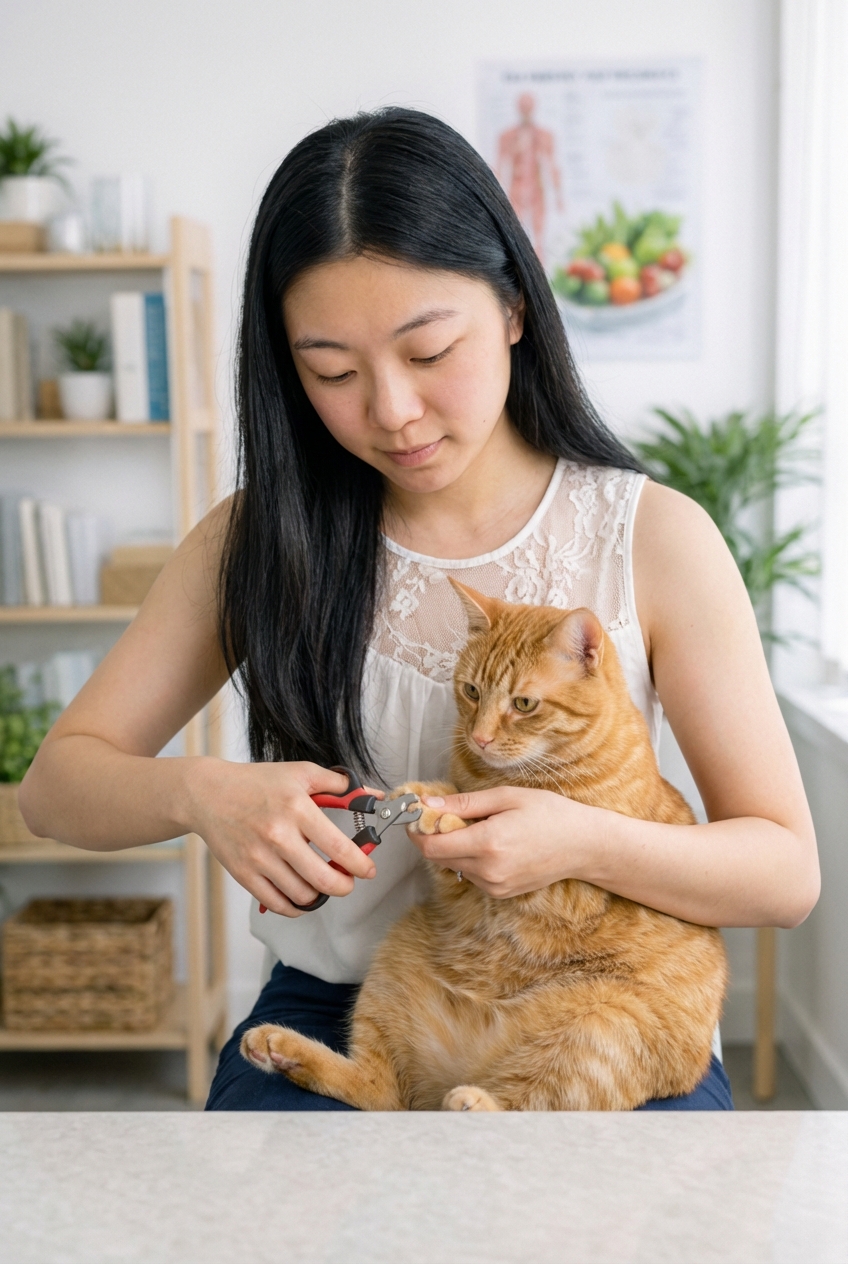
How to trim nails solo
If your cat is already fairly comfortable with handling, here is a straightforward, safe method.
- Position your cat. Many cats do best sitting with their back against your stomach while you sit on the floor or a chair. Some prefer being on a stable surface like a table with a non-slip mat.
- Hold the paw gently. Support the toe with your fingers. Avoid squeezing.
- Extend one nail. Press lightly on the top of the toe and the pad to make the claw extend.
- Find the quick. In light nails, locate the pink core. In dark nails, plan to take only the sharp hook off the end.
- Clip the tip only. Make a quick, confident cut. Aim for about 1 to 2 mm off the end for most cats.
- Reward immediately. Treat, praise, and a break. Let your cat learn that nail trims predict good things.
- Repeat as tolerated. If your cat starts flicking the tail, their ears turn sideways (often called “airplane ears”), or they try to leave, stop and do more later.
Pro tip: Many cats do best if you trim just the front paws in one session and the back paws later. You do not have to do all 18 nails at once (and some polydactyl cats have extra toes and extra nails).
Quick safety reminder: If you think you might be bitten, stop. Cat bites can become infected quickly and may require medical care.
How far to trim
Trim only the sharp, curved tip. A small trim is still a successful trim.
- Angle: Follow the natural curve of the nail. Avoid cutting straight across into the thicker part. If it helps, aim the cut slightly from underneath upward so you are taking off the hook, not the body of the nail.
- Goal: a blunted end that is no longer needle-sharp
If you are trimming frequently, the quick may recede slightly in some cats over time, which can allow a bit more nail to be trimmed safely later.
If you cut the quick
It happens, even to professionals. The key is staying calm so your cat does not associate panic with the process.
What to do
- Apply styptic powder to the nail tip and hold gentle pressure for 10 to 30 seconds
- If you do not have styptic, cornstarch can help in a pinch (not as effective, but better than nothing)
- Keep your cat calm and indoors while it stops bleeding
If bleeding does not stop within a few minutes, or the nail looks cracked or split, call your veterinarian.
Common mistakes
- Trying to “power through” resistance: stop early and do fewer nails next time.
- Holding too tightly: use gentle support. Tight restraint increases fear and struggling.
- Trimming when your cat is already stressed: pick a calmer time, or do a few nails after a nap.
- Skipping rewards: treats are not bribery. They are training tools.
- Cutting too much: tiny trims are safer, especially for dark nails.
Special situations
Kittens
Kittens are usually easier if you start early. Keep it quick and positive, and trim just the very tip. Pair paw handling with a treat from day one.
Senior cats
Older cats may have thicker nails and may be less active, so overgrowth can happen faster. They may also have arthritis, so choose a comfortable position and trim less at a time.
Very anxious or spicy cats
If your cat becomes fearful, hisses, or tries to bite, please do not take it personally. It is communication. In these cases, it is absolutely appropriate to ask your vet about:
- In-clinic nail trims
- Medication for anxiety for grooming (for some cats, this can be a humane option)
- Referral to a fear-free or feline-focused clinic
You can also ask about nail caps as a temporary management tool in some households. They are not right for every cat, and they still require careful application and monitoring, but they can be useful in specific situations.
Safety matters for both of you.
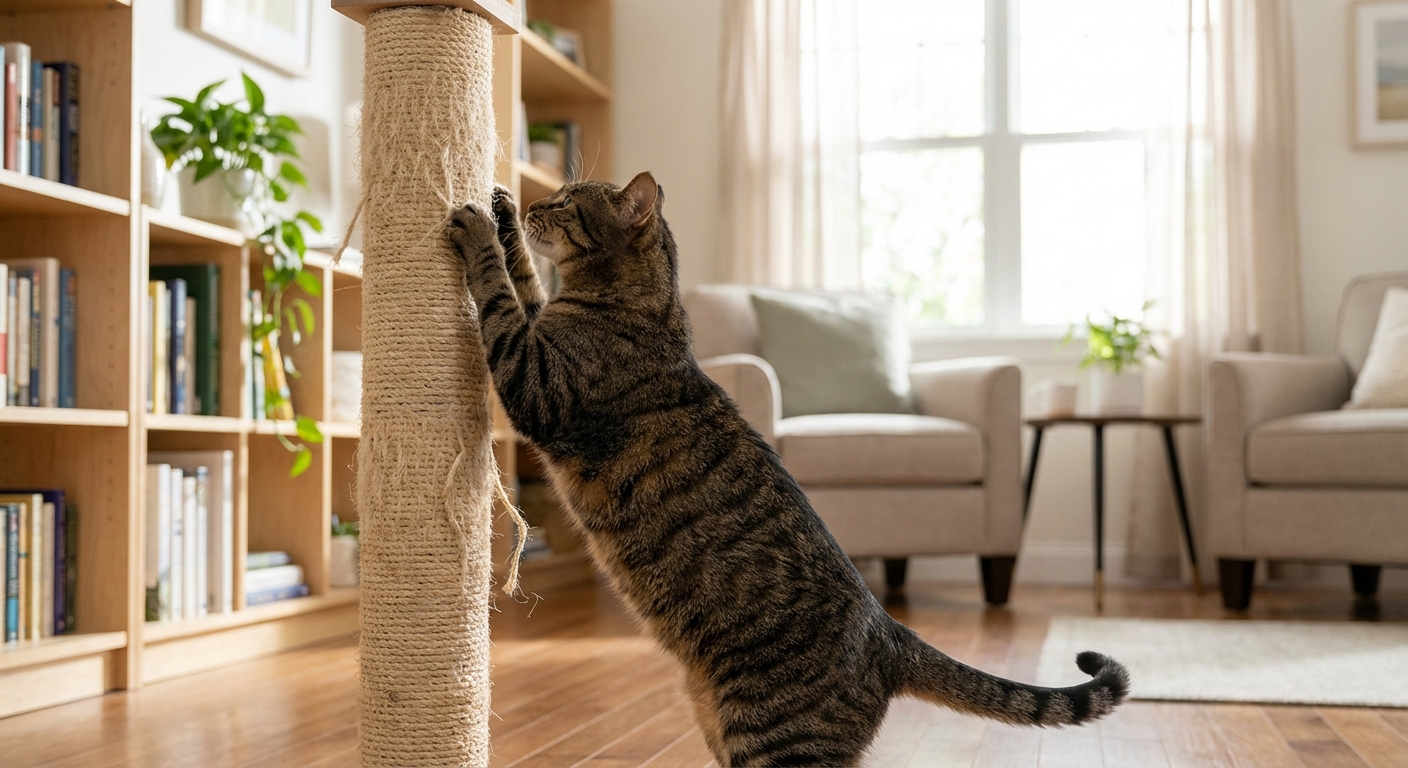
Do scratching posts replace trims?
Scratching is healthy and helps remove outer nail sheaths, stretch muscles, and mark territory. But scratching does not reliably keep nails short enough for every cat. Think of scratching posts as essential enrichment, and nail trims as basic maintenance.
When to call the vet
- Your cat’s nails are curling toward the paw pad
- You see swelling, limping, discharge, or an odor from the paw
- A nail is torn, split, or partially detached
- Your cat is too stressed to handle safely at home
- You suspect pain or arthritis affecting paw handling
A quick nail trim appointment can be a huge relief, and many clinics can also show you the safest technique for your specific cat.
Bottom line
You can trim your cat’s nails by yourself, and you do not have to do it perfectly to do it well. Keep sessions short, trim only the tips, reward generously, and stop before your cat feels overwhelmed. That is how you build trust, and trust is what makes home grooming possible.