Stop ear mites in cats with a complete, vet-guided plan. Learn symptoms, how vets confirm mites, which treatments work, how long recovery takes, and how to p...
Article
•
Designer Mixes
How to Treat Cat Ear Mites

Shari Shidate
Designer Mixes contributor
Ear mites are one of those “small problem, big misery” situations. They are tiny parasites that live in the ear canal and feed on skin debris, and they can make a cat itchy, cranky, and downright miserable fast. The good news is that with the right treatment plan (and a little patience), most cats feel better quickly.
As a veterinary assistant, I always tell pet parents this: the best ear mite advice is accurate diagnosis first, then a full course of treatment, plus cleaning and smart household follow-through so the mites do not boomerang right back.
What ear mites look like
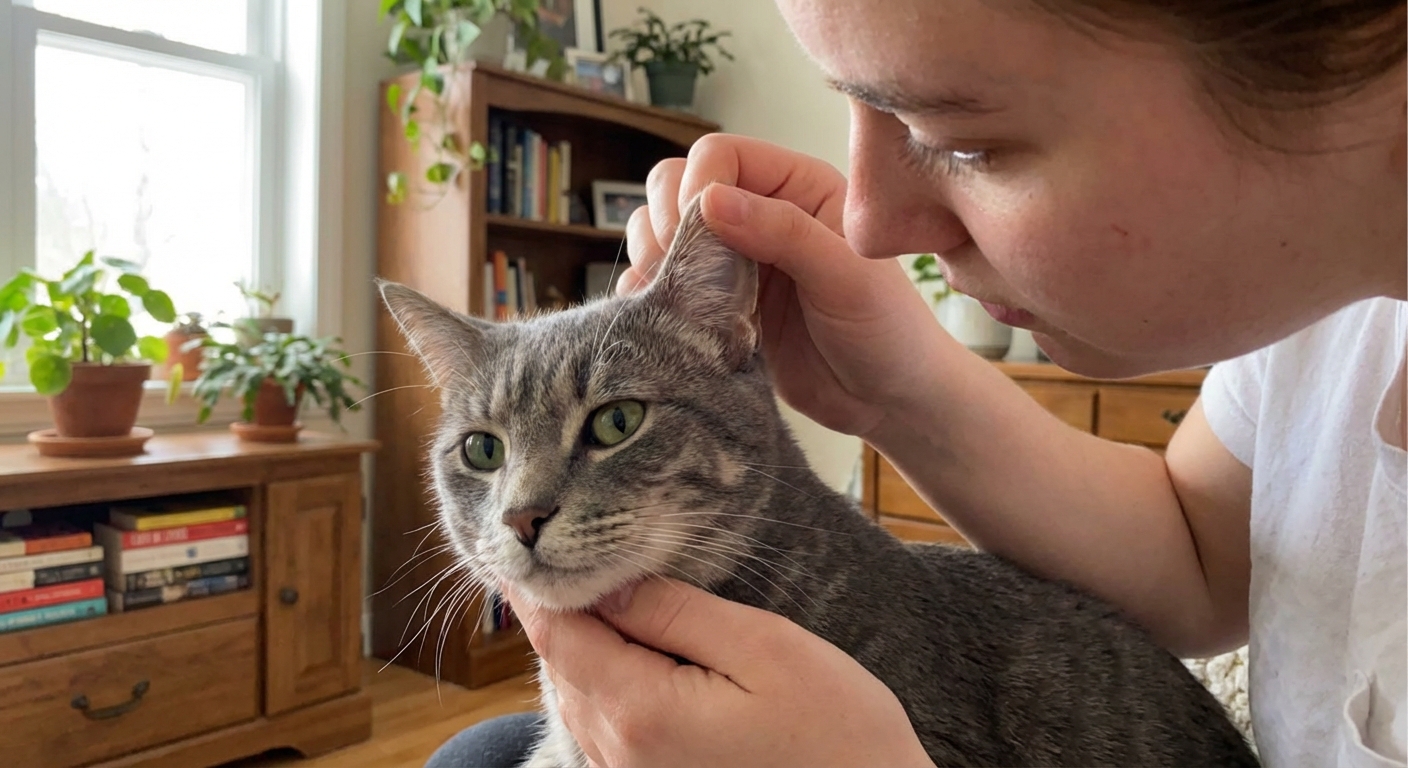
The most common ear mite in cats is Otodectes cynotis. The classic clue is dark, crumbly ear debris that looks like coffee grounds. Many cats will also scratch at their ears, shake their head, or act sensitive when you touch the base of the ear.
Common signs
- Intense itching around the ears and head
- Head shaking or tilted head
- Dark brown or black debris in the ear
- Redness, scabs, or hair loss around the ears from scratching
- A “yeasty” smell can happen too, especially if infection is also present
Important: not every itchy, dirty ear is mites. Yeast, bacteria, allergies, ear polyps, or a foreign body can look similar. A “yeasty” or foul odor is a big hint that infection may be involved and it is a great reason to get a vet exam.
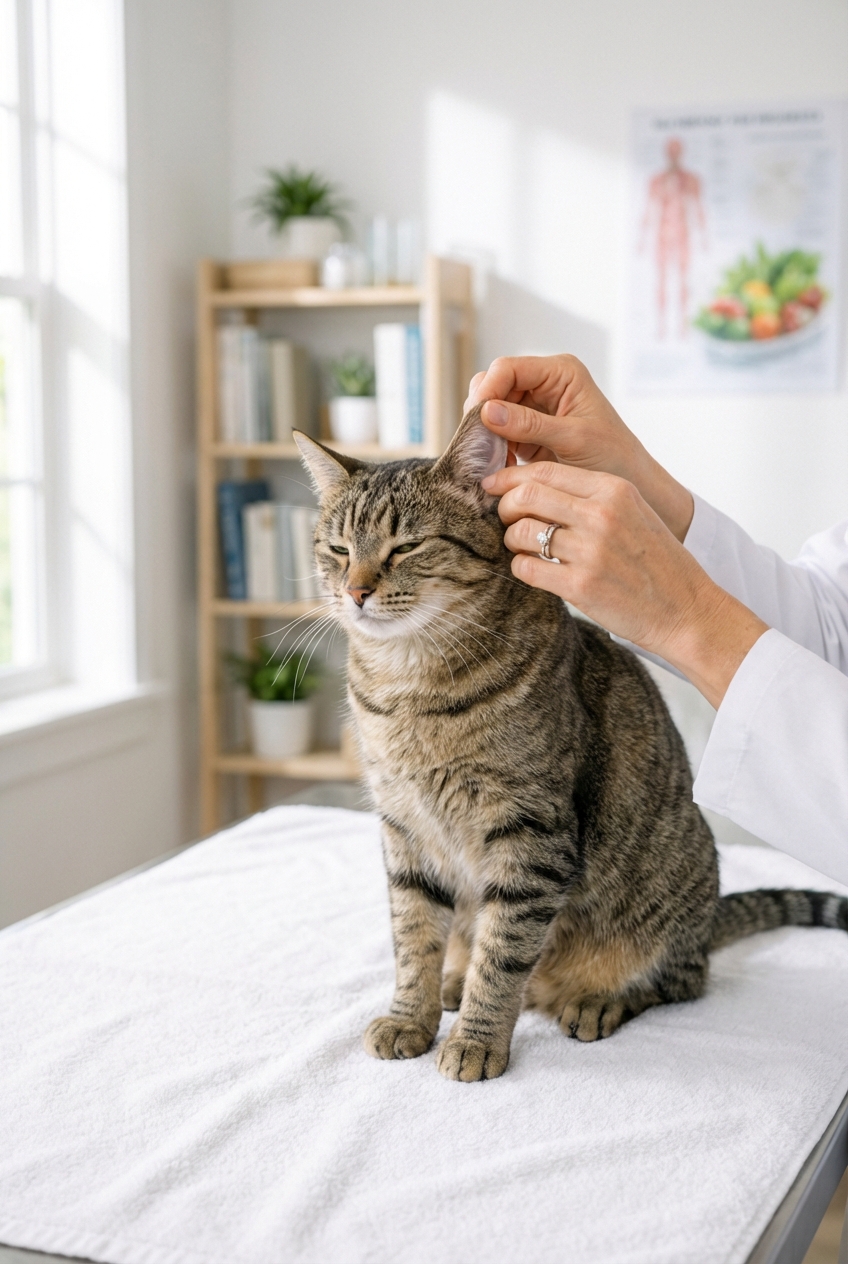
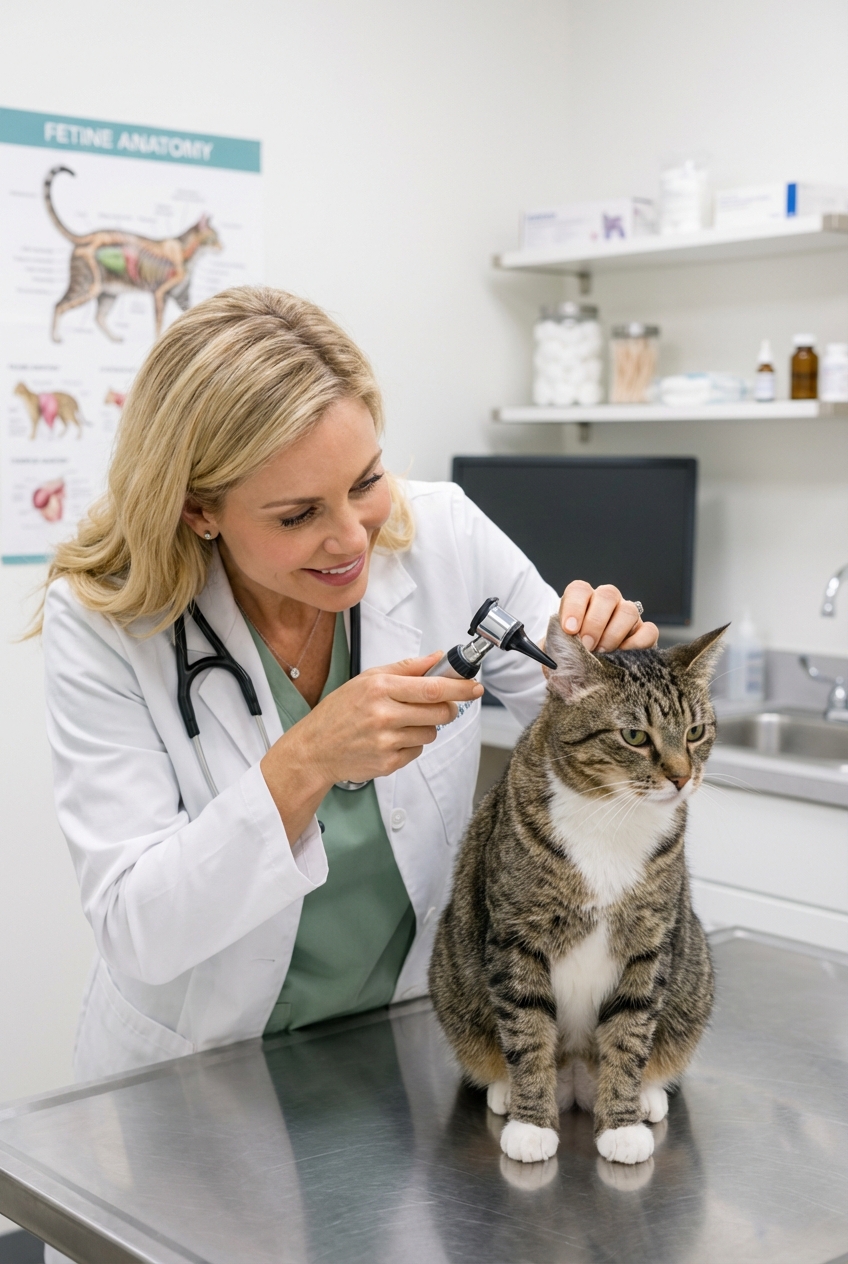
How vets confirm mites
Diagnosis is usually quick and straightforward. A veterinarian may use an otoscope to look into the ear canal and then check a sample of the debris under a microscope. Ear mites can often be seen moving on the slide.
This step matters because treatment changes depending on the cause. Treating for mites when the issue is bacterial or yeast infection can delay relief and may prolong discomfort and inflammation.
Most effective treatments
Ear mites are very treatable, but you need to use a product that actually kills mites and use it correctly for long enough to cover the mite life cycle.
1) Prescription topical preventives
Many vets recommend a topical parasiticide applied to the skin (usually on the back of the neck). These products can treat ear mites and may also cover fleas, some intestinal parasites, and other pests depending on the specific medication.
- Pros: easy to apply, less wrestling, treats the whole body
- Cons: needs correct dosing and veterinary guidance, not every product is safe for every cat
Timeline note: some prescription topicals work with one dose, while others require a second dose a few weeks later. Your vet will pick the right schedule for your cat and the product used.
2) Prescription ear drops
Some cats do well with medicated ear drops that kill mites. These can work very well, but only if you can apply them as directed. Missing doses is a common reason treatment “fails.”
Medication safety heads-up: never use dog-only products on cats, and avoid OTC products that contain permethrin (very toxic to cats) or other ingredients your vet has not approved. Also, some ear medications are not safe if the eardrum is ruptured, which is another reason an exam matters.
3) Treating infection and inflammation
When the ear canal is very inflamed, your cat may also need medication for bacterial or yeast infection, plus something to reduce swelling and discomfort. This is where a veterinary exam really pays off.
If your cat is in pain when the ears are touched, do not push through at home. Painful ears deserve a vet visit, not a wrestling match.
And yes, treating early helps reduce the risk of complications from intense scratching, including ear hematomas.
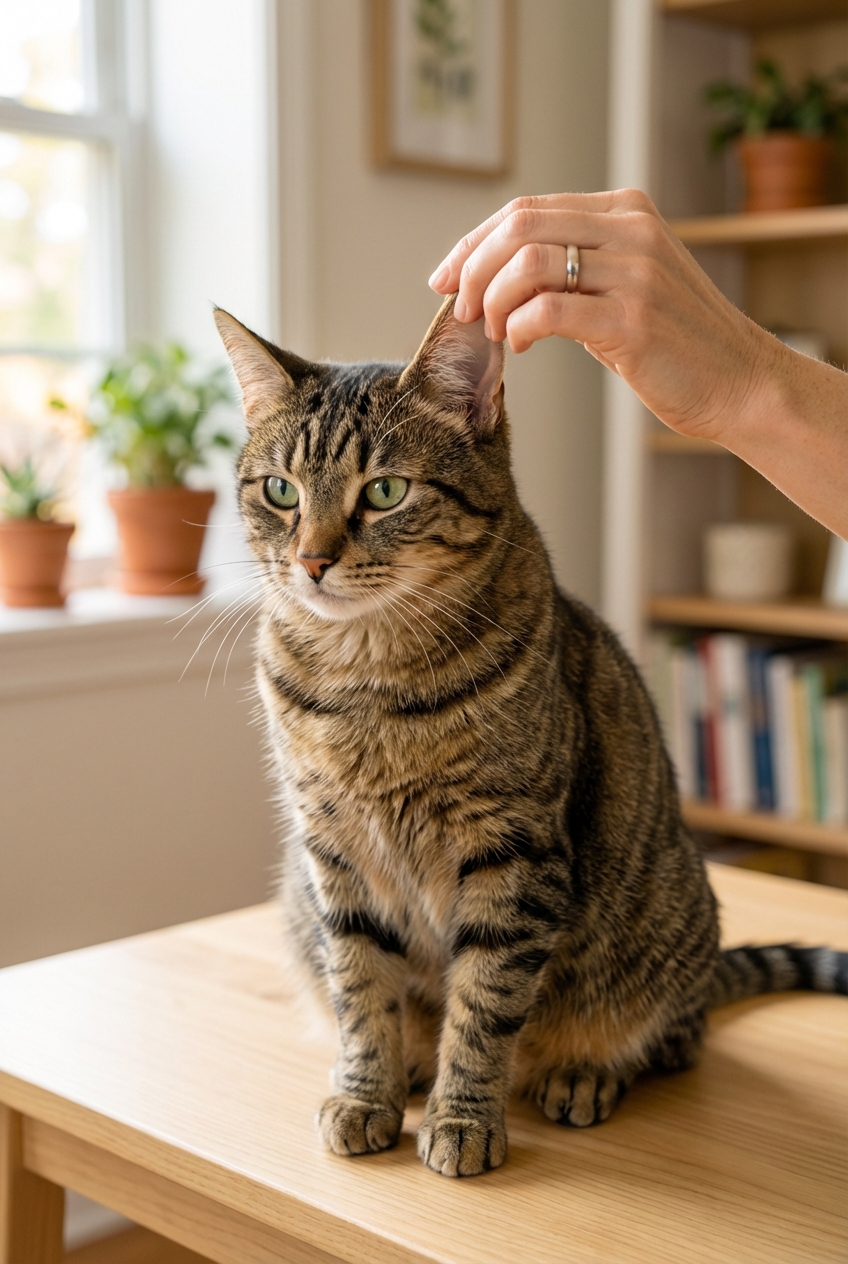
How to clean ears safely
Cleaning can remove debris and help medication reach where it needs to go, but it must be done gently. Never use cotton swabs down inside the ear canal. That can pack debris deeper or injure the eardrum.
Also, more is not better here. Over-cleaning or forceful flushing can irritate the ear canal. Follow your veterinarian’s directions on how often to clean.
Simple, safe steps
- Use a vet-recommended ear cleaner made for cats.
- Warm the bottle in your hands for a minute so it is not cold.
- Lift the ear flap, fill the ear canal with cleaner as directed.
- Massage the base of the ear for 20 to 30 seconds (you will hear a squishy sound).
- Let your cat shake their head.
- Wipe away loosened debris from the visible area using cotton balls or gauze.
Stop and call your vet if you see bleeding, significant swelling, pus, a foul odor, or your cat yowls in pain.

Do you need to treat all pets?
Usually, yes. Ear mites spread mainly through close contact, and they are especially common in multi-cat households, shelters, and homes with kittens. If one pet has confirmed ear mites, ask your veterinarian whether the other pets should be treated too, even if they look fine.
Tip: cats and dogs can share ear mites, so do not forget your canine roommate if your vet advises household treatment.
Contagion and separation
If you can, limit close contact until treatment has started, especially with kittens or other pets with fragile immune systems. You do not have to panic or quarantine like it is a biohazard, but a little separation (and not sharing bedding for a few days) can help reduce “ping-pong” spread in busy multi-pet homes.
Home remedies to avoid
I completely understand the desire to try something quick from the pantry. But for ear mites, many home remedies are either ineffective, irritating, or risky.
- Hydrogen peroxide: can inflame delicate ear tissue.
- Alcohol: stings and can worsen irritation.
- Essential oils: many are toxic to cats, and concentrated oils can cause serious harm.
- Olive oil alone: may loosen debris but usually does not reliably eliminate mites and can delay effective treatment.
If you want a gentler plan, the safest route is still a vet-approved ear cleaner plus a proven mite medication.
How long treatment takes
Many cats look more comfortable within a few days of proper treatment, but full elimination can take longer. Treatment length depends on the medication used, your cat’s ear condition, and whether infection is also present. Follow the full course even if your cat seems “all better.” Stopping early is a top reason mites come right back.
Typical timeline
- Days 1 to 3: itching may start to improve, debris may still be present
- Week 1 to 2: noticeable improvement, less head shaking (many cats are much more comfortable by this point)
- Weeks 2 to 4: many treatment plans finish in this window, depending on whether you are using a single-dose topical, repeat-dose topical, or multi-day ear drops
Your vet may recommend a recheck exam to confirm the mites are gone, especially if symptoms were severe or if there was infection.
When it is urgent
Please seek veterinary care promptly if you notice:
- Head tilt, loss of balance, or walking “drunk”
- Swelling that closes off the ear canal
- Bleeding, open wounds, or intense pain
- Ear hematoma (a balloon-like swelling of the ear flap)
- Symptoms in a young kitten, senior cat, or immunocompromised cat
These can signal complications, infection, or deeper ear involvement.
Prevention
Once your cat is feeling better, prevention is your next win.
- Keep pets on a veterinarian-recommended parasite prevention plan if your cat is at risk.
- During treatment, wash bedding in hot water and vacuum soft surfaces as a helpful hygiene step.
- Remember that ear mites spread mainly through direct contact, so focus on treating pets your vet recommends.
- Schedule a recheck if itching returns, even mildly.
The bottom line: ear mites are common, treatable, and absolutely not something you have to battle forever. With the right diagnosis and consistent treatment, your cat can get back to comfortable ears and calmer days.