Teach a fast, reliable “Drop It” with trade-and-return training. Get step-by-step cues, reliability levels, games, common mistakes, and urgent safety gui...
Article
•
Designer Mixes
How to Teach a Dog to Leave It

Shari Shidate
Designer Mixes contributor
The “leave it” cue is one of the most loving things you can teach your dog. It helps prevent emergency vet visits, protects your pup from dangerous objects, and builds real-life manners that make walks and home life calmer for everyone.
And the best part is you can teach it without intimidation or harsh corrections. With a few minutes a day, you can build a reliable “leave it” that works around food, toys, and the random “mystery snack” on the sidewalk.
What “leave it” really means
When we teach “leave it,” we are teaching your dog to disengage from something they want and re-engage with you instead. That is impulse control, and it is a skill that improves with practice.
It is also different from:
- “Drop it”: your dog already has the item and releases it.
- “Wait”: a pause before doing something they are allowed to do.
- “Off”: get paws off a person or surface.
In everyday life, “leave it” can mean: skip the chicken bone, pass the trash, let the cat be, and come back to me.
Before you start
Choose rewards that matter
Use tiny, soft, high-value treats for training. Most dogs learn faster with something smelly and exciting like cooked chicken, freeze-dried liver, or a favorite commercial treat. Keep pieces pea-sized so you can do lots of reps without upsetting your dog’s stomach.
Pick a quiet space
Start in a low-distraction room. Training “leave it” on a busy sidewalk is like trying to learn math during a concert. We work up to distractions later.
Know your marker
Marking means you tell your dog, “That exact moment was correct.” You can say “Yes” or use a clicker.
Remember the safety rule
If the item is dangerous, do not gamble on training in the moment. Use management first: leash, gates, a covered trash can, and removing hazards. Training is what you do when you can practice safely.
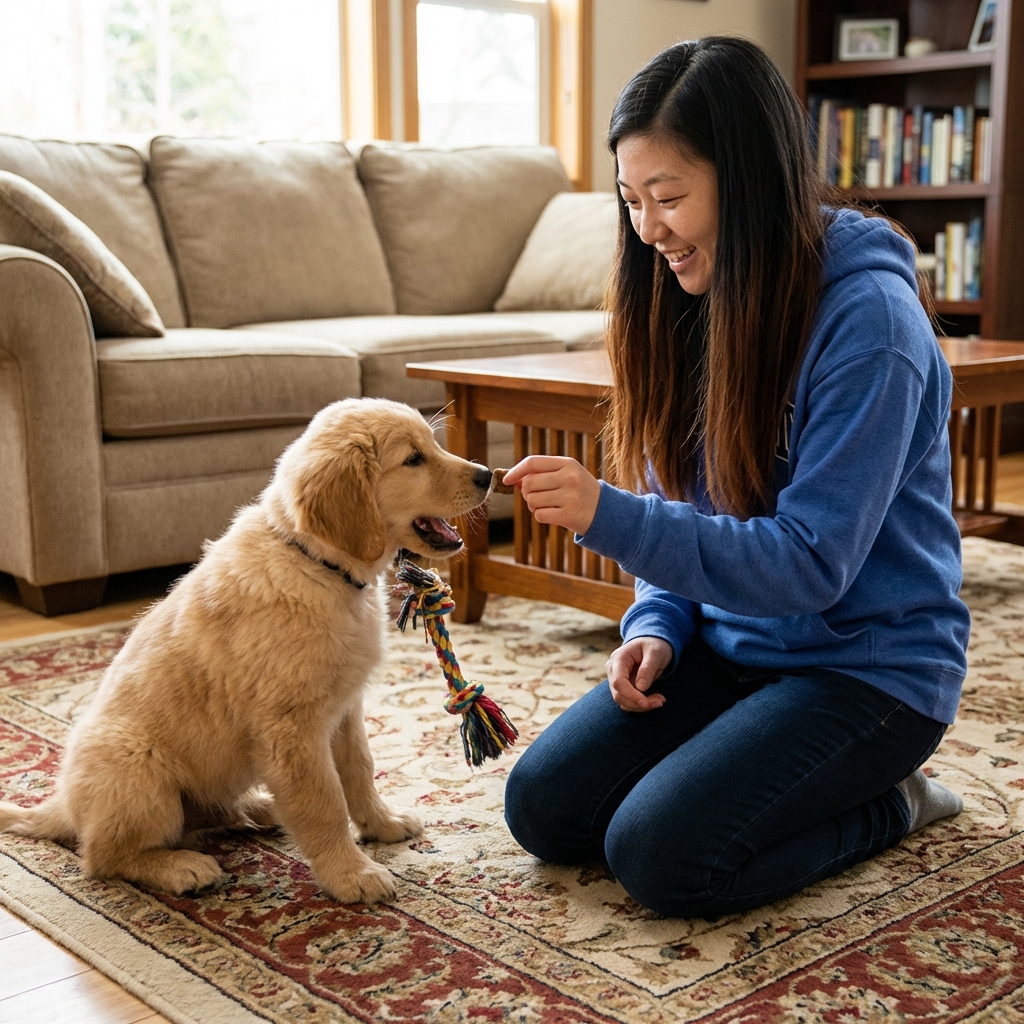
Teach “leave it” in your hand
This is a widely used, trainer-approved approach using positive reinforcement. Your dog learns that ignoring the tempting thing makes good stuff happen.
Step 1: closed fist
- Put a treat in your fist and close your hand.
- Let your dog sniff, lick, and investigate. Stay quiet and still.
- The moment your dog backs off even slightly (nose away, stops licking, looks away), say “Yes” (or click).
- Immediately give a different treat from your other hand.
Important: your dog should never get the treat that is inside the fist. That treat represents the thing you are leaving.
Step 2: add the cue
After a few successful reps, your dog will start to back off more quickly. Now say “leave it”, then present the closed fist. When your dog disengages, mark and reward.
Step 3: open hand
- Place the treat on your open palm.
- If your dog dives for it, calmly close your hand.
- When they back off, mark and reward from the other hand.
Do not scold. Your dog is learning through consequences: going for it makes it disappear, leaving it makes rewards appear.
Teach it on the floor
Once your dog can leave a treat in your hand, practice with a treat on the floor.
Step 1: treat on the floor, covered
- Put a treat on the floor.
- Cover it with your hand, your foot, or a lightweight object.
- Say “leave it.”
- When your dog stops trying to get it and looks away or looks at you, mark and reward from your hand.
Step 2: uncover briefly
Start uncovering the treat for one second at a time. If your dog goes for it, cover again. When your dog can stay disengaged, reward generously.
Step 3: add movement
Real temptations move. Practice gently rolling a treat a few inches. Ask for “leave it,” and reward when your dog holds back and checks in with you.
Add a release cue
To reduce frustration and make the rules clear, teach a release word like “take it” or “okay”. Sometimes your dog will hear “leave it” (do not go for that), and other times they will hear the release (now you can have it). This helps “leave it” stay calm and conflict-free.
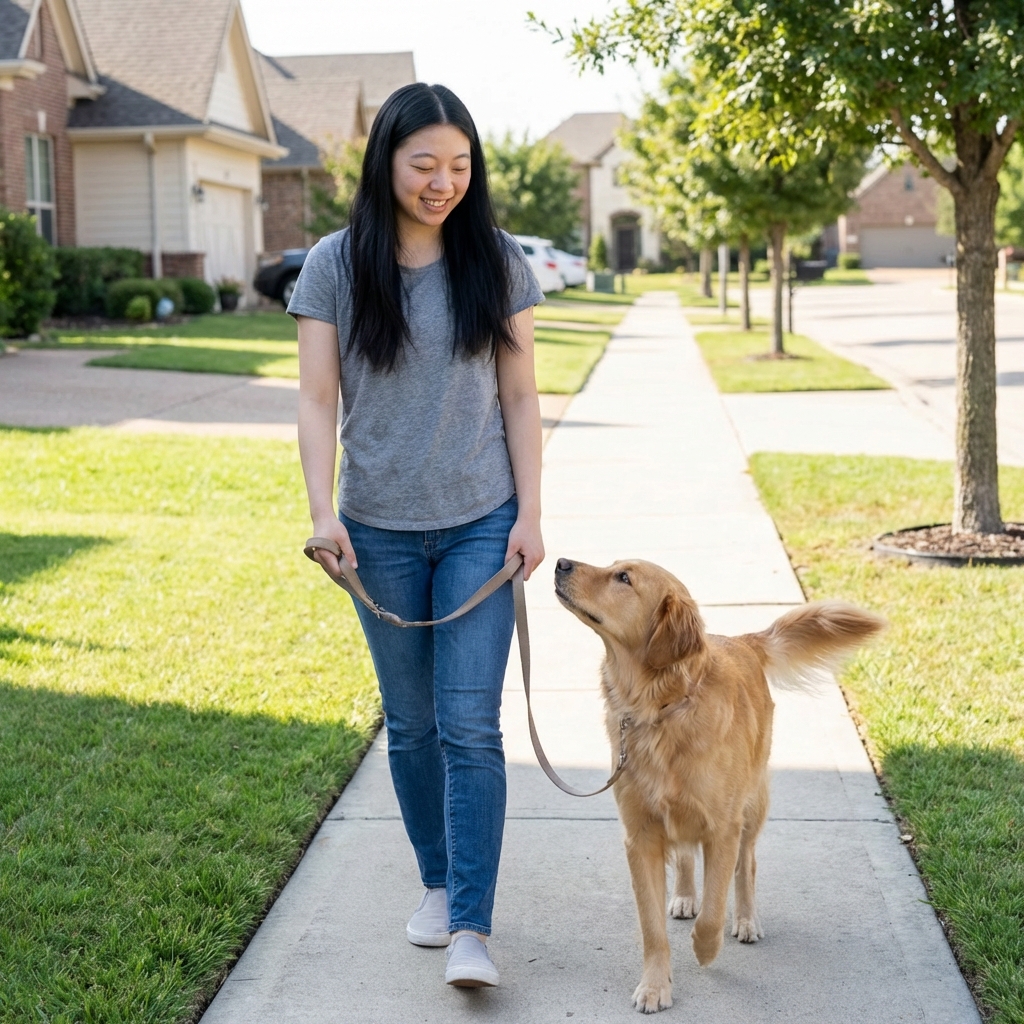
Use it on walks
Walks are where “leave it” becomes a safety cue. Here is how to translate indoor success to the sidewalk.
Start at a distance
If you see something tempting (food scraps, a squirrel, another dog), create space first. Distance lowers arousal and makes learning possible.
Use the 3-step plan
- Spot it early: notice the distraction before your dog is already lunging.
- Say the cue once: “Leave it.” Keep your voice calm.
- Pay the choice: the moment your dog looks away and back to you, mark and reward. You can also reward by moving away from the distraction if that is what your dog wants.
If your dog cannot respond, that is not stubbornness. It usually means the distraction is too close or too exciting. Increase distance and try again.
Troubleshooting
If your dog paws or barks
That usually means the exercise is too hard or too frustrating. Make it easier by using a lower-value treat, covering the item sooner, or switching back to the closed fist for a few reps. Keep sessions short so your dog can win.
If your dog will not disengage
Do not repeat the cue. Increase distance, block access, and reset. You can also raise the value of your reward, or practice when your dog is a little less hungry or less keyed up.
If your dog grabs the item
Stay calm. Use management to prevent rehearsal next time (leash, gates, cleaner floors). If it is safe, switch to “drop it” and trade for something better rather than chasing your dog.
Common mistakes
Repeating the cue
Saying “leave it, leave it, leave it” teaches your dog they can ignore the first two. Say it once, then help them succeed by covering the item, increasing distance, or using a leash to prevent access.
Moving too fast
If you jump from “treat in my hand” to “pizza crust on a busy street,” your dog is going to struggle. Progress in small steps and celebrate the tiny wins.
Using it like punishment
“Leave it” should predict good outcomes, not anger. If your dog thinks “leave it” means you are upset, they may guard items or run away with them.
Letting them self-reward
If your dog sometimes gets the forbidden item, that behavior gets stronger. Management matters: leash up, block access, and keep floors clear while training.
Proof it in real life
Dogs do not automatically generalize skills. Once “leave it” is solid, practice in new rooms, with different objects, with different people, and with increasing levels of distraction. Keep the difficulty low enough that your dog can succeed, and build up gradually.
When it matters most
- Trash and food scraps: can help reduce the risk of stomach upset like vomiting and diarrhea, and may help avoid flare-ups in dogs prone to pancreatitis.
- Household toxins: medications, chocolate, grapes and raisins, xylitol products, cleaning supplies.
- Wildlife and other pets: safer interactions and fewer chase incidents.
- Chewing hazards: socks, kids’ toys, string, and cooked or brittle bones that can splinter.
If you suspect your dog swallowed something dangerous, contact your veterinarian or an animal poison hotline right away. Training is powerful, but it is not a substitute for medical care.
If your dog growls, snaps, or guards items, do not turn “leave it” into a confrontation. Focus on safety and management, and reach out to a qualified positive reinforcement trainer or a veterinary behaviorist for help.
7-day practice plan
Consistency beats marathon training sessions. Aim for 3 to 5 minutes at a time, 1 to 2 times daily.
- Days 1 to 2: closed fist only, 10 to 15 reps.
- Days 3 to 4: open palm, add “leave it,” 10 to 15 reps.
- Days 5 to 6: floor work with covering and short uncovering.
- Day 7: add mild distractions, like a toy nearby, or practice in the backyard.
Stay kind and patient. Your dog is practicing self-control, and that is hard work.
Care tip
Training goes best when your dog feels good. If your pup seems unusually frantic about food, unable to settle, or suddenly “forgetting” cues, consider basic wellness factors like sleep, exercise, and diet consistency. Some dogs also act extra food-seeking if they are nauseated or anxious. If something feels off, it is worth checking in with your veterinarian.
Teaching “leave it” is not about control. It is about trust: your dog learns that listening to you leads to safety and good things.