Make walks calmer and safer with a reliable heel. Learn cues and release words, the best rewards and gear, step-by-step training, plus fixes for pulling, lag...
Article
•
Designer Mixes
How to Teach a Dog to Heel

Shari Shidate
Designer Mixes contributor
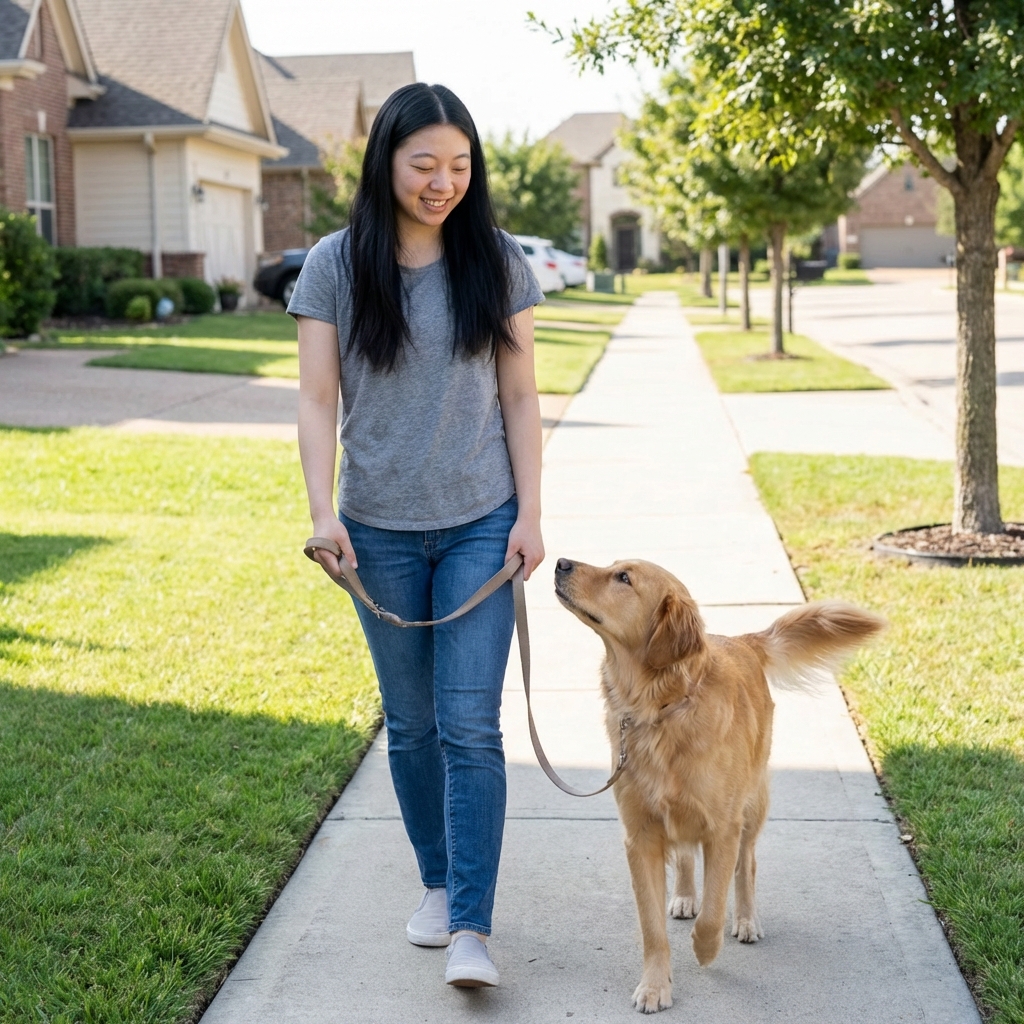
Heel is one of those skills that looks “advanced,” but it is clear communication plus lots of tiny wins. When your dog understands where you want them and gets rewarded for choosing that spot, heeling becomes a calm, connected walk instead of a tug-of-war.
As a veterinary assistant here in Frisco, Texas, I also love heel work because it is more than manners. It is safety. A solid heel can help you navigate busy sidewalks, vet visits, reactive moments, and crowded events with less stress for everyone.
What “heel” really means
Heel means your dog walks close to your side (usually the left), with their shoulder roughly in line with your leg, staying with you when you stop, turn, or change pace. It is focused walking, not sniffing time.
That said, you get to define your criteria. A competition-style heel is stricter and more precise. A functional “real life” heel can be a little looser, as long as your dog is safely with you and not pulling.
For everyday life, many trainers use two skills:
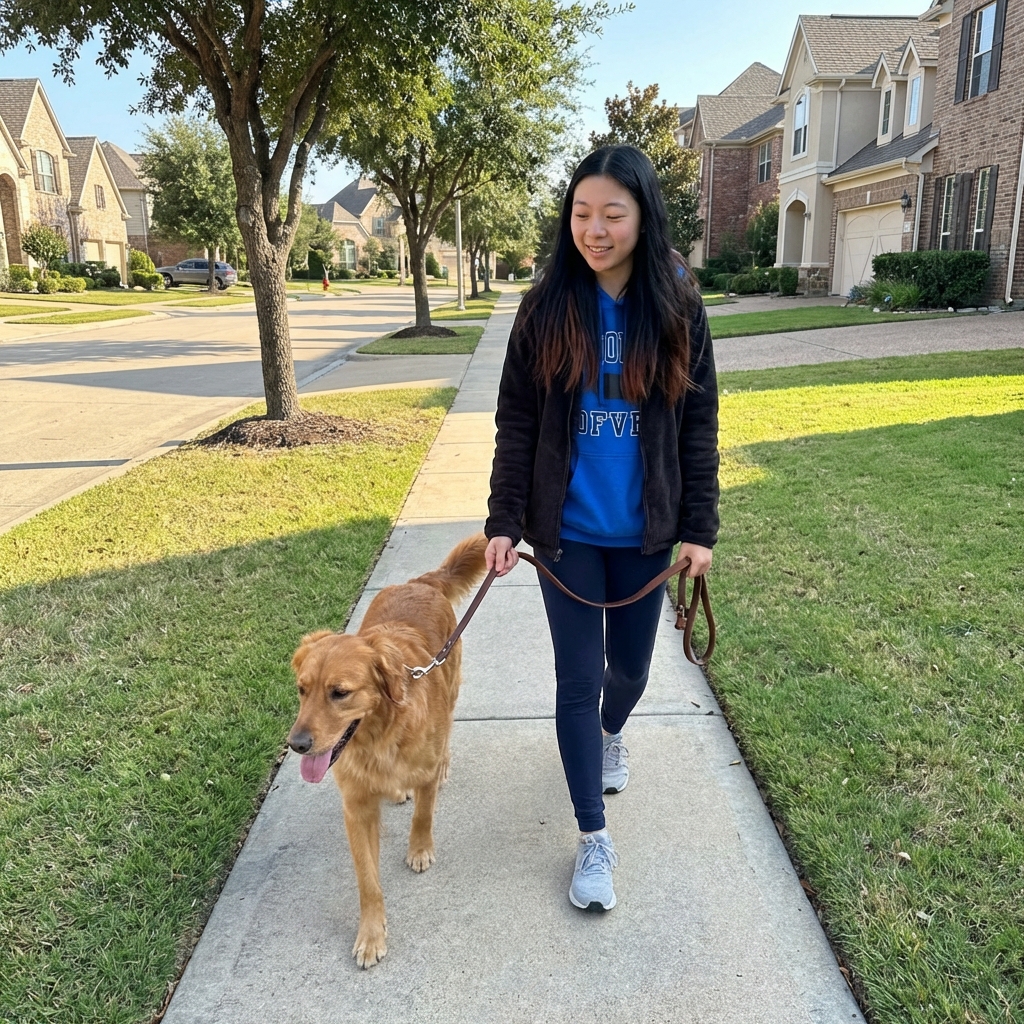
- Loose-leash walking: the leash stays slack and your dog can sniff and explore.
- Heel: your dog is “clocked in” next to you for short periods when you need control and attention.
That distinction matters because dogs need enrichment. If every walk is strict heel, many dogs get frustrated. Think: heel for passing distractions, then release to sniff.
Before you start
Gear that makes training easier
- Front-clip harness or a flat collar (for dogs that do not pull hard). Avoid choke or prong tools unless you are working directly with a qualified professional, and only if it is truly appropriate for your dog. Improper use can cause injury and behavior fallout.
- 6-foot leash (skip retractables for training).
- Treat pouch and high-value treats you can deliver fast (tiny pieces of chicken, cheese, freeze-dried liver).
- Optional clicker or a consistent marker word like “Yes.”
Vet-friendly treat note: keep pieces pea-sized, factor training treats into your dog’s daily calories, and avoid anything with xylitol. If your dog has a sensitive stomach or a history of pancreatitis, ask your veterinarian about safer, leaner options.
Pick the right spot
Start indoors or in a quiet driveway where your dog can focus. Increase distractions in layers: indoors, driveway, quiet street, then busier areas.
Keep it short
Most dogs learn faster with 3 to 5 minutes at a time, a few times a day. Quit while your dog still wants more.
Puppies: keep heel extra brief and fun. Focus on positive associations and good mechanics. Your puppy’s body is still developing, so think seconds, not minutes.
Step-by-step
1) Teach the position
Start with your dog in front of you. Hold a treat at your dog’s nose and slowly guide them to your left side so their shoulder lines up near your left leg.
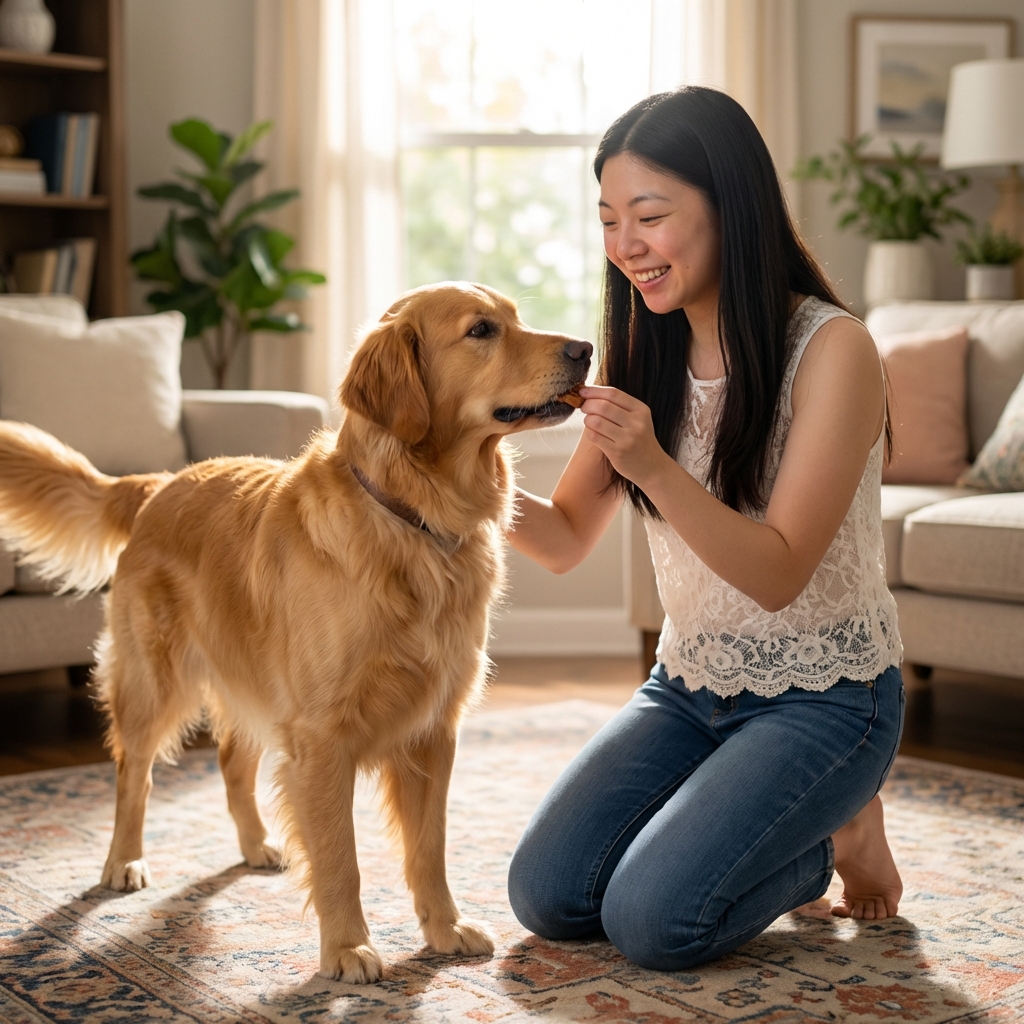
- The moment they land in the right spot, mark (“Yes”) and reward.
- Feed the treat right next to your left leg so the reward happens in heel position.
- Repeat until your dog starts “snapping” into position because they know where the paycheck is.
Lure safety tip: keep the lure at nose level and close to your body. Avoid pulling your dog’s head up or back in a way that could strain their neck.
If your dog swings wide or bumps you, that is normal. Just reset and guide more slowly.
2) Add one step
With your dog in position, take one step forward. If your dog stays aligned, mark and reward.
Build a pattern like this:
- Position
- One step
- Mark
- Reward at your left leg
3) Add steps slowly
Go from 1 step to 2 steps to 3 steps, not 1 to 10. If your dog falls out of position, you increased difficulty too fast. Drop back to an easier level and rebuild.
4) Add stops and turns
Dogs do not automatically understand that your body changes matter. Teach them directly:
- Stop: Take 2 to 3 steps, stop, and reward when your dog stops with you.
- Left turn: Turn left (this helps many dogs because it naturally draws them in).
- Right turn: Turn right more slowly at first so your dog can keep up without forging ahead.
- About turn: Turn around and reward when your dog reconnects at your side.
5) Add the cue
Hold off on saying “heel” until your dog is reliably finding the position and taking a step or two with you. Then say “heel” once, pause a beat, and move. Mark and reward when your dog matches up. This helps prevent teaching your dog that “heel” is background noise.
Rewards and release
Use rewards without creating a treat dependency
In the early stages, treat a lot. That is how your dog learns what “right” feels like. Once your dog understands heel, start spacing out rewards.
Try this progression
- Stage 1: reward every 1 to 2 steps.
- Stage 2: reward every 3 to 5 steps.
- Stage 3: mix it up, sometimes 2 steps, sometimes 8 steps.
- Stage 4: reward with real-life things too, like being released to sniff.
The goal is not “no treats ever.” The goal is a dog who stays engaged because heel pays well, even if the paycheck is sometimes food and sometimes freedom.
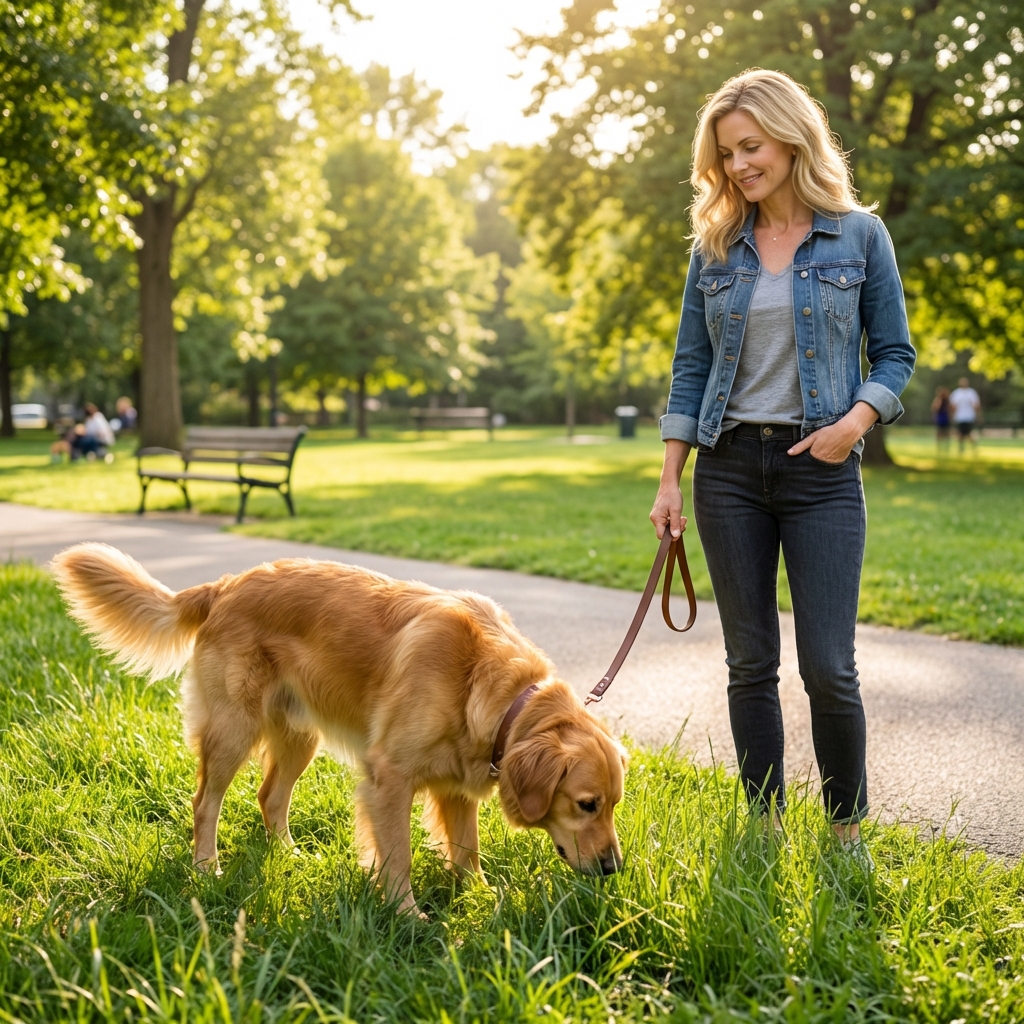
Teach a clear release cue
Pick a phrase like “Go sniff” or “Break.” Say it once, relax your body, and let the leash out a bit so your dog can explore. Heel starts again only when you cue it again.
Handler mechanics
- Reward hand: Many people reward with the left hand since it is closest to heel position, but either hand works if the treat lands by your left leg.
- Posture: Keep your shoulders square and your pace steady. Dogs read your body more than your words.
- Leash feel: Aim for a soft J-shape. If you feel tension, slow down and reset rather than pulling your dog back into place.
Common problems
My dog forges ahead
- Reward closer to your leg, not out in front.
- Do more left turns and surprise direction changes.
- Practice in a less exciting environment and rebuild.
My dog lags behind or sits
- Use higher-value treats and a happier tone.
- Reduce duration. Reward after 1 to 2 steps again.
- Check comfort: if your dog seems stiff or reluctant to move, talk to your veterinarian to rule out pain.
My dog jumps for treats
- Deliver treats low and calm, right at your seam line (side of your pants).
- Reward only when four paws are on the ground.
My dog gets distracted outside
- That is normal. Lower distractions and increase reward value.
- Train engagement: mark and reward any voluntary check-in.
- Use short “heel bursts” outside, then release to sniff.
Simple walk routine
If you want something easy to follow, here is a realistic routine that works for many families:
- Start of walk: 10 to 20 seconds of heel, reward often.
- Release cue (like “Go sniff”): give 2 to 5 minutes of loose-leash sniff time.
- Passing people or dogs: ask for heel, keep it short, reward, then release again.
- Crosswalks and corners: heel for safety, reward at the curb.
This approach is kind to your dog’s brain. It gives structure when you need it, and enrichment when you do not.
Quick questions
How long does it take?
Many dogs can learn the basics in a few weeks with consistent short sessions. A reliable heel around distractions commonly takes 1 to 3 months, and some dogs need longer, especially adolescents, very distractible dogs, or dogs with a long history of pulling.
Should I say “heel” the whole time?
No. Say “heel” once as the cue, then reward the behavior. Repeating the word teaches your dog that the first few “heels” do not count.
Which side should my dog heel on?
Traditionally it is the left, but you can choose right if it fits your life. The key is consistency. Some people teach both sides using different cues like “heel” and “side.”
Is heel bad for my dog’s body?
Not when it is done in short, happy bursts with a loose leash and natural movement. Avoid forcing a tight head position or yanking the leash. If your dog has orthopedic issues, ask your veterinarian what is appropriate.
What if my dog is reactive?
Heel can help you move away smoothly, but it is not a complete treatment plan for reactivity. If your dog is barking, lunging, or panicking, consider working with a credentialed positive-reinforcement trainer. Safety and emotional health come first.
When to get help
Reach out to your veterinarian or a qualified trainer if:
- Your dog suddenly stops wanting to walk, slows down, or seems painful.
- Pulling is extreme and you are worried about injury.
- Your dog shows fear, aggression, or intense reactivity around people or dogs.
Good training should make walks feel calmer and more connected, not more stressful. You and your dog deserve that.