Step-by-step dog tick removal with tweezers, what to do if mouthparts remain, aftercare warning signs, and proven prevention plus home and yard tick control ...
Article
•
Designer Mixes
How to Remove an Engorged Tick From a Dog

Shari Shidate
Designer Mixes contributor
If you have ever found a swollen, gray or brown tick attached to your dog, your stomach probably dropped a little. I get it. Engorged ticks look alarming, and they can transmit diseases. The good news is that removing a tick is very doable at home when you have the right tools and a calm, step-by-step plan.
This handbook walks you through pet-friendly (and people-safe) tick removal, what to do with the tick afterward, what signs to watch for, and how to prevent the next one.
First, what “engorged” means
Ticks start out small and flat. After feeding on blood, they swell and look rounder, larger, and often shiny. Many engorged ticks look gray, blue-gray, or brown, and they can resemble a tiny grape tucked into the fur.
An engorged tick has typically been attached for many hours and sometimes a couple of days. That longer attachment time matters because many tick-borne infections are more likely the longer a tick stays attached. Still, transmission timing is disease-dependent, and some pathogens may transmit sooner than others.
That said, don’t panic. Your goal is simple: remove the tick promptly and cleanly (close-to-skin grip, steady removal, and good aftercare), then monitor your dog.
Before you remove it: quick safety check
When to call your vet instead of DIY
- Your dog is in significant pain when you touch the area, or the tick is inside the ear canal, eyelid margin, or another delicate spot.
- You suspect there are many ticks or your dog seems weak, pale, or lethargic.
- Your dog has a history of tick-borne illness, is immunocompromised, or is a very young puppy.
- You cannot confidently grasp the tick with tools, or the tick is deep between toes and you cannot see what you are doing.
Why “folk remedies” can backfire
Please skip burning, nail polish, petroleum jelly, alcohol directly on the tick, essential oils, or “smothering” methods. These approaches can irritate the tick and may increase salivation or regurgitation into the bite site, which is the opposite of what we want.
What you need (simple tick removal kit)
- Fine-tipped tweezers or a tick removal tool (tick hook or tick key)
- Disposable gloves if available
- Isopropyl alcohol (for the tick after removal and for cleaning tools, not for soaking the tick while it is attached)
- Soap and water or pet-safe antiseptic for the skin (chlorhexidine solution is commonly used in clinics, but dilute and use it per label or your vet’s directions)
- Small container with a lid (pill bottle or small jar) to save the tick
- Paper towel
- Treats to keep the experience positive
Step-by-step: how to remove an engorged tick from your dog
1) Get your dog comfortable and still
Choose good lighting. If possible, have a helper hold your dog gently. Offer treats before, during, and after. Calm is not just nice, it reduces the chance of slipping and leaving mouthparts behind.
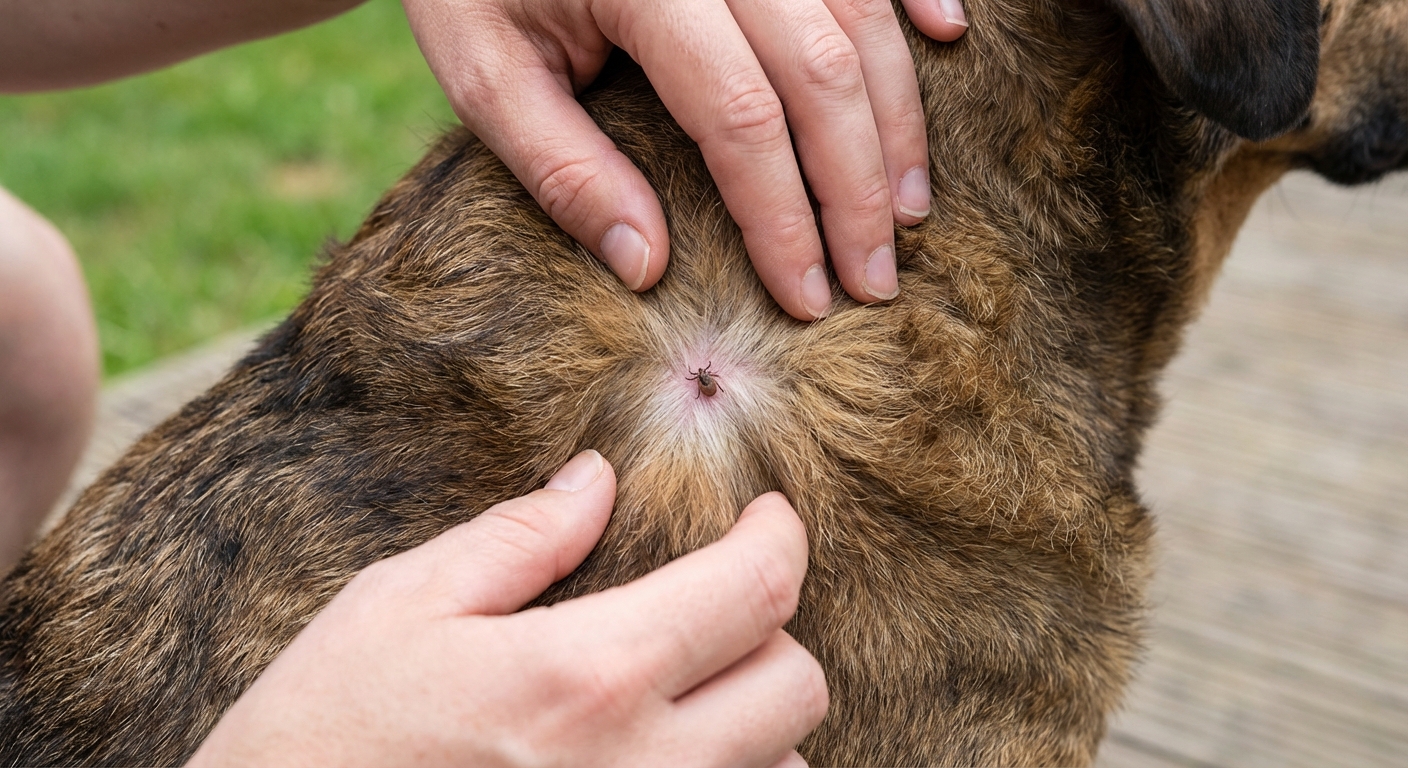
2) Part the fur and find where the tick meets the skin
You want to see the tick’s attachment point. Engorged ticks can look like a small gray or brown grape stuck in the coat. The important part is the tiny area where the tick’s mouth is anchored in the skin.
3) Grab the tick close to the skin
If you are using tweezers: grasp the tick as close to your dog’s skin as possible. Aim for the head and mouth area, not the swollen body. As a precaution, avoid squeezing the body because it can potentially push irritants or fluids into the bite site.
If you are using a tick hook or tick key: position the tool as directed so it slides under the tick at the skin level. Different tools have different techniques, so follow the package instructions.
4) Remove with steady pressure
With tweezers: pull straight out with slow, steady pressure. Do not twist, jerk, or yank. It can take a few seconds for the tick to release.
With a tick hook: some are designed to use a gentle lifting and twist or lever motion. Again, follow the tool’s instructions for the safest removal.
5) Check the tick and the skin
Look at the tick. Ideally, it comes out intact. Look at the bite site. A tiny scab or mild redness is common.
What if the head breaks off?
This happens sometimes, even with perfect technique. If you see a small dark speck that looks like a splinter:
- Do not dig aggressively with a needle or sharp tool, especially if your dog is wiggly.
- Clean the area and monitor. Often the body will expel tiny remnants naturally, like it does with a splinter.
- Call your vet if you see increasing swelling, pus, significant pain, or the area is on a sensitive spot (eye, ear, between toes).
Aftercare: clean up and keep your dog safe
Clean the bite site
Wash with soap and water, or use a pet-safe antiseptic. If you use chlorhexidine, use it as directed (label or vet instructions). Avoid harsh chemicals on broken skin.
Also, resist the urge to apply antibiotic ointments, steroid creams, or tightly bandage the spot unless your vet recommends it. Simple, clean, and dry is usually best.
Clean your tools and hands
Disinfect tweezers and wash your hands well. Wear gloves if you have them, and keep ticks away from kids and other pets during cleanup. Ticks can carry pathogens that affect people too.
Do not crush the tick with your fingers
Instead, place it in a sealed container.
- For longer storage or if your vet may want it: add a small amount of rubbing alcohol to preserve the tick.
- For short-term, same-day ID: a dry container also works. (If you use a zip bag, keep it sealed and handle it carefully.)
Save the tick (yes, really)
If your dog gets sick later, knowing the tick’s appearance, attachment location, and when it was removed can help your veterinarian. Take a quick phone photo of the tick and the bite site too.
What to watch for over the next 30 days
Most dogs are totally fine after tick removal. Still, because ticks can transmit disease, monitor for signs that warrant a veterinary call, especially if you live in a high-tick area.
Call your vet if you notice
- Lethargy or unusual tiredness
- Fever (the most reliable way to check is with a rectal thermometer). Many vets consider 103°F (39.4°C) or higher a fever in dogs, but follow your clinic’s guidance.
- Loss of appetite
- Lameness, stiffness, swollen joints, or reluctance to move
- Vomiting or diarrhea that does not resolve quickly
- Swollen lymph nodes
- Bruising, nosebleeds, or unusual bleeding
- Dark urine or pale gums
Local skin reaction
A small red bump can occur. Contact your vet if redness expands, the area becomes hot, oozes, or your dog obsessively licks it.
Go in urgently if you see
Severe facial swelling, widespread hives, repeated vomiting, collapse, or any breathing difficulty. Serious allergic reactions are uncommon, but they are emergencies.
Common questions I hear all the time
How long does it take for a tick to engorge?
It varies by tick species and life stage, but engorgement generally suggests the tick has been attached for at least many hours. The sooner you remove it, the better.
Should I put anything on the tick to make it back out?
No. The safest approach is mechanical removal with tweezers or a tick tool.
Should my dog be tested right away?
Not always. Many tick-borne disease tests look for antibodies that can take time to develop. Your vet will advise based on symptoms, your region, and your dog’s prevention status. If your dog becomes symptomatic, call promptly.
Is one tick a big deal?
One tick can be enough to transmit disease, but the risk is not the same in every region and situation. Remove, document, and monitor. Prevention going forward is the biggest win.
Prevention: the most pet-friendly strategy is consistency
As a veterinary assistant, I can tell you this is where families see the biggest difference. Tick removal is important, but tick prevention is what protects your dog week after week.
Use a vet-recommended preventive
Talk with your veterinarian about what is best for your dog’s age, weight, lifestyle, and local tick species. Options include oral chewables, topical products, and some vet-recommended tick collars. Avoid mixing products unless your vet instructs you to.
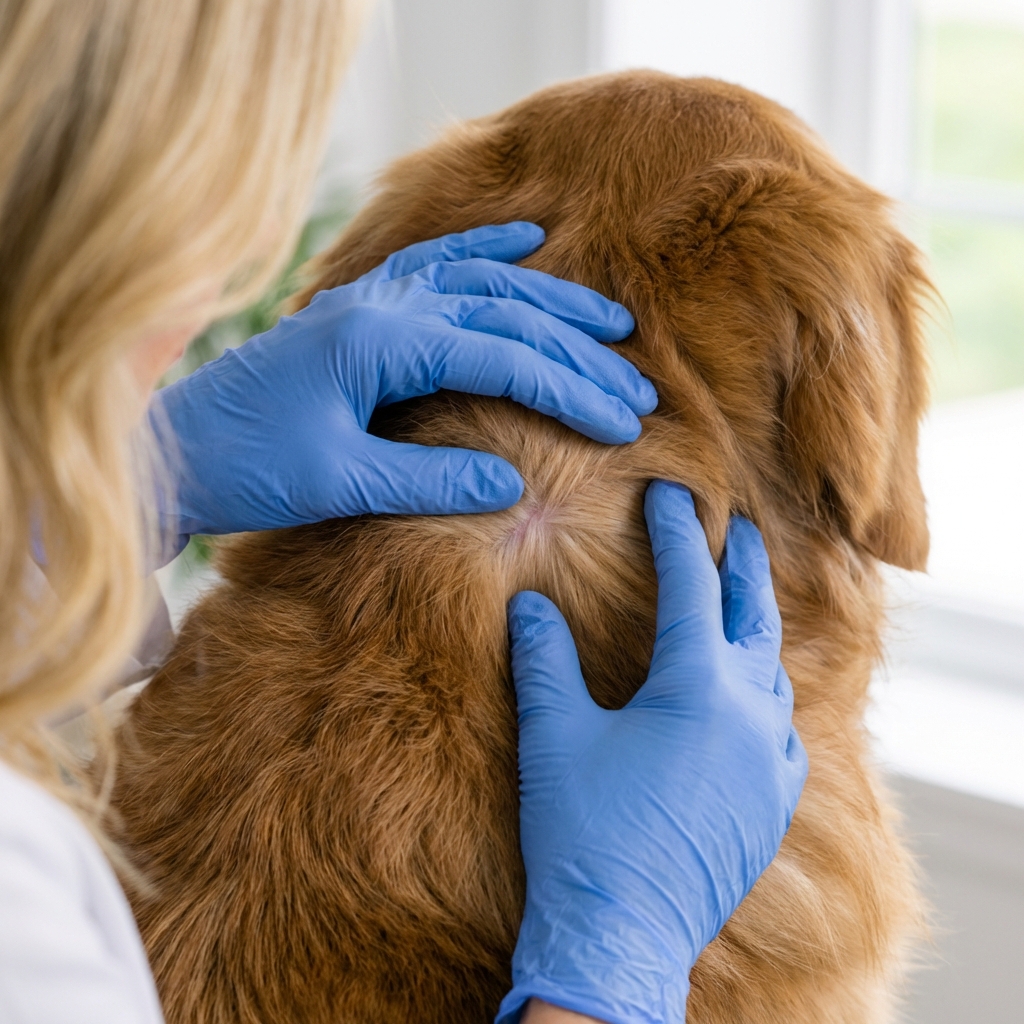
Do daily tick checks
Especially after walks in tall grass, brushy trails, parks, or wildlife-heavy yards. Focus on:
- Head, ears, and under the collar
- Armpits and groin
- Between toes and paw pads
- Base of tail
Yard habits that help
- Keep grass trimmed and remove leaf litter
- Create a gravel or mulch barrier between woods and lawn
- Discourage wildlife that carries ticks (secure trash, avoid leaving food outdoors)
A calm plan makes all the difference
Finding an engorged tick is unsettling, but you are not powerless. With steady technique, you can remove the tick safely, clean the area, and keep a careful eye out for symptoms. If anything feels off, trust your gut and call your veterinarian.
If you want, take a clear photo of the tick on your dog before removal, plus a photo after removal of the tick itself. Those two pictures can be surprisingly helpful if your vet needs to guide next steps.