
Step-by-step dog tick removal with tweezers, what to do if mouthparts remain, aftercare warning signs, and proven prevention plus home and yard tick control ...
Article
•
Designer Mixes
How To Remove a Tick on a Dog

Shari Shidate
Designer Mixes contributor
As a veterinary assistant here in Frisco, Texas, I can tell you ticks are one of those “tiny problems” that can quickly turn into a big worry for families. The good news is that removing a tick safely is usually simple, and you can do it at home with calm, steady steps.
This guide is family-friendly on purpose. I will walk you through what to do, what not to do, how to keep your dog relaxed, and when it is time to call your veterinarian.
Before you start
Why quick, gentle removal matters
Ticks attach by inserting mouthparts into the skin and feeding. In general, the risk of disease transmission can increase the longer a tick is attached, so it is worth acting sooner rather than later. The goal is prompt, mechanical removal with tweezers or a tick tool.
What you need
- Fine-tipped tweezers or a tick removal tool
- Disposable gloves (optional but helpful)
- Rubbing alcohol or soap and water
- Dog-safe antiseptic (your vet can recommend one)
- A small jar or zip bag to save the tick
- Treats and a helper if your dog is wiggly
Family tip: If kids want to help, give them a safe job like holding the treat pouch, timing 30 seconds of calm petting, or handing you supplies. Keep tick handling to an adult.
Quick safety note: If you use peanut butter as a distraction, double-check the label. Xylitol is toxic to dogs, and some peanut butters contain it.

How to remove a tick safely
Step-by-step
- Keep your dog still and comfortable. Choose a well-lit area. Use calm voices. Offer a lick mat, xylitol-free peanut butter spread thinly on a plate, or small treats to keep your dog focused.
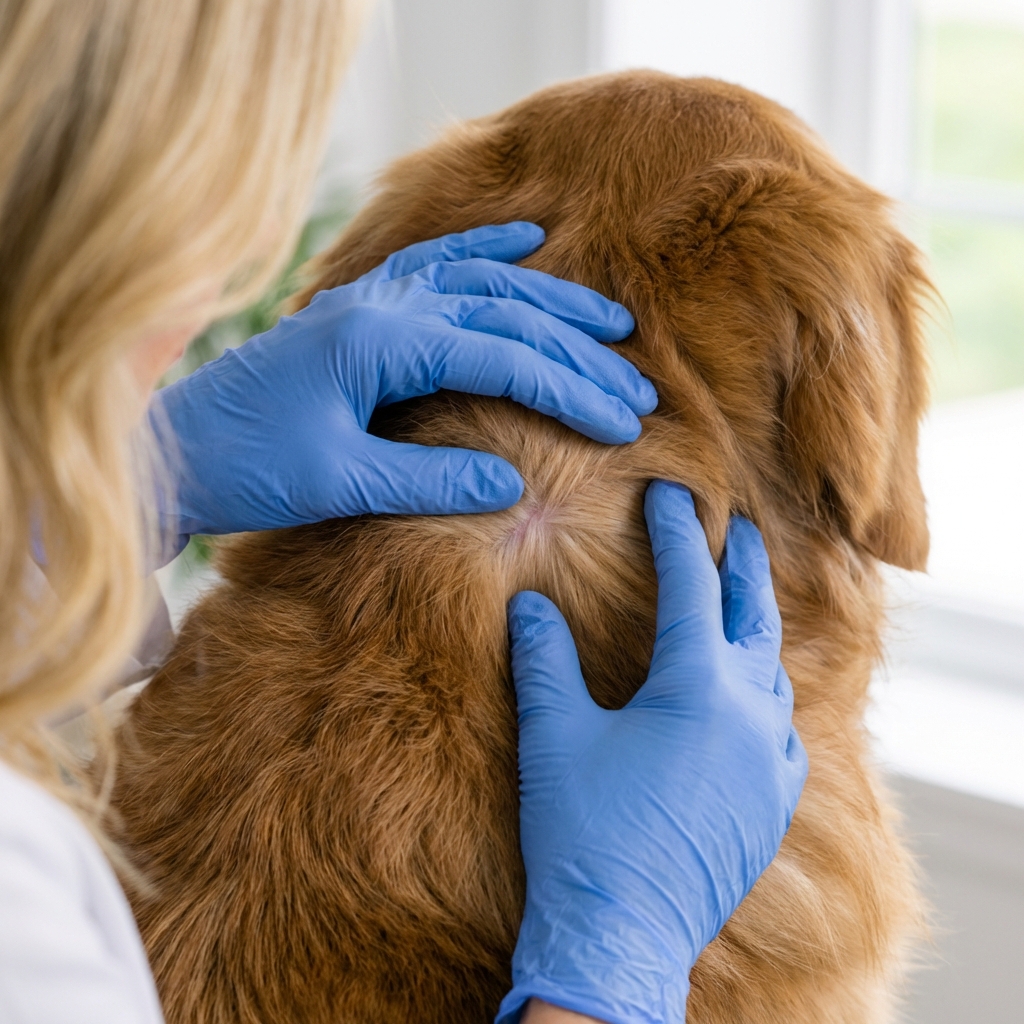
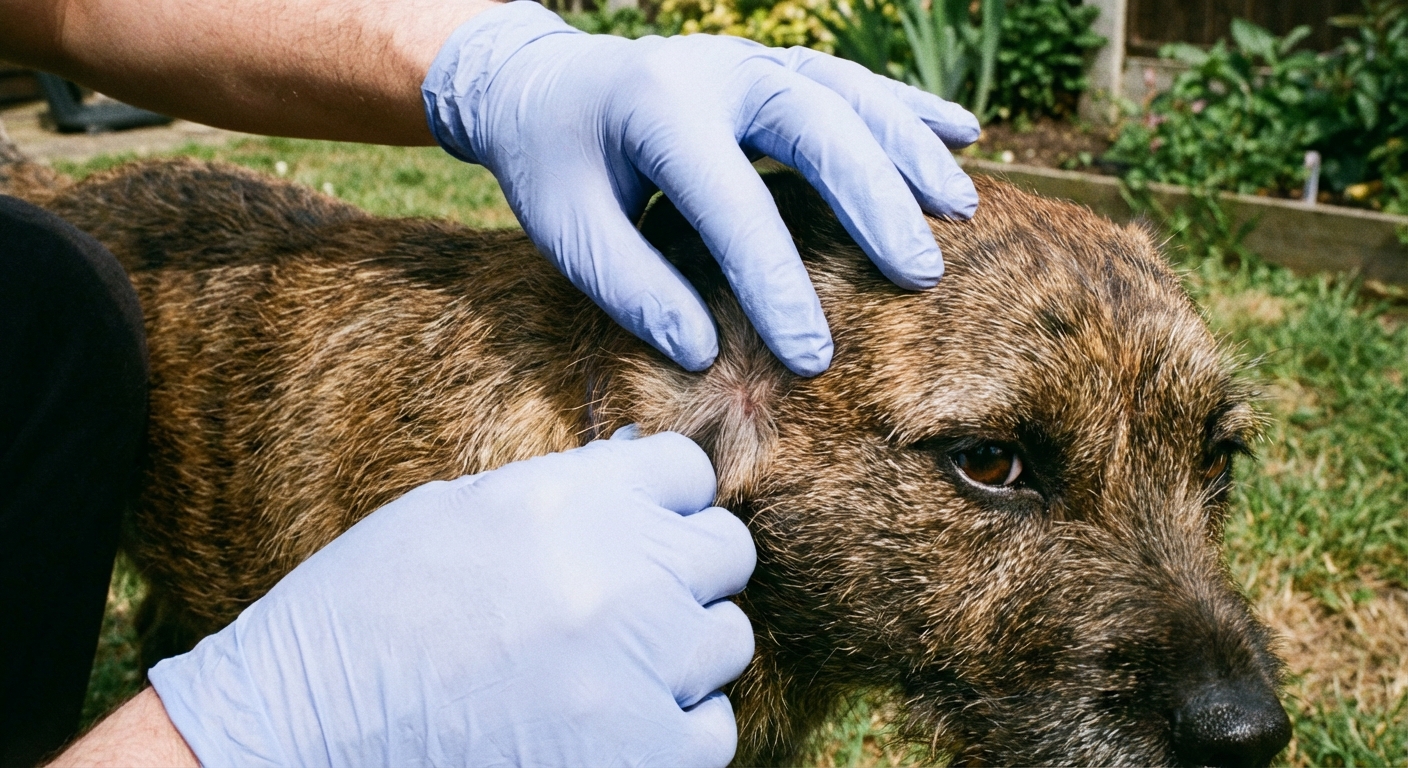
- Part the fur and confirm it is a tick. A tick is usually a small, rounded or oval bug attached to the skin (sometimes flat, sometimes swollen like a tiny bean). Skin tags and scabs are part of the skin and do not have legs. If you are unsure, take a clear photo and call your vet.
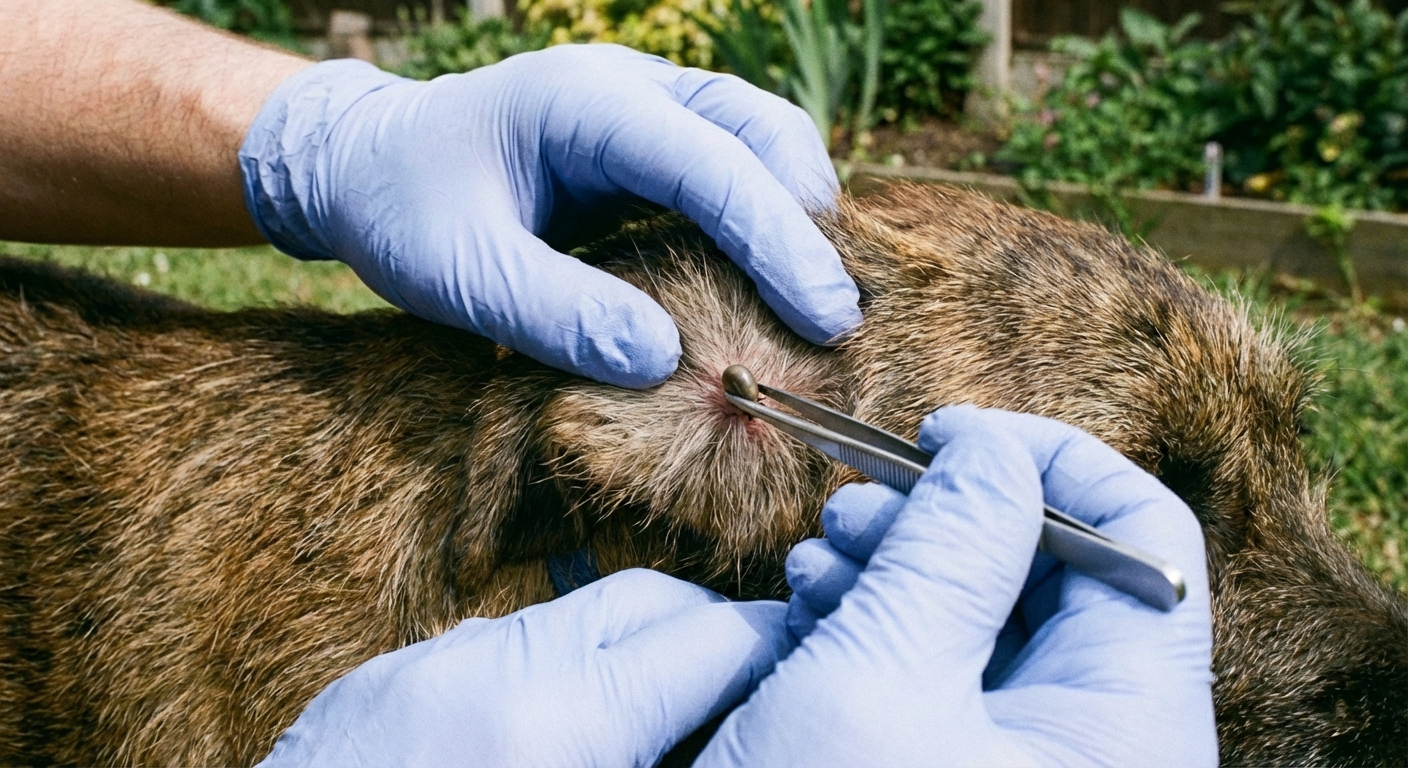
- Grab close to the skin. With tweezers, grasp the tick as close to your dog’s skin as possible, right where the mouthparts are attached. Try not to squeeze the swollen body.
- Pull straight out with steady pressure. Do not twist, jerk, or yank. A slow, consistent pull helps remove the tick intact.
- Check the bite site. If the tick comes out whole, great. If you suspect mouthparts are left behind, do not dig aggressively. Note it and call your veterinarian for guidance.
- Clean the area. Wash with soap and water or use rubbing alcohol on the skin after removal. Apply a vet-approved antiseptic if you have one. Avoid hydrogen peroxide unless your veterinarian advises it, since it can irritate tissue.
- Save the tick (optional but helpful). Place it in a sealed container and label with the date and where on your dog you found it. Many clinics are fine with a small amount of rubbing alcohol to kill and preserve the tick, but some testing methods may prefer a dry container or bag. If you think your vet may want to test it, ask what they prefer.
- Wash your hands and do a quick family tick check. Even if you wore gloves, wash up. Ticks can hitchhike, so check yourself and kids after handling your dog, especially around hairlines and waistbands.
If your dog has long hair, consider trimming a small patch around the bite area after removal so you can monitor the skin easily over the next week.
What not to do
Some old-school methods can delay removal, irritate the skin, increase the chance of incomplete removal, and may increase the risk of the tick regurgitating material into the bite. In clinic, I still see pets come in after these methods have made a simple tick removal harder than it needed to be.
- Do not burn the tick with a match or lighter.
- Do not smother the tick with petroleum jelly, oils, nail polish, or other substances while it is attached.
- Do not pour alcohol on the tick while it is attached. Alcohol is fine for cleaning the skin after removal and for storing the tick if your vet says that is okay.
- Do not twist hard or squeeze the swollen body.
- Do not dig into the skin trying to “excavate” tiny pieces. Call your vet if you are worried.
Keeping your dog calm
Tick removal goes best when your dog feels safe. Many dogs dislike restraint around sensitive spots like ears and feet, so a little planning goes a long way.
Try this calm routine
- Start with a sniff break: Let your dog sniff the tweezers, then reward.
- Use cooperative care: Touch the area briefly, reward, repeat. Then increase duration.
- Pick the right position: Small dogs often relax on a table with a non-slip mat. Larger dogs may do better lying on their side on the floor.
- Keep sessions short: If you cannot safely remove it in one calm attempt, pause and call your vet rather than escalating the struggle.
The goal is not to “win” the moment. The goal is a safe removal that does not teach your dog that handling equals panic.
Aftercare
Most tick bites heal like a small scab or pimple and improve over a few days. Monitor the site and your dog’s behavior.
Normal, mild reactions
- Small red bump
- Mild itchiness
- Minor scab
Call your veterinarian if you notice
- Expanding redness, swelling, heat, or oozing at the bite site
- Fever, lethargy, loss of appetite
- Lameness, stiffness, or joint pain
- Vomiting or diarrhea
- Pale gums or unusual bruising
- Dark urine
Timing note: Tick-borne illnesses can show up days to weeks after a bite. That is why saving the tick and writing down the date can be genuinely useful. Diseases vary by region. Here in Texas we commonly worry about illnesses like ehrlichiosis and anaplasmosis, and Lyme disease can occur too depending on travel and local exposure.
Get help right away
- You cannot safely restrain your dog without getting bitten
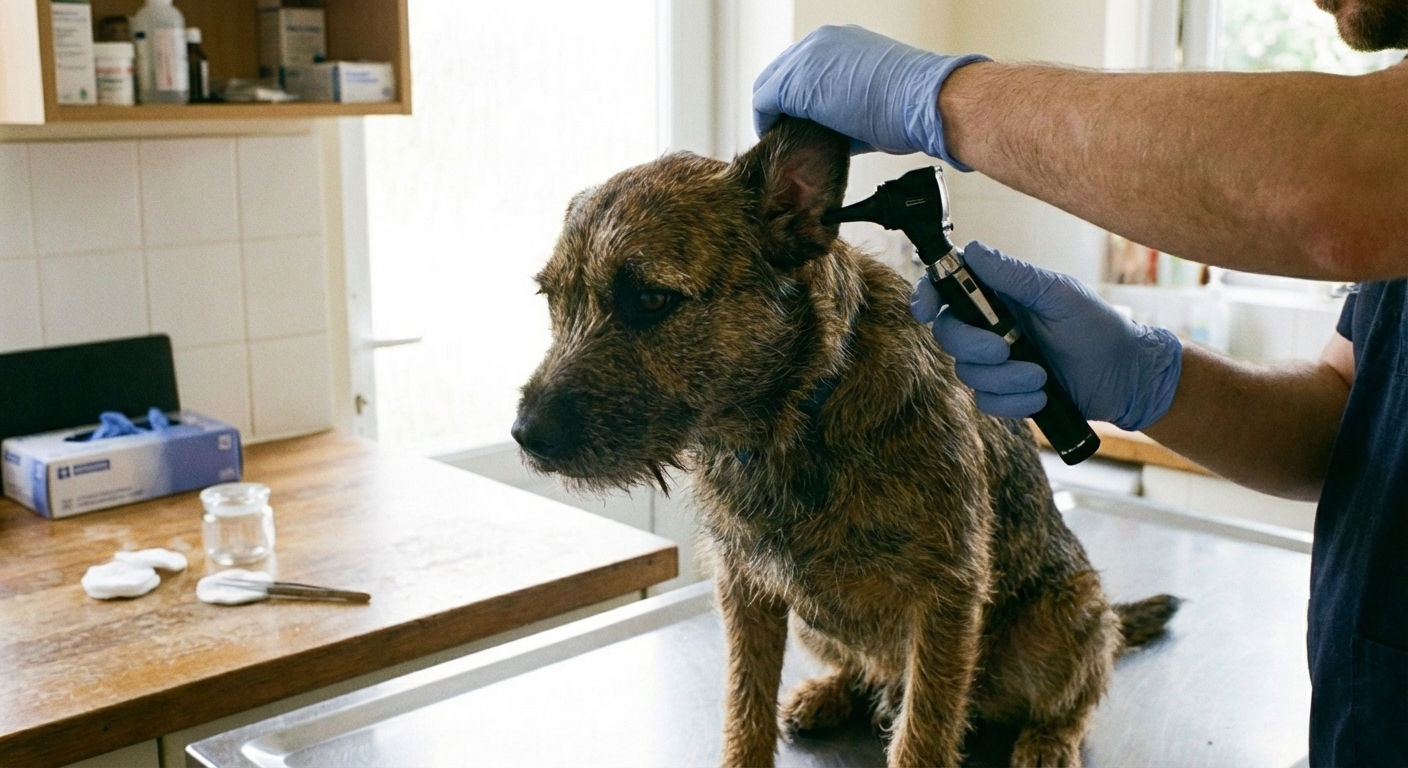
- The tick is attached near the eye, inside the ear canal, or in another delicate area
- Your dog is a puppy, senior, or immunocompromised
- There are multiple ticks or you suspect an infestation
- The bite site looks infected, or your dog seems ill
Tick disposal
If you are not saving the tick, seal it so it cannot crawl back out. You can place it in tape folded over itself, or in a sealed bag, then throw it away. Flushing is often discouraged because ticks can survive in water systems.
Prevention
In Texas, ticks can be a year-round issue, especially during warm spells. Seasonality varies by species and your exact area, but prevention is still easier than repeated removals.
Practical checklist
- Use a vet-recommended tick preventive consistently (topical, collar, or oral depending on what fits your dog).
- Do tick checks after hikes, dog parks, tall grass, and wooded areas.
- Keep lawns trimmed and remove leaf piles where ticks like to hide.
- Wash bedding regularly if your dog spends time outdoors.
- Ask about yard control if ticks are heavy in your area. Your vet or a licensed pest professional can suggest pet-safe options.
One household caution: If you have cats at home, ask your vet before using any dog topical products. Some ingredients (like permethrin) can be dangerous to cats if they are exposed.
If you are unsure which preventive is best, your veterinarian can help you choose based on your dog’s age, weight, health history, and lifestyle.
Quick recap
- Use tweezers or a tick tool
- Grasp close to the skin at the attachment point
- Pull straight out slowly
- Clean the bite site after removal
- Save or dispose of the tick safely and watch for symptoms
You have got this. A calm approach protects your dog, and it also teaches them that being handled is safe. That confidence pays off the next time you need to check ears, paws, or anything else that matters for their health.