Chicken and rice can soothe mild stomach upset and help dogs transition back to normal food. Learn safe recipes, portions, how long to feed it, and when to c...
Article
•
Designer Mixes
How to Measure Your Dog’s Chest for a Harness

Shari Shidate
Designer Mixes contributor
If you have ever ordered a harness that looked perfect online and then it arrived too tight, too loose, or rubbing behind the legs, you are not alone. In the clinic, I see this all the time, especially with growing puppies and fluffy mixed-breed dogs whose coats make sizing tricky. The good news is that measuring your dog’s chest correctly is quick, gentle, and can prevent escape attempts, chafing, and that stiff “I refuse to walk” protest.

Why chest measurement matters
Harness sizing is typically based primarily on girth, which is the circumference of the dog’s chest at its widest point. For many body shapes, chest girth is a better predictor of fit than weight or breed. Dogs with deep chests, narrow waists, thick coats, or broad shoulders can fall outside “typical” sizing even if they weigh the same as another dog. Some brands also ask for neck or front length measurements, so it always pays to check the size chart for the specific harness you are buying.
- Safety: A too-loose harness is a common reason dogs back out on walks.
- Comfort: A too-tight harness can rub the skin behind the front legs, and some designs can limit shoulder movement if they sit across the shoulder instead of in front of it.
- Training success: A comfortable harness helps your dog focus on walking instead of fussing with gear.
What you need
Keep it simple. You do not need special tools, just a calm moment and a few treats.
- A soft, flexible tape measure (tailor’s tape works best)
- If you do not have one: a piece of string and a ruler
- 2 to 3 small, high-value treats
- A second person (helpful but optional)
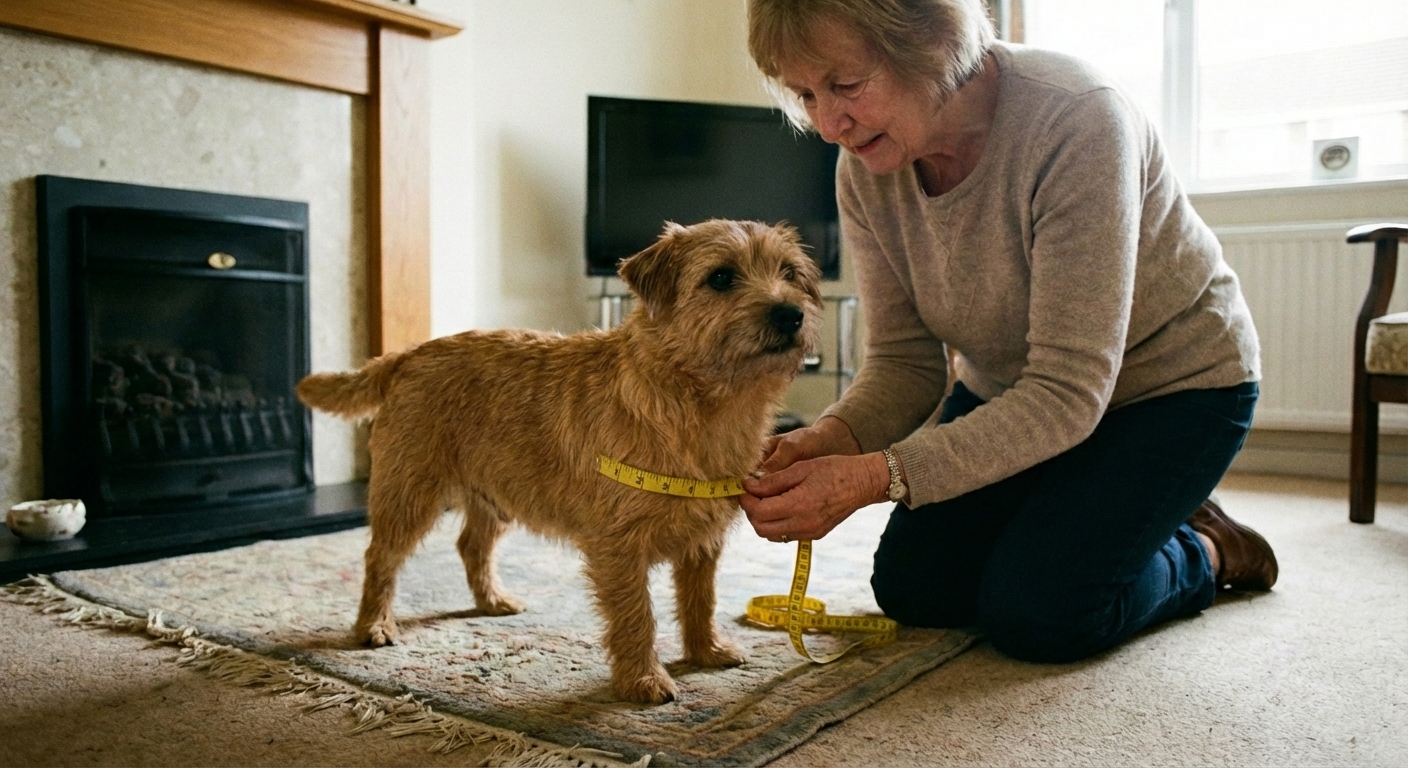
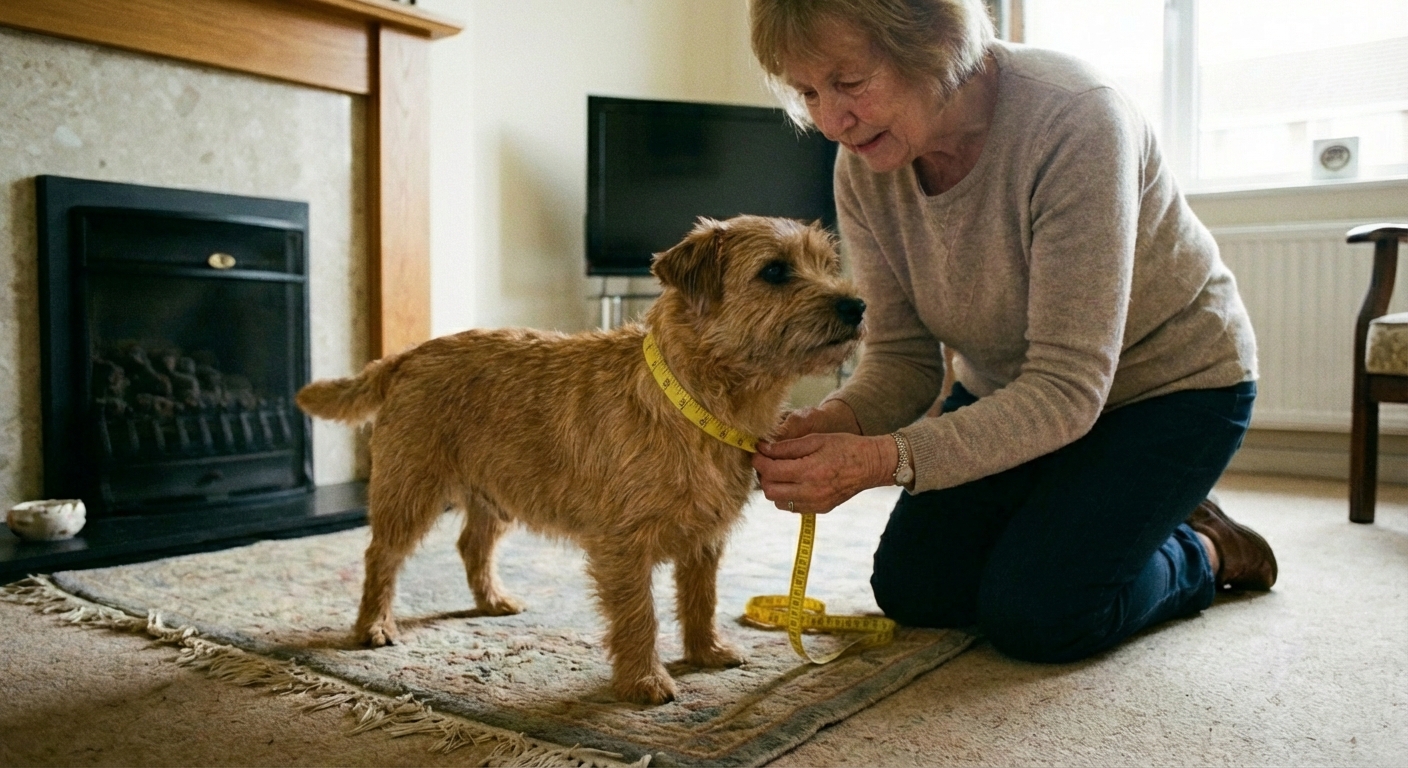
Step-by-step: measure chest girth
1) Position your dog
Have your dog stand naturally on all four feet. Sitting or lying down can change the measurement. If your dog is wiggly, measure after a short potty break or a few minutes of sniffing outside.
2) Find the widest part of the chest
This is usually right behind the front legs, at the deepest part of the ribcage. It is not up on the neck and it is not around the belly.
3) Wrap the tape around the ribcage
Keep the tape snug against the body and level all the way around (parallel to the floor). If your dog has a thick coat, gently compress the fur so you are measuring the body, not the fluff. Do not leave “extra room” under the tape at this stage, because that can add 1 to 2 inches and lead you to order a size too large.
4) Record the measurement
Write it down in inches and centimeters if possible. Many harness size charts list both.
5) Measure twice
Repeat once more to confirm accuracy. If the numbers differ, measure a third time and use the most consistent result.
Two other helpful measurements
Even when chest girth is the main measurement, these two extras can help you choose between sizes and styles. (Names and methods vary by brand, so follow the brand’s diagram if they provide one.)
Neck circumference
Measure around the base of the neck where a collar sits, not up high near the ears. This matters for step-in harnesses and overhead styles.
Front length
Some brands use a front length measurement from the top of the chest down to where the chest strap sits. If a harness is too long in the front, it can slide and rub.
Common measuring mistakes
- Measuring in the armpits: You want behind the front legs at the widest ribs, not in the crease where friction happens.
- Letting the tape angle: If the tape slopes forward or backward, you will get an inaccurate number. Keep it level all the way around.
- Guessing based on weight: Two dogs can weigh 30 pounds and have very different chest sizes.
- Measuring over thick fluff incorrectly: For doodles and double-coated pups, gently compress the coat with the tape, but do not cinch tight.
- Using a retractable tape measure: Those are hard to keep level and can startle sensitive dogs.
If you are between sizes
If your dog’s measurement lands between sizes, check two things: the brand’s guidance and the harness adjustability.
- If your dog is still growing: size up, then adjust down.
- If your dog has a deep chest and narrow waist: prioritize the chest fit, and look for multiple adjustment points.
- If your dog is a master escape artist: a secure fit with a well-designed chest strap is often safer, but never so tight it rubs.
- If you are unsure: choose the size that puts your dog closer to the middle of the adjustment range, not maxed out at either end.
- If you are at the top end of a size: consider the next size up or a different style with more adjustment range, and check the brand’s exchange policy before you remove tags.
Harness type notes
Where a harness sits matters as much as the size. If your dog is prone to rubbing or has a unique shape, style can make a big difference.
- Step-in harnesses: often comfortable for dogs who dislike things going over their head, but watch for rubbing behind the front legs if the straps sit too far back.
- Over-the-head harnesses: can be very secure, but neck opening size matters and should sit at the base of the neck.
- Y-front styles: often give good shoulder freedom when fitted correctly, since straps sit in front of the shoulder rather than across it.
- Front-clip no-pull designs: can be great training tools, but fit is crucial so the front strap does not slide and chafe.
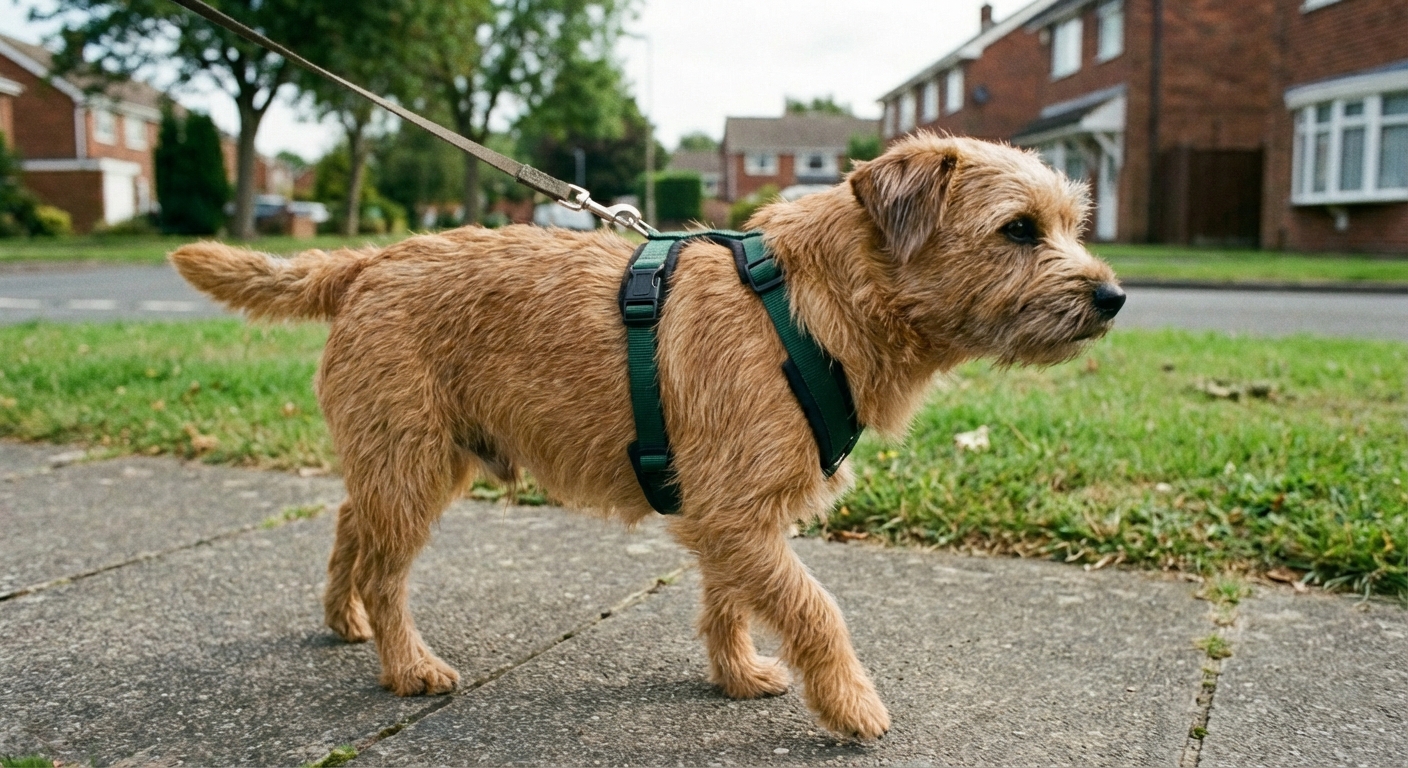
Fit check
After you put the harness on, do a quick assessment before your first real outing.
- Straps lie flat with no twisting.
- Two-finger guideline: you should be able to slide two fingers under the straps at the chest and neck without pinching skin. (Finger size varies, so the goal is snug and secure, not tight.)
- No armpit rubbing: front straps do not cut into the armpits or sit so far back they rub with each step.
- Back ring stays centered on the dog’s back instead of sliding to the side.
- Full stride: your dog can take a full stride without the harness shifting.
Clinic tip: after the first few walks, check the skin where straps pass behind the front legs. Early irritation can look like pinkness, thinning fur, or your dog suddenly licking that area.
Special cases
Puppies
Puppies change fast. Re-measure every 2 to 4 weeks during growth spurts. If your puppy is between sizes, prioritize adjustability and comfort, and avoid anything that rubs the soft skin behind the front legs.
Seniors
Older dogs often appreciate harnesses with easy-on designs that do not require too much leg lifting or shoulder manipulation. If your dog has arthritis, keep fitting sessions short and reward often.
Breathing issues or tracheal sensitivity
Harnesses are commonly recommended over collars for dogs that cough with leash pressure. Still, fit matters. A harness that rides up toward the throat can defeat the purpose. If your dog has a known condition like collapsing trachea or brachycephalic airway concerns, ask your veterinarian which harness style is safest for their anatomy.
When not to DIY
If your dog is painful, highly fearful of handling, or has a medical condition that makes positioning difficult, ask your veterinary team, groomer, or a qualified trainer to help with measuring and fitting. A few minutes of hands-on help can prevent weeks of discomfort.
Quick checklist
- Measure chest girth behind the front legs at the widest ribs
- Keep the tape snug and level for the measurement
- Measure twice and write it down
- Check size charts by measurement, not weight
- After fitting, use the two-finger guideline and confirm no rubbing and full shoulder movement
If you do these few steps, you will dramatically increase the odds that your harness fits comfortably on day one. And your walks will feel easier for both of you.