Stop mice fast with a room-by-room plan: find signs, seal 1/4-inch gaps, secure pantry foods, place snap traps correctly, and clean droppings safely—plus p...
Article
•
Designer Mixes
How to Keep Mice Out of the Pantry for Good

Shari Shidate
Designer Mixes contributor
If you have ever opened your pantry and found tiny droppings, shredded paper, or a chewed corner of a cereal box, you know how unsettling a mouse problem can feel. The good news is that long-term mouse control is very doable. You just need a plan that covers three things: food, shelter, and entry points. When you remove what mice need to survive, they stop coming back.

Start with the basics
Mice can live on surprisingly small crumbs and a few sips of water. That is why a pantry that looks pretty clean can still be attractive to them. They are also curious, fast breeders, and excellent climbers.
What works best is an evidence-based approach used in pest control called Integrated Pest Management (IPM). It focuses on prevention first, then targeted trapping, with chemicals as a last resort.
Step 1: Confirm it is mice
Before you spend time and money, make sure it is actually mice and not another pest.
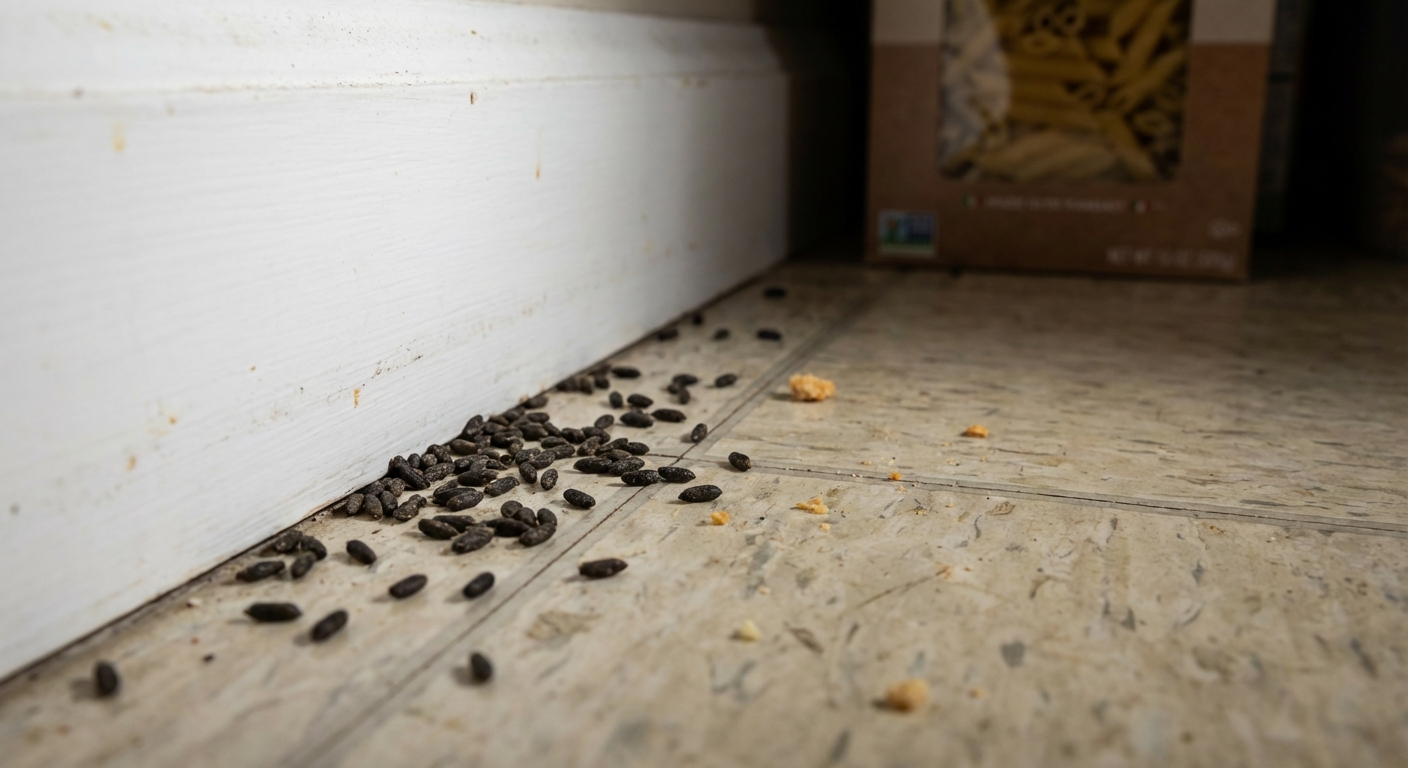
- Droppings: Mouse droppings are small, dark, and rice-shaped, often found near walls and food sources.
- Gnaw marks: Chewed cardboard, plastic bags, pet food sacks, and even bottle caps.
- Rub marks: Smudgy dark streaks along baseboards or shelf edges where they travel repeatedly.
- Nesting material: Shredded paper, fabric, insulation, or dried plant material tucked in quiet corners.
- Noises: Scratching in walls, behind cabinets, or in the pantry at night.
Mouse or rat?
- Size clues: Rat droppings are larger, and rats tend to leave heavier gnawing and more obvious rub marks.
- Where you see signs: Mice often show up in kitchens and pantries. Rats are more commonly tied to garages, basements, crawl spaces, and exterior entry points, though either can end up indoors.
Health note: Avoid dry sweeping or vacuuming droppings. That can kick particles into the air. For a safer cleanup approach that aligns with public health guidance, ventilate the area, wear gloves, lightly mist droppings with a disinfectant (or a bleach solution following the label directions), let it sit for the product's listed contact time, then wipe up with paper towels and seal everything in a bag before disposing. Wash hands well afterward.
Step 2: Remove food temptations
This is the part most people underestimate. If it smells like food, they will investigate.
Use hard-sided containers
- Move cereal, flour, sugar, rice, pasta, nuts, and snacks into glass or thick plastic containers with tight lids.
- Use containers for individually wrapped foods too. Wrappers slow mice down, but they do not stop them.
- Do not forget backup storage: the bottom shelf, back corners, and rarely used baking ingredients.

Clean like a mouse is inspecting
- Pull everything out and wipe shelves, corners, and shelf brackets.
- Vacuum or wipe up crumbs under pantry mats and along the baseboard edge.
- Pay special attention to sticky spills like syrup, honey, and cooking oils.
Manage pet food the same way
As a veterinary assistant, I see this one all the time. Pet food is high-calorie, strongly scented, and easy for rodents to target. I also see homes where the pantry is spotless, but the kibble bag in the laundry room is basically an open invitation.
- Store kibble and treats in a sealed hard container, not in the original bag.
- Pick up bowls at night if possible.
- Do not leave chew items or crumbs on the floor.
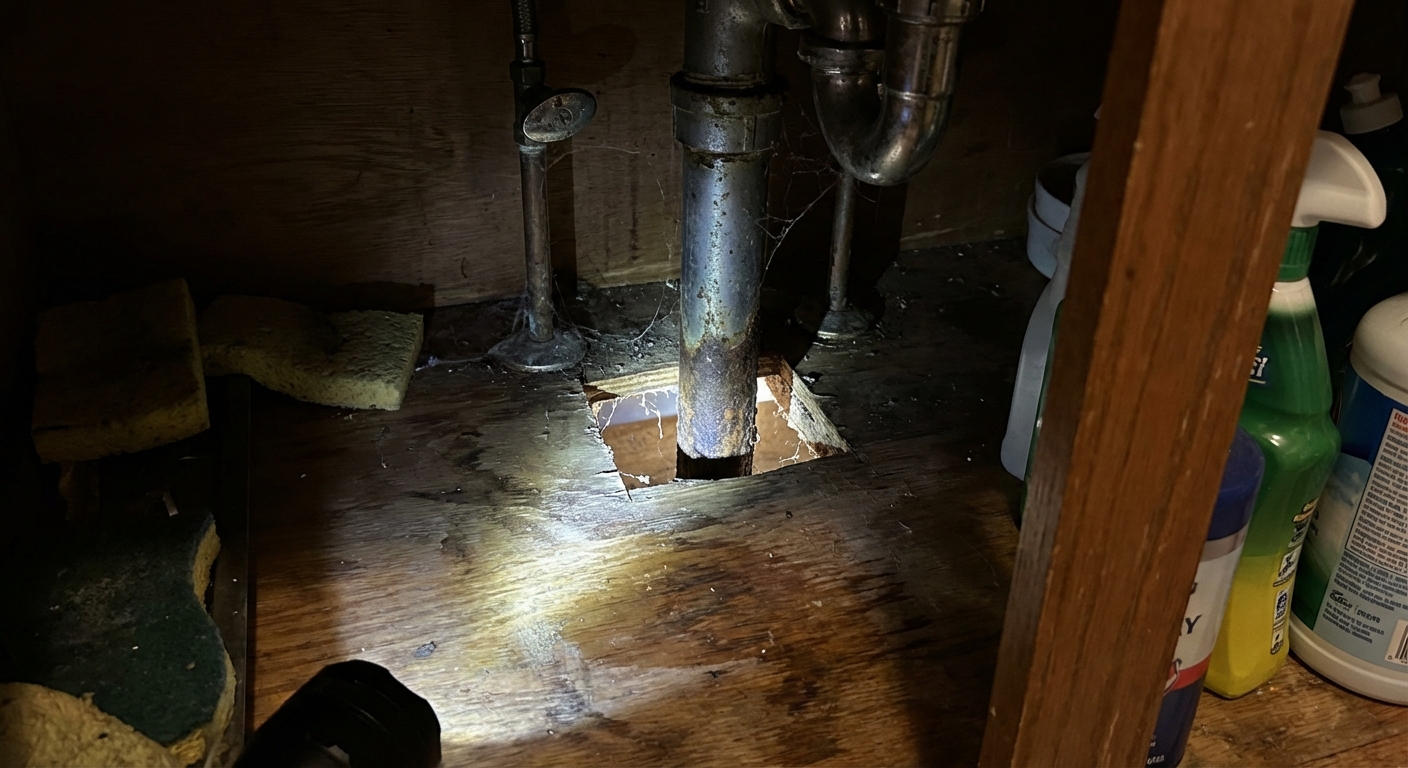
Step 3: Seal entry points
Mice can squeeze through openings as small as about 1/4 inch. If you trap mice but do not seal gaps, new mice simply replace them.
Where to look
- Under sinks where plumbing enters the wall
- Behind the stove and refrigerator
- Where the pantry wall meets the floor and baseboards
- Gaps around vents, utility lines, and cable holes
- Garage door corners and weather stripping
- Exterior cracks in the foundation and around siding
What to seal with
- Steel wool plus caulk: Steel wool blocks chewing, caulk holds it in place. This is a common, effective combination for small holes. In damp spots, steel wool can rust over time.
- Copper mesh (or stainless mesh): Similar to steel wool, often easier to work with and resists rusting better.
- Hardware cloth: Great for larger openings, vents, and crawl space gaps.
- Door sweeps and weather stripping: Essential for exterior doors and the door from garage to house.
Tip: Start sealing on the exterior if you can, then work inward. That reduces the odds you push activity deeper into the home. Also, set traps first. You do not want to seal mice inside without having a way to catch them.
What I see most often in real homes is not one dramatic hole. It is a handful of small gaps around pipes, the garage door corners, and the space behind the stove that add up to a steady stream of visitors.
Step 4: Trap strategically
When you already have mice, prevention alone is not enough. Trapping is usually the quickest way to reduce the population. When I say humane-minded, I mean choosing methods designed to work quickly and avoiding options that cause prolonged suffering.
Best trap options
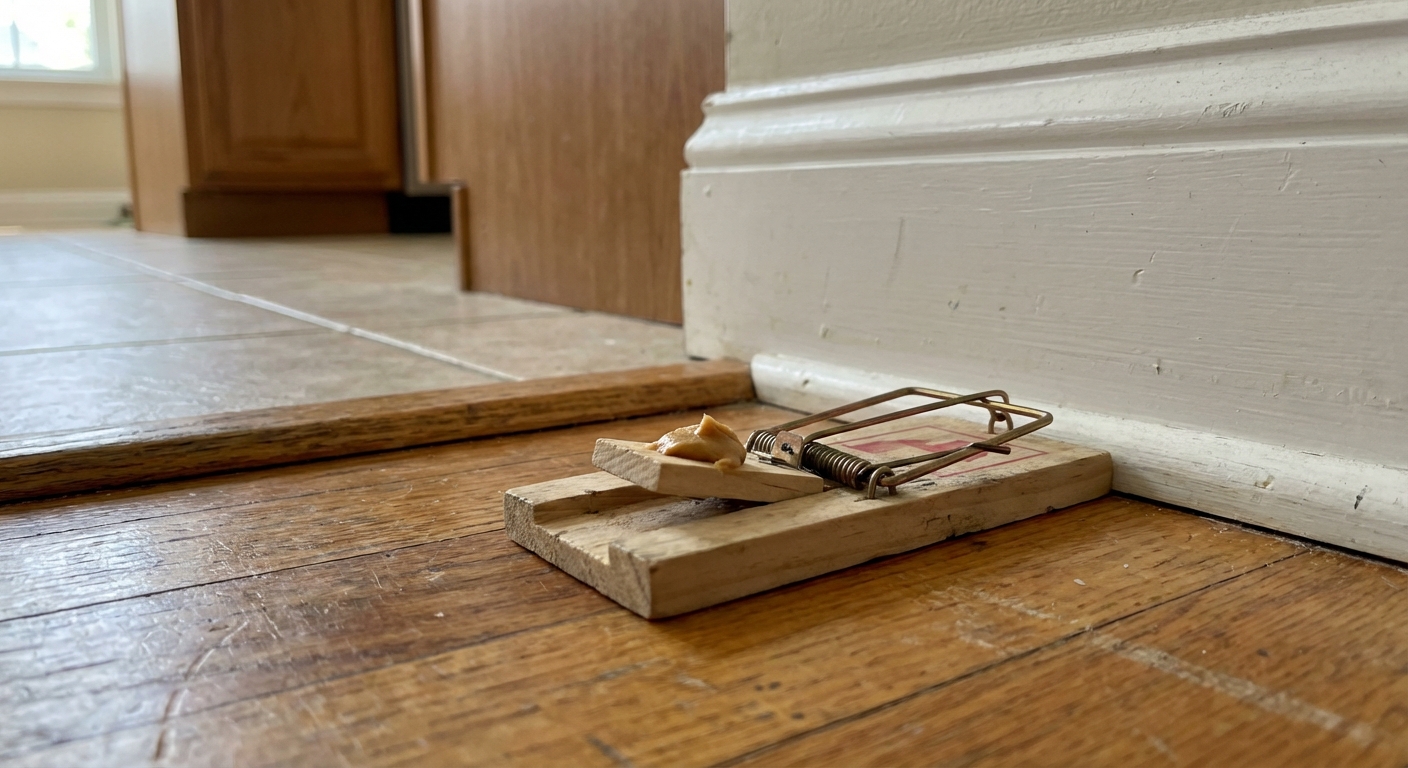
- Snap traps: Very effective when placed correctly. Choose quality traps that trigger reliably.
- Enclosed snap traps: Helpful for homes with children and pets because fingers and paws are less likely to access the mechanism.
- Live traps: Can work, but require frequent checking and appropriate release practices. Releasing close by often leads to return, and some areas have rules about relocating wildlife.
Avoid glue boards whenever possible. They can cause prolonged suffering and can trap non-target animals.
Where to place traps
- Along walls and behind objects, not in the middle of the floor
- Near confirmed signs like droppings and rub marks
- Behind the fridge and stove, inside pantry corners, under the sink
- Space traps about 2 to 3 feet apart in heavier activity areas, and 5 to 10 feet apart in lighter activity areas
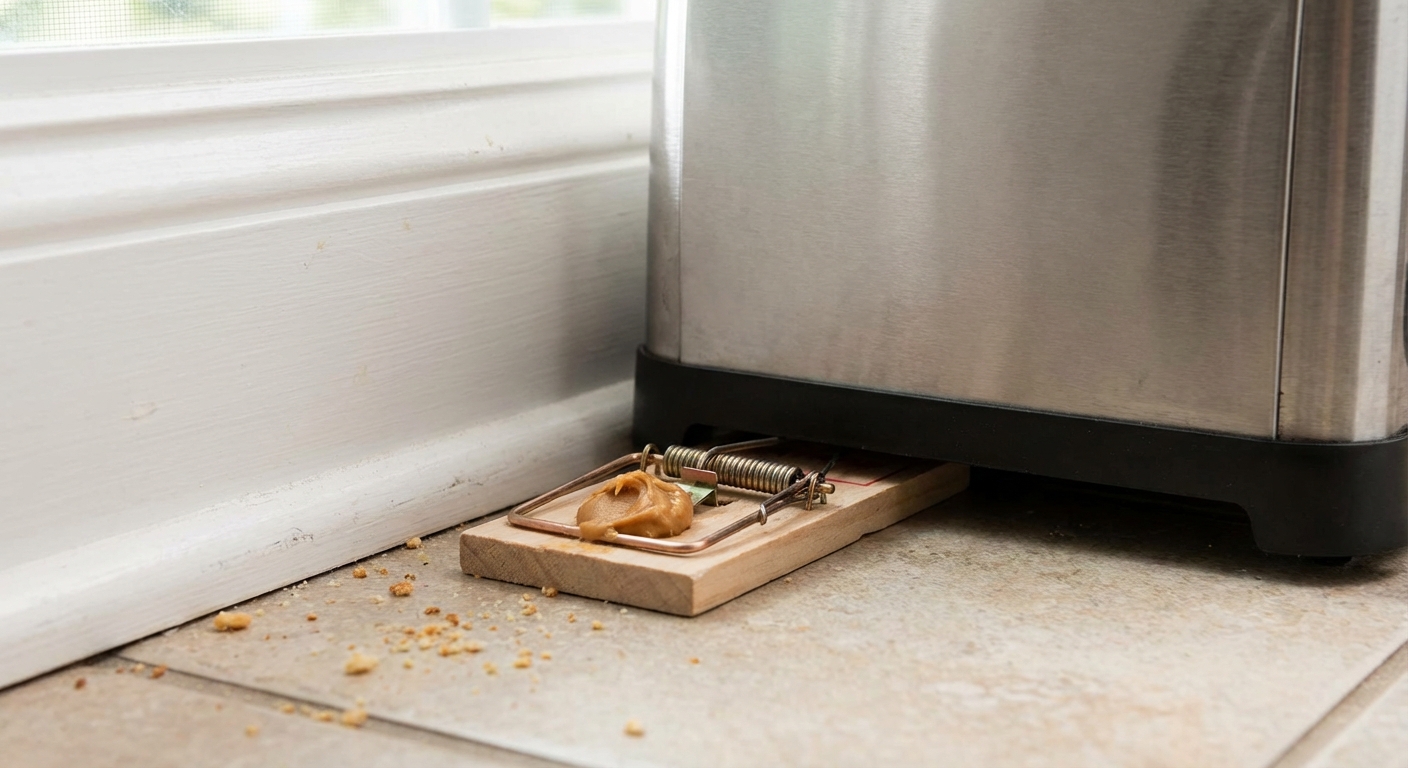
Best bait
- Peanut butter (use a tiny smear so it cannot be easily stolen)
- Chocolate or a small piece of nut
- Dried fruit
Check traps daily. If you are not getting results in 2 to 3 nights, change placement before you change bait. Location matters most.
Trap safety and disposal
- Wear gloves when handling traps or rodents.
- Spray the rodent and trap with disinfectant and let it sit for the contact time on the label.
- Place the rodent in a bag, seal it, then place it into a second bag and seal again before disposing.
- Wash hands well after cleanup, even if you wore gloves.
Step 5: Make the home less inviting
Pantry protection is strongest when the whole home supports it.
Reduce shelter near the house
- Keep shrubs trimmed away from exterior walls.
- Store firewood at least several feet from the home and off the ground.
- Clean up fallen fruit from trees and bird seed spills.
Limit indoor nesting options
- Declutter paper piles, bags, and cardboard storage.
- Store seasonal linens and craft supplies in sealed bins.
- Repair torn screens and ensure vents have proper covers.
Renters and apartments
If you live in an apartment, duplex, or rental, loop in your landlord or property manager early. Mice often travel through shared walls, utility chases, and gaps behind appliances that you may not be allowed to modify. You can still do a lot on your side, especially food storage, cleaning, and placing traps along your interior walls.
What about poison bait?
Rodenticides can be effective, but they come with serious risks, especially for households with pets and children. As someone who works around animals every day, I recommend considering bait only with professional guidance.
- Primary poisoning: A pet directly eats bait.
- Secondary poisoning: A pet eats a poisoned rodent. This is possible, and the risk depends on the product used, the dose, and the type of exposure.
- Odor issues: Rodents may die in walls or hard-to-reach spaces.
If bait is used, it should be placed in tamper-resistant stations, in the right locations, and monitored regularly. For many homes, sealing and trapping solves the issue without this step.
A simple 7-day plan
- Day 1: Empty pantry, inspect, identify droppings, gnawing, and likely travel paths.
- Day 2: Deep clean shelves and floor edges. Move foods into sealed containers.
- Day 3: Place traps along walls and behind appliances. Start a nightly check routine.
- Day 4: Seal gaps under sink and around utility lines (mesh plus caulk).
- Day 5: Inspect exterior. Add door sweep and weather stripping where needed.
- Day 6: Reposition traps based on new signs. Keep pantry clear of crumbs and open packaging.
- Day 7: Re-check for droppings and activity. Continue trapping until you have several days with no signs.
Once your pantry is sealed and your food is protected, maintenance becomes easy: a quick weekly wipe-down and a monthly check for new gaps.
When to call a pro
Reach out to a licensed pest professional if:
- You see mice during the day (often a sign of a larger population).
- You cannot locate entry points or activity persists after 1 to 2 weeks of trapping and sealing.
- There are signs in multiple areas of the home, especially attic or crawl space.
- You need help safely using bait stations.
Long-term success is simple: store food in hard containers, remove crumbs and clutter, and seal every small gap. Do those three things consistently, and mice lose interest in your pantry.