Step-by-step dog tick removal with tweezers, what to do if mouthparts remain, aftercare warning signs, and proven prevention plus home and yard tick control ...
Article
•
Designer Mixes
How to Get Ticks Off Your Dog

Shari Shidate
Designer Mixes contributor
If you have ever found a tick on your dog, your stomach probably dropped for a second. I get it. The good news is that most ticks can be removed safely at home if you use the right technique, stay calm, and know what to watch for afterward.
This guide walks you through exactly how to get ticks off your dog, what not to do, and when it is time to call your veterinarian.
Why ticks matter
Ticks are more than a nuisance. They can transmit illnesses such as Lyme disease, ehrlichiosis, anaplasmosis, and Rocky Mountain spotted fever. Not every tick carries disease, and not every bite leads to illness, but quick removal and smart prevention really do reduce risk.
In general, the sooner you remove the tick, the better. Some tick-borne infections may require the tick to be attached for hours to a day or more before transmission occurs, but others can transmit sooner. Early removal is still a smart, protective step.
What you need before you start
You do not need a fancy kit, but you do need the right tools so you can remove the tick cleanly.
- Fine-tipped tweezers or a tick removal tool
- Disposable gloves (optional, but helpful)
- Rubbing alcohol or soap and water
- Paper towel or tissue
- Small container with alcohol (or a sealed bag) to save the tick
- Dog-safe antiseptic for the skin (ask your vet if you are unsure)
- Treats for your dog and a calm helper if your pup is wiggly
Step-by-step: how to remove a tick
1) Keep your dog still and comfortable
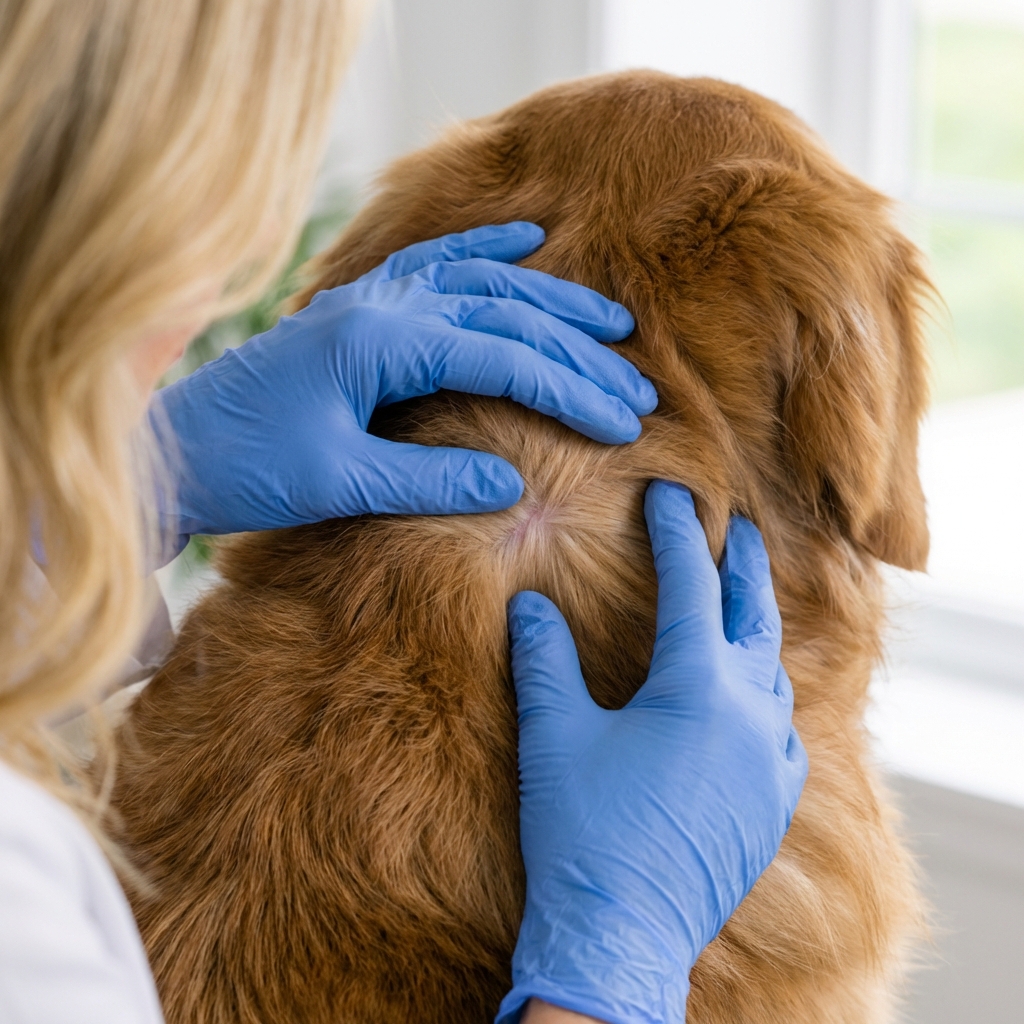
Pick a well-lit spot. If your dog is anxious, offer a lick mat or peanut butter spread thinly on a plate, and talk softly. If your dog is in pain, if the area is very sensitive, or if your dog is snappy or will not hold still, it is safer to have your veterinary team remove it.
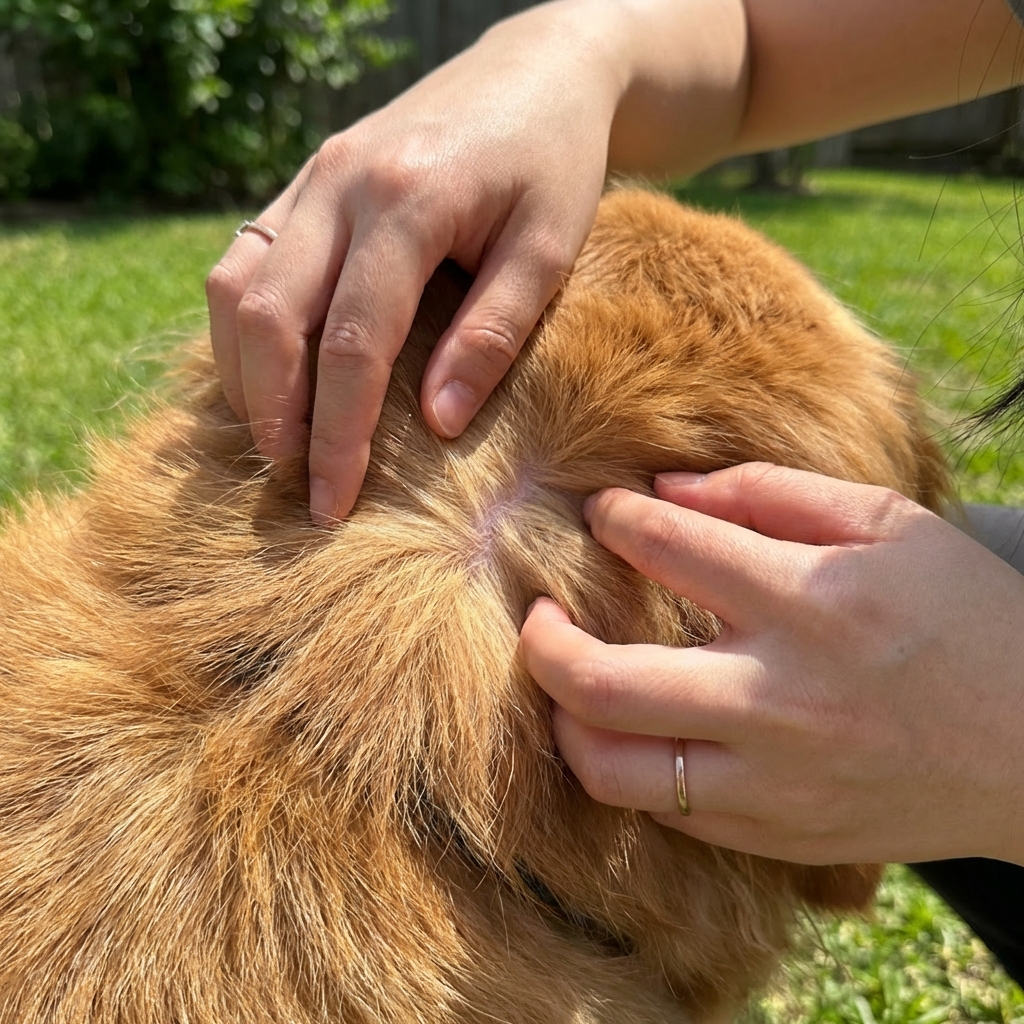
2) Part the fur and find where the tick is attached
Ticks attach at the skin. You want to see where the tick meets the skin so you can grab the tick close to the mouthparts, not the belly. (A quick note: people often say the “head” is stuck, but it is usually the mouthparts. That is what you are trying to avoid leaving behind.)
3) Grasp close to the skin
Using tweezers, grasp the tick as close to your dog’s skin as possible. Think: mouthparts, not body. Avoid squeezing the body. Squeezing can push irritating fluids (and potentially infectious material) into the bite site and can make the tick more likely to break.
4) Pull straight out with steady pressure
Pull upward in a straight, steady motion. Do not jerk. Do not twist unless you are using a tool designed for twisting. The goal is a smooth release.
5) Check the tick and the bite site
Look at the tick after removal. If it looks like parts are missing, do not panic. Sometimes small mouthparts remain and cause local irritation. The reassuring part is that once the tick’s body is off, retained mouthparts typically do not keep transmitting disease. If you suspect pieces are stuck, call your veterinarian for advice rather than digging aggressively at the skin.
6) Clean the skin and your hands
Clean the bite site with soap and water or a dog-safe antiseptic. Wash your hands thoroughly, even if you wore gloves.
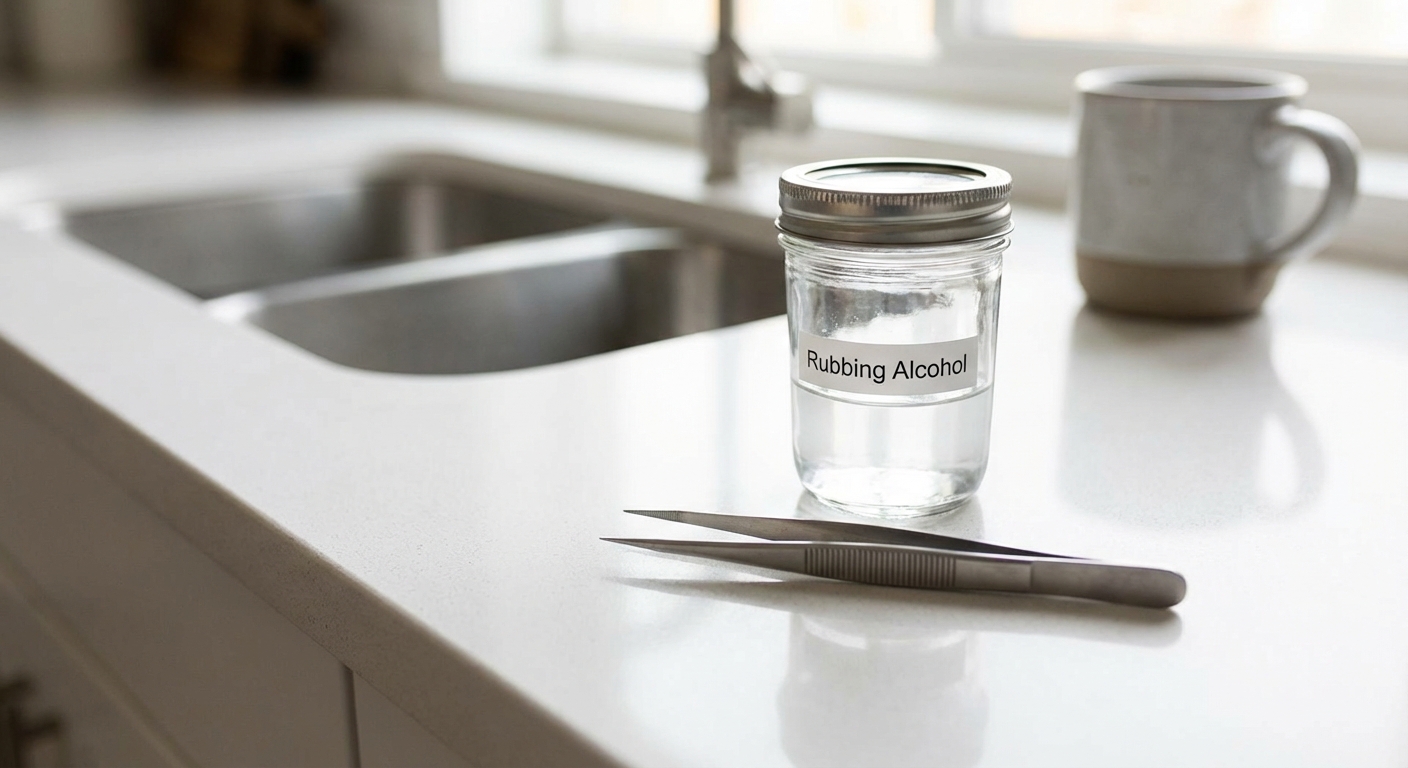
7) Save the tick (optional, but helpful)
Place the tick in a small container with rubbing alcohol or seal it in a bag. Label it with the date and where on your dog you found it. This can help your veterinarian if your dog develops symptoms later. Not every clinic routinely tests ticks, so if you plan to bring it in, call and ask what they prefer.
Tip from a vet assistant: A quick photo of the tick next to a coin can help your vet estimate size and life stage.
Once the tick is out and the area is cleaned, your job shifts to simple aftercare and watching for symptoms.
What not to do
A few common internet tips can actually make the situation worse. Avoid these methods:
- No petroleum jelly, oils, or “smothering” methods. They do not reliably work and can prolong attachment.
- No heat (matches, lighters, hot tools). This can burn your dog and stress the tick.
- No nail polish or harsh chemicals on the tick while it is attached.
- No crushing the tick with your fingers. Ticks can carry pathogens. Use tissue or gloves.
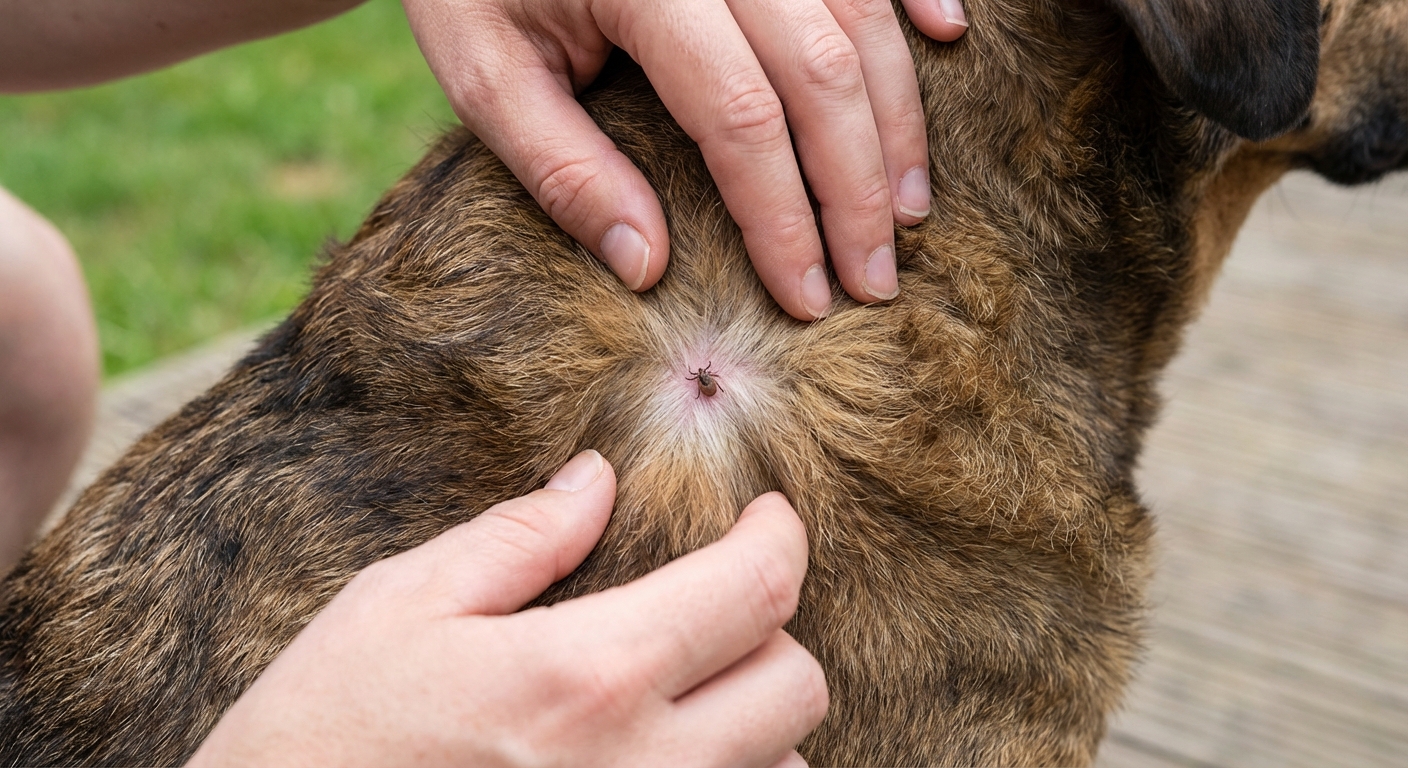
How to tell if it was a tick
Sometimes what looks like a tick is actually a skin tag, a scab, or a small wart. A tick usually feels like a firm bump and you may see tiny legs near the skin line. Common tick hot spots on dogs include:
- Around the ears and under the collar
- Between toes
- Armpits and groin
- Under the tail
- Around the eyes and muzzle
If you are unsure, snap a close-up photo and call your vet. It is always okay to ask.

Aftercare: what to watch for
Most tick bites heal uneventfully. You may see a small red bump that improves over a few days. Contact your veterinarian if you notice:
- Increasing redness, swelling, oozing, or a bad odor at the bite site
- Hives or facial swelling
- Lethargy, fever, shivering, or sudden behavior changes
- Limping, stiff joints, or reluctance to move
- Loss of appetite or vomiting
- Pale gums or unusual bruising
Tick-borne illnesses can show up days to weeks after a bite. If symptoms appear, tell your vet you found a tick and share the date and location.
When you should call your vet
- The tick is attached near the eye, inside the ear canal, or in another sensitive area
- You cannot remove it completely
- Your dog is very young, immunocompromised, or has chronic illness
- Your dog seems sick after a tick bite
- You are finding ticks repeatedly, even with preventives
Tick disposal
If you are not saving the tick, get rid of it in a way that prevents escape. A simple option is to place it in rubbing alcohol, seal it tightly in a bag or wrap it in tape, and throw it away. Avoid crushing it with bare fingers and avoid flushing it.
What if my dog ate a tick?
It happens. In most cases, swallowing a tick is not a medical emergency, but it is still worth a quick call to your vet, especially if your dog starts vomiting, drooling, or seems uncomfortable. If you are handling ticks regularly, it is also smart to protect yourself. Wash your hands, clean any bites on your skin, and contact your healthcare provider if you develop a rash, fever, or flu-like symptoms.
Preventing ticks
Removal is important, but prevention is where you really win.
Use a vet-recommended preventive
Options include oral preventives, topical products, and tick collars. The best choice depends on your dog’s age, health history, lifestyle, and local tick pressure. In many warm climates, ticks can be active for much of the year, so consistent prevention matters.
Do tick checks after outdoor time
Even if your dog is on prevention, do a quick hands-on scan after hikes, tall grass, wooded areas, or dog park visits. Set a routine: ears, neck, armpits, toes, tail base.
Keep your yard less tick-friendly
- Mow regularly and remove leaf litter
- Create a mulch or gravel barrier between woods and lawn
- Discourage wildlife that can carry ticks
Quick checklist
- Use tweezers or a tick tool
- Grab close to the skin
- Pull straight out steadily
- Clean the site
- Save the tick and note the date (optional)
- Watch your dog for symptoms over the next few weeks
If you are ever unsure, it is absolutely okay to let your veterinary team handle it. We would rather help early than chase symptoms later.
Sources
- Centers for Disease Control and Prevention (CDC): Tick removal and tick bite guidance
- Companion Animal Parasite Council (CAPC): Ticks, tick-borne diseases, and prevention recommendations
- American Veterinary Medical Association (AVMA): External parasite control and tick safety