From “coffee ground” ear debris to nonstop scratching, learn how vets diagnose ear mites and the most effective treatments, safe ear cleaning steps, and ...
Article
•
Designer Mixes
How to Get Rid of Cat Ear Mites

Shari Shidate
Designer Mixes contributor
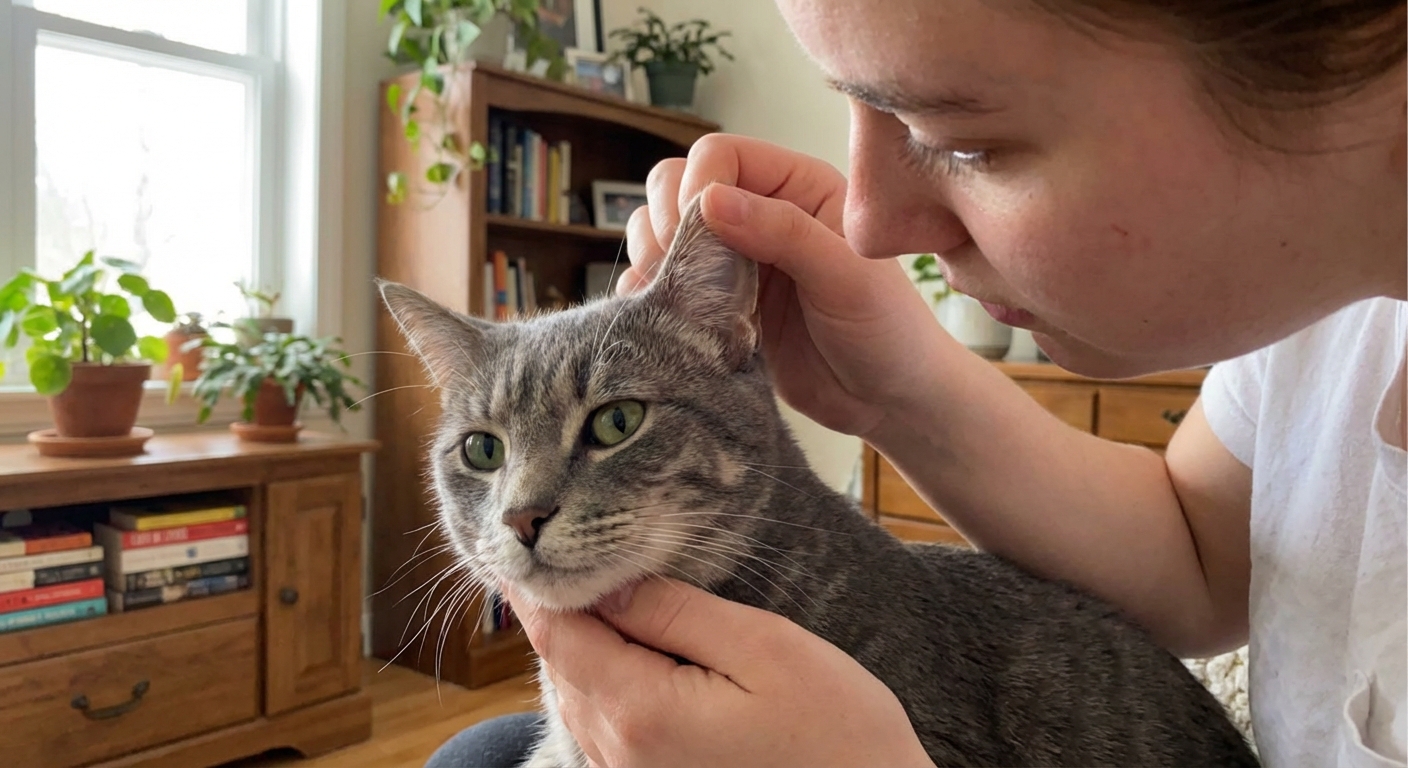
If your cat is shaking their head, scratching at their ears, or you are seeing that classic dark, crumbly “coffee grounds” debris, ear mites are high on my list of suspects. The good news is that ear mites are very treatable. The not so fun news is they are contagious, and many pets can carry mites with mild or no symptoms, so a solid plan matters.
As a veterinary assistant, I always tell families this: your goal is not just to soothe itchy ears today. It is to fully eliminate the mites and prevent a repeat infection.
What cat ear mites are
Most feline ear mite cases are caused by Otodectes cynotis, a tiny parasite that lives on the surface of the ear canal skin. They feed on skin debris and ear wax, triggering intense irritation and inflammation. Ear mites are especially common in kittens, cats who go outdoors, and cats who have contact with other animals.
How cats get ear mites
- Direct contact with an infected cat, kitten, or sometimes a dog or ferret (this is the most common route)
- Close living quarters in multi-pet homes, shelters, or catteries
- Shared bedding or grooming tools can spread mites too, although it is generally less common than direct contact
- New pets brought into the home without a preventive check
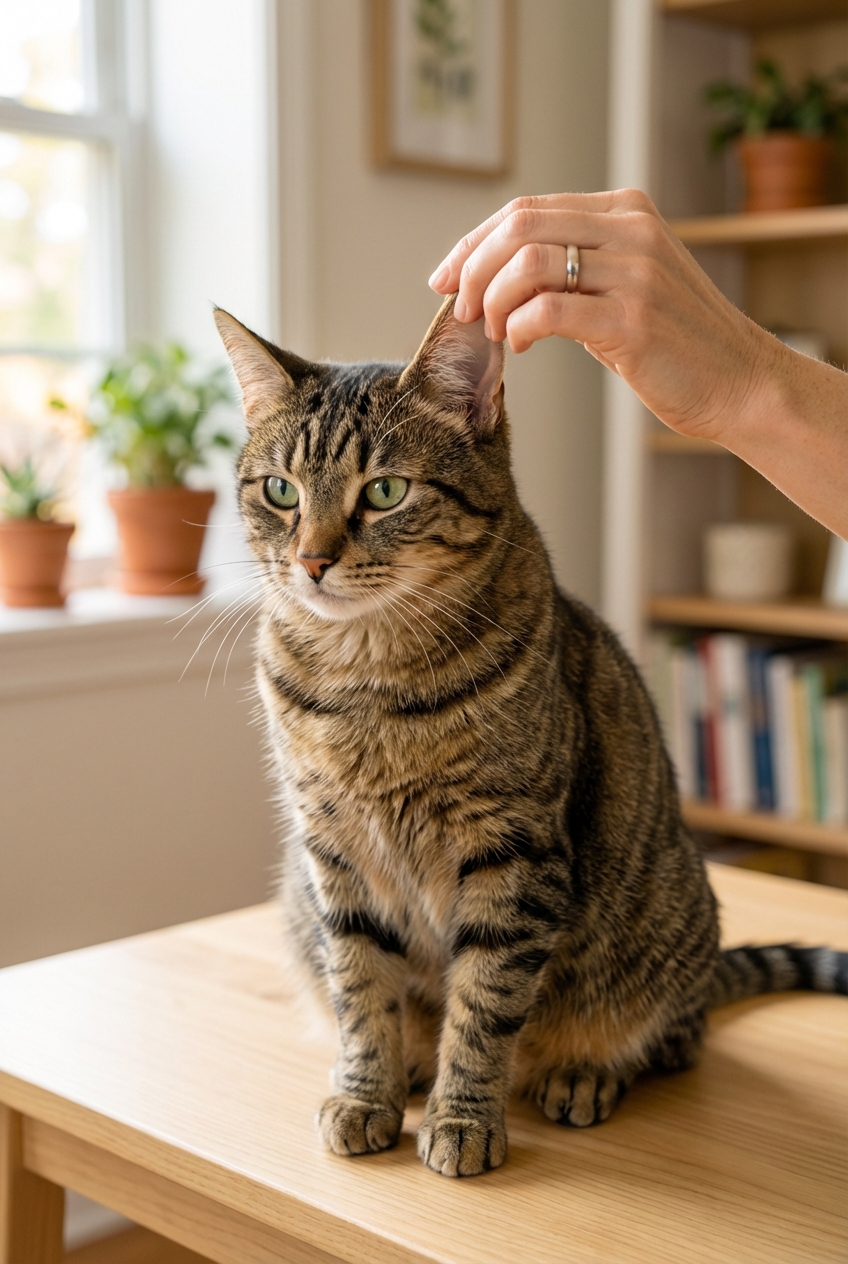
Signs your cat may have ear mites
Ear mites can look like a simple “dirty ear,” but the itch is often the giveaway.
- Frequent head shaking or head tilt
- Scratching at the ears or rubbing the face on furniture
- Redness and irritation inside the ear flap
- Dark brown or black, crumbly debris that resembles coffee grounds
- Scabs around the ears from scratching
- Hair loss around the ears or neck
- Cranky behavior when you touch the ears (painful or sensitive to handling)
Important: Not every itchy, gunky ear is mites. Yeast infections, bacterial infections, allergies, foreign material, ear polyps, and other problems can cause similar symptoms. Ear mites can also coexist with yeast or bacteria. Treating the wrong problem can make your cat more uncomfortable and delay real relief.
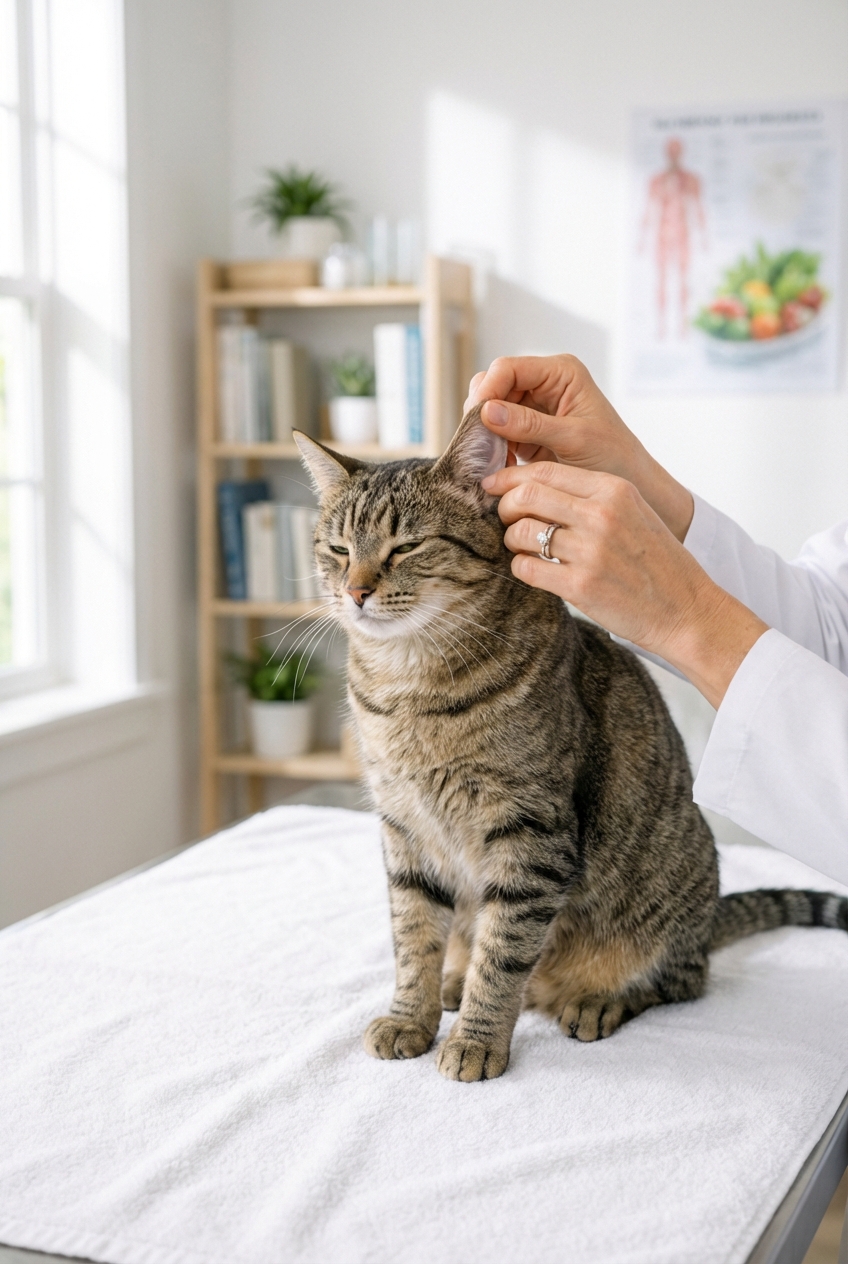
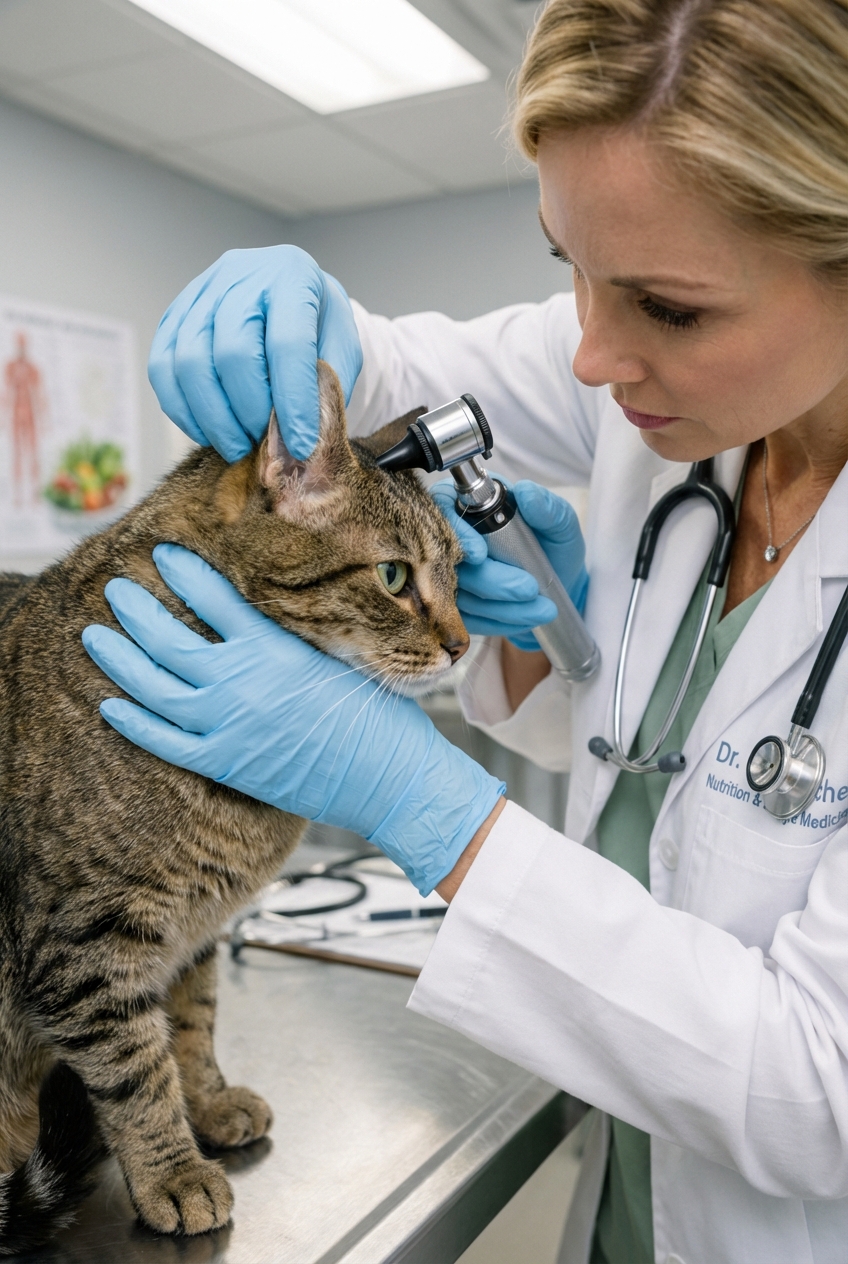
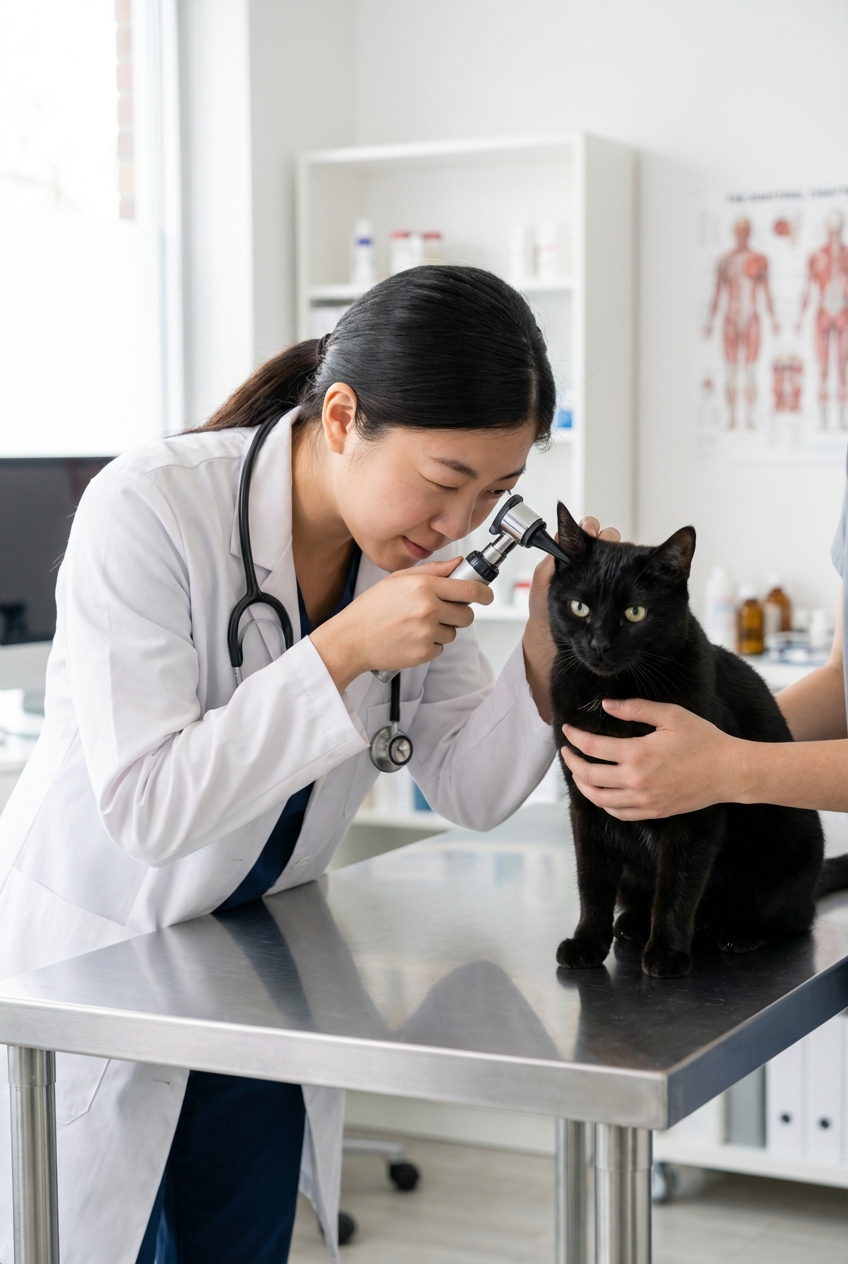
First step: confirm the diagnosis
The fastest and safest path is a vet visit for an ear exam plus cytology or microscopy. Your veterinarian may use an otoscope to look into the ear canal, then check a sample of debris under the microscope. This can confirm mites and also screen for bacteria and yeast.
If the ears are extremely painful, swollen, or packed with debris, your cat may need prescription medication plus a professional cleaning to get ahead of the inflammation.
How to get rid of ear mites
Effective treatment has two parts: kill the mites and calm the inflamed ear canal.
1) Vet-prescribed mite medications
Today, many of the best options are prescription products that kill ear mites reliably and are easier for families to use. Depending on what your vet chooses, treatment may be:
- Topical spot-on medication applied to the skin, often at the back of the neck
- Prescription ear drops that target mites and sometimes also treat infection and inflammation
- Long-acting products that reduce the need for daily dosing
If you like to know what you might hear at the clinic, common vet treatments may include products containing selamectin, moxidectin (often combined with imidacloprid), fluralaner, or ivermectin. Use only medications prescribed for your cat, and never use dog-only products unless your veterinarian specifically tells you it is safe.
Follow the label and your veterinarian’s schedule exactly. Stopping early is one of the most common reasons mites come back.
2) Clean the ears, but only the safe way
Cleaning helps remove debris that mites hide in and helps medication contact the skin better. But you need to do it gently.
- Use a cat-safe ear cleaner recommended by your veterinarian.
- Do not use hydrogen peroxide, alcohol, essential oils, or vinegar in your cat’s ears. These can irritate or damage inflamed tissue and worsen pain.
- Do not insert cotton swabs deep into the ear canal. You can push debris down, cause trauma, or even risk eardrum injury.
If your cat cries, fights hard, or seems very painful, stop and call your vet. Severe inflammation can make cleaning miserable, and cats sometimes need medication first so the ear can heal enough to tolerate cleaning.
3) Treat secondary infections if present
Ear mites can open the door to bacterial or yeast infections. If your vet finds an infection on cytology, your cat may need medication that includes antibiotics, antifungals, and an anti-inflammatory to reduce swelling and itch.
Home ear cleaning steps
If your vet says it is safe to clean at home, here is a simple approach that works well for many cats.
- Set up your space. Use a towel on your lap or a stable surface, have cotton balls or gauze ready, and keep the ear cleaner within reach.
- Warm the ear cleaner slightly by holding the bottle in your hands for a minute. Cold liquid can be startling.
- Lift the ear flap and apply the cleaner as directed, aiming into the ear canal opening without jamming the tip inside.
- Massage the base of the ear for 20 to 30 seconds. You should hear a soft “squish” sound.
- Let your cat shake their head. This helps bring debris outward.
- Wipe only what you can see using cotton balls or gauze.
- Use fresh cotton or gauze for each ear. This helps reduce cross-contamination.
- Reward your cat with a treat or a favorite activity. This makes the next session easier.

Treat all pets?
Often, yes. Ear mites spread easily between cats, and dogs can carry them too. Some pets act as quiet carriers, so if you treat only the itchy cat and ignore the others, you risk a constant cycle of reinfection.
Ask your veterinarian what they recommend for your specific household, including:
- All cats in the home, even if they are not scratching
- Dogs and ferrets if they have close contact with the cat
- Any new pet introduced recently
How long it takes
It depends on the product used and whether there is a secondary infection. Many cats improve noticeably within a few days, but full elimination often takes about 2 to 4 weeks when you account for the mite life cycle and the time it takes inflamed ears to heal. Some modern prescription products may resolve mites with fewer doses, but you still need to follow your veterinarian’s full plan.
Even if your cat seems better, keep going until the full course is complete and follow your veterinarian’s recheck guidance if recommended.
Home care and cleaning
Ear mites live mostly on the pet, not your carpets. But basic hygiene helps reduce the chance of spread and supports recovery.
- Wash bedding in hot water weekly during treatment
- Vacuum pet sleeping areas
- Clean grooming tools
- Separate newly rescued kittens from resident pets until they are examined and treated
What not to do
These are the mistakes I see most often, and they can seriously delay healing.
- Do not self-diagnose based on ear debris alone. Yeast and bacteria can look similar.
- Do not use dog-only products unless your veterinarian specifically says it is safe for cats.
- Do not use essential oils in or near the ears. Cats are more sensitive to certain compounds and can become ill.
- Do not skip treating other pets if your vet recommends household-wide treatment.
- Do not stop early just because the ear looks cleaner.
Call the vet right away
Ear issues can escalate quickly. Contact your veterinarian promptly if you notice:
- Severe pain or your cat will not allow any touch near the ear
- Head tilt, stumbling, unusual eye movements, or balance problems
- Swelling that narrows or closes the ear canal
- Bleeding, pus-like discharge, or a strong foul odor
- A swollen, puffy ear flap (this can be an ear hematoma from intense scratching or head shaking)
- Symptoms that are not improving within a few days of starting treatment
If your cat’s ear looks “dirty,” but your cat is also acting off, not eating, or hiding more than usual, do not wait. Ear pain can be intense, and quick care makes a big difference.
Can humans catch ear mites?
Ear mites are primarily a pet-to-pet problem. In rare cases, people may get a temporary itchy rash after close contact with an infested pet, but mites do not usually live on humans. If anyone in the home develops a persistent rash or significant itching, call your doctor and let them know a pet in the home is being treated for mites.
Preventing ear mites
Once you have dealt with ear mites once, you will probably want a prevention plan.
- Use veterinarian-recommended parasite prevention consistently, especially in multi-pet homes or if your cat has outdoor exposure.
- Schedule wellness exams so your vet can catch early ear inflammation before it turns into a bigger problem.
- Quarantine and check new pets before they mingle with your resident cats.
- Address early ear irritation quickly so scratching and inflammation do not snowball.
Quick checklist
- Confirm mites with a vet exam when possible
- Use a proven prescription treatment and finish the full course
- Clean ears only with a cat-safe cleaner and only as directed
- Treat all pets in the household if recommended
- Recheck if symptoms linger or return
If you have a vet visit coming up, consider bringing a short list of details: when the itching started, whether your cat goes outdoors, what other pets are in the home, and any products you have already tried. That helps your veterinarian choose the safest, most effective plan.