Found a tick on your dog? Follow this safe, vet-assistant guided step-by-step removal method, what not to do, how to clean the bite, and signs to watch for o...
Article
•
Designer Mixes
How To Get A Tick Out Of A Dog

Shari Shidate
Designer Mixes contributor
Ticks are one of those “don’t panic, but don’t wait” problems. The good news is that most ticks can be removed safely at home if you use the right technique and you act quickly. In general, removing a tick sooner can lower the risk of disease transmission, but a few tick-borne germs may transmit quickly, so it is still important to monitor your dog afterward.
As a veterinary assistant, I always tell families the same thing: use steady hands, remove the tick in one smooth pull, and save it in case your veterinarian needs identification later. This guide will walk you through removal, what to do if things do not go perfectly, what to watch for, and how to prevent the next one.
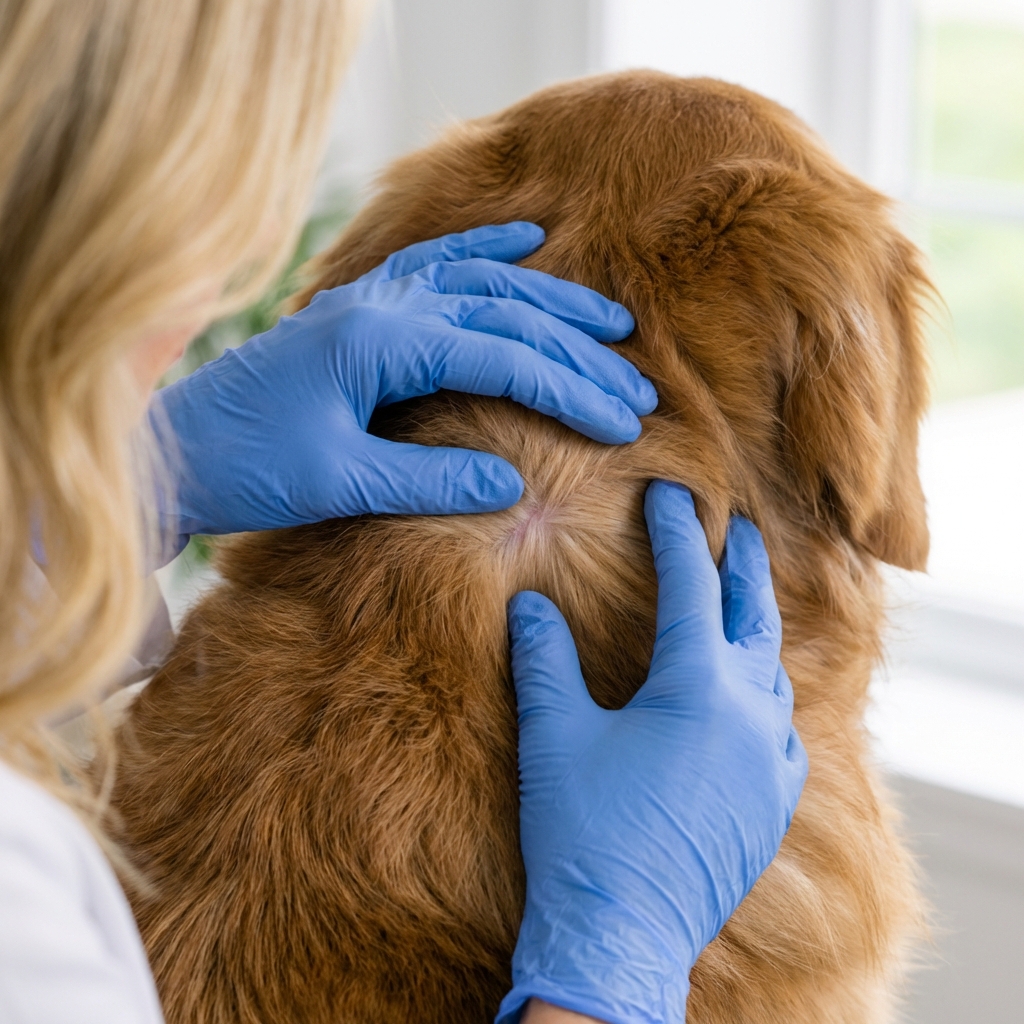
What to do first
Before you grab the tick, set yourself up for success. A calm dog and good lighting make a big difference.
- Move to bright light and, if possible, have someone gently hold your dog.
- Put on gloves or use a tissue if you do not have gloves.
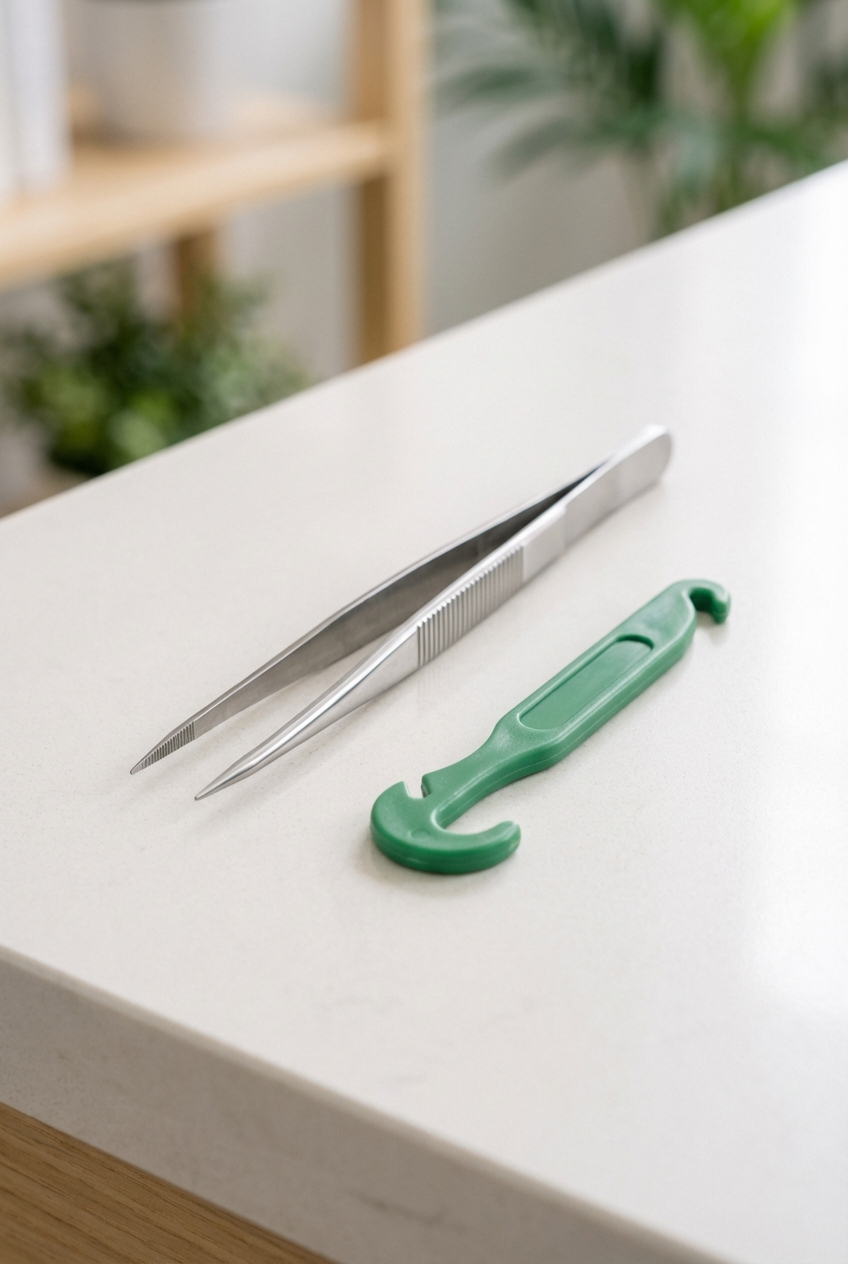
- Gather supplies: fine-tipped tweezers or a tick-removal tool, rubbing alcohol, a small container or zip bag, and soap and water.
- Part the fur so you can see where the tick’s mouthparts enter the skin.
The safest way to remove a tick
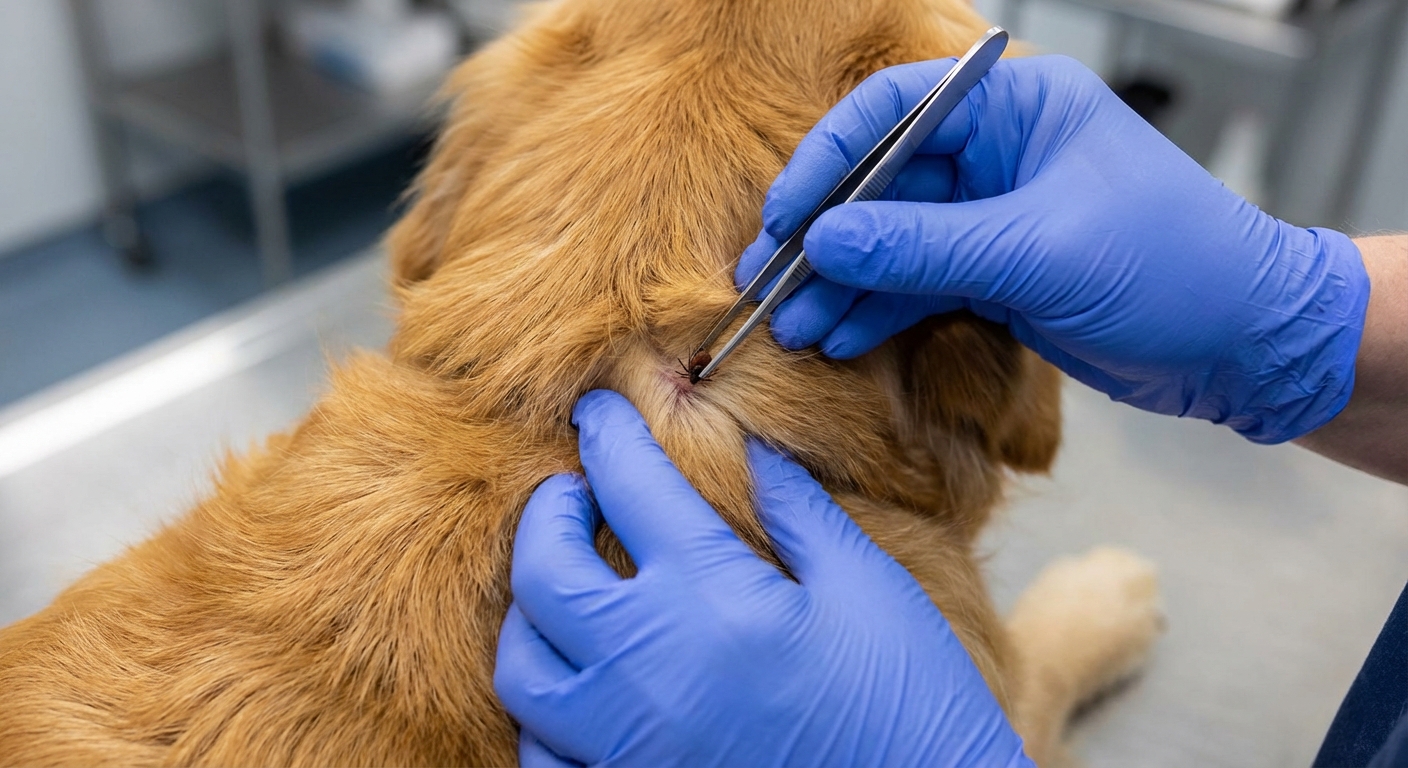
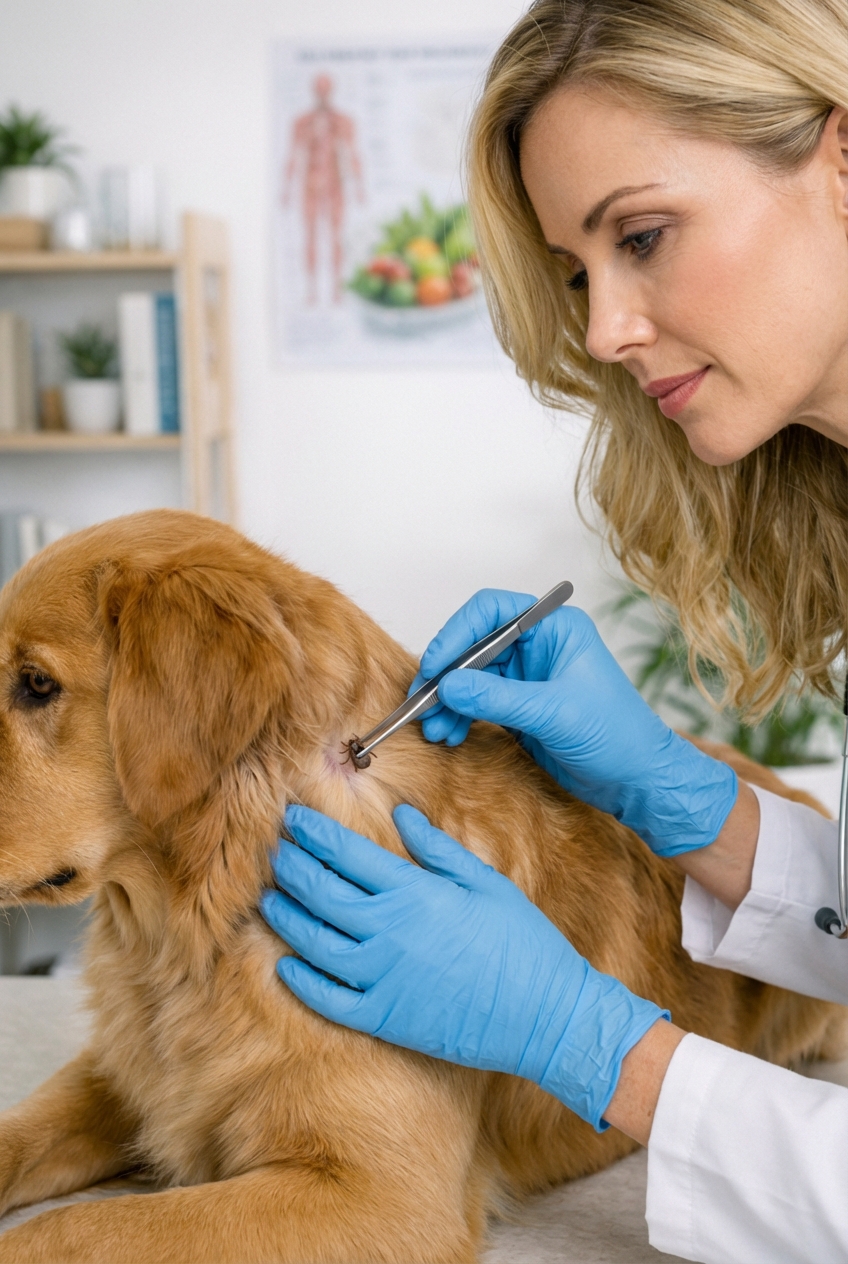
Method 1: Fine-tipped tweezers
- Grip close to the skin. Place the tweezers as close as possible to your dog’s skin, aiming to grab the tick at the head and mouthparts, not the swollen belly.
- Pull straight out. Use slow, steady pressure. Do not yank, twist, or jerk.
- Check the site. Look for any remaining dark speck that could be mouthparts. If you are not sure, take a clear photo and contact your veterinarian.
- Clean the bite area with mild soap and water, or a pet-safe antiseptic recommended by your veterinarian.
- Wash your hands even if you wore gloves.
Method 2: Tick-removal tool
Tick tools can be very effective, especially for wiggly dogs. Follow the package directions. In general, you slide the tool under the tick at skin level and lift. Only rotate if your specific tool instructs rotation.
Tip: If your dog is squirmy, try offering a lick mat with a small smear of peanut butter (xylitol-free) while you remove the tick.
If the tick breaks
If the tick tears and you think mouthparts are still in the skin, do not panic. This happens.
- Do not dig aggressively with needles or sharp tools. That can cause more trauma and infection.
- Clean the area and take a clear close-up photo.
- Monitor for changes like swelling, oozing, worsening redness, or increasing tenderness.
- Call your veterinarian if you are not confident it is fully removed, or if the site looks worse over the next 24 to 48 hours.
What not to do
A lot of old advice can actually make things worse. Techniques that irritate the tick may increase salivation or regurgitation, which may increase exposure risk.
- Do not burn the tick with a match or hot object.
- Do not smother the tick with petroleum jelly, nail polish, essential oils, soap, or alcohol in hopes it “backs out.” Use mechanical removal instead.
- Do not squeeze the tick’s body with your fingers or blunt tweezers.
- Do not twist aggressively unless your specific tick tool instructs a gentle rotation.
How to save the tick (yes, really)
If your dog becomes ill later, your veterinarian may want to know what kind of tick it was. Different ticks carry different diseases.
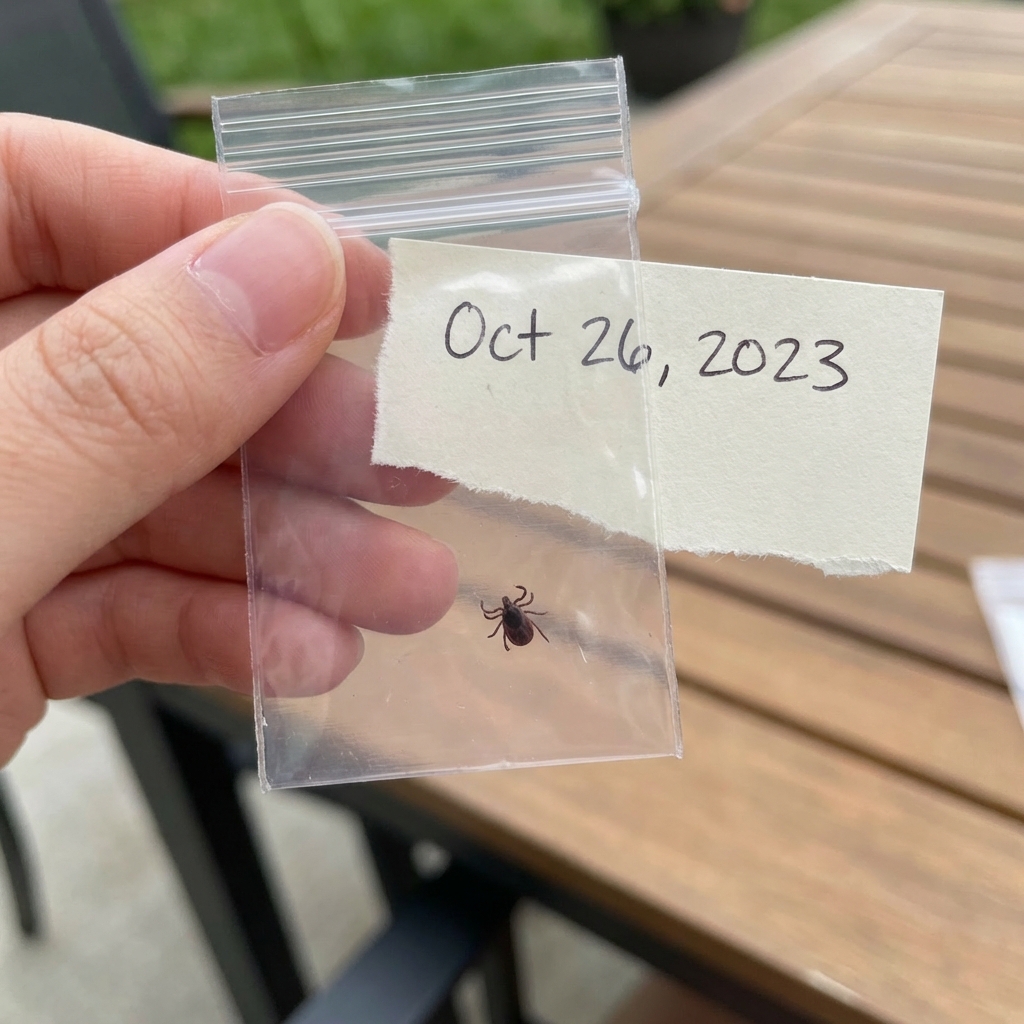
- After removal, place the tick in a small container or zip bag with a tiny bit of rubbing alcohol.
- Label it with the date and the location on your dog’s body where you found it.
- Store it sealed at room temperature or in the refrigerator until you can speak with your veterinarian. Clinic preferences vary, so if you are unsure, call and ask what they prefer.
Clean up after removal
- Disinfect your tools with rubbing alcohol, then wash with soap and water.
- Dispose of gloves and wash hands thoroughly.
- Do not crush ticks with bare fingers. Keep the tick away from children and pets.
Aftercare: what is normal and what is not
It is common to see mild redness at the bite site for a day or two. Some dogs get a small scab, especially if the tick was attached for a while.
Watch the bite area for 2 weeks
- Normal: mild redness, tiny scab, slight itchiness.
- Call your veterinarian: swelling, oozing, increasing pain, a growing red ring, or a lump that does not improve.
Watch your dog’s health for 30 days
Tick-borne illnesses can show up days to weeks after a bite. Contact your veterinarian promptly if you notice:
- Fever, lethargy, or sudden “off” behavior
- Decreased appetite
- Lameness, stiffness, or shifting leg pain
- Swollen lymph nodes
- Vomiting or diarrhea
- Unusual bruising, nosebleeds, or pale gums
In some regions, ticks can also cause tick paralysis. If your dog develops sudden wobbliness, weakness, trouble standing, or breathing changes, treat it as urgent and contact an emergency veterinarian right away.
If you are in Texas like I am, tick exposure can happen nearly year-round in some areas, so it is worth taking symptoms seriously even outside of peak summer.
When not to DIY
Home removal is often fine, but there are times it is safer to get help.
- The tick is embedded in an eyelid, lip, ear canal, or between toes and you cannot get a clear grip.
- Your dog is painful, aggressive, or extremely anxious and you cannot safely restrain.
- You suspect there are multiple ticks or you find ticks repeatedly.
- Your dog is a puppy, senior, pregnant, immunocompromised, or has a serious underlying condition.
- The tick’s mouthparts appear to be stuck and the area becomes irritated.
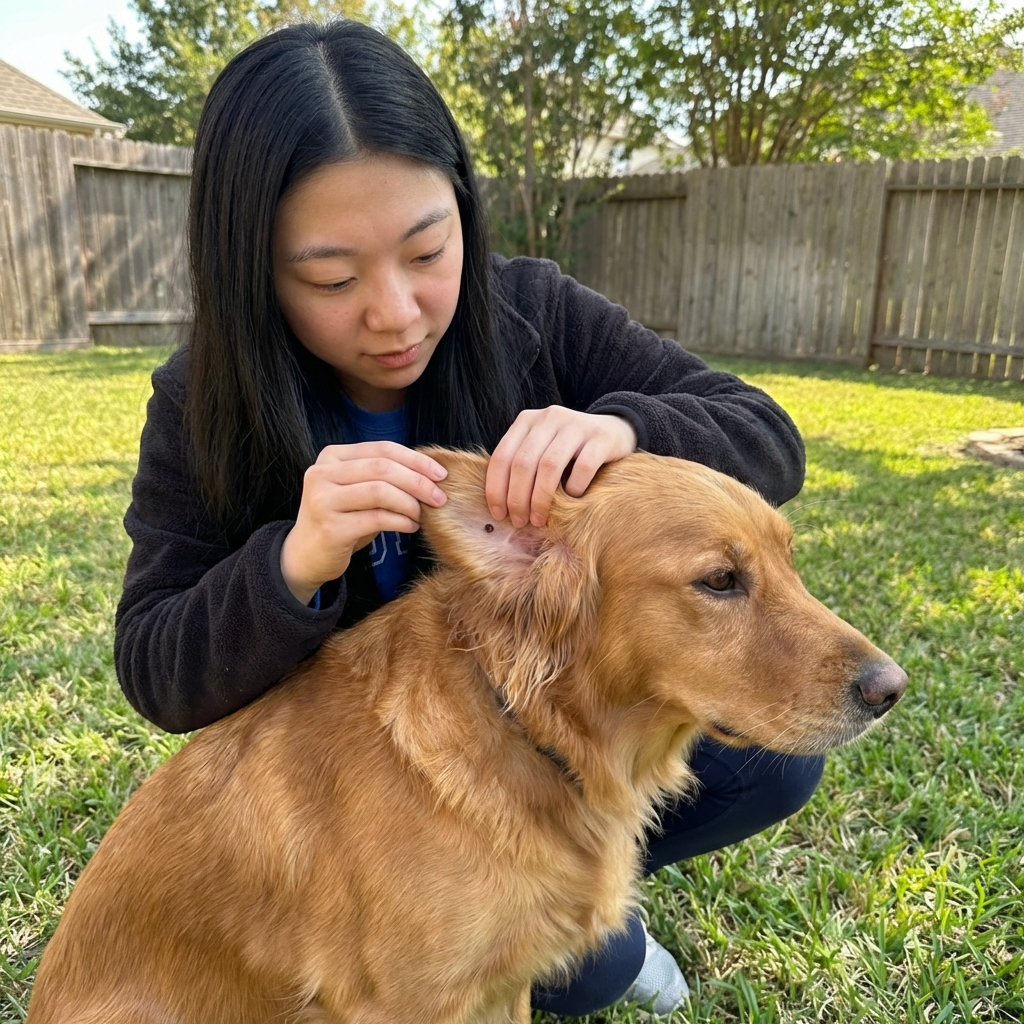
How to check your dog for ticks
Ticks love warm, hidden places. A quick daily scan after walks or yard time can catch them early.
- Under the collar and around the neck
- In and around the ears
- Under the front legs and in the armpits
- Groin area and under the tail
- Between toes and around nail beds
- Along the belly and chest
Tick prevention that works
Removal is important, but prevention is where you really win. Talk to your veterinarian about the best option for your dog’s age, weight, lifestyle, and medical history.
Common prevention options
- Oral preventives (often monthly, but some products are longer lasting)
- Topical preventives applied to the skin
- Tick collars designed for long-lasting protection
Also help your environment work for you:
- Keep grass trimmed and remove leaf litter.
- Create a simple barrier like gravel or mulch between wooded areas and your lawn.
- Wash bedding after hikes and check humans too. Ticks can hitch a ride indoors.
Quick FAQ
Does the tick head always stay in?
If you pull straight out and grip close to the skin, you usually remove the mouthparts too. If a tiny piece remains, it may work itself out like a splinter, but irritation or infection is possible. When in doubt, call your veterinarian.
How long does a tick need to be attached to transmit disease?
It depends on the specific pathogen and tick species. Some infections are more likely with longer attachment time, while others may transmit more quickly. That is why prompt removal and good aftercare monitoring both matter.
My dog has a bump after tick removal. Is that normal?
A small bump can be a local inflammatory reaction and may last days to a couple of weeks. If it grows, becomes painful, oozes, or your dog seems unwell, it is time for a veterinary check.
Bottom line
You do not have to be perfect, you just have to be prompt and gentle. Use fine-tipped tweezers or a tick tool, pull straight out, clean the area, save the tick, and monitor your dog for bite-site changes and any signs of illness. If anything feels “off,” trust your instincts and call your veterinarian.