A vet-assistant guide to cleaning your dog’s ears the safe way—what to use, what to avoid, step-by-step technique, how often to clean, and when to call y...
Article
•
Designer Mixes
How to Clean Your Dog’s Ears Daily

Shari Shidate
Designer Mixes contributor
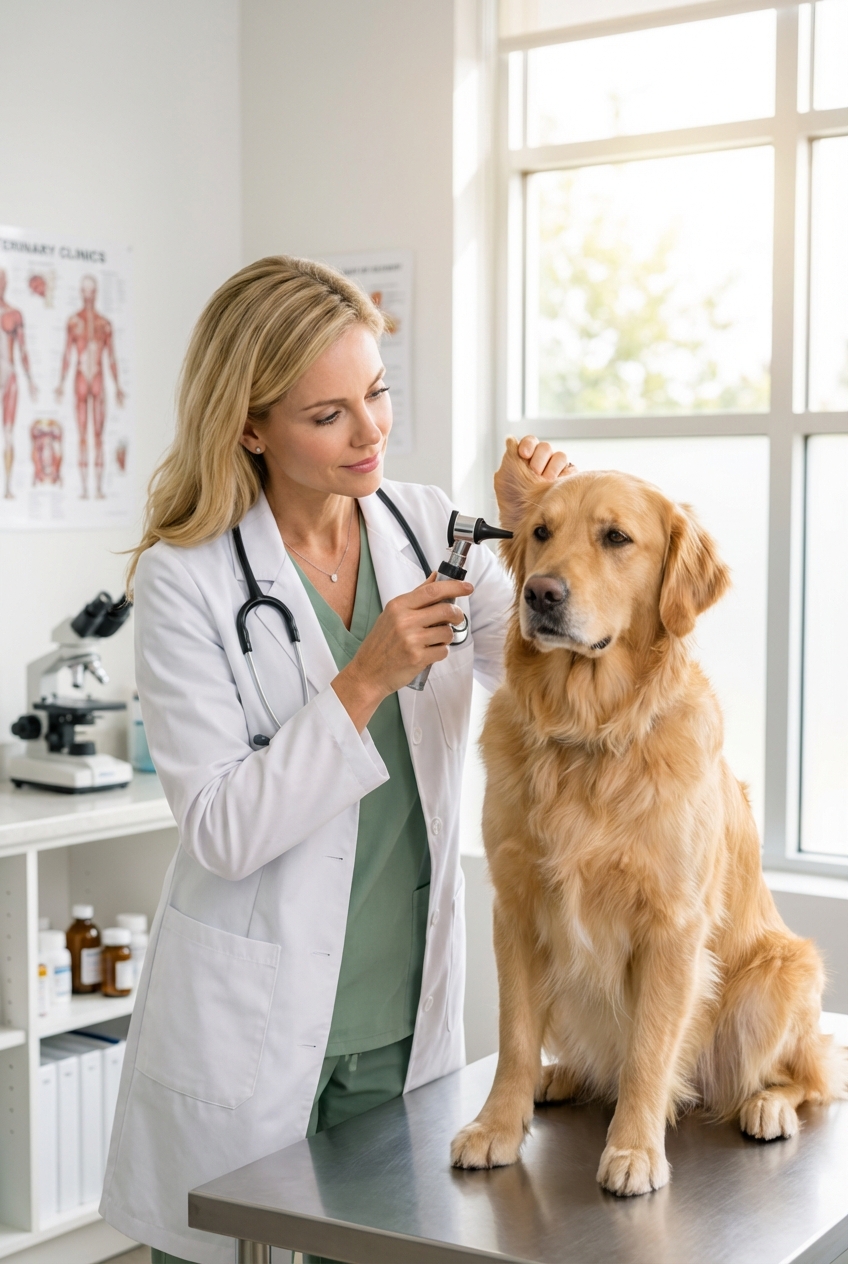
Ear care is one of those small habits that can save you and your dog a lot of stress later. As a veterinary assistant here in Frisco, Texas, I have seen mild wax buildup turn into painful infections fast, especially in floppy-eared mixes and allergy-prone pups.
Here is the key insight: most dogs do not need a deep ear cleaning every day. “Daily ear care” is usually about daily ear checks, plus cleaning only when your dog’s ears are dirty, smelly, or your veterinarian has you on a treatment plan. Over-cleaning can irritate the ear canal and make problems more likely.
Quick note: Every dog is different. The right cleaning frequency depends on ear shape, allergies, swimming habits, and medical history. When in doubt, ask your veterinarian for a plan that fits your dog.
Quick daily ear check (60 seconds)
A daily check helps you catch early changes before your dog starts hurting. Look for these healthy signs:
- Neutral or mild smell (or no smell at all)
- Pale pink skin inside the ear flap
- Minimal wax that is light yellow or tan
- No pain when you touch the ear
And here are red flags that mean “pause and reassess”:
- Strong odor (yeasty, sweet, or foul)
- Redness, swelling, heat, or the ear looks angry
- Dark brown, black, or pus-like discharge
- Head shaking, pawing at ears, rubbing face on carpet
- Pain or your dog will not let you touch the ear
If you see these, cleaning may not be the right next step. Many infections need prescription medication, and cleaning the wrong way can make the ear more inflamed.
What “daily cleaning” really means
Most dogs: check daily, clean as needed
Dogs with normal ears typically do best with routine observation and occasional cleaning. Ear canals are self-cleaning to a point, and frequent product use can disrupt the ear’s normal environment.
Some dogs need more frequent cleaning
Ask your veterinarian about a schedule if your dog has:
- Floppy ears (many doodle mixes, spaniel mixes, hounds)
- Hairy ear canals
- Allergies (food or environmental)
- Recurring yeast or bacterial ear infections
- Frequent swimming or bathing
Real-world example: some swimmers or allergy dogs may do well with weekly or every-other-week maintenance cleaning, but only if your veterinarian recommends it and your dog’s ears stay comfortable.
Moisture is a common troublemaker
Many chronic ear issues are fueled by a warm, moist ear canal, especially in predisposed dogs. Drying the ear flap after baths, swimming, or rainy walks can be more helpful than frequent deep cleaning.
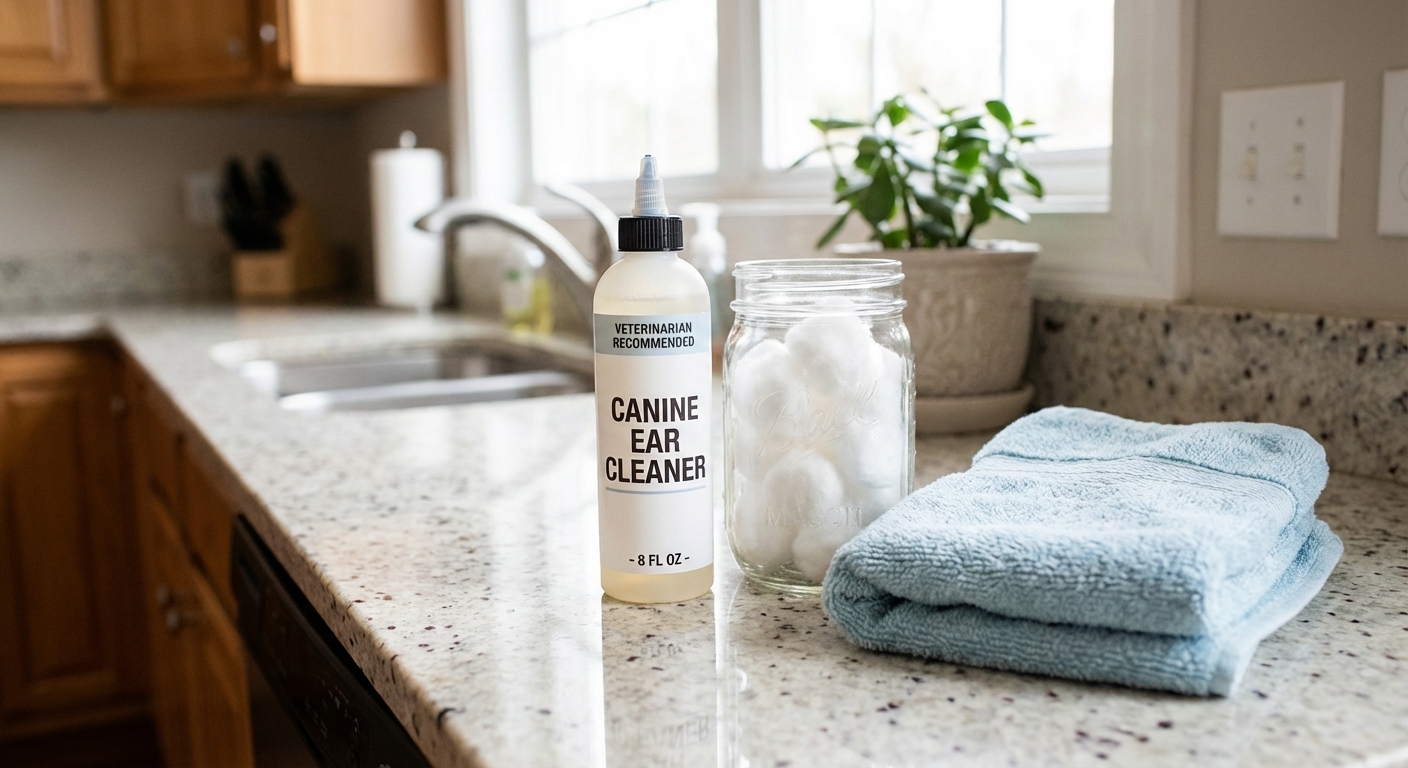
What you need
- Veterinarian-recommended ear cleaner made for dogs (the right type matters, especially for chronic yeast or bacterial issues)
- Cotton balls or gauze squares
- Towel for the inevitable head shake
- Treats to build a calm routine
Skip these: cotton swabs inside the canal (they can push debris deeper), hydrogen peroxide (often irritating), rubbing alcohol (can sting and overdry), and essential oils (can irritate or be toxic and are not recommended unless your vet specifically directs you).
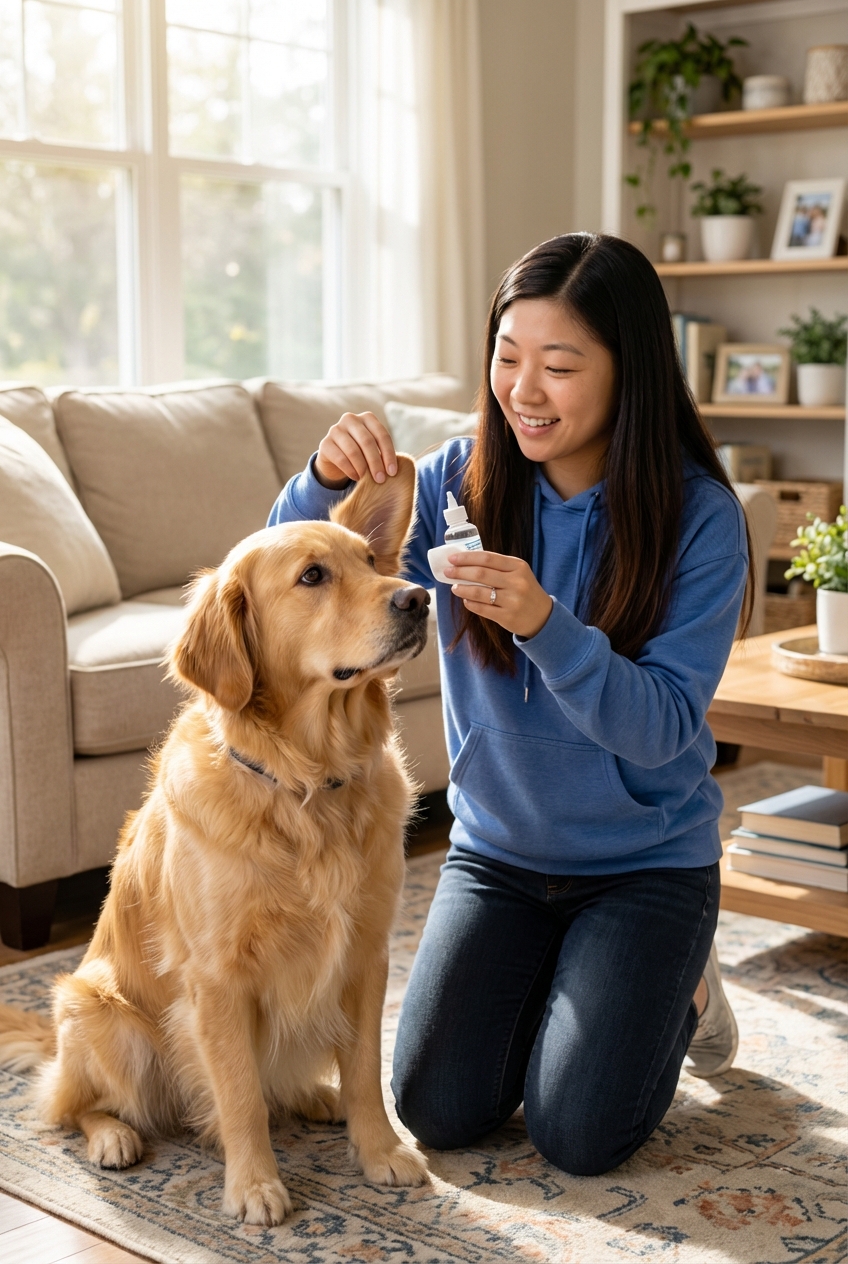
How to clean your dog’s ears
If your dog’s ears look mildly dirty and your dog is comfortable, this is a gentle, standard approach.
Safety first: Do not flush or clean if you suspect a ruptured eardrum or deeper ear issue. Signs include severe pain, a sudden head tilt, loss of balance, unusual eye movements, or a sudden, intense one-sided problem. If you see these, skip cleaning and call your vet.
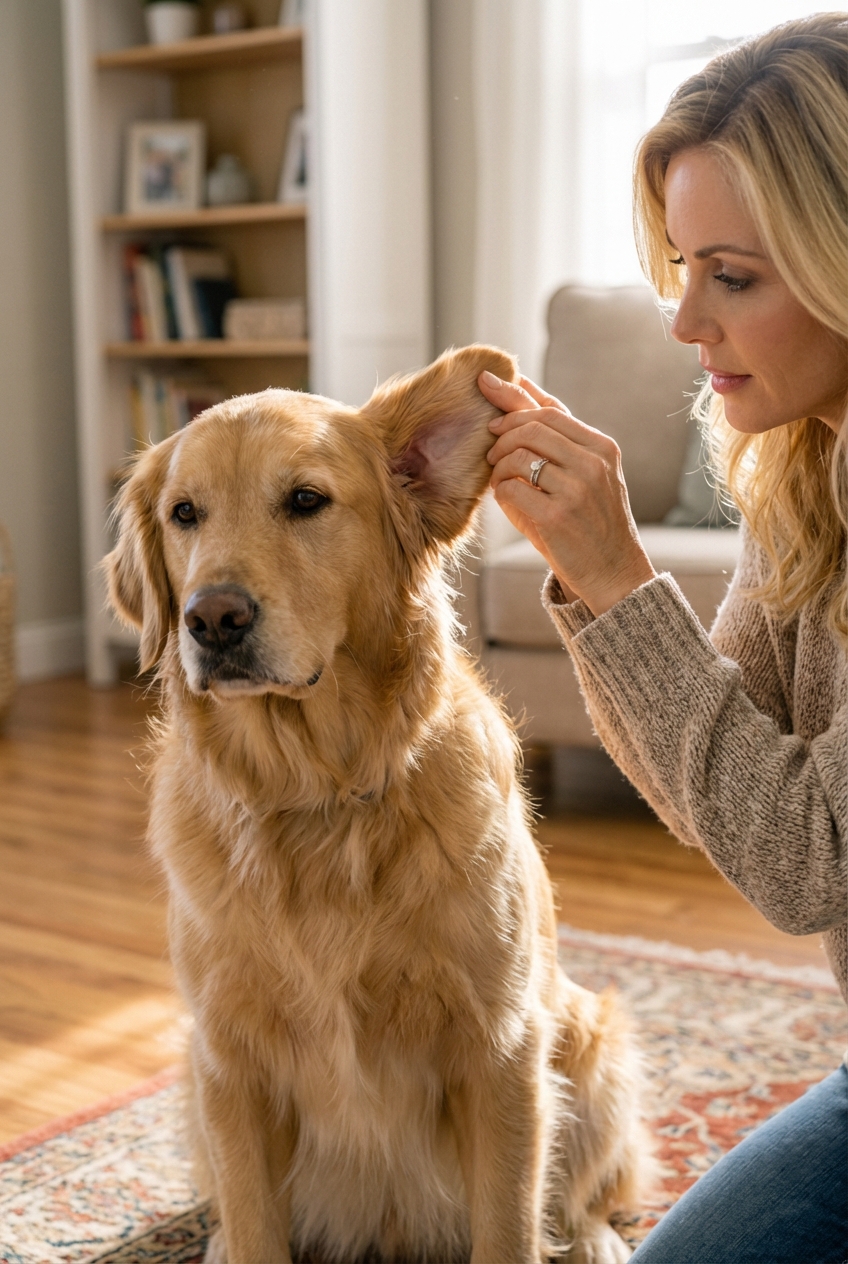
- Choose a calm spot. Sit on the floor with your dog, or have your dog sit on a non-slip rug.
- Lift the ear flap. You are cleaning what you can see, not digging into the canal.
- Add ear cleaner. Use the amount your product label or vet recommends. For many dog ear cleansers, that means a generous amount to help loosen debris, but do not force the nozzle down into the ear.
- Massage the base of the ear for 20 to 30 seconds. You should hear a gentle squish. This loosens wax and debris.
- Let your dog shake. This is good. It helps bring debris outward.
- Wipe what comes out. Use a cotton ball or gauze to wipe the inner ear flap and the opening you can see. A good rule is: wipe only what your finger can comfortably reach without inserting anything into the canal.
- Repeat once if needed. Stop if the ear looks more red, your dog seems uncomfortable, or the debris is heavy and stuck.
- Reward. Treat, praise, and move on. Consistency matters more than perfection.
Tip from the clinic: if your dog’s ear wax is heavy and sticky, it can take multiple gentle cleanings across several days. If there is pain, strong odor, or lots of discharge, schedule a vet visit instead of trying to “power through.”
Aftercare: A little extra head shaking right after cleaning is normal. What is not normal is ongoing distress, worsening redness, or your dog acting painful hours later. If that happens, stop and check in with your vet.
Simple routine for busy days
1) Look
Lift each ear flap and glance for redness, debris, or swelling.
2) Smell
Healthy ears should not have a strong odor. If you smell yeast or “funk,” that is meaningful.
3) Touch
Gently rub the base of the ear. If your dog flinches, pulls away, or cries, stop and call your vet.
4) Clean only if needed
If your dog’s ears look clean and your dog is comfortable, you are done.
Common mistakes
- Mistake: Cleaning every day “just because.” Instead: Do daily checks and clean on a schedule that fits your dog, ideally one recommended by your veterinarian.
- Mistake: Using cotton swabs in the canal. Instead: Use cotton balls or gauze to wipe what you can see and comfortably reach.
- Mistake: Using too little cleaner to loosen wax. Instead: Use enough product (per label or vet guidance) to wet and loosen debris, then massage, let them shake, and wipe.
- Mistake: Ignoring ear flare-ups during allergy season. Instead: Treat the root cause with your veterinarian, because recurring infections often track with allergies.
- Mistake: Cleaning too often. Instead: If ears start looking more red or your dog gets more sensitive after cleanings, back off and ask your vet about frequency and product choice.
When not to clean
Please skip cleaning and schedule an exam if you notice:
- Bleeding, open sores, or a sudden swollen ear flap
- Severe pain or your dog yelps when you touch the ear
- Thick discharge, pus, or a strong persistent odor
- Head tilt, loss of balance, or unusual eye movements
- Suspected foreign body (foxtail, grass seed) or sudden one-sided symptoms
These signs can indicate infection, ear mites, a ruptured eardrum, or deeper ear disease that needs professional treatment.
One more note: ear mites are more common in puppies and in cats (and they can spread between pets). They require a diagnosis and the right medication, so it is best not to guess.
Mini FAQ
Can I use baby wipes or water?
Water adds moisture and may not break down wax effectively. Baby wipes often contain fragrances or ingredients that can irritate. A dog-specific ear cleaner is usually the safest choice.
My dog hates ear cleaning. What helps?
Go slowly. Start with brief ear touches and treats, then progress to lifting the ear flap, then wiping only. Many dogs improve dramatically with short sessions and high-value rewards.
What about plucking ear hair?
Some dogs benefit, some get more inflamed. Ear hair removal should be guided by your veterinarian or a groomer experienced with ear health, especially if infections are frequent.
Bottom line
Daily ear care is mostly about daily awareness. Check your dog’s ears often, keep them dry, and clean only when needed or when your veterinarian recommends it. Those small steps can prevent pain, extra vet visits, and chronic infections, and they keep your dog feeling comfortable day to day.