A vet-assistant guide to cleaning your dog’s ears the safe way—what to use, what to avoid, step-by-step technique, how often to clean, and when to call y...
Article
•
Designer Mixes
How to Clean a Dog’s Ears With an Infection

Shari Shidate
Designer Mixes contributor
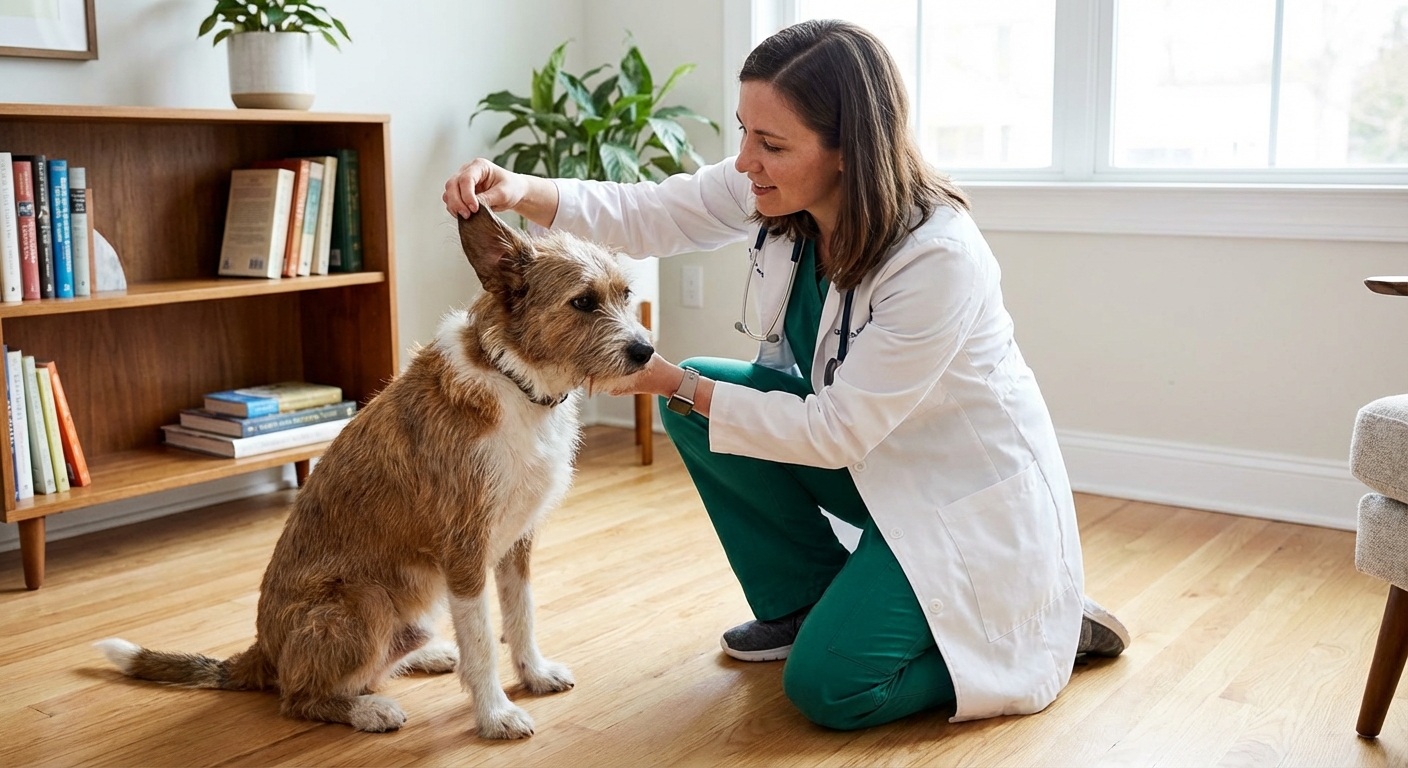
As a veterinary assistant, I see ear problems every single week and I totally get why they can feel intimidating. Ear infections are uncomfortable, often smelly, and they can escalate fast if you use the wrong products or clean too aggressively. The good news is that with the right approach, most dogs can learn to tolerate gentle ear care and feel better sooner.
This guide focuses on safe, supportive ear cleaning when an infection is suspected or confirmed, plus training tips to make the process calmer for you and your dog. It is not a substitute for veterinary care, especially because sore ears can involve a ruptured eardrum, resistant bacteria, yeast, mites, or foreign material.
When to call the vet
Ear infections are common, but some situations need veterinary attention quickly. If any of these apply, skip home cleaning and book an appointment.
- Severe pain, yelping, snapping, or your dog will not let you touch the ear
- Head tilt, loss of balance, abnormal eye movements, or walking “drunk”
- Swelling of the ear flap that looks like a water balloon, possible aural hematoma (a blood-filled swelling)
- Blood or pus-like discharge
- Very strong odor plus worsening redness, swelling, or significant discharge (odor alone is common, but it is still a good reason to get an exam soon)
- Possible eardrum issue: signs can include severe pain, sudden change in comfort, new head tilt, balance issues, or drainage, but you cannot confirm a rupture at home
- Foxtails or any foreign body concern, especially sudden one-sided symptoms after a walk
- Frequent or recurring infections (for example, multiple episodes per year) or infections that do not improve within 48 to 72 hours of treatment
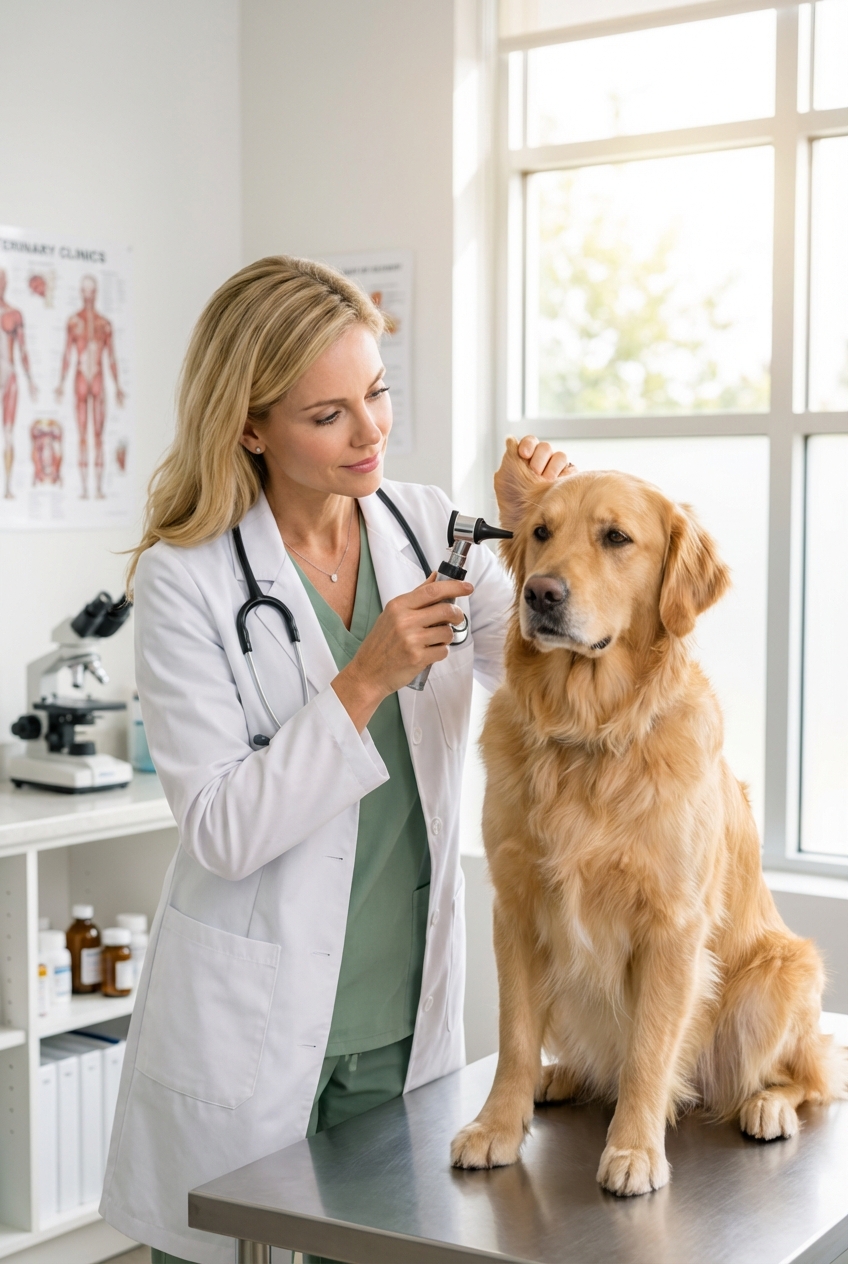
Why this matters: the correct treatment depends on whether the issue is yeast, bacteria, mites, allergy-driven inflammation, or something trapped down in the canal. Your vet can look deeper into the ear and may recommend a cytology test (and sometimes culture and sensitivity) to choose the most effective medication.
One more safety note: if you suspect mites or a foreign body, do not put leftover ear meds in “just to see if it helps.” Using the wrong product can worsen pain and delay the right treatment.
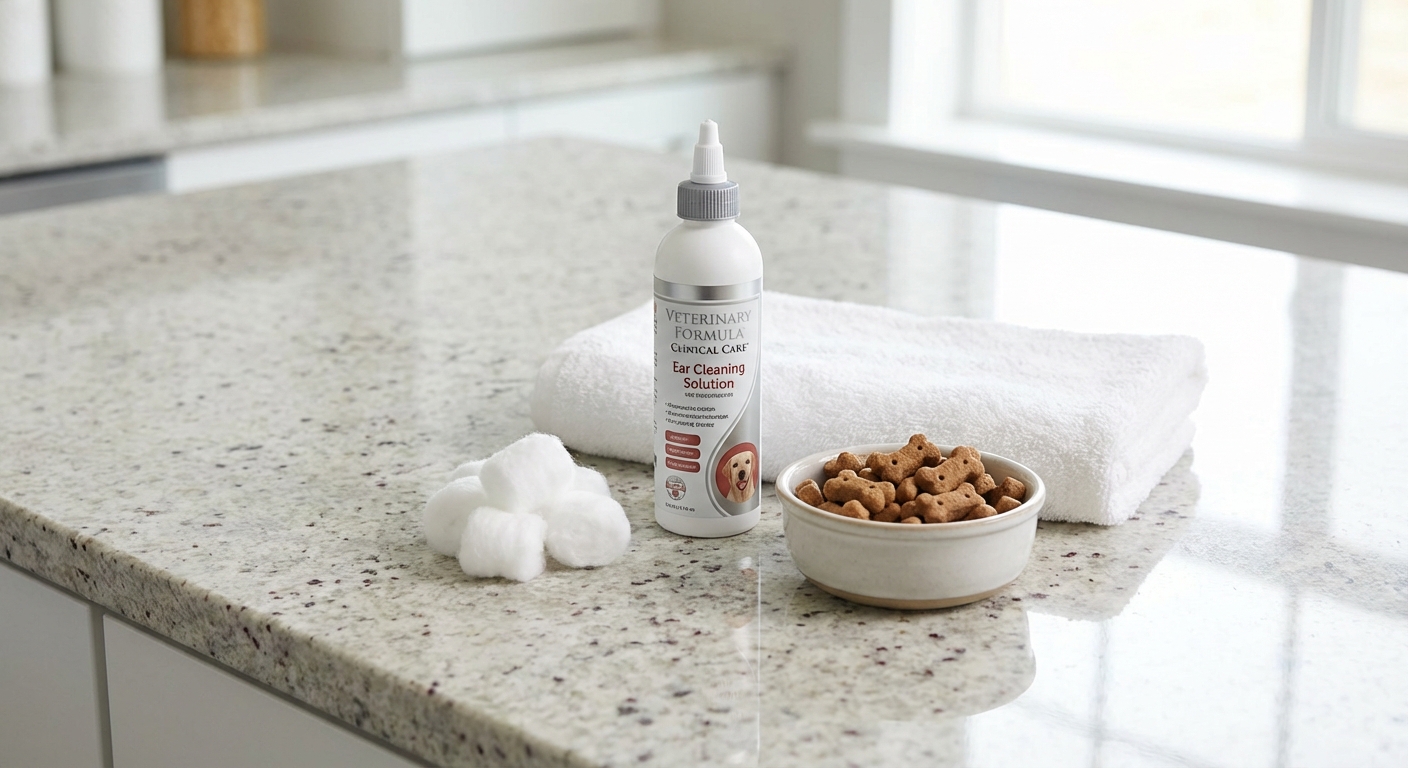
What you need
When your veterinarian has confirmed it is safe to clean, the goal is simple: gently remove excess debris and help medication contact the skin.
- Veterinarian-recommended ear cleaner (not home mixtures)
- Cotton balls or gauze squares
- Towel (for the classic post-clean “ear shake”)
- Treats your dog truly loves
- Gloves if the ear is very gunky or you are applying medicated drops
Avoid: Q-tips in the ear canal (they can pack debris deeper and cause trauma) and any product not made for dog ears. Be especially cautious with alcohol, peroxide, essential oils, or DIY vinegar mixes. Some of these can sting inflamed tissue and some ingredients can be ototoxic (harmful to hearing) if the eardrum is not intact. If your veterinarian specifically instructs a particular solution, follow their directions.
Step-by-step cleaning
If your dog is currently on prescription ear medication, ask your vet whether to clean before each dose or only on certain days. Over-cleaning can irritate the canal, especially when it is already inflamed.
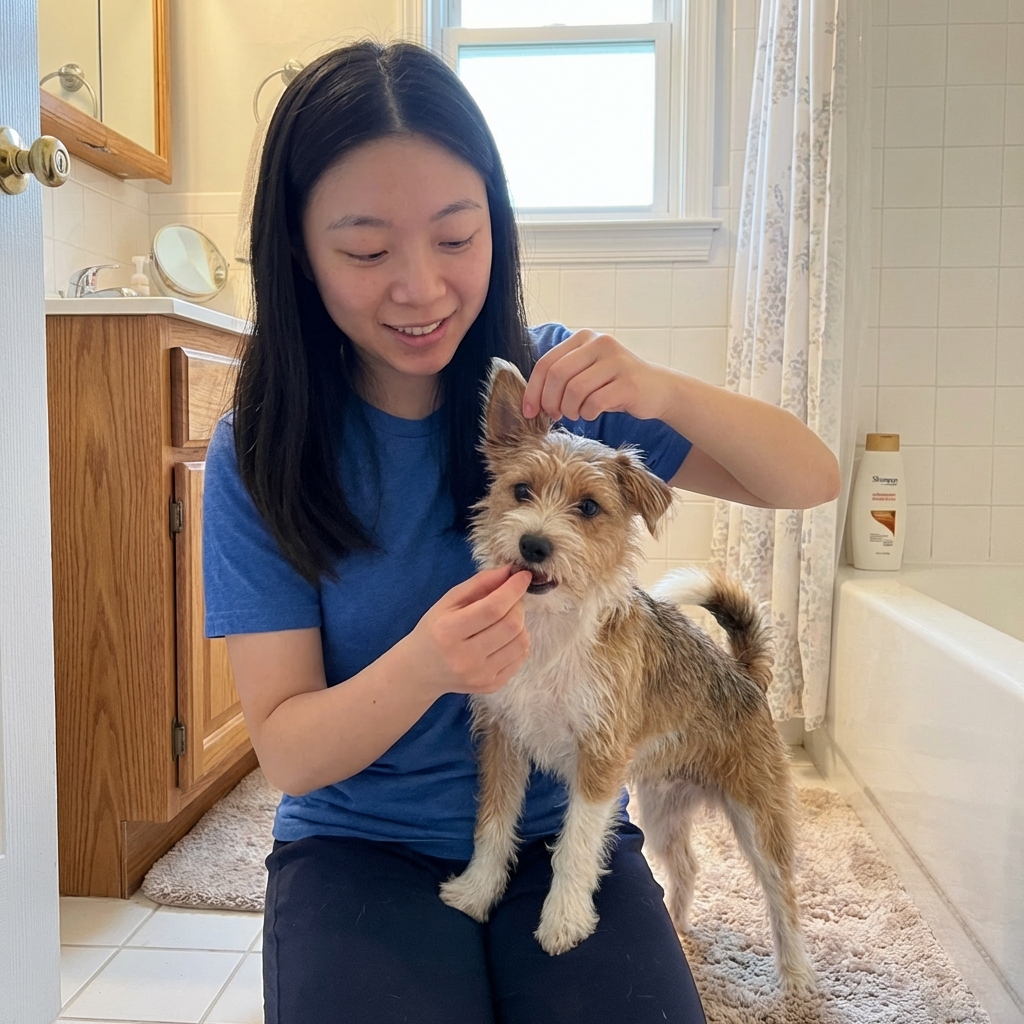
1) Pick a calm, non-slip spot
Choose a bathroom, laundry room, or a spot where you can wipe up easily. Place a towel under your dog or use a non-slip mat. Have everything within arm’s reach.
2) Quick look and sniff
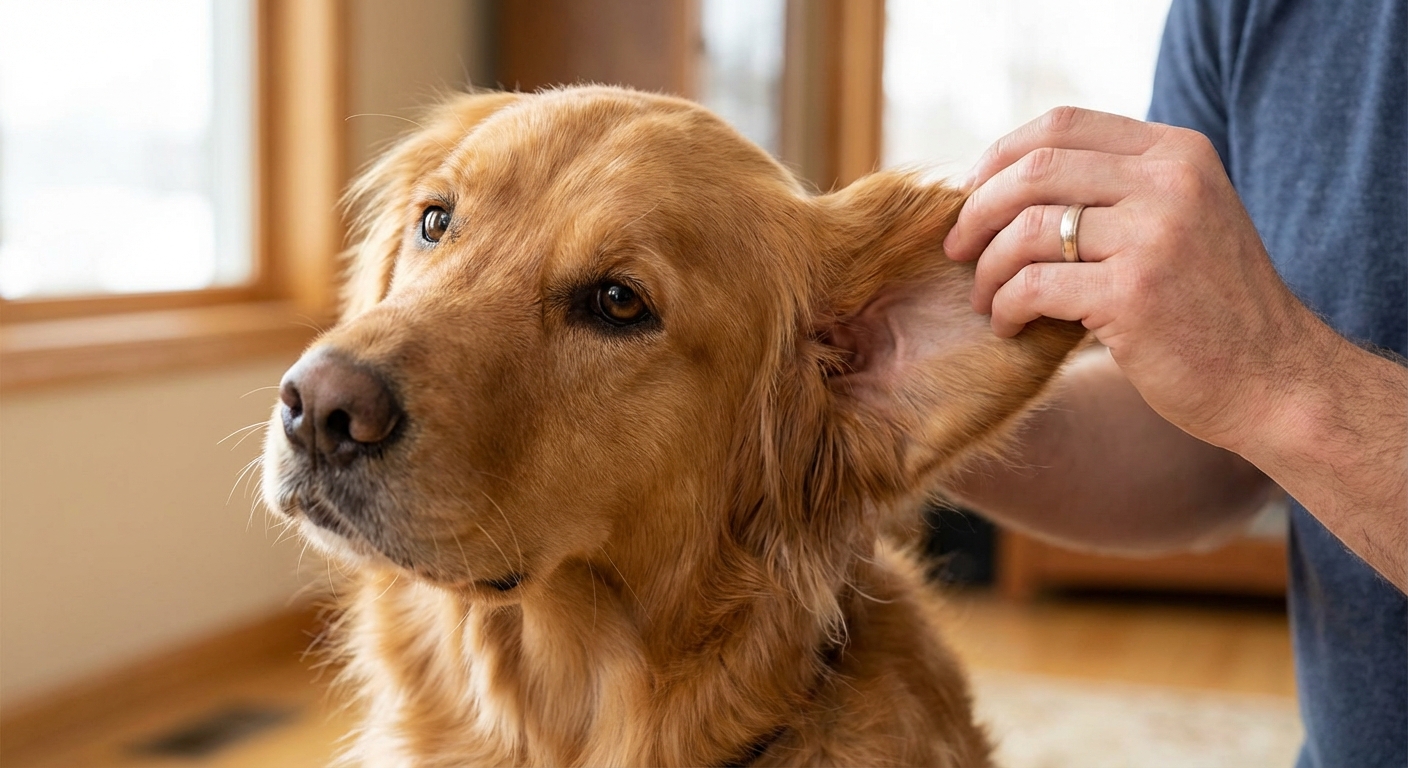
Gently lift the ear flap and look at the skin you can see. Note redness, swelling, discharge, and odor. For your safety, do not put your face close to the ear since many dogs jerk suddenly. If you see heavy bleeding, sudden severe swelling, or your dog seems intensely painful, stop and call your vet.
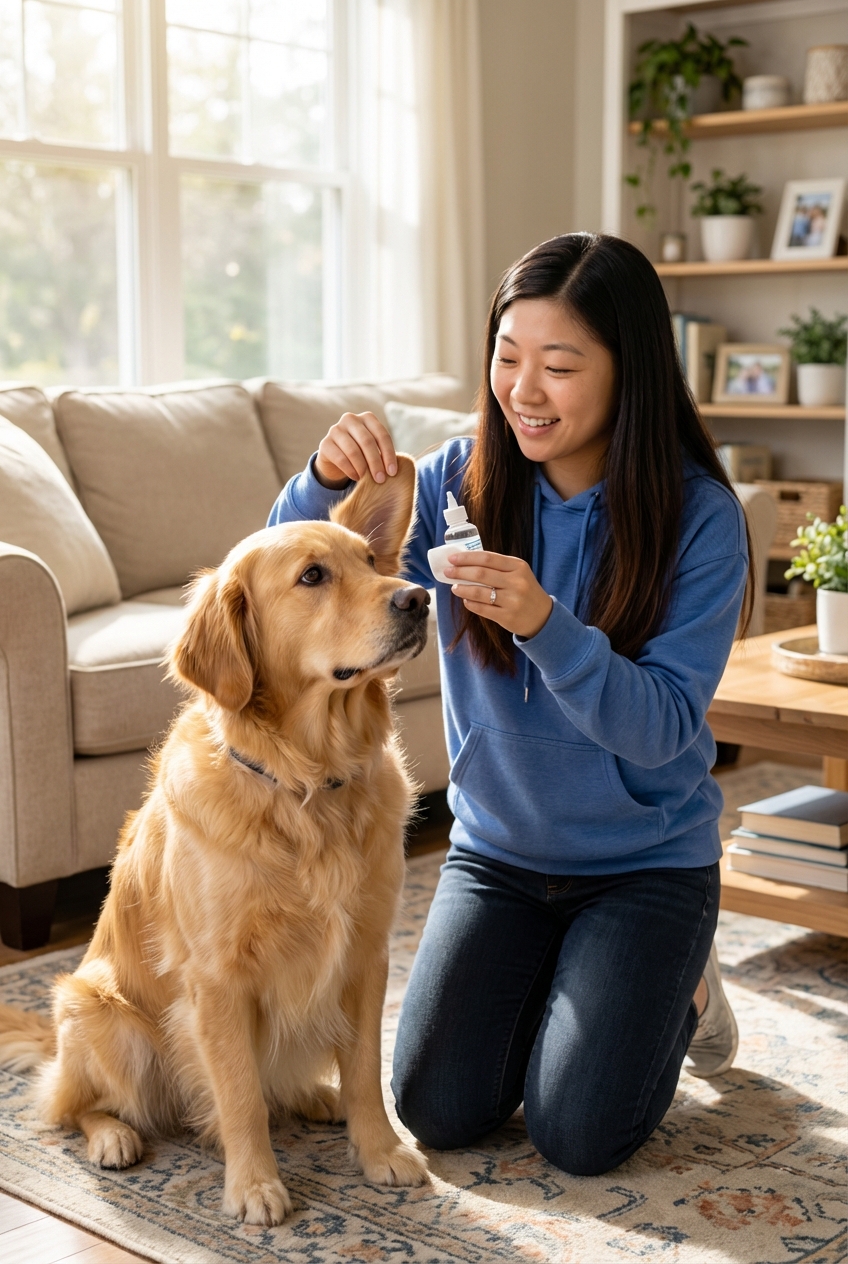
3) Add cleaner (only if cleared by your vet)
Only do this if your vet has said it is safe and the product is appropriate for your dog, especially if there is any concern about the eardrum. Hold the ear flap up, place the tip of the bottle near the opening of the canal, and squeeze enough cleaner in to lightly fill the canal. Do not force the tip down into the ear.
4) Massage the base
Massage at the base of the ear for 20 to 30 seconds. You should hear a gentle “squish” sound. This helps loosen wax and debris deeper in the canal.
5) Let your dog shake
Step back and let your dog shake their head. This is normal and helpful. That towel you laid out will pay for itself right now.
6) Wipe what you can see
Use cotton balls or gauze to wipe the inner ear flap and the visible part of the canal entrance. Focus on removing visible debris, not making the ear perfectly spotless. If the skin looks raw or your dog seems painful, stop and check in with your vet.
- Do not dig deep.
- Do not use Q-tips in the canal.
- Do not scrub irritated skin.
7) Meds as prescribed
Many ear meds work best when the canal is not full of wax and discharge. Follow your veterinarian’s guidance on timing. Some vets recommend waiting a bit after cleaning (often around 10 to 15 minutes) so the canal is not overly wet, but the right timing depends on the product and the ear. Apply the prescribed number of drops and massage again to distribute.
If cleaning causes your dog to cry out, whip their head, or refuse treatment, pause and contact your veterinarian. Pain can mean severe inflammation, a deeper infection, a foreign body, or a problem with the eardrum.
How often to clean
There is no one perfect schedule because it depends on the cleaner, the medication, and how irritated the canal is. Many vets recommend cleaning once daily for a short period when debris is heavy, then tapering to every few days, then stopping once the ear is stable. Some infections should not be cleaned frequently at all.
Practical rule: clean just enough to support healing, not so much that you inflame the skin.
Make it less stressful
Ear care goes so much better when we treat it like a cooperative skill, not a wrestling match. Even if your dog already has an infection, you can use these steps to reduce fear.
Use a consent check
Offer your hand and let your dog choose to approach. If your dog backs away, stiffens, freezes, or whale-eyes, slow down. Take a break. Reward calm behavior.
Break it into tiny steps
- Touch ear flap, treat.
- Lift ear flap for one second, treat.
- Show bottle, treat.
- Place bottle near ear without squeezing, treat.
- One small squeeze, treat jackpot.
Pick a good position
Many dogs do best facing away from you, with you gently supporting their chest. For smaller dogs, a counter-height surface with a towel can reduce squirming. If you have a second person, have them feed treats steadily while you clean.
Keep a routine
Use the same simple order each time: towel down, ear cleaner, massage, shake, wipe, med, then a high-value reward. Consistency reduces anxiety.
Why infections come back
Cleaning helps, but recurring infections usually have an underlying driver. In my experience, these are the big ones:
- Allergies (environmental or food) that keep the ear canal inflamed
- Yeast overgrowth (often with a musty smell and dark debris)
- Bacterial infection (often very smelly, wet discharge)
- Water trapped in the ear after swimming or bathing
- Ear anatomy like floppy ears or narrow canals
- Hair and wax buildup that creates a warm, moist environment
- Foreign bodies like foxtails
If your dog is getting repeat infections, ask your vet about an ear cytology, and whether a deeper workup makes sense (allergy management, endocrine screening, and sometimes culture and sensitivity for stubborn cases).
Prevention tips
- Dry ears after water play using a towel on the ear flap and a vet-approved drying ear rinse if recommended.
- Clean on a maintenance schedule only if your vet suggests it. For many dogs, less is more.
- Keep hair around the ear tidy so airflow improves. Ask your groomer to be gentle with plucking, since aggressive plucking can inflame the canal.
- Address the root cause such as allergies, endocrine disease, or chronic skin issues.
- Watch early signs like head shaking, ear rubbing, mild odor, and redness.
Quick FAQs
Can I use hydrogen peroxide or rubbing alcohol?
Usually no, especially on an inflamed ear. These can sting, delay healing, and worsen irritation. Use a cleaner made for canine ears, and follow your veterinarian’s guidance.
What about vinegar?
Some veterinary ear products use acidic ingredients, and some vets recommend specific dilute solutions in select cases. The key is do not DIY unless your veterinarian tells you exactly what to use and how to use it.
What if my dog keeps shaking their head after cleaning?
Some shaking right after cleaning is normal. If shaking continues for hours, your dog seems painful, or symptoms worsen, call your vet.
How do I know if it is yeast or bacteria?
You cannot reliably tell at home. Smell and discharge give clues, but cytology is the evidence-based way to confirm and choose the right medication.
The bottom line
Cleaning an infected ear is about gentle support, not deep scrubbing. Use a vet-approved ear cleaner, wipe only what you can see, and pair each step with calm handling and rewards. If your dog is very painful, has balance issues, you suspect a foreign body, or infections keep coming back, your veterinarian is your best next step.