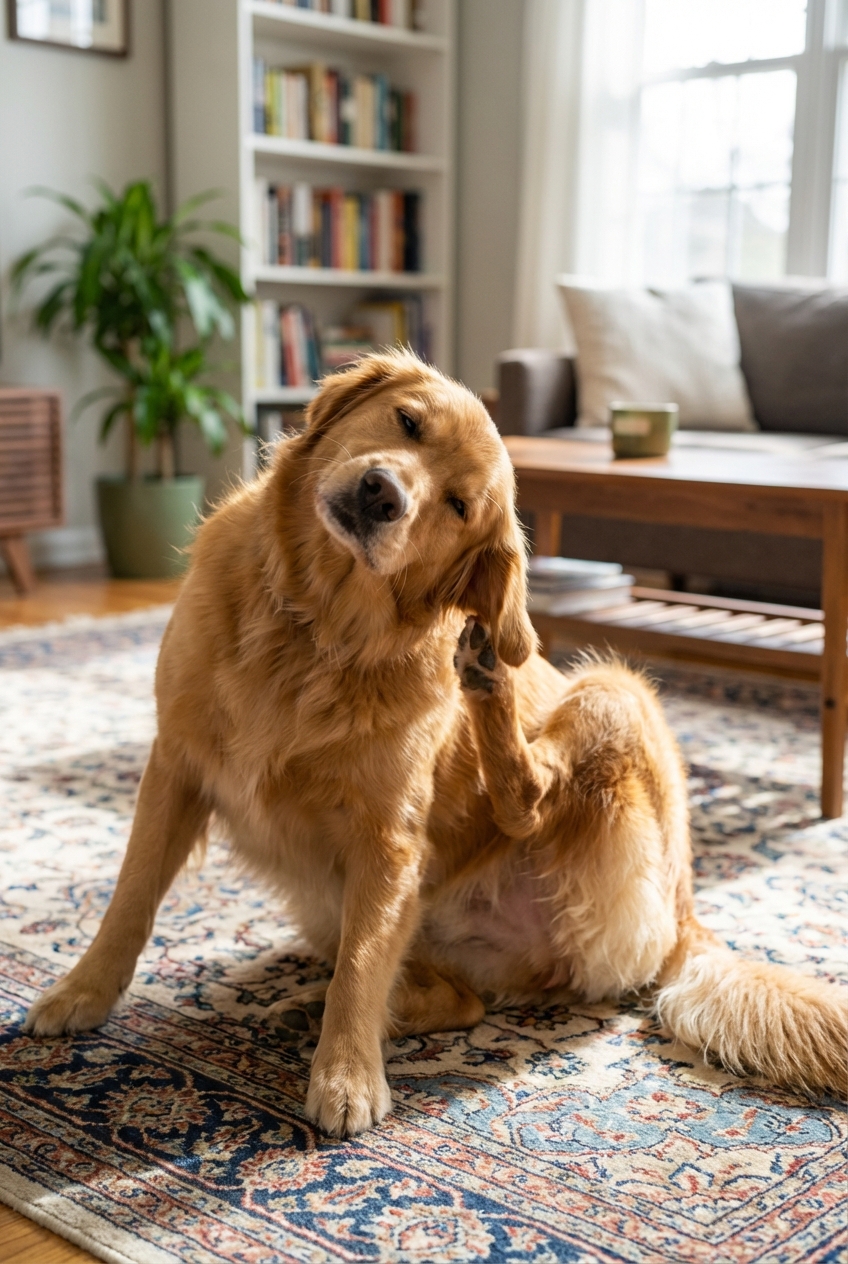
Dog scratching ears or shaking head? Learn the most common causes—allergies, yeast, bacteria, mites, moisture, or foreign objects—what you can do at home...
Article
•
Designer Mixes
How to Clean a Dog’s Ears

Shari Shidate
Designer Mixes contributor
Ear cleaning sounds intimidating, but it can be quick, gentle, and very doable at home when you use the right supplies and a calm approach. As a veterinary assistant in Frisco, Texas, I have seen two big themes: many dogs never need frequent cleanings, and many sore ears get worse because someone used the wrong product or went a little too deep.
This guide walks you through a pet-friendly, evidence-based way to clean your dog’s ears safely, plus how to spot red flags that mean it’s time to call your veterinarian.
Do dogs really need ear cleaning?
Some do, some do not. Many dogs with healthy ears never need routine cleaning. But ear cleaning can help dogs who have:
- Floppy ears that trap moisture (like many doodles and spaniels)
- Lots of ear hair that holds debris
- Allergies (environmental or food) that can lead to inflammation and wax buildup
- Frequent swimming or baths
- A history of ear infections, as directed by a vet
If your dog’s ears look clean, smell normal, and your dog isn’t scratching or shaking their head, you may not need to clean them at all. Over-cleaning can irritate the ear canal and disrupt the normal ear environment.
Before you start: safety check
Skip home ear cleaning and contact your veterinarian if you notice any of the following:
- Strong odor (yeasty, sweet, or foul smell)
- Redness, swelling, heat, or pain when touched
- Thick discharge (yellow, green, gray, or pus-like)
- Dark, coffee-ground debris (often linked with ear mites, but it can also be wax or dried blood)
- Head tilt, loss of balance, or walking “off”
- Bleeding, open sores, or a swollen ear flap (possible hematoma)
These signs can point to an infection or inflammation that needs the right diagnosis and medication. Cleaning alone often won’t fix it, and some cases get worse if you delay treatment. If your dog has head tilt, balance issues, or significant pain, don’t clean the ear at home. Seek care promptly.
What you need (and what to avoid)
Gather these supplies
- Veterinarian-recommended ear cleaner made for dogs (ask your clinic if you’re unsure)
- Cotton balls or gauze squares for wiping
- Treats for positive reinforcement
- Towel for the “head shake splash” moment
Quick note: some ear cleaners are more drying, some are designed to break down wax, and some include antimicrobial ingredients. Use what your vet recommends for your dog’s specific ear type and history.
Avoid these common mistakes
- No cotton swabs in the ear canal. Swabs can push debris deeper, irritate tissue, and in worst cases contribute to injury.
- No hydrogen peroxide or rubbing alcohol unless your veterinarian specifically instructs it. These can sting and inflame already sensitive ears.
- No essential oils in the ear. They can be irritating, and dosing is tricky.
- Don’t use human ear drops unless prescribed for your dog.
Step-by-step: clean a dog ear safely
Plan for 5 to 10 minutes the first time. Once you and your dog get the hang of it, it’s often much faster.
1) Choose a calm spot
A bathroom or laundry room is perfect since dogs love to shake after cleaner goes in. Put a towel down if needed.
2) Let your dog sniff the supplies
This tiny step reduces stress. Offer a treat right away so your dog starts connecting ear cleaning with good things.
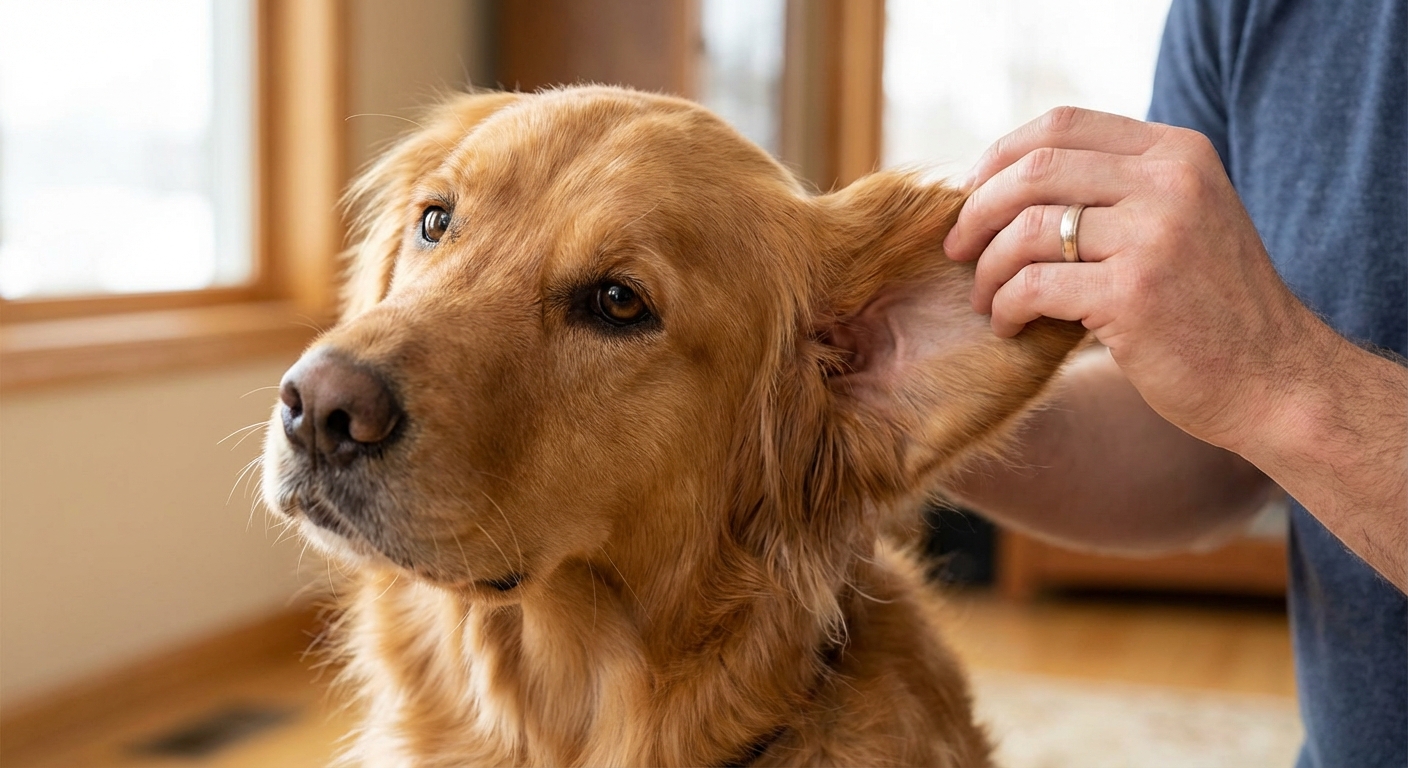
3) Lift the ear flap and look
You should see a light pink ear with minimal wax. If you see intense redness, swelling, or thick discharge, stop and call your veterinarian.
4) Instill ear cleaner
Hold the ear flap up. Keep the bottle tip near the opening of the ear canal and squeeze until you hear a gentle “squish.” You don’t need to push the tip into the canal. Try not to touch the tip to the ear, either, since that can contaminate the bottle.
5) Massage the base of the ear for 20 to 30 seconds
Use your fingers to massage where the ear meets the head. This helps break up wax and debris deeper in the canal.
6) Let your dog shake
Step back and let them shake their head. This helps bring debris outward where you can safely wipe it away.
7) Wipe only what you can see
Use a cotton ball or gauze to gently wipe the inside of the ear flap and the visible part of the canal. Keep it shallow. If debris keeps coming, you can repeat the cleaner once.
8) Reward and repeat on the other ear
Finish with a treat and a quick praise break. Your goal is for your dog to feel safe and successful.
How often should you clean your dog’s ears?
There’s no one-size-fits-all schedule. Here are general, vet-aligned guidelines:
- Most dogs: only when visibly dirty or as advised by your vet
- Swimmers or frequent bath dogs: towel-dry the outer ear and monitor after water exposure. Use a vet-recommended cleaner after swimming or bathing only if your vet advises it for your dog, since too much cleaning can irritate some ears.
- Allergy-prone dogs: weekly or every 1 to 2 weeks can help some dogs, but don’t guess. Ask your vet for a plan.
Over-cleaning can cause irritation, so if you’re not sure, start less often and track how your dog’s ears look and smell over time.
Notes for doodles and hairy ears
Many Poodle mixes and other dogs with hairier ears have coats that trap moisture easily, and some have extra hair around the ear opening. That can increase the risk of wax buildup and infections.
- Keep ear hair tidy. Ask your groomer to trim around the ear opening so airflow improves.
- Be cautious with ear plucking. Routine plucking is controversial and may worsen inflammation for some dogs. Some dogs benefit, some get irritated. This is best decided with your veterinarian, especially if your dog has recurring infections.
- Dry ears after swimming. Gently towel-dry the outer ear flap and the area you can see. Avoid pushing anything down into the canal. A vet-recommended ear cleaner can help for dogs that are prone to infections.
What is normal after cleaning?
A little head shaking is normal. Mild moisture or light wax on the cotton ball is normal. Call your vet if you notice:
- Increased redness or your dog seems painful
- New or stronger odor within 24 to 48 hours
- Persistent discharge
- Ongoing head shaking or scratching
Make it easier next time
- Practice “ear touches” for a few seconds a day with treats, even when you’re not cleaning.
- Use a lick mat with a thin layer of dog-safe peanut butter or plain yogurt to keep a wiggly pup busy.
- Keep sessions short. If your dog is stressed, do one ear, treat, and do the other ear later.
- Use a helper when needed. Some dogs do best with a second person offering treats and gentle support.
- Stay gentle and consistent. Calm handling prevents ear cleaning from becoming a wrestling match.
If your dog is very painful, extremely fearful, or has chronic buildup that keeps coming back, professional cleaning at the vet (and sometimes medication or sedation) can be the kindest option.
The goal is not a perfectly spotless ear. The goal is a comfortable ear with a healthy smell, minimal wax, and no inflammation.
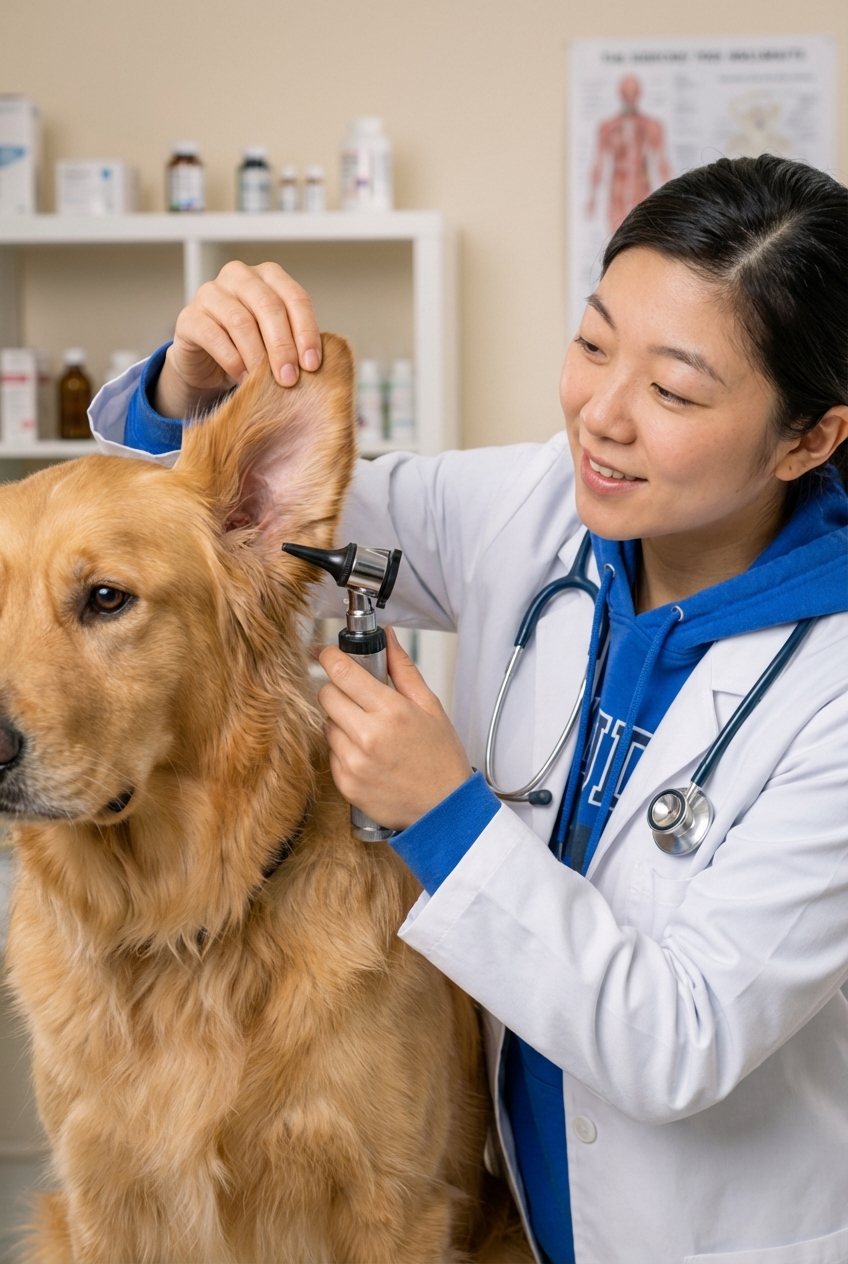
When to see the vet
If your dog gets repeat ear issues, it’s worth a deeper look. Chronic ear infections are often linked to allergies, yeast overgrowth, bacteria, or underlying inflammation that needs prescription help. Your veterinarian can do an ear cytology, which is a quick microscope check to see what’s actually happening inside the ear. That step prevents guessing and gets your dog relief faster.