Is your cat scratching and shaking their head? Learn the signs of ear mites, how vets diagnose them, the most effective treatments, and safe home care to pre...
Article
•
Designer Mixes
How to Clean a Cat’s Ears

Shari Shidate
Designer Mixes contributor
As a veterinary assistant here in Frisco, Texas, I get asked this all the time: “How do I clean my cat’s ears without stressing them out or hurting them?” The good news is that many cats do not need routine ear cleaning, or they only need it occasionally. Some cats (including those with allergies, recurring ear issues, or certain ear shapes) may need more frequent care with a vet-approved plan. When you do need to clean, a gentle, step-by-step approach makes all the difference.
Important note: If your cat’s ears look painful, smell bad, have discharge or heavy debris, or your cat is shaking their head a lot, you may be dealing with an ear infection, ear mites, or another issue. In those cases, cleaning alone is not enough and can make things worse if the eardrum is damaged. A vet exam is the safest next step.
Do cats need ear cleaning?
Many healthy cats keep their ears fairly clean on their own. A small amount of light tan wax near the ear opening is usually normal. In a typical healthy ear, the skin looks pale pink, there is little to no odor, and your cat is not bothered when you touch the ear flap.
Cleaning is most helpful when:
- Your vet recommended it for your cat.
- Your cat produces excess wax.
- You see visible wax buildup that is easy to wipe away.
- Your cat has allergies or a history of recurring ear issues (with a vet-approved plan).
- You are treating an ear condition and your veterinarian instructed you to clean before medication.
If your cat has a painful ear, tilts their head, or cries when you touch the ear area, pause and get guidance. Pain is a red flag.
Signs your cat needs help
These are the most common clues that an ear problem is brewing:
- Frequent head shaking or ear scratching
- Redness, swelling, or heat in the ear
- Strong odor coming from the ear
- Dark, crumbly debris that looks like coffee grounds (can be associated with ear mites, but yeast, bacteria, and wax buildup can look similar, too)
- Yellow, brown, or pus-like discharge
- Scabs around the ears from scratching
- Balance issues or walking “wobbly”
If you see discharge, significant redness, or your cat seems uncomfortable, skip at-home cleaning and schedule a visit. Your vet may need to look deep into the ear canal and check the eardrum.
What to use and avoid
What you should use
- Veterinarian-approved ear cleaner for cats (ask your clinic for a recommendation)
- Soft cotton balls or gauze squares
- A towel to wrap your cat and catch any shake-off
- Treats for positive reinforcement
What to avoid
- Q-tips or cotton swabs down the ear canal (they can push debris deeper and risk injury)
- Hydrogen peroxide (can irritate sensitive ear tissue)
- Alcohol (stings and can worsen inflammation)
- Essential oils (many are unsafe for cats and can be toxic)
- Home mixtures like vinegar or “DIY drops” unless a vet specifically instructed it
- Human ear drops unless your veterinarian explicitly prescribed them for your cat
- Pouring household liquids into the ear (stick to cat-safe products made for ear use)

How to clean cat ears
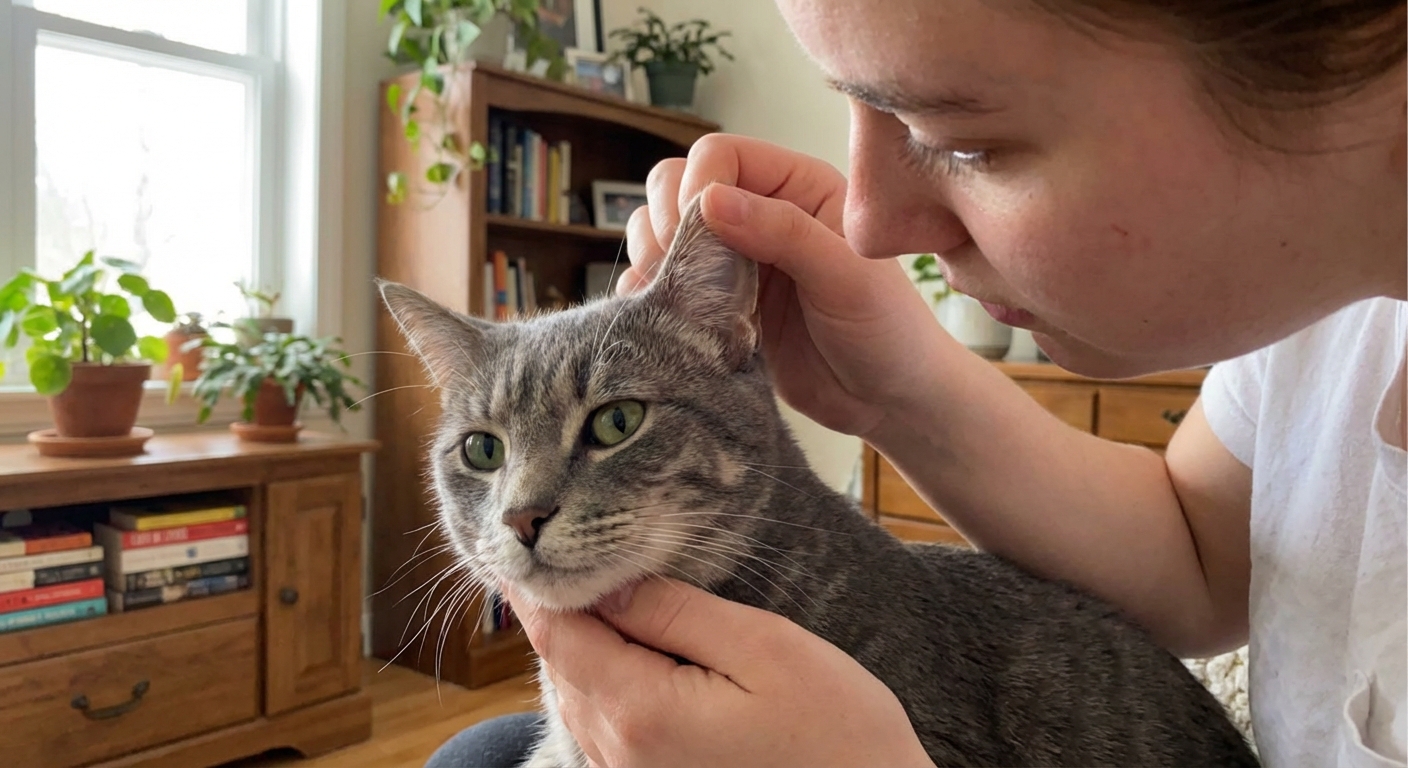
Plan for a calm moment. After a meal or play session is often easiest. Keep the session short, gentle, and praise-heavy.
Quick anatomy note: The ear flap (also called the pinna) is the part you can see. The ear canal is the opening that goes down into the ear. At home, you only want to clean what you can see. Do not push anything down into the canal.
1) Set up your space
- Choose a quiet room with the door closed.
- Lay out your cleaner, cotton balls, and treats.
- Put a towel on your lap or a stable surface.
2) Secure your cat
If your cat tends to wiggle, wrap them in a towel like a “kitty burrito,” leaving the head out. This prevents scratches and helps your cat feel contained and safe.
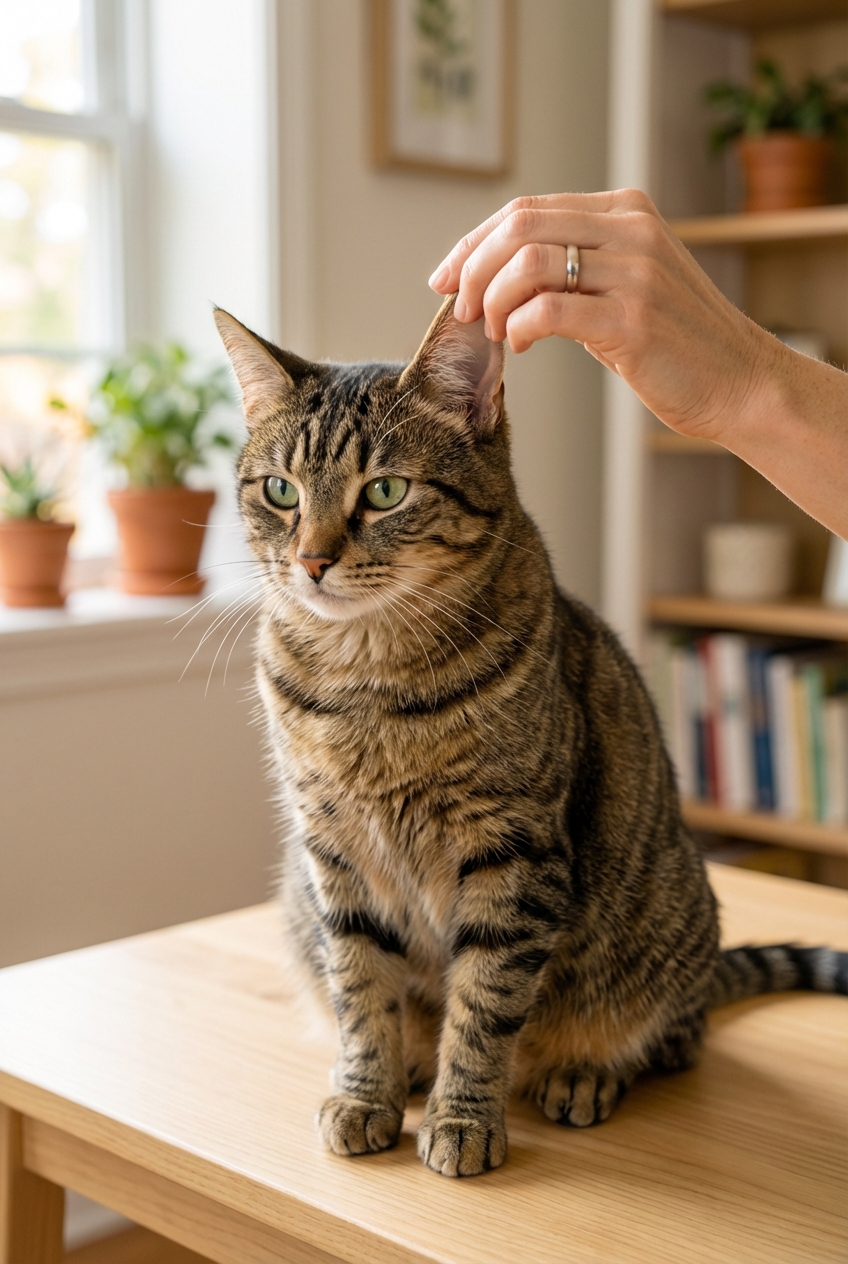
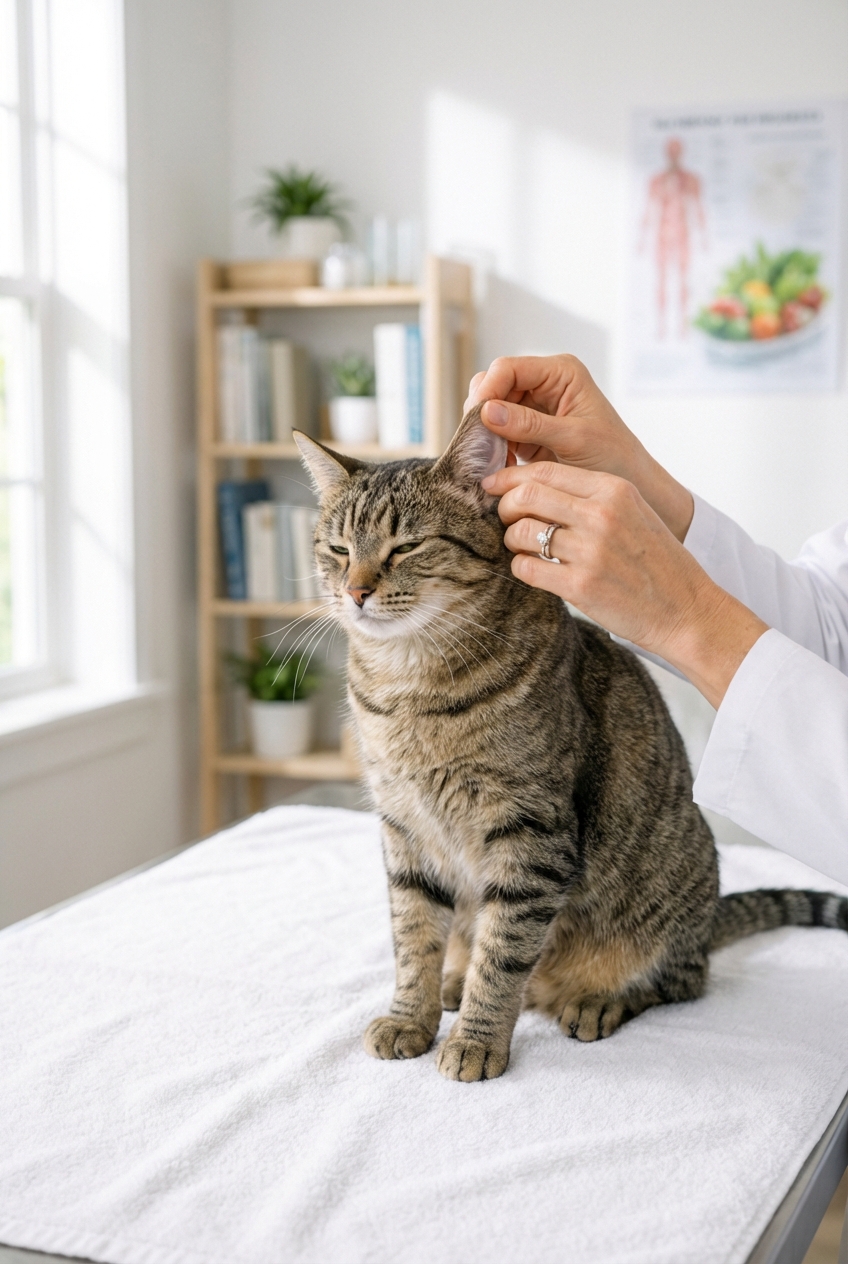
3) Look first
Gently lift the ear flap and check for:
- Odor
- Redness or swelling
- Visible debris
- Any sign of pain
If your cat reacts sharply or you see significant redness or discharge, stop and call your vet.
4) Apply ear cleaner
Hold the ear flap up and place the tip of the bottle near the ear opening. Do not insert the nozzle deep into the ear canal. Squeeze in the amount directed on the product label or by your vet, typically enough to wet the canal opening.
5) Massage the base
Massage the base of the ear for about 20 to 30 seconds. You should hear a gentle “squish” sound. This helps loosen wax and debris.
6) Let your cat shake
Step back and let your cat shake their head. This is normal and helps bring debris up and out.
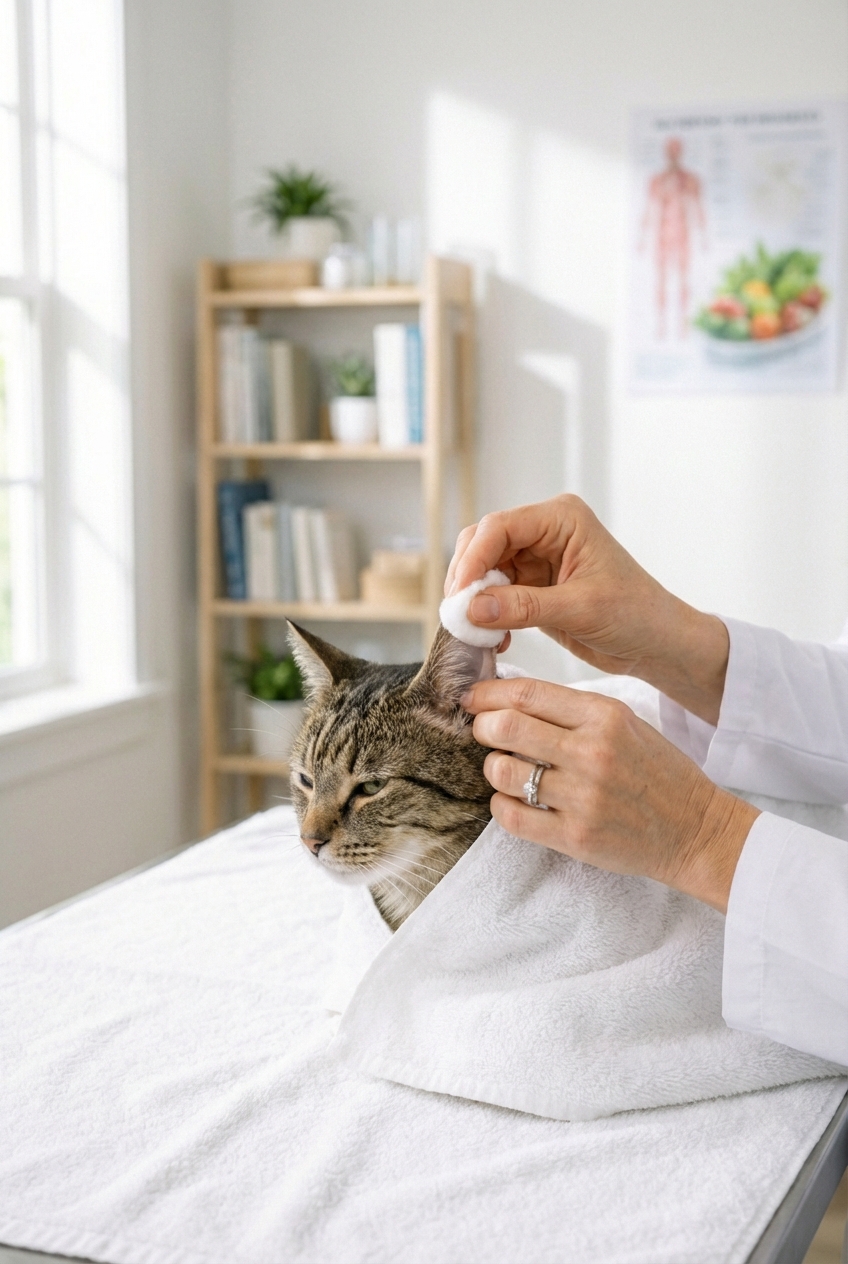
7) Wipe what you can see
Use a cotton ball or gauze to wipe the inside of the ear flap and the visible parts of the ear opening. Do not dig. Do not push material down into the canal.
8) Reward and stop if needed
Offer a treat, praise, and a break. If the ear is still dirty, you can repeat once. If it is still messy after a second gentle round, stop and check in with your vet.
How often to clean
There is no one-size-fits-all schedule.
- Most cats: rarely or never, unless your vet recommends it
- Cats with wax buildup or allergies: often weekly to monthly, based on veterinary guidance
- During treatment: follow your veterinarian’s exact instructions (cleaning too often can irritate the ear)
More cleaning is not automatically better. Over-cleaning can irritate the ear canal and may predispose your cat to more inflammation and recurring problems.
Common ear problems
Ear mites
Ear mites are common, especially in kittens and multi-cat homes. They often cause intense itching and dark, crumbly debris. Treatment usually involves prescription medication and may include treating in-contact pets, depending on what your vet recommends.
Yeast or bacterial infections
These often come with odor, redness, and discharge. They usually need medication after your vet checks the ear canal and eardrum. Cleaning can help remove debris, but the infection still needs targeted treatment.
Allergies
Food or environmental allergies can cause chronic ear inflammation. If ear issues keep coming back, ask your vet about allergy workups and long-term prevention strategies.
Ear polyps or masses
Less common, but possible. If one ear is persistently problematic, your cat has balance issues, or symptoms do not improve with routine care, your vet may recommend imaging or further diagnostics.
Kittens, seniors, and cats with past eardrum issues
Kittens can get mites easily, and older cats may have other underlying causes for chronic ear changes. If your cat has a history of a ruptured eardrum or chronic middle ear disease, only use ear products your veterinarian approves.
When to see a vet now
Please do not wait if you notice any of the following:
- Head tilt, loss of balance, or disorientation
- Bleeding from the ear
- Severe swelling or the ear looks “puffy” (possible aural hematoma)
- Extreme pain when the ear is touched
- Thick yellow, green, or pus-like discharge
- Symptoms that last more than 24 to 48 hours or keep coming back
Ear problems can move from mild to miserable fast. Getting the correct diagnosis early is usually simpler and less expensive than trying to guess at home.
Make cleaning easier
- Keep it short: 2 to 5 minutes is plenty.
- Use calm handling: slow movements, soft voice, and a towel wrap if needed.
- Pair with rewards: treats, a favorite lickable snack, or play afterward.
- Practice touch: briefly handle ears during calm times so it is not only associated with cleaning.
- Ask about technique: your veterinary team can demonstrate the safest way for your cat’s specific ear shape and temperament.
- Skip ear hair plucking: do not pluck ear hair unless your veterinarian specifically instructs you to.
Warm reminder: You are not failing if your cat hates ear cleaning. Many do. The goal is safe, gentle care and knowing when it is time to hand it over to your veterinary team.