Keep homemade dog food fresh and safe with fridge/freezer timelines, rapid cooling, smart portioning, labeling, safe thawing methods, and gentle reheating tips.
Article
•
Designer Mixes
Homemade Dog Food Storage, Freezing, and Thawing

Shari Shidate
Designer Mixes contributor
One of the biggest “aha” moments for families switching to homemade dog food is this: you do not have to cook every day. With a few smart storage habits, you can batch-cook once or twice a week, portion it out, freeze what you will not use right away, and thaw safely as you go. That is how you make homemade feeding sustainable, affordable, and consistent.
As a veterinary assistant here in Frisco, Texas, I love this topic because good storage is not just about convenience. It is also about food safety. Dogs can get stomach upset from spoiled food just like we can, and in some cases bacteria like Salmonella can pose risks to both pets and people.
Quick note: This is general food safety guidance for healthy households. If your dog has a medical condition, is a puppy, is a senior, or someone in your home is immunocompromised, ask your veterinarian for the safest plan for your situation.
Why storage matters
Homemade meals are often higher in moisture and contain fewer preservatives than kibble. That is a wonderful thing nutritionally, but it also means they can spoil faster if handled improperly.
- Safety: Proper chilling and thawing reduce bacterial growth.
- Nutrition: Freezer burn and repeated thawing can degrade quality and palatability. Over long storage periods, some nutrient potency may decline.
- Consistency: Having portions ready makes it easier to stay on track.
- Budget: Batch cooking plus freezing helps reduce waste.
Cool food fast and safely
Before you refrigerate or freeze a big batch, aim to cool it efficiently. The goal is to move food through warm temperatures quickly, because bacteria grow rapidly in the “danger zone” of 40 to 140°F (4 to 60°C).
Best practices
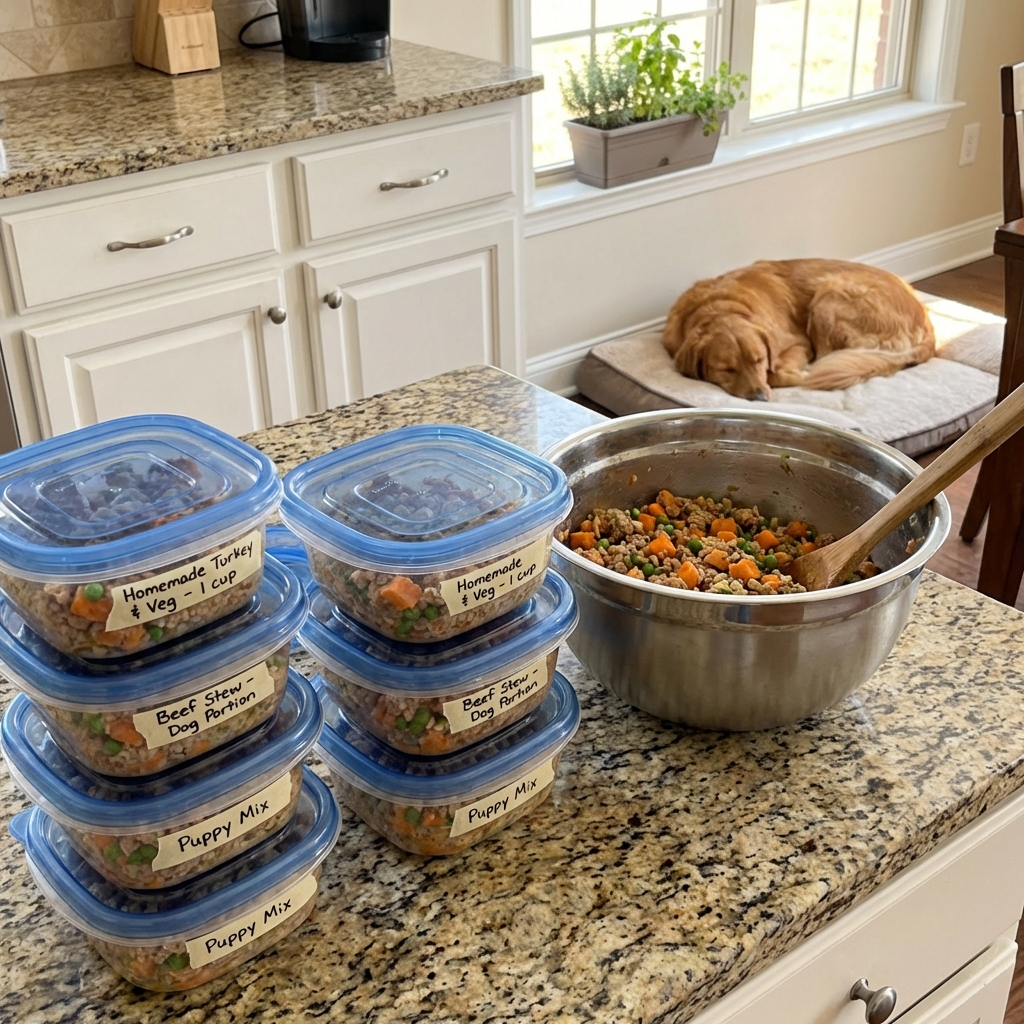
- Portion first: Divide a hot batch into several shallow containers (ideally under about 2 inches deep) so it cools faster.
- Use an ice bath: Set containers in a larger pan or sink with ice water and stir the food to release heat.
- Do not seal while steaming: Let heat escape briefly, then cover and refrigerate. Keep food protected from splashes, hands, and curious noses while it vents.
- Refrigerate within 2 hours: Get cooked food into the fridge or freezer within 2 hours of cooking (or within 1 hour if the room is very warm, like above 90°F or 32°C).
If you routinely make very large batches, consider using a simple food thermometer so you can be confident your cooling steps are working.
Fridge storage time
In most homes, homemade dog food stored in a clean, sealed container does best when used within a few days. The exact timeline depends on ingredients, moisture level, and fridge temperature. These are practical guidelines that align with common USDA and FDA leftovers guidance for cooked foods.
- Refrigerator: typically best used within 3 to 4 days.
- Higher-risk mixes: foods that are very moist or heavy in fish or organ meats may spoil sooner. When in doubt, use them earlier.
- If it smells “off,” looks slimy, or your dog refuses it: toss it. Trust your senses.
Tip: Keep your fridge at 40°F (4°C) or below. If you are not sure, a small fridge thermometer is an inexpensive upgrade that protects your whole household.
Freezing made simple
Freezing is your best friend. It preserves freshness and lets you prep a week or even a month of meals in one cooking session.
What to freeze in
- Freezer-safe glass containers: durable and easy to clean, but leave headspace for expansion.
- BPA-free silicone trays or molds: great for making single-meal “pucks” that pop out.
- Freezer bags laid flat: space-saving and thaw quickly.
Portioning tips
- Freeze in meal-sized portions: this prevents repeated thawing and refreezing.
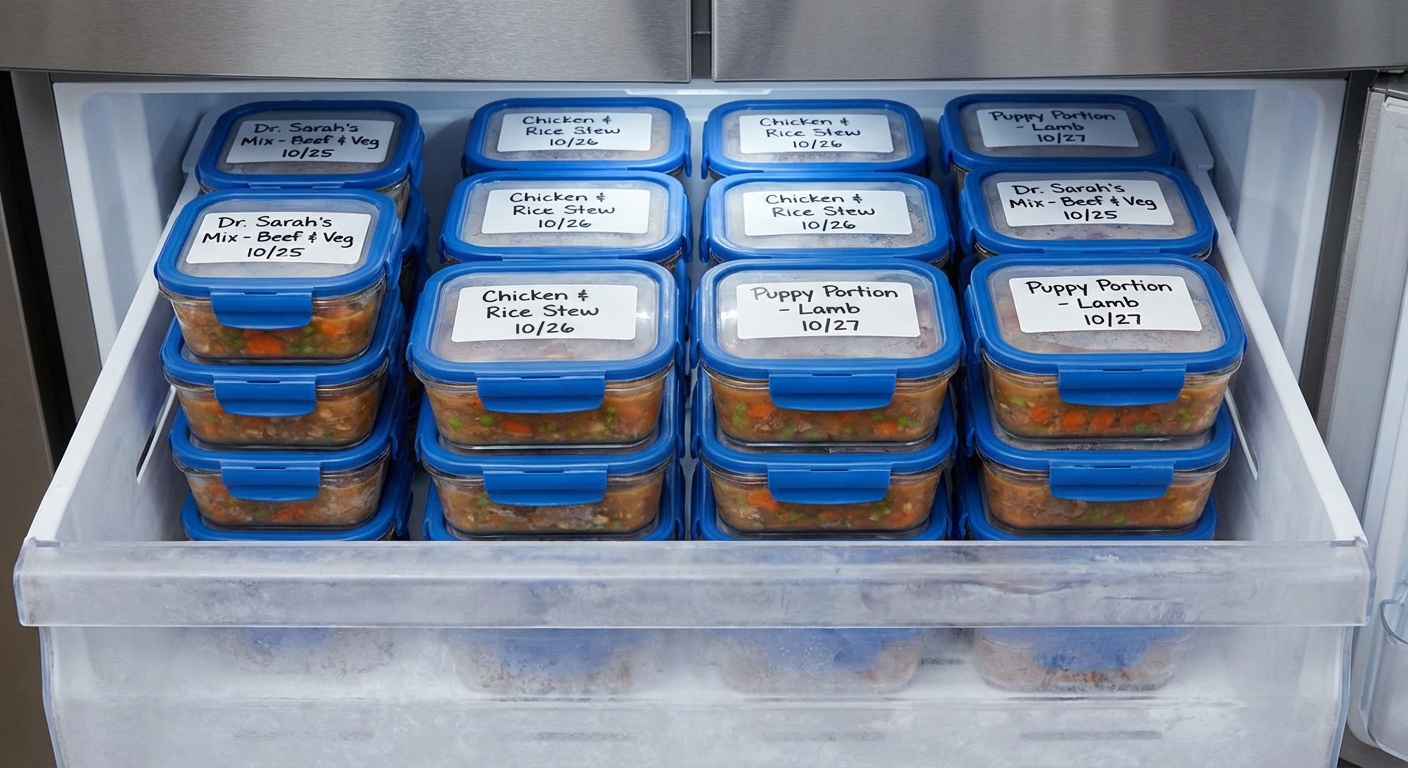
- Label everything: protein type, date, and any add-ins like liver, fish, or supplements.
- Keep a rotation box: oldest meals in front, newest behind.
Freezer time
Frozen food can remain safe longer, but quality slowly declines over time. For best taste and texture, many pet parents aim to use frozen homemade meals within 2 to 3 months. If it is well-wrapped and kept consistently frozen, it can often last longer, but that “best quality” window helps you avoid freezer burn.
Safe thawing
Thawing is where I see the most accidental mistakes. The safest approach is to thaw slowly in the refrigerator. It takes a little planning, but it is worth it.
Best thawing options
- In the refrigerator: move the next day’s meals from freezer to fridge.
- Cold-water thaw (faster): seal the portion in a leak-proof bag and place in cold water, changing the water every 30 minutes until thawed.
- Microwave (defrost setting): if you are in a pinch, use defrost in short rounds and stir well. Serve promptly after thawing, or move it to the fridge and use it soon.
What to avoid
- Thawing on the counter: room temperature thawing increases bacterial growth.
- Repeated thawing and refreezing: this impacts both safety and quality.
Warming meals gently
Many dogs love food served slightly warm, especially seniors or picky eaters. Here are gentle ways to warm without overheating, and without creating hot spots that could burn a mouth.
- Warm water bath: place the sealed container or bag in warm water for a few minutes.
- Stovetop: low heat with a splash of water or broth, stirring frequently.
- Microwave: use short bursts, stir well, and always test temperature before serving.
Tip: If you add heat-sensitive supplements like probiotics or certain omega-3 oils, add them after warming, not before.
How long can it sit out?
This is a real-life one that gets missed. Once food is in the bowl, I recommend picking it up if it is not eaten within about 20 to 30 minutes, especially for moist foods. If your home is warm or your dog tends to graze, set a timer and keep it simple.
Signs food has spoiled
If you remember nothing else, remember this: when in doubt, throw it out. Gastrointestinal upset is no fun for your dog, and it is a mess for you.
- Strong sour or rancid smell
- Sticky or slimy texture
- Mold or unusual discoloration
- Container is bulging or hissing when opened
- Your dog suddenly refuses a normally loved meal
Handling hygiene
Even healthy dogs can carry bacteria without acting sick, and raw or undercooked ingredients increase risk. If you feed cooked homemade meals, your risk is generally lower than raw diets, but good hygiene still matters.
- Wash hands before and after handling pet food.
- Use dedicated utensils and cutting boards when possible.
- Clean bowls daily with hot, soapy water.
- Sanitize prep surfaces, especially after working with raw meat.
- If anyone in the home is immunocompromised, ask your veterinarian about the safest approach for your household.
Simple weekly routine
If you want an easy rhythm, here is a routine I recommend to busy pet parents:
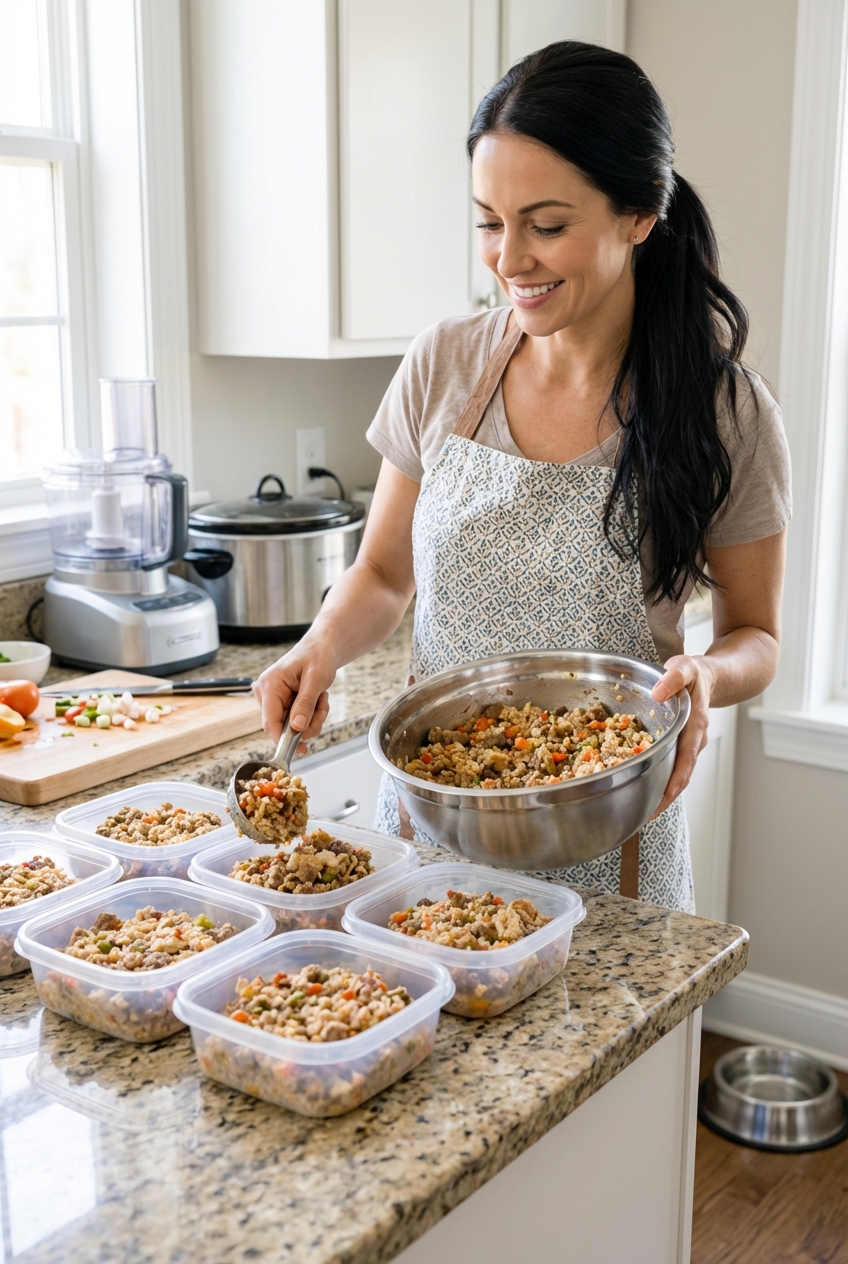
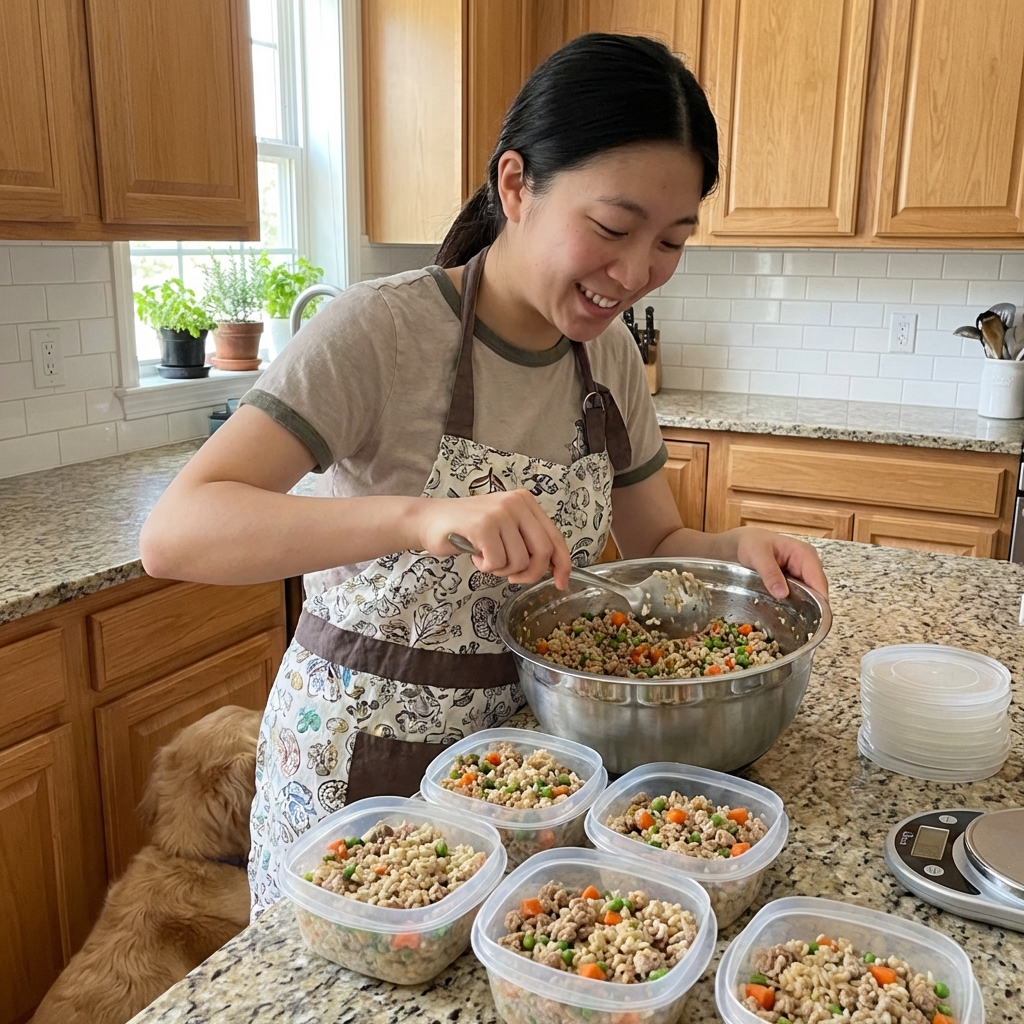
- Cook day: make a batch, cool it quickly, portion into containers.
- Fridge: keep 2 to 3 days of meals ready to go.
- Freezer: freeze the rest in single-meal portions.
- Night before: move the next day’s meals to the fridge to thaw.
Quick timeline
- Cook to fridge or freezer: within 2 hours (1 hour if very warm).
- Fridge use-by: 3 to 4 days (sooner for very moist, fish, or organ-heavy mixes).
- Freezer best quality: 2 to 3 months.
- In the bowl: pick up after 20 to 30 minutes.
This approach gives you the best of both worlds: convenience, safety, and meals your dog will be excited to eat.
Homemade feeding does not have to be complicated. When storage is simple and consistent, your dog gets consistent nutrition, too.
Travel and busy days
If you need to take meals on the go (work, daycare drop-off, road trips), pack portions in an insulated cooler with ice packs. Avoid leaving homemade food in a warm car, even “just for a bit.” If you are unsure whether it stayed cold enough, toss it and feed a shelf-stable backup for that meal.
Balanced nutrition note
Storage is only one piece of the homemade puzzle. Dogs need the right balance of protein, fat, calcium, vitamins, and minerals over time. If you are building meals from scratch, especially for puppies, seniors, or dogs with medical conditions, it is wise to check in with your veterinarian or a credentialed veterinary nutritionist to confirm your plan is complete and balanced.