Treat your cat with simple, protein-first DIY snacks. Get 5 quick recipes plus vet-style guidance on safe ingredients, portion limits, storage, and introduci...
Article
•
Designer Mixes
Homemade Cat Treats: High Protein, Low Carb

Shari Shidate
Designer Mixes contributor
Cats are obligate carnivores, which means their bodies are built to thrive on animal-based protein and fat, with no known dietary requirement for carbohydrates. That is exactly why homemade, high-protein, low-carb treats can be such a smart upgrade, especially if your cat struggles with weight gain, picky eating, or you simply want to know what is in the snack bowl.
As a veterinary assistant, I love practical steps that keep pets safe. In this article, I will walk you through evidence-based guidelines, easy recipes, and the common mistakes that can accidentally turn a “healthy” treat into a tummy ache.
What “high protein, low carb” means for cats
In plain language, a high-protein, low-carb cat treat is mostly animal tissue, like cooked chicken, turkey, salmon, or egg, with minimal fillers like flour, starches, or sweeteners. Many commercial treats often use carbohydrates to create a crunchy texture and help with shape and shelf life, but formulations vary.
For most healthy adult cats, treats should stay under about 10% of daily calories. This helps prevent “treat creep,” where snacks unintentionally unbalance the overall diet. If you are not sure what your cat’s daily calorie target is, your vet clinic can help you estimate a safe range.
Why low-carb matters
- Weight support: Extra calories, especially from treat-heavy routines, can add up quickly in smaller bodies.
- Better species fit: Cats are designed for animal protein as their primary fuel source.
- Cleaner ingredient control: Homemade treats can avoid sugars, syrups, and vague “meat by-products.”
Safety first
Homemade treats can be wonderfully simple, but cats can be sensitive to diet changes. If your cat has diabetes, kidney disease, a history of pancreatitis, inflammatory bowel disease, food allergies, or is on a prescription diet, check with your veterinarian before introducing new treats.
Foods to avoid
- Onion, garlic, chives, leeks: Can damage red blood cells and cause serious illness.
- Grapes and raisins: The risk in cats is unclear and reported far less than in dogs, but because they are linked to kidney injury in other pets, it is safest to avoid them.
- Xylitol (birch sugar): Extremely dangerous for dogs, and while toxicity in cats is less clear, it is still best treated as a no-go ingredient in pet households.
- Cooked bones: Can splinter and cause choking or internal injury.
- Too much liver: Nutritious, but frequent large amounts can contribute to vitamin A excess.
- High-salt seasonings: Skip spice blends, salt, and anything “smoked” or heavily cured.
Quick rule: If you would not feed it as a plain ingredient, do not turn it into a treat.
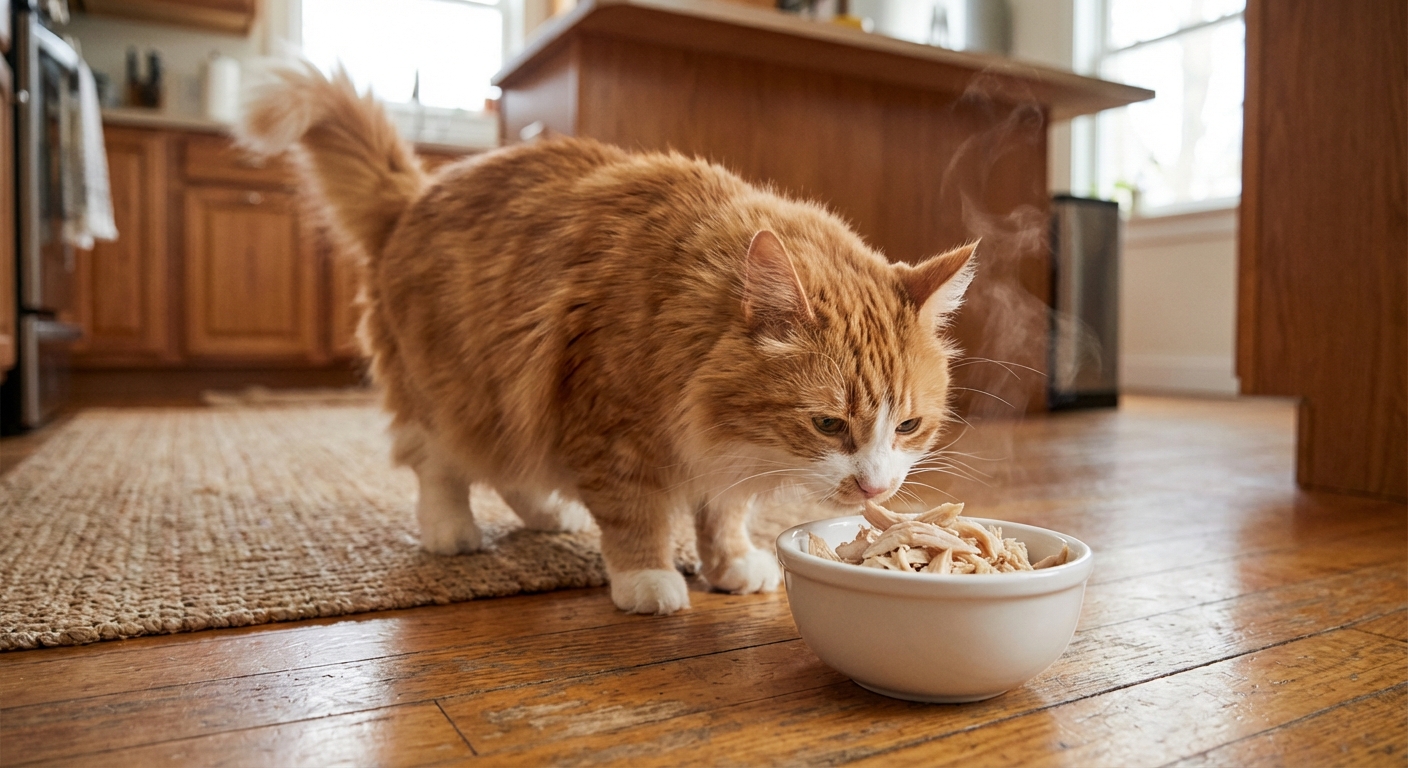
Best proteins to use
Choose simple, recognizable proteins. You do not need fancy ingredients to make a treat your cat will do a little happy dance for.
- Chicken or turkey: Lean, easy to cook, widely tolerated.
- Salmon or sardines (in water): Strong aroma, often irresistible. Choose low-sodium when possible, remove any bones, and keep portions modest to avoid excess calories.
- Egg: High-quality protein. Fully cook eggs for safety.
- Lean beef: Great flavor for many cats, but can be richer.
One at a time: If you are introducing a new protein, do it one at a time and start small. That makes it easier to spot a sensitive tummy or a true food reaction.

3 high-protein, low-carb recipes
These recipes keep ingredients minimal and cat-appropriate. Each one is naturally low in carbs because the main ingredient is animal protein.
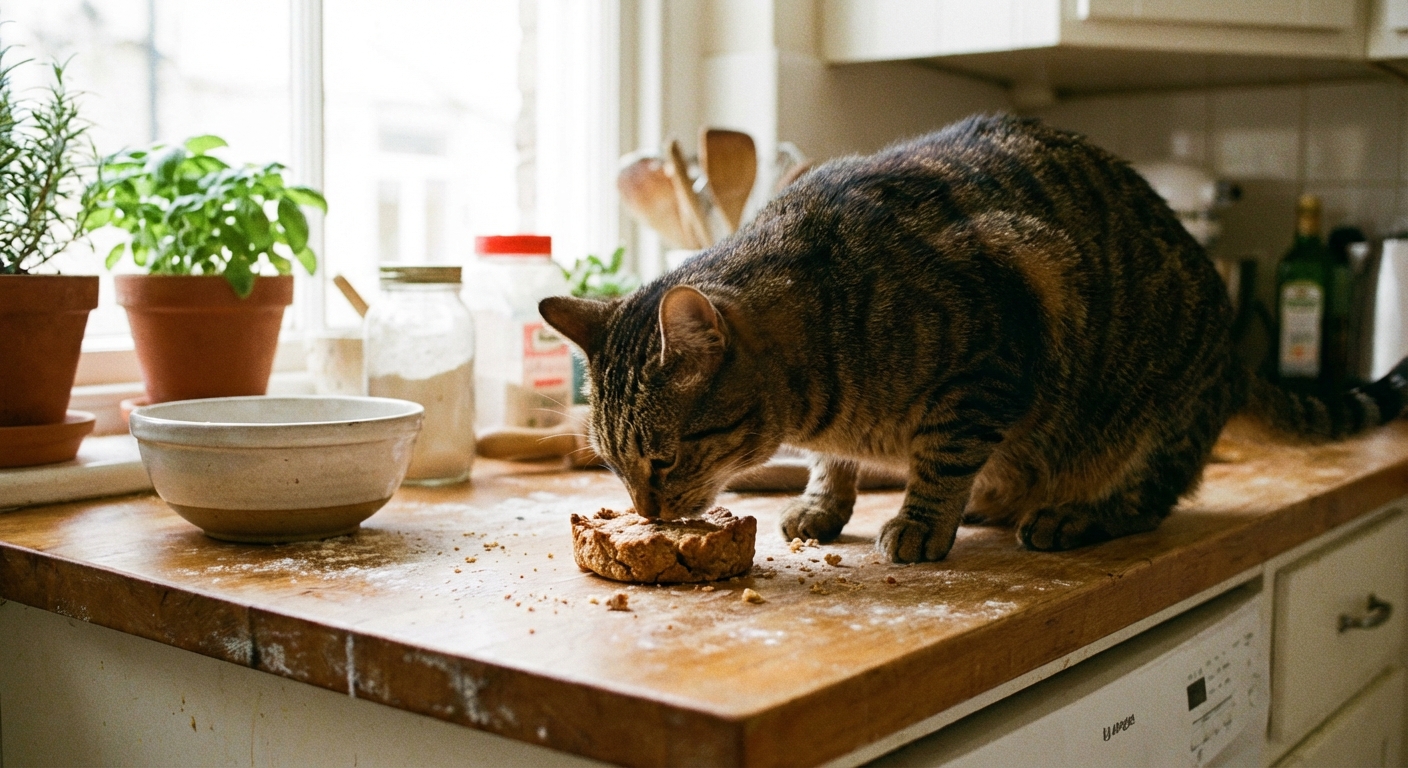
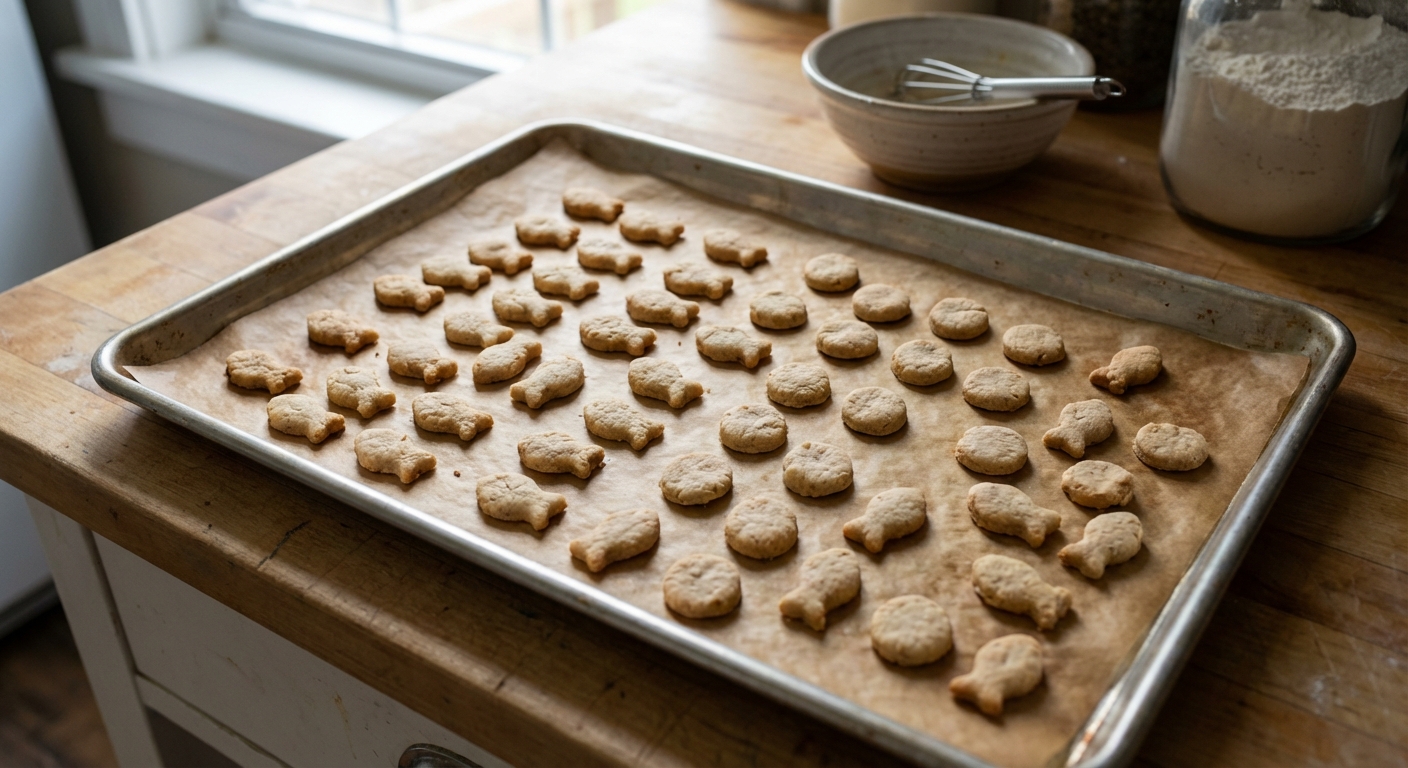
1) Two-ingredient chicken bites (baked)
Makes: About 35 to 60 pea-sized bites (depending on how small you portion them)
Ingredients:
- 1 boneless, skinless chicken breast or thighs (unseasoned)
- 1 egg
Instructions:
- Preheat oven to 350°F.
- Cook the chicken fully first (boil or bake), then cool. This pre-cook step ensures the chicken is fully safe; the final bake simply firms the bites into an easy treat texture.
- Pulse chicken in a food processor until finely minced.
- Add egg and pulse until it forms a thick paste.
- Spoon small dots onto a parchment-lined baking sheet.
- Bake 12 to 18 minutes until set and lightly golden on the edges.
- Cool completely before serving.
Serving tip: Make them pea-sized for treat portions. Cats do not need big snacks to feel rewarded.
2) Salmon training treats (easy sheet)
Makes: About 30 to 50 tiny squares
Ingredients:
- 1 can salmon (in water), drained (choose low-sodium if possible)
- 1 egg
Instructions:
- Mash salmon thoroughly with a fork (remove any obvious bones or skin).
- Mix in egg.
- Cook as a thin “omelet sheet” in a nonstick pan on low heat with no oil. Cover with a lid to help it set through without scorching.
- When the top looks mostly set, flip carefully (or slide onto a plate, then return to the pan) and cook until fully set.
- Cool and cut into tiny squares.
Why this works: It makes a soft, smelly, high-value treat for shy cats or clicker training.
Fish note: Fish can be richer for some cats. If your cat gets loose stool, switch to poultry-based treats and keep fish treats as an occasional bonus.
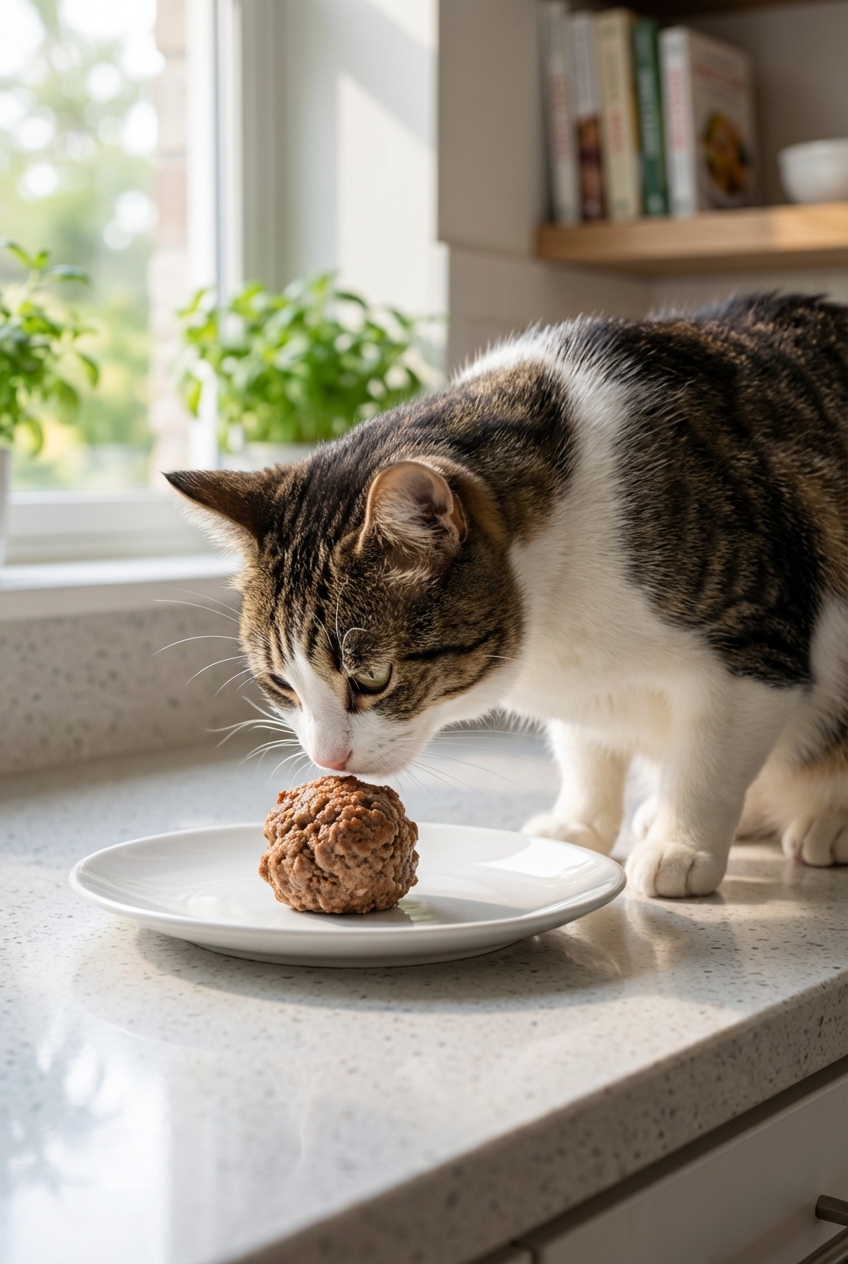
3) Oven jerky bites (simple and crunchy)
Makes: Varies widely by the amount of meat used
Ingredients:
- Boneless lean meat (chicken, turkey, or beef), sliced very thin
Instructions:
- For food safety, start with fully cooked meat. Cook the meat first using a standard method (bake, boil, or pan-cook) until it is done, then cool before slicing or shredding into thin pieces.
- Preheat oven to 200 to 225°F.
- Lay thin pieces on a rack over a baking sheet.
- Bake 1.5 to 3 hours until dry and firm (time depends on thickness). If any pieces still feel moist, keep drying.
- Cool completely before storing.
Safety note: This is a dry treat, not a shelf-stable meat snack. Store it in the refrigerator by default, freeze for longer storage, and discard anything that smells “off,” looks slimy, or was left out.
Storage and food safety
Because these treats contain real meat and egg, storage matters.
- Refrigerator: Store in an airtight container for up to 3 to 4 days.
- Freezer: Freeze for 1 to 2 months for best quality. Thaw a small amount at a time.
- Room temperature: Avoid leaving homemade meat treats out. Serve, then put them back in the fridge.
- Clean handling: Wash hands, utensils, and surfaces just like you would when cooking for your family.
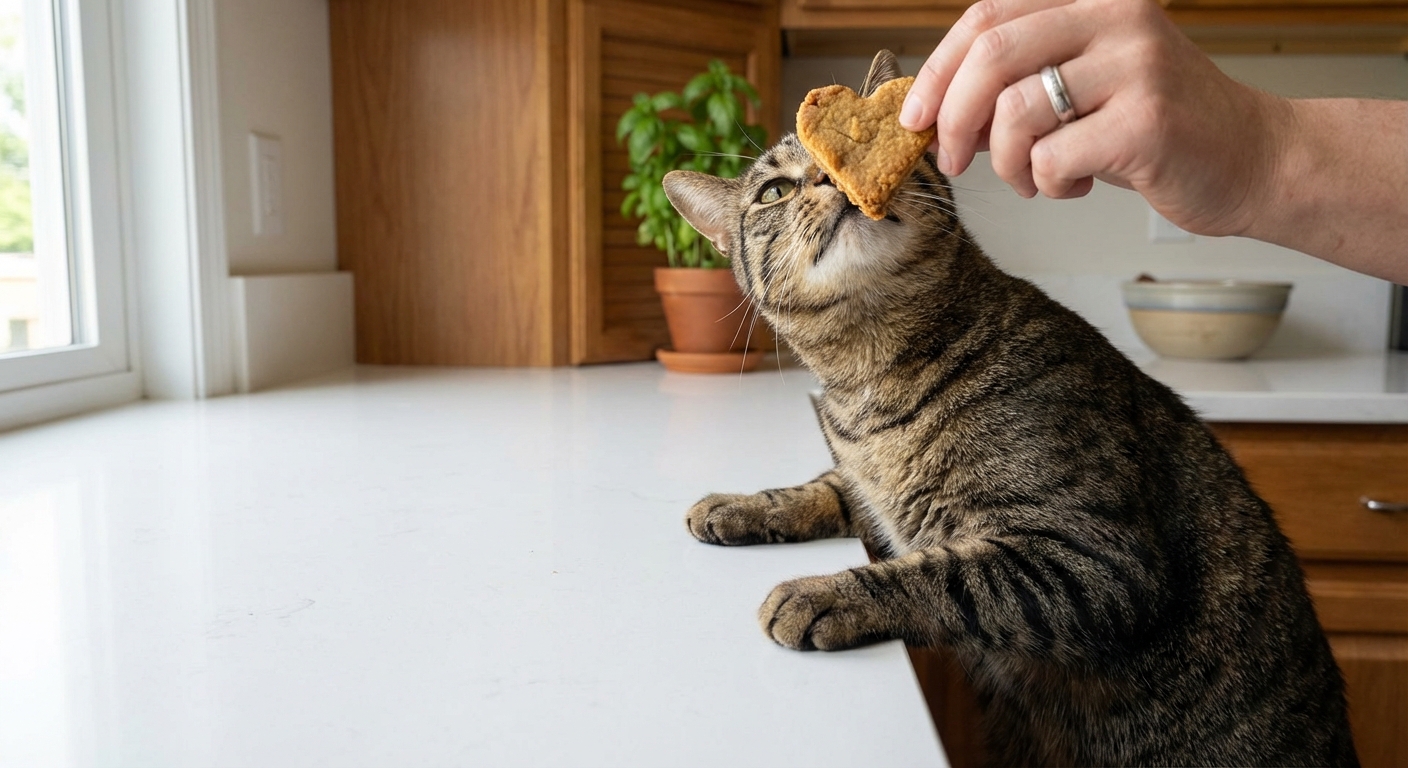
How many treats per day?
Treats are still calories. A general guideline is to keep treats to 10% or less of daily intake. If your cat is overweight, older, or less active, aim even lower.
Actionable approach: Pick a daily treat budget and stick to it, like 3 to 6 tiny bites per day, depending on your cat’s size and overall diet. If you are using treats for training, make them extra small and count them.
Easy trick: If your cat eats kibble, you can set aside a few pieces from their measured daily portion and use those as “treats” so you are not accidentally adding calories.
Troubleshooting
Loose stool after new treats
Go slower. Start with one tiny piece and wait 24 hours. Some cats do better with poultry than fish, or vice versa. If diarrhea continues, stop the treats and contact your veterinarian.
My cat will not eat homemade treats
Try warming the treat for 3 to 5 seconds in the microwave to boost aroma, or switch proteins. Many cats find fish-based treats more enticing.
They crumble or feel too soft
Bake a little longer at a lower temperature, and make pieces smaller. For softer treats, store refrigerated and serve cold.
Balanced nutrition reminder
Homemade treats are a wonderful add-on, but they do not replace a complete and balanced cat food. If you are interested in moving toward more homemade meals for your cat, do it with professional guidance so vitamins and minerals stay properly balanced, especially taurine, which is essential for cats.
Small changes add up. Even upgrading treats to simple, meat-based bites can be a meaningful step toward healthier habits.