From “coffee ground” ear debris to nonstop scratching, learn how vets diagnose ear mites and the most effective treatments, safe ear cleaning steps, and ...
Article
•
Designer Mixes
Home Treatment for Ear Mites in Cats

Shari Shidate
Designer Mixes contributor
Ear mites are one of the itchiest, most miserable little problems I see cats deal with, and they are very common in kittens, rescues, and multi-pet homes. The good news is that ear mites are very treatable. The not-so-good news is that the internet is full of home remedies that can irritate the ear canal, delay real treatment, or even damage the ear drum.
This quick guide focuses on veterinary-guided steps you can do at home to help your cat feel better fast, while still treating the problem the right way. (For context, I work as a veterinary assistant, so I am coming at this from the practical, day-to-day side of what tends to help most.)
What ear mites look like
Ear mites (most commonly Otodectes cynotis) live in the ear canal and feed on skin debris. They cause intense itching and inflammation, and they spread easily between cats and sometimes to dogs.
Common signs
- Dark, crumbly debris in the ears that can look like coffee grounds
- Head shaking and frequent ear scratching
- Redness and irritated ear canals
- Ear odor (sometimes mild, sometimes strong)
- Scabs around the ears from scratching
Important: “Coffee ground” debris is a classic clue, but it is not a diagnosis by itself. Yeast, bacteria, allergies, and ear polyps can look similar. The safest approach is to confirm mites with your veterinarian.
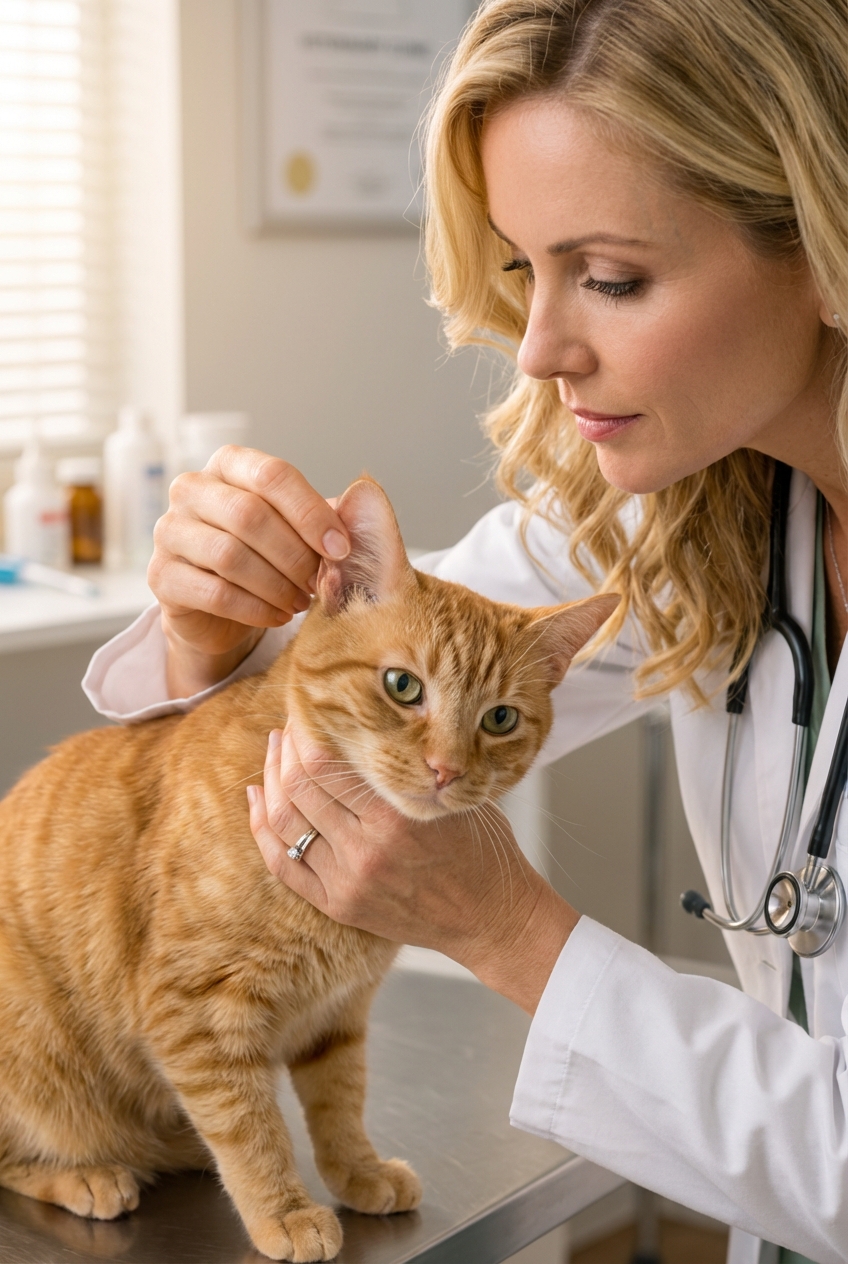
Before you treat
If your cat is in significant pain, has swelling, or has a history of chronic ear infections, your vet may recommend an ear exam and a quick microscope check of the ear debris. They may also look at the ear drum before any cleaning or medication.
This matters because some products are not safe if the ear drum is ruptured, and cleaning an extremely inflamed ear can be painful without the right medication on board.
Home care is most helpful when it supports, not replaces, proper diagnosis and prescription treatment.
At-home treatment steps
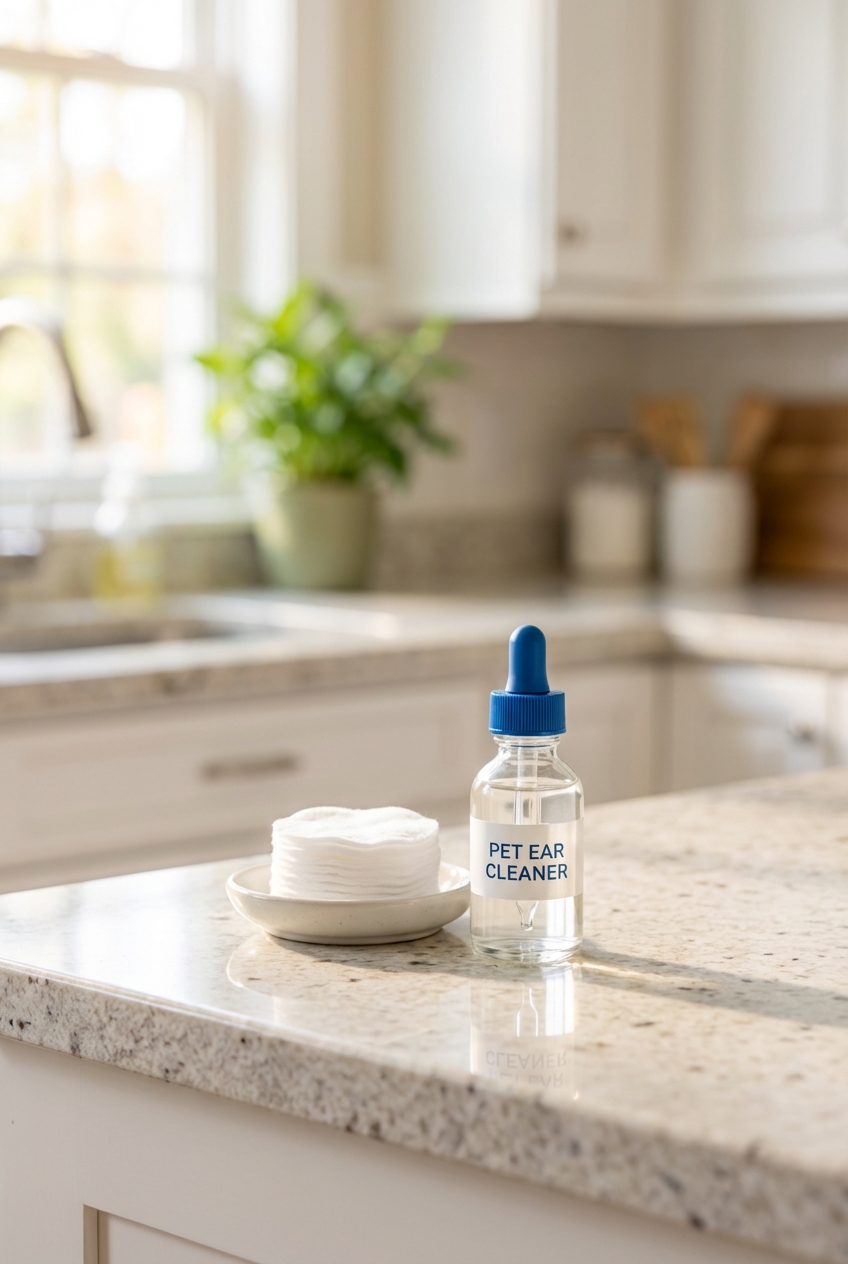
Step 1: Use a cat-safe ear cleaner (not oils, vinegar, or peroxide)
Many “home remedies” for ear mites are risky because they can trap debris, inflame the canal, or harm delicate ear tissue. Veterinarians typically recommend a commercial, cat-safe ear cleanser designed to break up wax and soothe the canal.
Look for a gentle ear cleaner labeled for cats, or ask your veterinary team what they recommend for your cat’s specific situation. Avoid putting random household items into the ear, including:
- Hydrogen peroxide
- Vinegar mixtures
- Essential oils (tea tree oil can be toxic to cats)
- Olive oil, coconut oil, or mineral oil (these may trap debris, irritate the canal, delay effective treatment, and can be especially risky if the ear drum is damaged or the ear is infected)
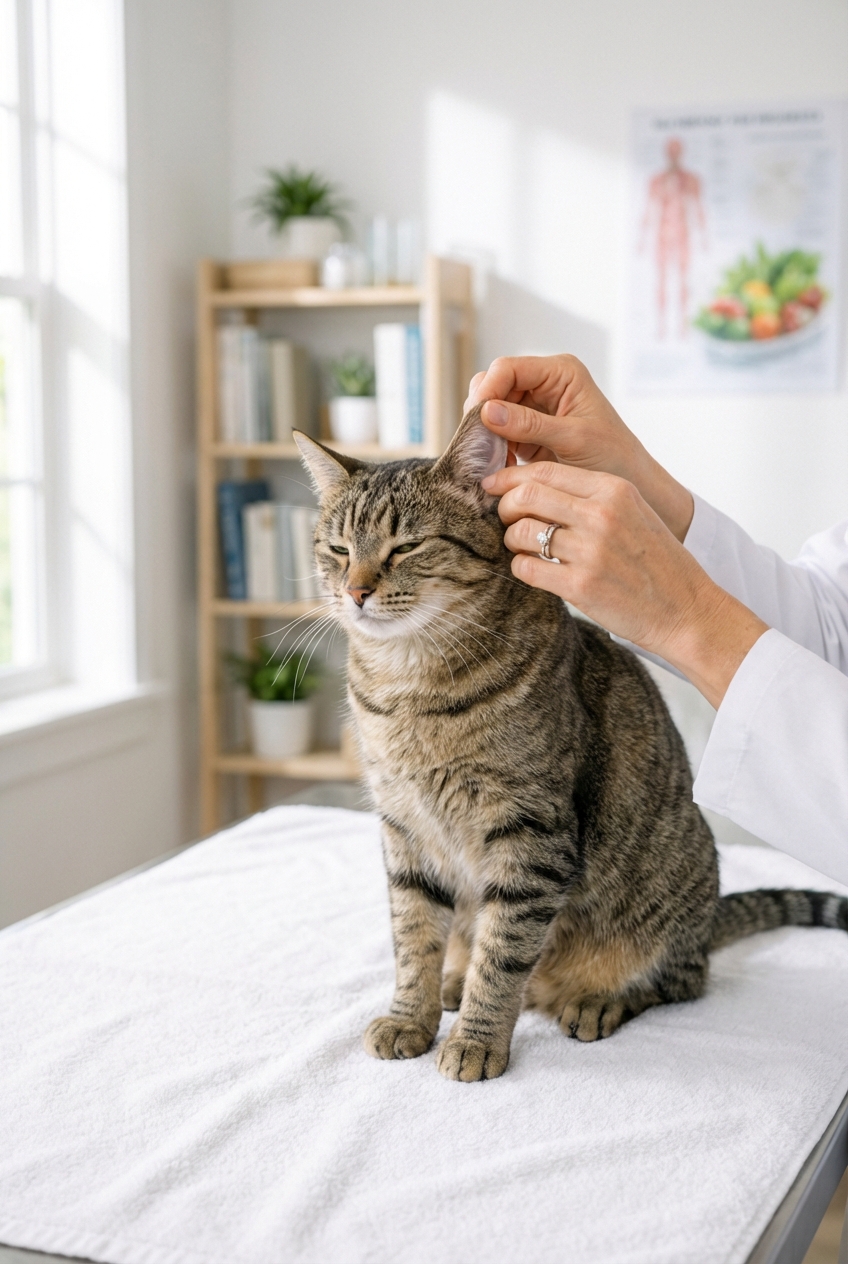
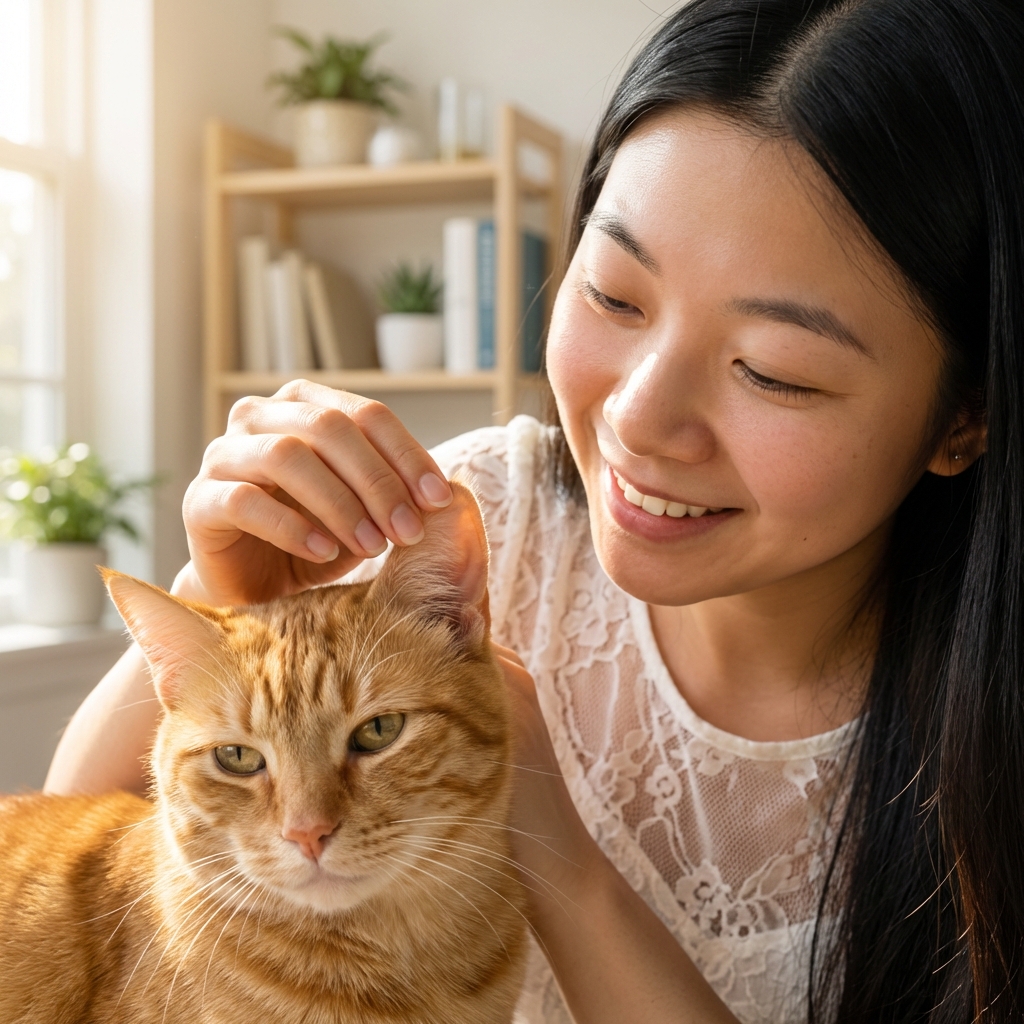
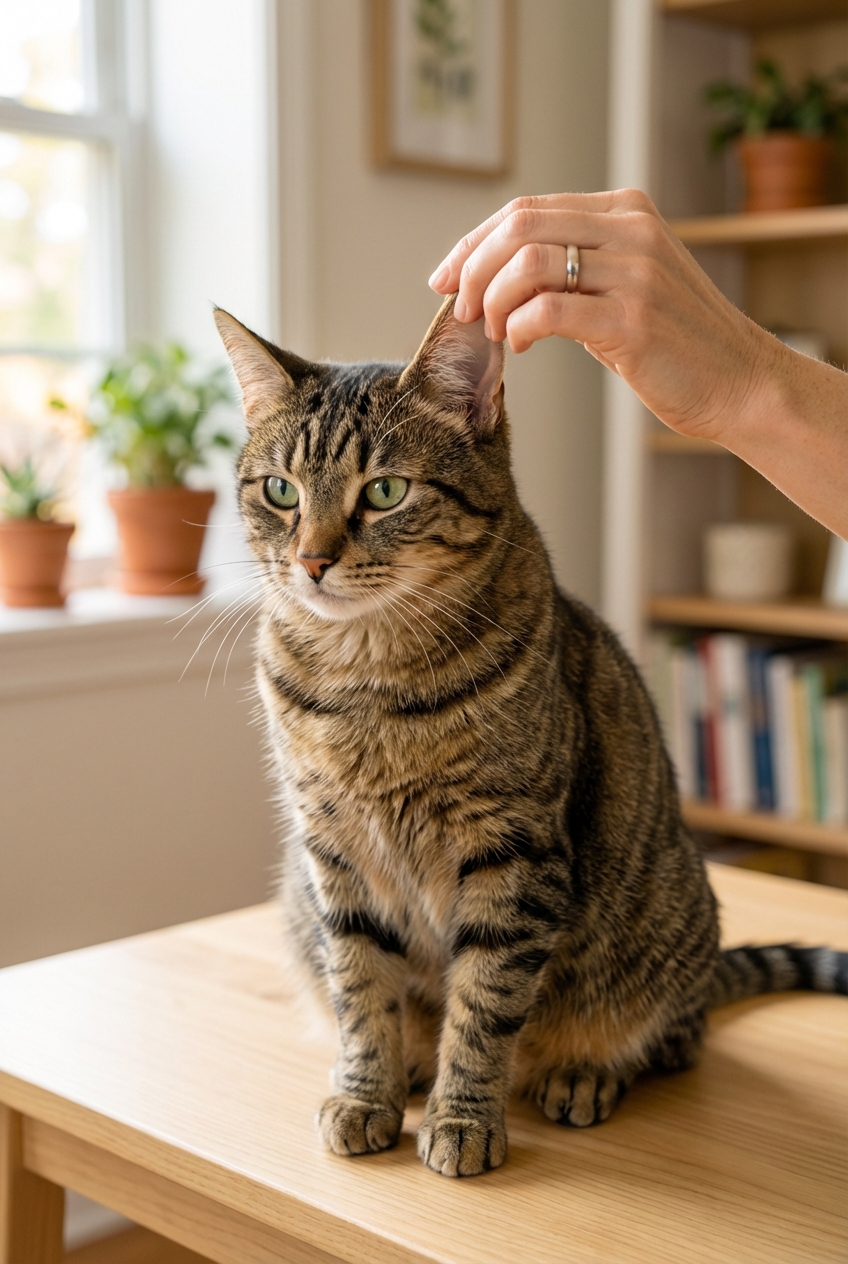
Step 2: Clean the ears the safe way
If your cat will tolerate it, gentle cleaning helps remove the debris mites feed on and allows medication to work better.
- Gather supplies: cat-safe ear cleaner, cotton balls or cotton rounds, towel, and a treat.
- Wrap your cat in a towel like a burrito if needed.
- Fill the ear canal with the cleaner as directed on the label.
- Massage the base of the ear for 20 to 30 seconds. You should hear a soft “squish.”
- Let your cat shake their head.
- Wipe only what you can see with cotton. Do not push anything deep into the ear.
- Never use Q-tips or cotton swabs in the ear canal. They can pack debris deeper and may injure the ear.
Skip cleaning and call your vet if your cat cries, becomes aggressive from pain, or if you see blood.
Step 3: Use the right mite treatment (this is the real cure)
Cleaning helps, but it does not reliably kill mites. The most effective at-home treatment is an appropriate parasiticide used exactly as your vet directs. In many cases, that is a prescription product, and it is chosen based on your cat’s age, weight, and what your vet sees in the ear.
Your veterinarian may recommend:
- Topical spot-on treatments applied to the skin (often very effective and easier for many cats)
- Ear medications placed into the ear canal
- Long-acting options in some cases, which can be helpful for hard-to-medicate cats
Also, if your cat has a secondary bacterial or yeast infection, they may need additional medication to calm the inflammation and fully clear the problem.
Because product choice depends on your cat’s medical history and ear drum status, avoid DIY medication swaps, using leftover meds from another pet, or grabbing an over-the-counter drop without guidance. Some OTC products are ineffective, and the wrong one can make an already-angry ear worse.
Extra safety note: Kittens and pregnant or nursing cats often have age and weight restrictions for parasite products. This is another reason to involve your veterinarian early.
Step 4: Treat other pets if your vet recommends it
Ear mites spread. If you have multiple pets, your veterinarian may recommend treating everyone, even if only one pet is showing signs. This helps prevent the frustrating cycle of re-infection.
If you can, reduce close contact (like shared bedding and intense grooming sessions) until treatment has started for everyone, especially in a crowded multi-pet home.
Step 5: Wash bedding and reduce reinfection pressure
Ear mites live primarily on the animal, but basic cleaning helps support treatment:
- Wash bedding in hot water
- Vacuum favorite sleep spots
- Clean brushes and soft carriers
How fast your cat feels better
Many cats start scratching less within a few days of starting the right medication. Full resolution often takes 2 to 4 weeks, depending on the product used and whether there is a secondary bacterial or yeast infection.
Some treatments work faster than others, but even when the mites are gone, leftover debris and inflammation can take time to fully settle.
Even if your cat looks better quickly, finish the full course exactly as prescribed. Mite eggs and immature stages can cause symptoms to flare back up if treatment is stopped early.
When home treatment is not enough
Please contact your veterinarian promptly if you notice any of the following:
- Head tilt, loss of balance, or walking “drunk”
- Swelling of the ear flap (a possible ear hematoma)
- Pus-like discharge or a strong, foul odor
- Severe pain when the ear is touched
- No improvement within 7 days of starting treatment
- Recurring ear problems (allergies are a common underlying cause)
Quick FAQs
Can humans catch ear mites from cats?
Ear mites prefer pets, and true human infestation is uncommon. Still, mites can cause temporary skin irritation in people in close contact. Treating the pet and cleaning the environment usually resolves the issue. If you develop a rash that persists or worsens, check in with a clinician.
Should I use over-the-counter ear mite drops?
Some OTC products are ineffective, and others can irritate the ear. If your cat has an ear infection, ear drum damage, or severe inflammation, the wrong product can make things worse. In my experience as a veterinary assistant, the fastest path to relief is a vet-confirmed diagnosis and a treatment plan tailored to your cat.
Do indoor cats get ear mites?
Yes. Ear mites can come in on a newly adopted kitten, a visiting pet, or sometimes even through close contact at boarding or grooming.
A gentle takeaway
If you suspect ear mites, you are not failing your cat by needing help. You are being a great pet parent by taking action quickly. Stick with cat-safe ear cleaning, avoid harsh home remedies, and partner with your veterinarian for the medication that actually eliminates mites.
Your cat’s ears should not be a battleground. With the right steps, comfort can come fast.