Ear mites can cause intense itching and dark “coffee-ground” debris. Learn the signs, why diagnosis matters, safe ear-cleaning steps, treatment options, ...
Article
•
Designer Mixes
Home Remedies for Dog Ear Mites

Shari Shidate
Designer Mixes contributor
Ear mites are one of those “tiny problem, big misery” situations. They are parasites that live primarily in and around the ear canal and cause intense itchiness. The good news is that many dogs feel better quickly once the right treatment starts. The not-so-good news is that mites are contagious, and a simple home remedy can backfire if your dog’s ear is irritated or the eardrum is damaged.
As a veterinary assistant in Frisco, Texas, I always tell pet parents this: home care can be supportive, but ear mites still deserve a real diagnosis and, very often, a prescription-strength treatment. Below, I’ll walk you through safe, evidence-based home steps plus a few “do not do this” tips that can save your dog a lot of pain.

What ear mites look like
Ear mites (most commonly Otodectes cynotis) feed on skin debris and oils. Your dog’s body reacts with inflammation, wax buildup, and that classic relentless scratching. They are usually microscopic, but in heavy infestations they can sometimes look like tiny moving white specks.
Common signs
- Intense itching, ear scratching, or rubbing the head on carpet
- Head shaking
- Dark, crumbly ear debris that can resemble coffee grounds
- Redness, swelling, or a “hot” painful ear
- Hair loss or scabs around the ears from scratching
Important: “Coffee-ground” debris is common with mites, but yeast infections and bacterial infections can look similar. Allergies, foreign material (like a foxtail), ear polyps, and other ear conditions can also cause the same symptoms. That is why diagnosis matters.
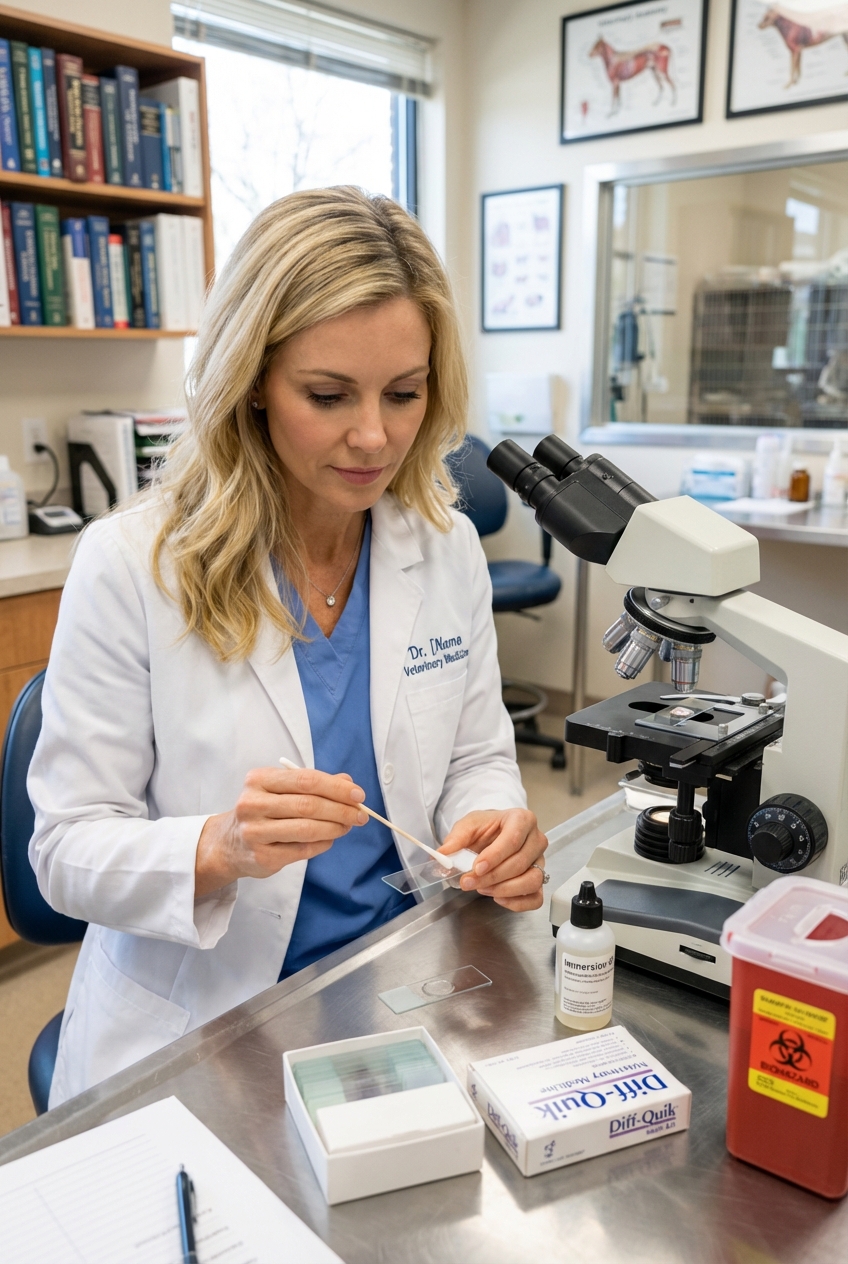
Confirm it’s really mites
The most helpful first step is a vet visit for an ear exam and a quick microscope check of the debris. Your vet typically checks the ear with an otoscope and looks at a sample (often a simple swab or mineral oil prep) to confirm mites and screen for yeast or bacteria. It’s quick, usually affordable, and it prevents weeks of guesswork.
Get help urgently if you notice
- Severe pain when you touch the ear
- Bleeding, open sores, or a strong foul odor
- Head tilt, loss of balance, or disorientation
- Swelling of the ear flap (can be an aural hematoma)
- Pus-like discharge
These can signal a middle ear problem, a ruptured eardrum, or a significant infection. Home flushing or oils can make these worse.
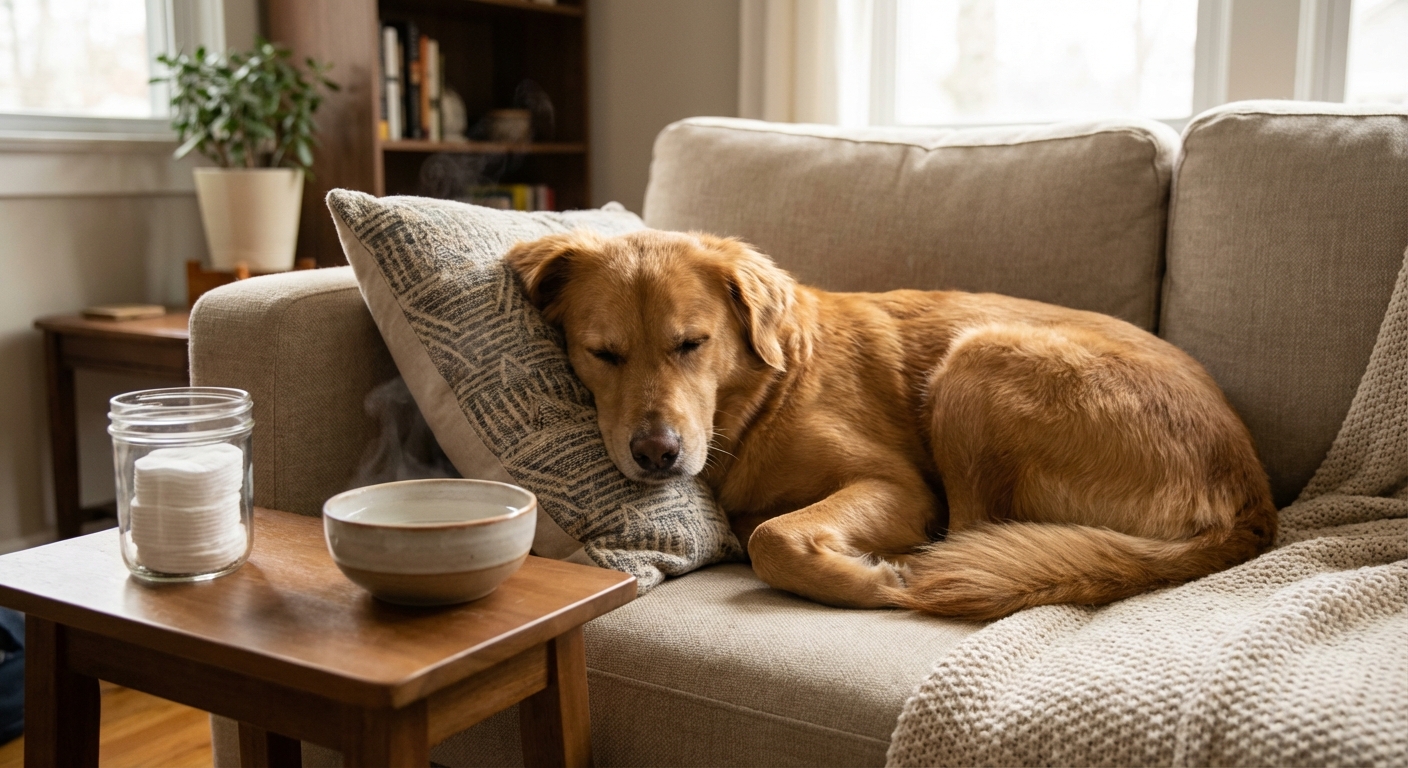
Supportive home care
Think of home care in two categories: (1) comfort and cleanup, and (2) stopping the mite life cycle. Most true mite infestations need a proven parasiticide to fully resolve. Supportive steps at home can still make treatment work better and help your dog feel better faster.
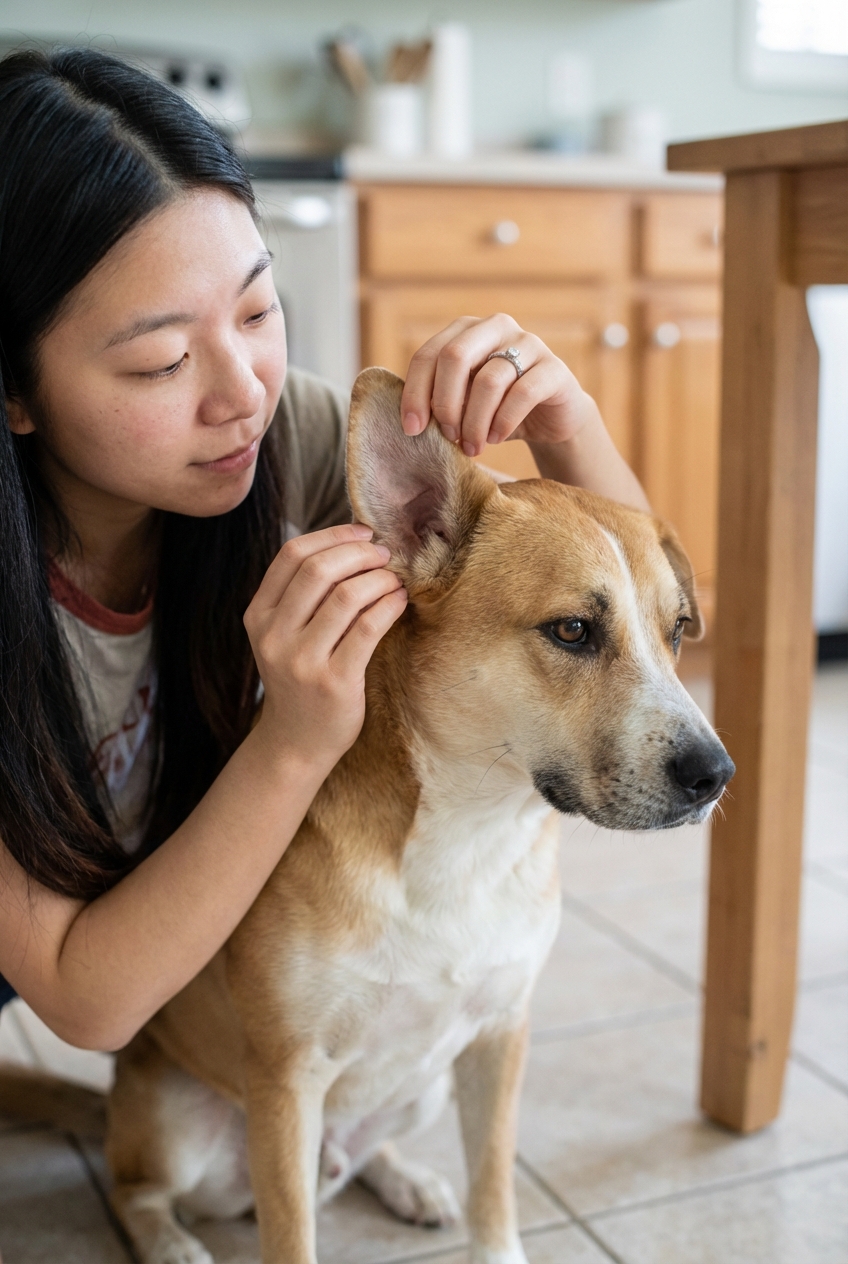
1) Gentle ear flap cleanup
If there is crusting on the outer ear (the ear flap and the visible entrance), you can soften and wipe it away.
- Use a soft cotton pad or gauze with warm water or a pet-safe ear wipe.
- Wipe only what you can see. Do not push debris into the ear canal.
- Avoid cotton swabs inside the canal. They can pack debris deeper and irritate inflamed tissue.
2) Prevent self-trauma
Ear mites make dogs want to scratch until they bleed. That scratching can trigger skin infection and even an aural hematoma.
- Keep nails trimmed.
- Use an e-collar (cone) if your dog cannot stop scratching.
- Ask your vet about itch control if your dog is frantic.
3) Treat all pets
Ear mites spread easily between dogs and cats. If one pet has confirmed mites, ask your veterinarian whether all pets should be treated at the same time. If you treat only one animal, reinfestation is common, especially if there is a cat in the home that is not treated.
4) Light cleaning at home
Ear mites mostly live on the animal and typically survive only a short time off the host. Still, basic cleaning supports comfort and helps remove flakes and crusts.
- Wash bedding in hot water and dry on high heat.
- Vacuum sleeping areas.
- Disinfect grooming tools.
Before using ear drops
Many online “remedies” focus on putting oils or household liquids into the ear canal. Here is the truth: some may temporarily soothe itch or smother mites, but they can also trap moisture, worsen infection, and cause severe pain if the eardrum is compromised.
If you want to try an at-home option, do it only when:
- Your dog has been examined and your vet has ruled out eardrum damage.
- Your dog is not showing intense pain, head tilt, or neurologic signs.
- You are using a product intended for pets, or your veterinarian has approved the ingredient and method.
A safer plan at home
The most evidence-based “home remedy” is not a DIY ingredient. It is a combination of:
- A veterinary ear exam and diagnosis
- A proven mite treatment (often a prescription parasiticide, and sometimes topical ear medication if there is inflammation or secondary infection)
- Proper cleaning with a dog-specific ear cleaner only if your vet recommends it
This plan addresses both the mites and the inflamed ear environment, and it lowers the chance of repeat infections.
Cleaning frequency matters
If your vet tells you to clean the ears, follow the schedule you are given. Overcleaning can further inflame the ear canal, especially when it is already raw and itchy.
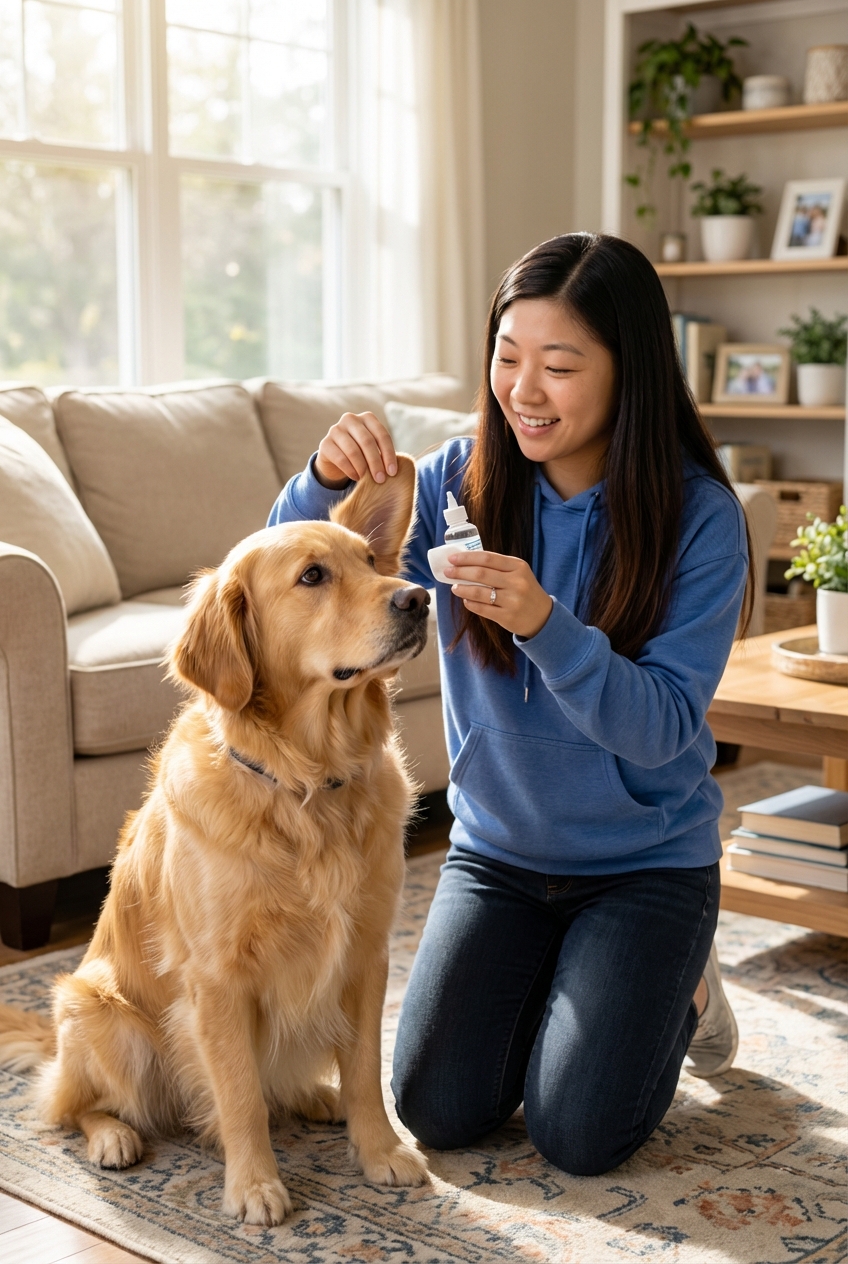
If your vet approves an oil step
Some veterinarians may approve a small amount of mineral oil or another gentle oil in specific cases to help loosen debris. If you are told to do this, follow your vet’s exact instructions on amount and frequency. More is not better.
Stop immediately if your dog cries, becomes dizzy, or the ear looks more red or swollen after use.
What not to put in ears
These are common suggestions online that can cause irritation, chemical burns, or worsening infection, especially in inflamed ears.
- Hydrogen peroxide: irritating to delicate ear tissue and can delay healing.
- Apple cider vinegar or vinegar mixes: can sting badly and worsen inflammation.
- Rubbing alcohol: dries and burns inflamed skin.
- Essential oils (tea tree, eucalyptus, peppermint, etc.): risk of toxicity and severe irritation, and dosing is not reliable.
- Garlic-infused oils: not a good idea for the ear canal. In-ear use increases irritation risk and does not replace proven mite treatment.
- Homemade drops with unknown sterility: infection risk is real when tissue is already inflamed.
Why they come back
- They are highly contagious: ear mites spread through close contact, especially in multi-pet homes, shelters, and grooming or boarding settings.
- Cats are a common source: dogs can pick them up from feline housemates.
- Secondary infections are common: scratching and debris can set the stage for bacterial or yeast overgrowth.
- Incomplete treatment: stopping early, skipping doses, or not treating all pets at once is one of the biggest reasons mites seem to “return.”
- Itching can linger: the ear canal may stay inflamed for a short time after mites are gone, which is why rechecks can be helpful.
Prevent future problems
Use parasite prevention
Some veterinarian-recommended flea and tick preventatives also cover mites, depending on the active ingredient and label. Ask your vet which option makes sense for your dog’s lifestyle and the other pets in your home.
Check ears weekly
- Look for redness, odor, or increased debris.
- Notice if your dog starts shaking their head more than usual.
- Keep a simple note in your phone if one ear is always worse, since that can guide your vet.
Keep ears dry
Moisture trapped in the ear canal can contribute to infections. Use a towel to dry the outer ear, and ask your vet if a drying ear rinse is appropriate for your dog.
Be cautious with grooming and boarding
Choose facilities that sanitize tools and encourage parasite prevention. Ear mites are not a reflection of “bad hygiene.” They are just very good at spreading.
Can people catch ear mites?
Ear mites are mainly a pet-to-pet issue. In rare cases, they may cause temporary itchy bumps on people who have close contact with an infested pet. If anyone in the household develops a persistent rash or worsening itch, consider calling your clinician for advice while your pets are being treated.
Quick checklist
- Schedule a vet exam to confirm mites and rule out eardrum issues.
- Use vet-prescribed mite treatment exactly as directed. Many treatment plans run about 2 to 4 weeks, depending on the product and your pet’s needs.
- Wipe only the outer ear gently. No swabs down the canal.
- Clean ears only if your vet recommends it, and follow their frequency.
- Prevent scratching with nail trims and an e-collar if needed.
- Ask if all pets need treatment to prevent reinfestation.
- Skip harsh DIY ingredients that can burn or trap infection.
If your dog’s ears are painful, smelly, swollen, or they seem off-balance, stop home care and get seen. Ear problems are small in size but big in consequences when they’re ignored.