From “coffee ground” ear debris to nonstop scratching, learn how vets diagnose ear mites and the most effective treatments, safe ear cleaning steps, and ...
Article
•
Designer Mixes
Feline Ear Mites Home Remedies

Shari Shidate
Designer Mixes contributor
Ear mites are one of those “small problem, big misery” issues. If your cat is shaking their head, scratching like crazy, or you notice dark, crumbly ear debris, you are right to look for help fast. The good news is that ear mites are very treatable. The important news is that true ear mite treatment usually needs a proven medication, and home care works best as support, not a replacement.
Below, I will walk you through what actually helps at home, what to avoid, and when it is time to call your veterinarian. I am writing this as a veterinary assistant who has seen many painful ears become comfortable again with the right plan.
Note: This article is for general education and is not a substitute for an exam and diagnosis from your veterinarian.
What ear mites are
Ear mites (most commonly Otodectes cynotis) are tiny parasites that mainly live in the external ear canal and on the surface of the ear canal skin. They can also be found on nearby skin (around the ear and head), especially in heavy infestations. They feed on skin debris and wax, and their presence triggers intense irritation and inflammation.
They are common in cats, especially kittens, outdoor cats, rescues, and multi-pet homes. Ear mites are contagious between cats, and they can spread to dogs in the household. They can also infest ferrets, and in rare cases people may get temporary, self-limiting itchy bumps after close contact.
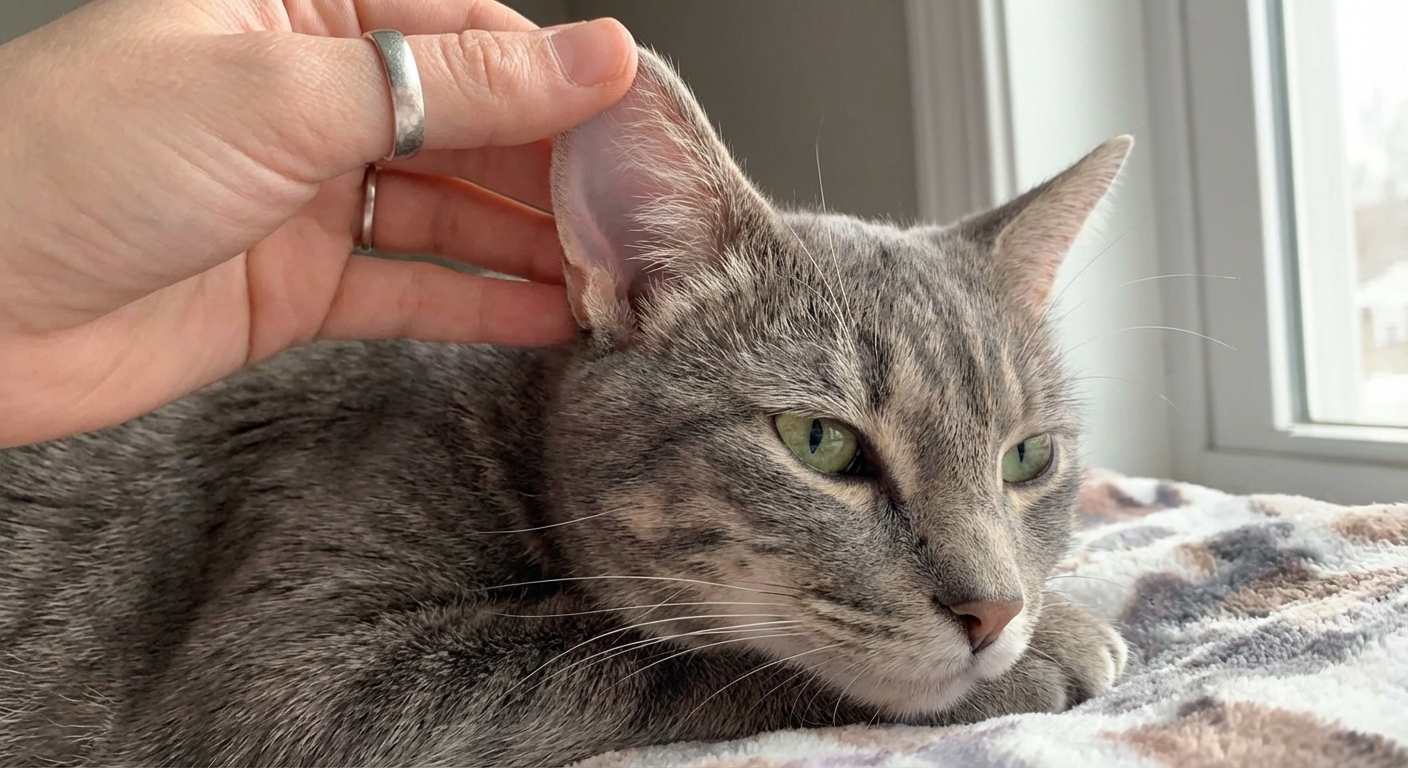
Common signs
- Head shaking and ear scratching
- Dark brown or black “coffee grounds” debris in the ear
- Red, inflamed ear canal or ear flap
- Crusts or scabs around the ear from scratching
- Stinky ears (sometimes)
- Sensitivity when you touch the ear
Important: Yeast or bacterial ear infections can look very similar. Allergies can also cause itchy, debris-filled ears. Less commonly, foreign material (like plant awns) or ear polyps can be involved. Treating the wrong problem at home can delay relief and make inflammation worse.
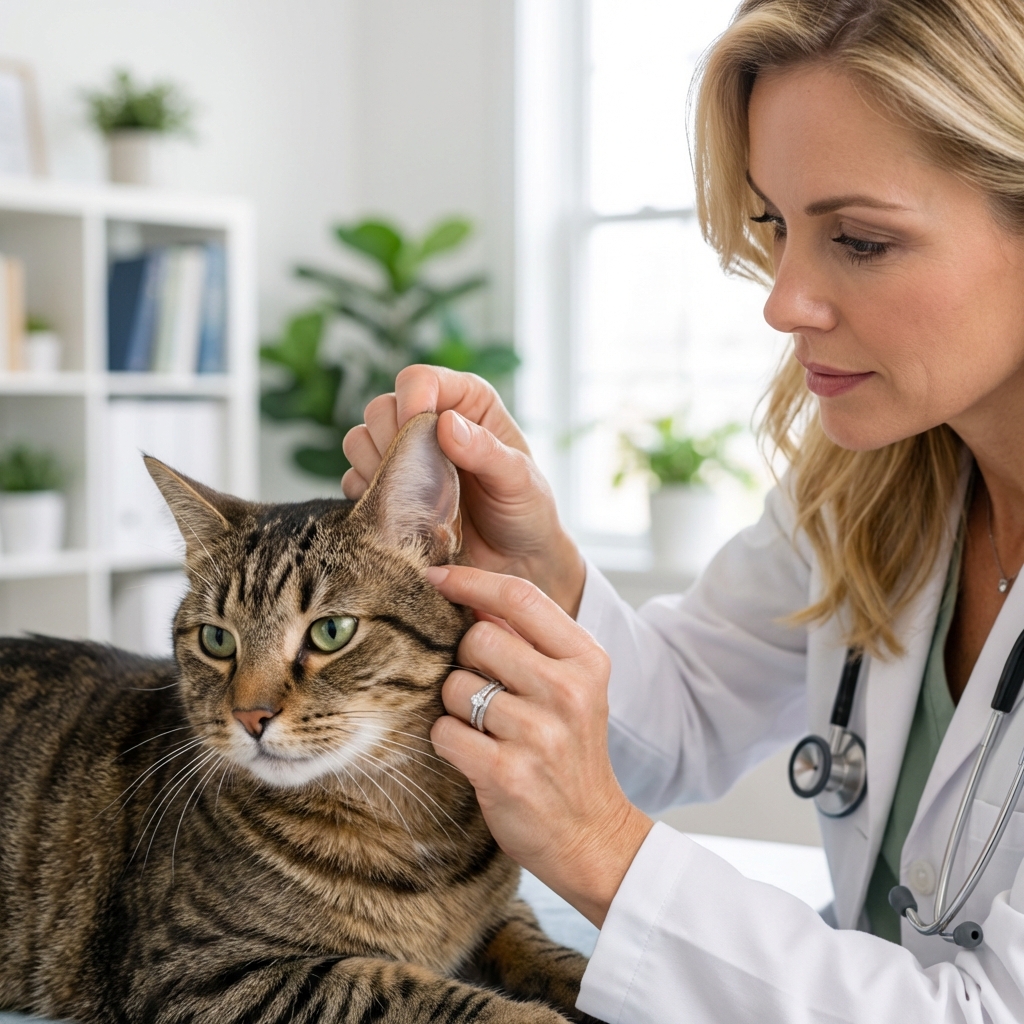
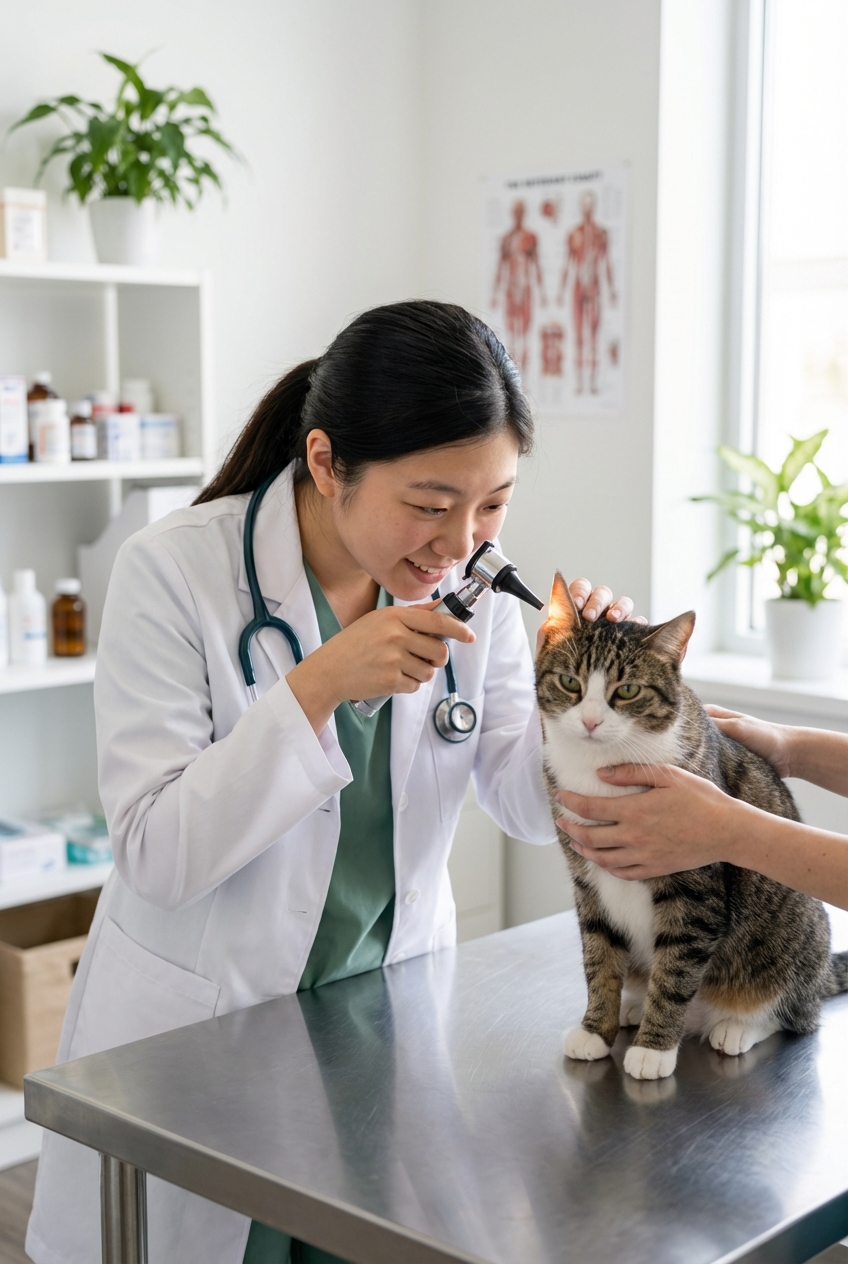
First step: confirm the cause
If you can, schedule a vet visit. A simple ear swab checked under a microscope can confirm mites quickly. This matters because the best treatment depends on what is in the ear: mites, yeast, bacteria, or a mix.
If a vet visit is not possible immediately, you can still do supportive care at home. Just do it safely, and plan to get confirmation as soon as you can.
What home care can do
Home care can help with:
- Removing debris so the ear canal is less irritated
- Reducing scratching triggers by keeping the ear cleaner
- Supporting healing when paired with vet-approved mite medication
Home care usually cannot fully eliminate ear mites on its own, especially if eggs are present, if multiple pets are affected, or if there is a secondary infection.
Think of home remedies as comfort care and cleanup. The “mite-killing” part is best handled by medications with proven effectiveness and safety.
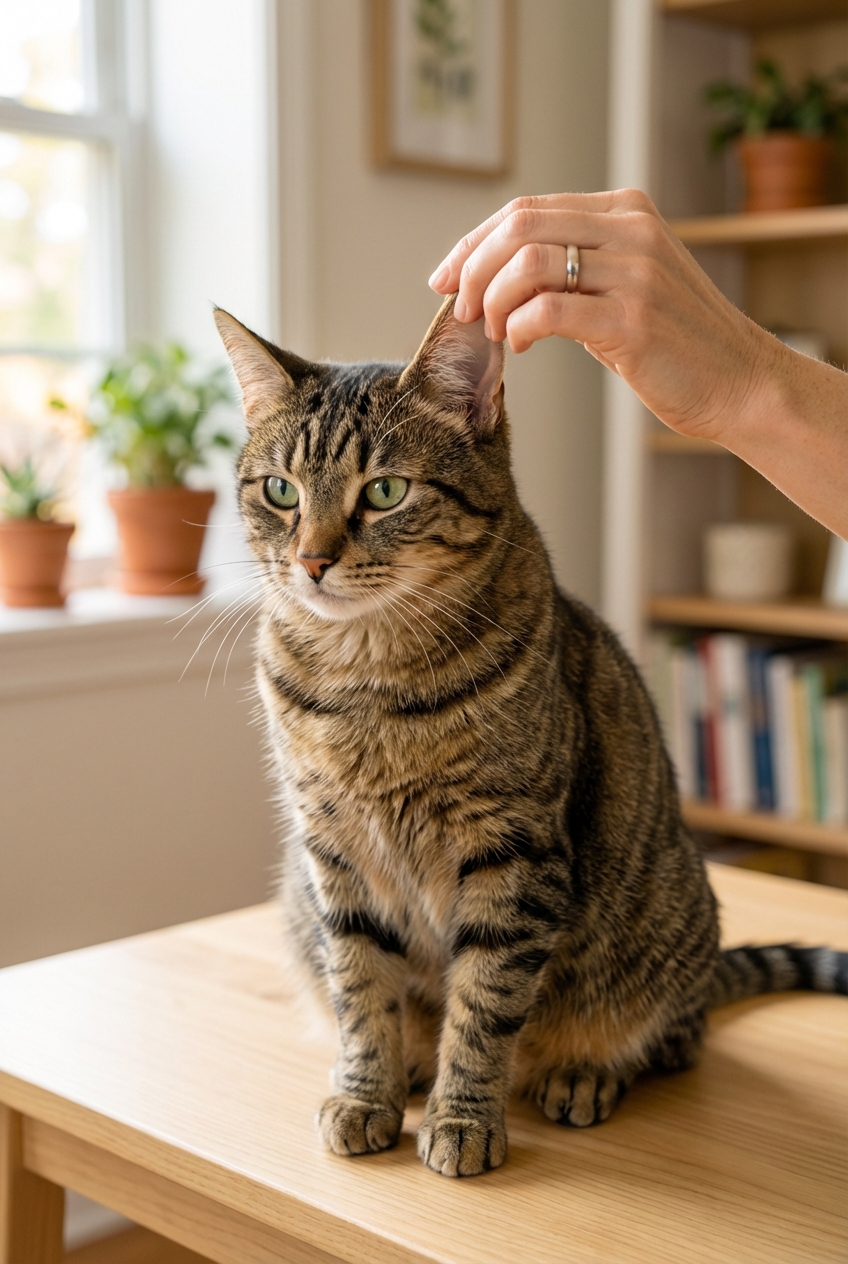
Safe at-home care
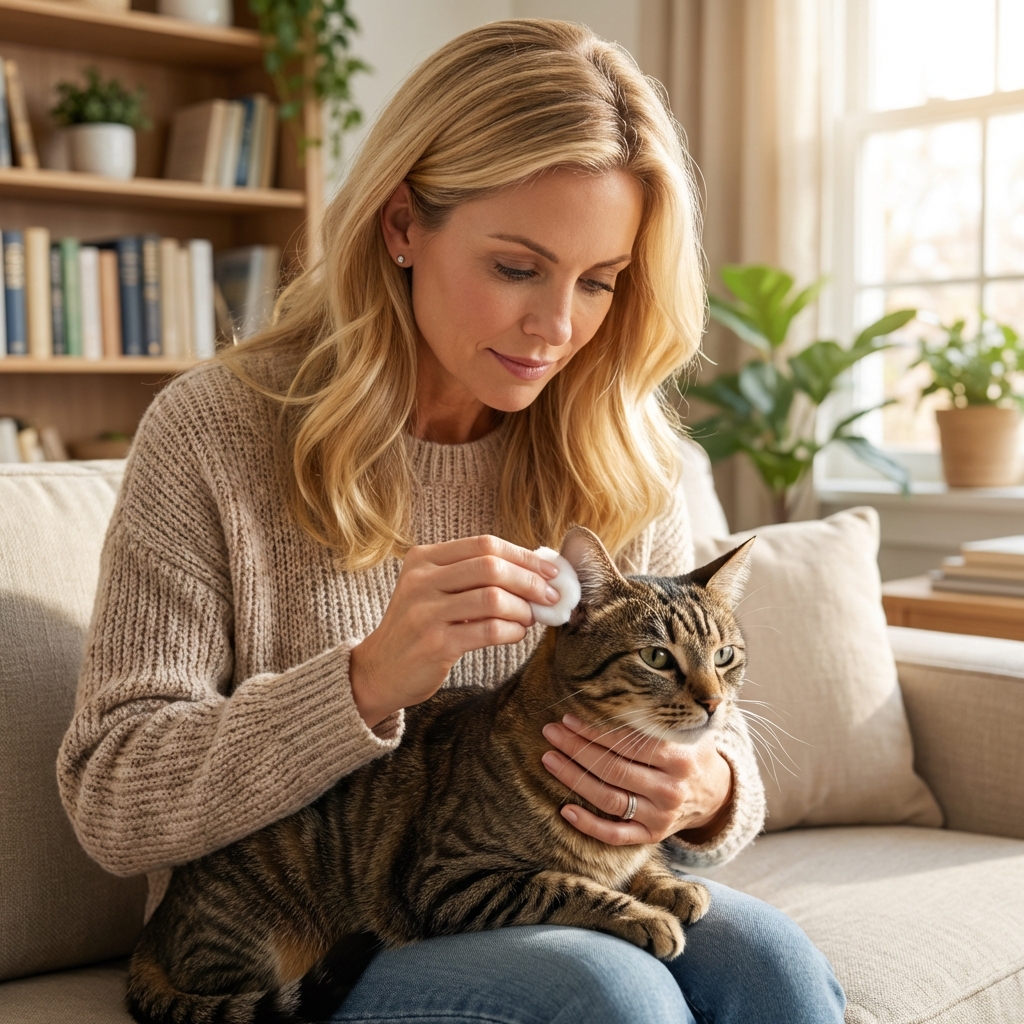
1) Gentle ear cleaning
Cleaning removes waxy debris and helps your cat feel better. It also helps medications work better.
What you need:
- A cat-safe ear cleanser (ideally from your vet or a reputable pet brand)
- Cotton balls or soft gauze squares
- Towel (for the inevitable head shake)
Choosing an ear cleanser: Look for a veterinary ear cleanser made for cats. Avoid products that contain alcohol, hydrogen peroxide, or essential oils unless your veterinarian specifically tells you to use them.
How to clean:
- Pick a quiet spot. Wrap your cat in a towel if needed, and stay calm and gentle.
- If your cat is in obvious pain, the ear flap is very swollen, there is bleeding, or your cat is likely to bite, stop and call your veterinarian. Forcing a painful ear cleaning can make inflammation worse and can get you hurt.
- Lift the ear flap and fill the ear canal with the cleanser as directed on the label.
- Massage the base of the ear for 20 to 30 seconds. You should hear a soft “squish.”
- Let your cat shake their head.
- Wipe away loosened debris from the parts you can see using cotton balls or gauze.
Do not push cotton swabs down into the ear canal. You can pack debris deeper, irritate the canal, or injure the eardrum.
2) Warm compress
If the ear flap is sore or crusty from scratching, a warm compress can soothe the area.
- Use a clean washcloth with warm (not hot) water.
- Hold on the ear flap for 1 to 2 minutes.
- Do this once or twice daily as tolerated.
This does not kill mites, but it can reduce discomfort and make cleaning easier.
3) Prevent self-injury
Some cats scratch so hard they create raw skin, scabs, and hematomas (blood-filled swelling of the ear flap).
- Trim sharp nail tips if you can do it safely.
- Consider an e-collar if your cat is damaging their ears.
- Keep the environment calm and reduce stress, since stress can amplify scratching.
Home remedies to avoid
I totally understand the temptation to use pantry products. The ear canal is delicate, and some popular DIY options can cause chemical irritation, worsen inflammation, or be unsafe if the eardrum is not intact.
Avoid these unless your vet tells you
- Hydrogen peroxide: can irritate inflamed tissue and delay healing.
- Vinegar solutions: acidic and painful on inflamed skin, and not appropriate if there are open scratches.
- Essential oils (tea tree, eucalyptus, peppermint, etc.): many are toxic to cats and can be absorbed through the skin.
- Olive oil, coconut oil, mineral oil: may loosen debris but do not reliably kill mites and can trap gunk, making exams and infections harder to manage.
- Alcohol-based products: sting and inflame sensitive ears.
If your cat is already miserable, anything that burns or irritates will make the experience harder for both of you.
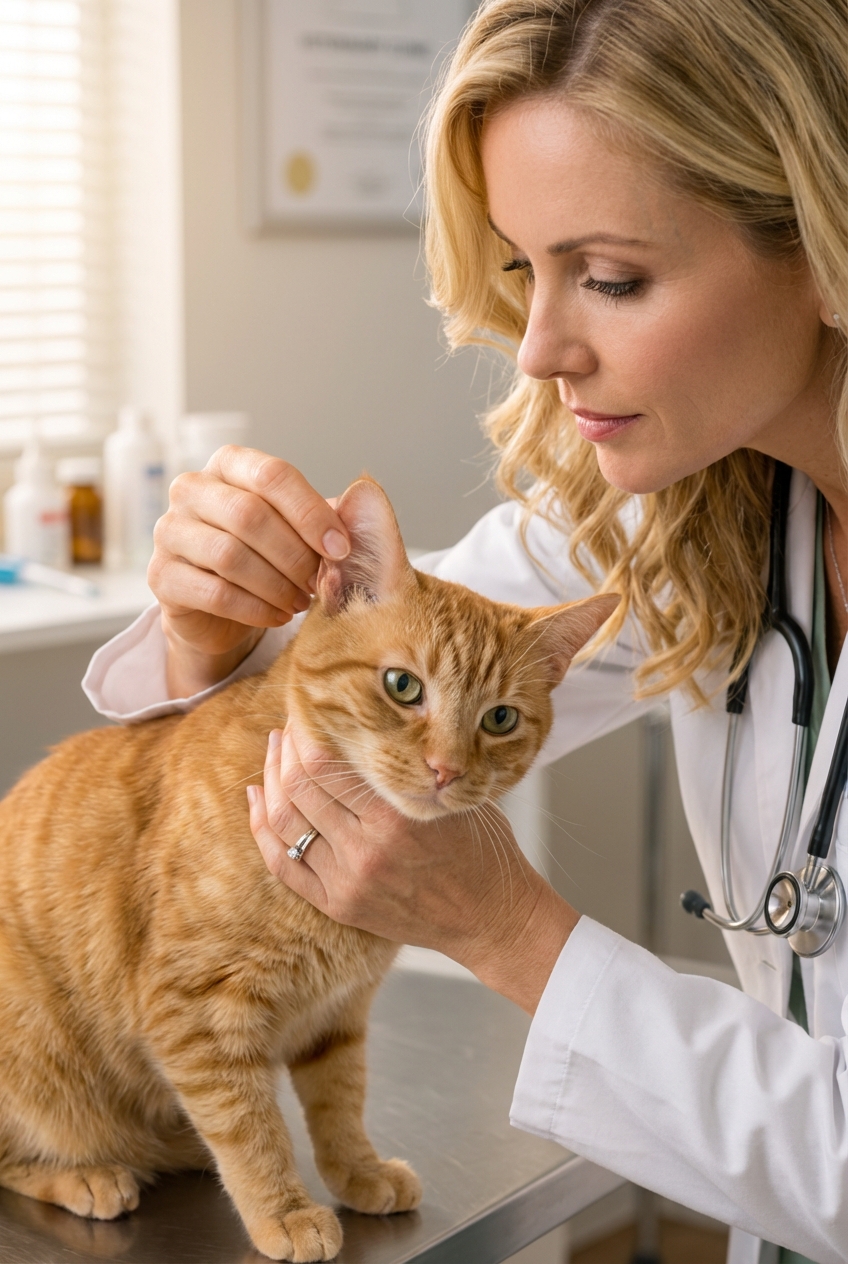
What treats ear mites
To clear mites, most cats need a medication that kills mites and addresses the life cycle. Your veterinarian may prescribe topical ear medication or a spot-on parasite preventive. Many modern options are easy to use and highly effective, but they must be used exactly as directed, and some require a repeat dose on a schedule to fully clear the infestation.
Safety reminder: Only use products labeled for cats, and never apply a dog-only ear or flea product to a cat unless your veterinarian specifically directs you. Some ingredients that are safe for dogs can be dangerous for cats.
Because ear mites are contagious, it is common to treat all pets in the household, even if only one is showing signs. Mites spread mostly through direct contact, so treating in-contact animals is the big step.
Cleaning bedding and vacuuming favorite nap spots may help a bit, but it is secondary to treating the pets themselves.
Tip: Ask your vet whether your cat also needs treatment for secondary infection. A cat with red, smelly ears often has yeast or bacteria along with mites.
When to call the vet
Ear problems can escalate quickly. Seek veterinary care promptly if you notice any of the following:
- Severe pain, crying, or aggression when you touch the ear
- Head tilt, loss of balance, stumbling, or “spinning”
- Swelling of the ear flap (possible hematoma)
- Bleeding, open wounds, or pus
- Foul odor or thick discharge
- Symptoms that are severe, worsening, or not improving after a few days, or anytime you cannot safely clean the ear
- Kittens, senior cats, or immunocompromised cats with symptoms
These signs can indicate a ruptured eardrum, middle ear involvement, a foreign body, or infection that needs targeted medication.
Prevention tips
- Check ears weekly in kittens and multi-pet households.
- Quarantine and vet-check new pets before introducing them to the rest of the household.
- Use vet-recommended parasite prevention when appropriate for your cat’s lifestyle.
- Keep up with routine grooming so you notice problems early.
The earlier you catch ear mites, the easier they are to clear and the less inflammation your cat has to suffer through.
Bottom line
If you suspect ear mites, start with safe cleaning and comfort care, but do not stop there. Getting the right diagnosis and using a proven mite treatment is the fastest path to relief. Your cat deserves quiet, comfortable ears, and you deserve the peace of mind that the problem is truly gone.
If you want, take a clear photo of the debris and the ear flap and bring it to your vet visit. It can help tell the story of what is going on between cleanings.