Skip filler-heavy store treats with these 5 fast homemade options—tuna bites, chicken sprinkles, salmon flakes, freezer treats, and broth cubes—plus safe...
Article
•
Designer Mixes
DIY Cat Treat Recipes: Simple & Healthy

Shari Shidate
Designer Mixes contributor
Homemade cat treats are one of the simplest ways to add a little joy to your cat’s day while using simple, whole ingredients. As a veterinary assistant, I love DIY treats because you control the protein quality, avoid unnecessary fillers, and can tailor recipes to sensitive tummies.
That said, treats should stay treats. Many veterinary nutritionists recommend keeping treats to about 10% or less of your cat’s daily calories, with the rest coming from a complete and balanced cat food.
Before you start: what makes a healthy cat treat
Cats are obligate carnivores, which means their bodies are built to thrive on animal-based protein. The healthiest DIY treats keep the ingredient list short and center around meat, fish, or eggs.
Healthy treat basics
- Protein first: chicken, turkey, salmon, sardines, tuna in water, egg.
- Keep carbs low: cats do not need treats made mostly of flour, sugar, or starch.
- Moisture matters: soft treats and purées can support hydration. If your cat has urinary issues, follow your veterinarian’s diet plan and use treats sparingly.
- Simple seasoning: skip salt, onion powder, garlic powder, and “spice blends.”
- Skip oils and butter: added fats can upset some cats’ stomachs and add calories fast.
- Go easy on dairy: many cats are lactose intolerant, so milk, cheese, and cream often cause GI upset.
- Small portions: pea-sized or smaller is perfect for most cats.
Quick safety reminder: Avoid onions, garlic, chives, grapes/raisins, xylitol (birch sugar), chocolate, macadamia nuts, alcohol, and cooked bones. If your cat has kidney disease, pancreatitis, IBD, diabetes, or food allergies, check with your veterinarian before adding new treats. If your cat is on a prescription diet, treats can sometimes undermine the plan, so ask your vet what fits.
Dental note: Crunchy treats do not meaningfully clean teeth. For dental health, think brushing (if your cat tolerates it), vet dental checks, and VOHC-accepted dental products.
5 simple DIY cat treat recipes
These recipes use everyday groceries, come together quickly, and are easy to store. For baking, a lower temperature helps prevent over-drying and keeps treats aromatic, which many cats prefer.
1) Two-ingredient tuna bites
Best for: picky cats who love fishy flavors
- Ingredients: 1 can tuna in water (about 5 oz or 142 g, drained), 1 egg
- How to make: Preheat oven to 325°F. Blend tuna and egg into a thick paste. Spoon tiny dots onto a parchment-lined baking sheet. Bake 10 to 14 minutes until set.
- Yield: about 25 to 40 pea-size bites (depends on spoon size)
- Serving tip: Break into tiny pieces. Fish treats are best kept occasional. Start with 1 piece.
2) Chicken baby food lick treat (no onion, no garlic)
Best for: treat puzzles, lick mats, senior cats, and cats who need extra moisture in their routine
- Ingredients: plain chicken baby food with only chicken and broth (read the label carefully)
- How to make: Spoon a small amount onto a lick mat or into a puzzle toy. You can thin it with a teaspoon of warm water for easier licking.
- Label check: Some baby foods include starches or added salt. That is not automatically a dealbreaker for a small treat, but it is a good reason to keep portions tiny and choose the simplest option you can find.
- Bonus: Great for distraction during nail trims.
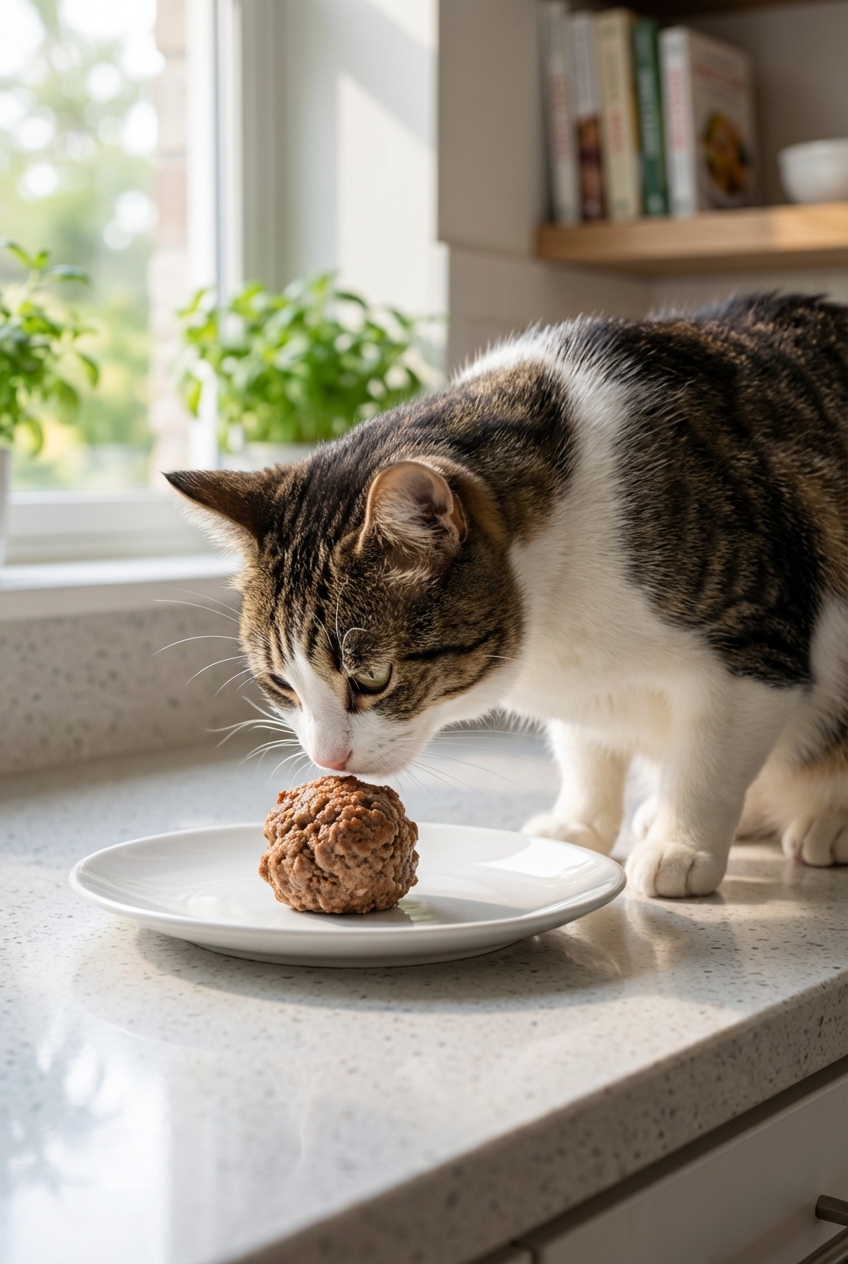
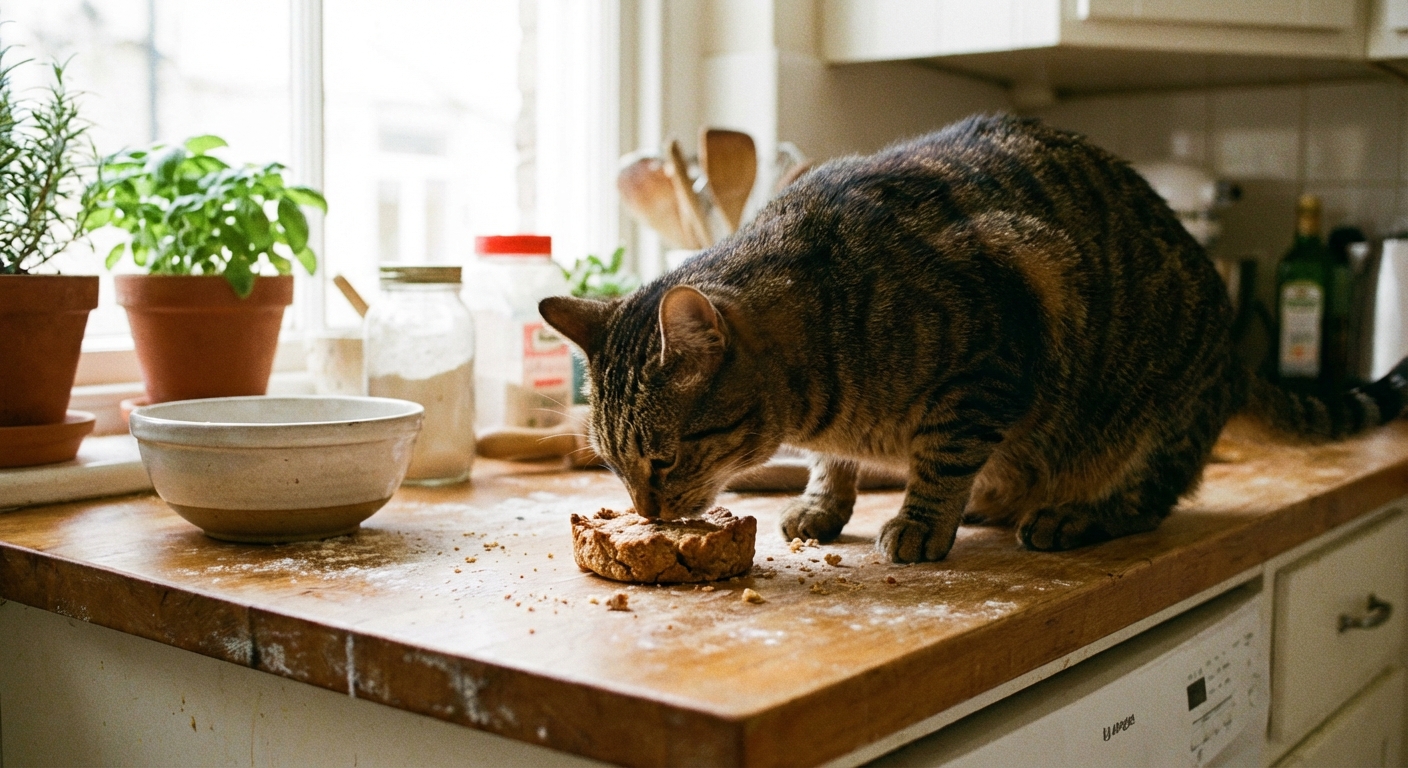
3) Salmon and oat mini cookies (tiny and tender)
Best for: cats who like a slightly firmer treat
- Ingredients: 1/2 cup canned salmon (drained), 1 egg, 2 to 4 tbsp oat flour (or finely ground oats)
- How to make: Preheat oven to 325°F. Mash salmon, mix in egg, then add oat flour a tablespoon at a time until it forms a soft dough. Roll into very small balls, flatten slightly, bake 12 to 15 minutes.
- Bone note: Canned salmon may contain soft edible bones that crumble easily. Remove any large or firm pieces if you find them.
- Yield: about 20 to 30 mini cookies
- Note: This should still be a protein-forward treat. If you find yourself adding lots of flour, make a smaller batch or reduce moisture first.
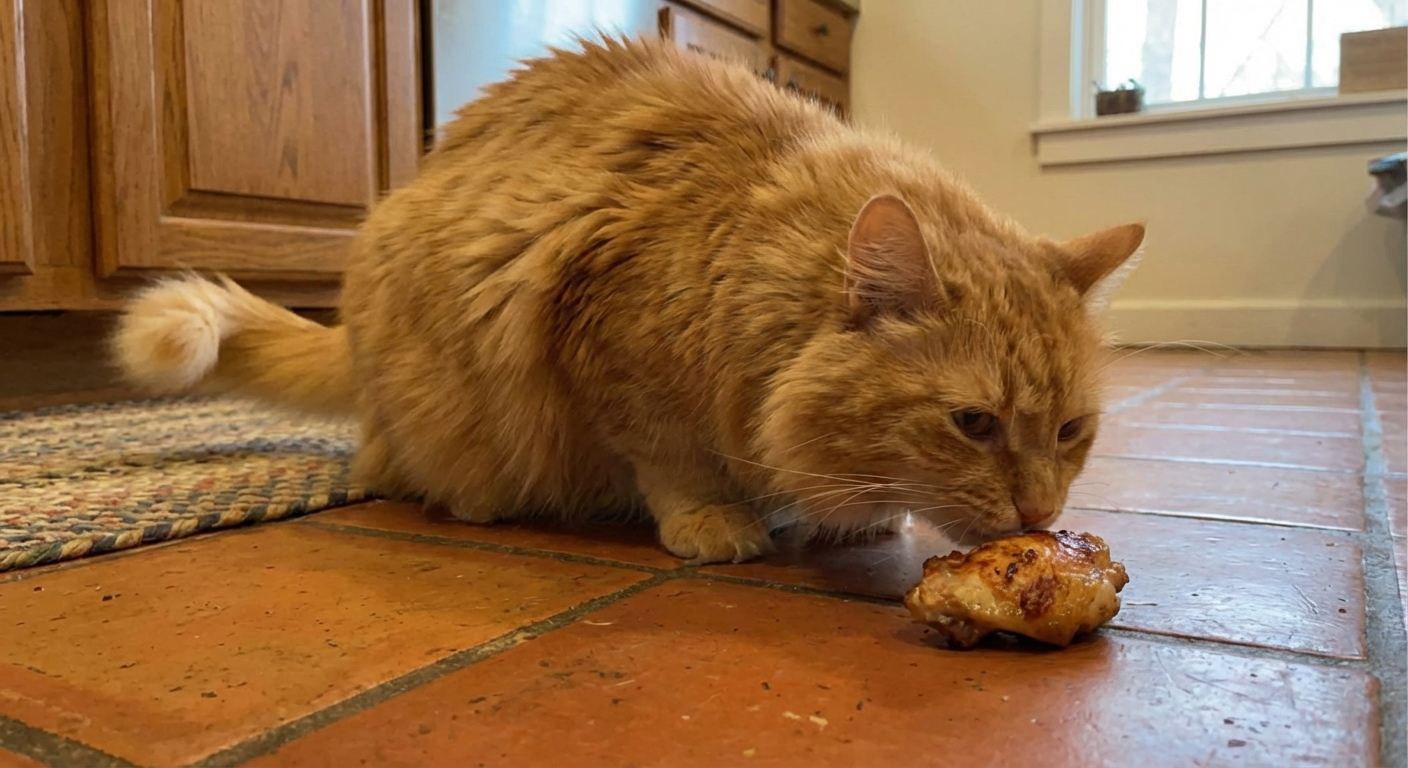
4) Oven-dried chicken jerky (easy low-temp method)
Best for: ingredient-sensitive cats, training treats
- Ingredients: boneless skinless chicken breast
- How to make: Slice chicken very thin (aim for even thickness). Place on a rack over a baking sheet. For best food safety, bake at 350°F for 10 to 12 minutes to bring the chicken up to temperature, then reduce oven to 200°F and continue drying 1.5 to 3 hours, flipping once, until fully dry and crisp.
- Food safety: Chicken should reach 165°F. The easiest way to verify is to temp-check a thicker piece during the initial higher-temp step.
- Yield: depends on how much chicken you start with. One breast typically makes a small jar of treats once dried.

5) Catnip egg scramble crumbles
Best for: cats who enjoy catnip and softer textures
- Ingredients: 1 egg, 1/2 tsp dried catnip (optional)
- How to make: Whisk egg, stir in catnip. Cook in a nonstick pan on low heat with no butter or oil, breaking into tiny crumbles as it sets. Cool completely.
- Catnip note: Some cats do not respond to catnip at all. Totally normal.
- Yield: enough for several small servings (offer a pinch at a time)
Storage tips
Homemade treats lack preservatives, so storage matters just as much as ingredients.
- Refrigerator: Soft, moist treats last about 3 to 4 days in a sealed container.
- Freezer: Most baked treats freeze well for up to 2 months. Thaw in the fridge.
- Label and date: Especially if you batch-cook multiple recipes.
- When in doubt, toss it: If it smells off, looks moldy, or feels slimy, do not risk it.
How to introduce new treats
Cats can have sensitive digestion, and sudden changes sometimes trigger vomiting or diarrhea. Go slow and keep portions small.
- Start with one tiny piece and watch for 24 hours.
- If all looks good, increase gradually over a few days.
- Stick to one new recipe at a time, especially for cats with allergies or IBD.
- If your cat has urinary issues, prioritize moist treats in tiny portions and talk with your vet about the best overall plan.
- If your cat has kidney disease or pancreatitis, do not assume “high protein” treats are automatically a fit. Those conditions often need a vet-directed diet, including treat choices.
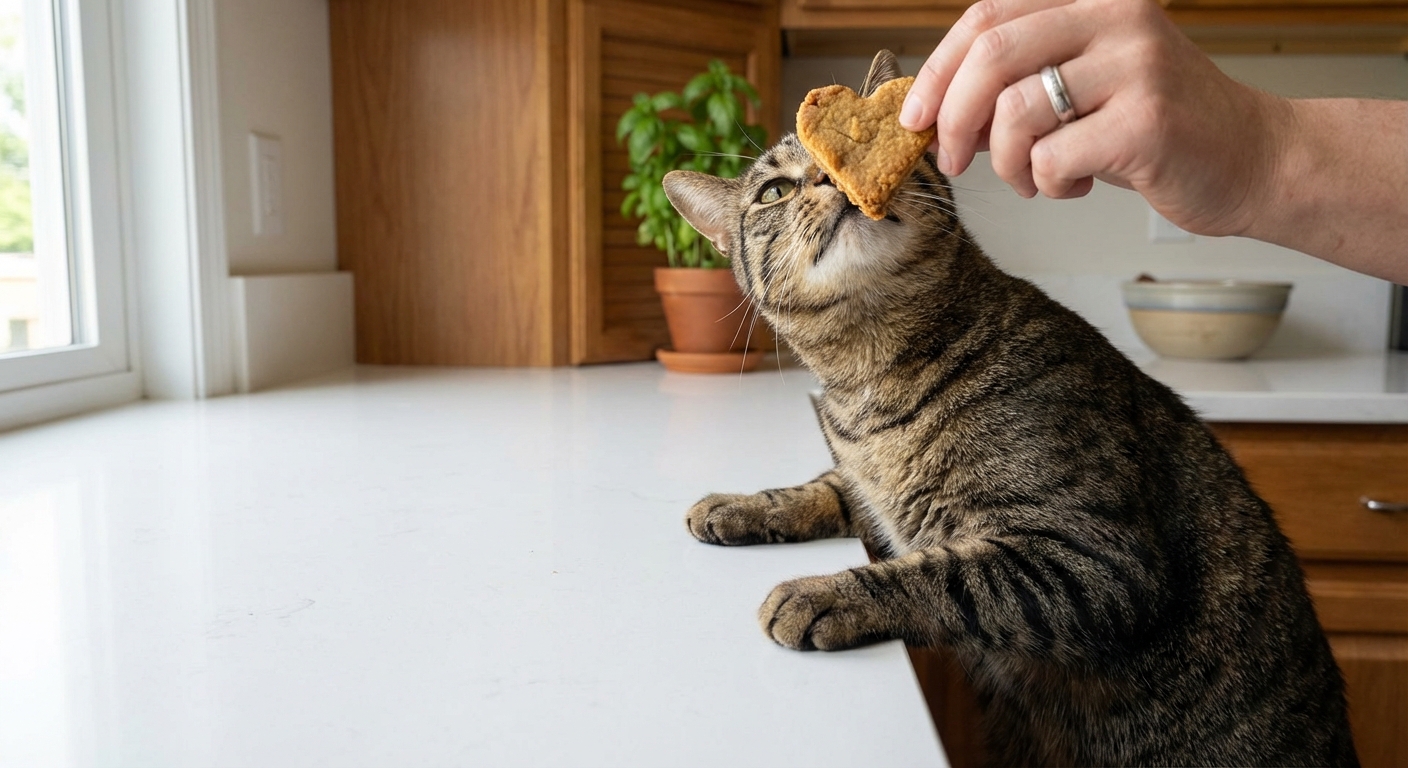
Treats are a relationship tool, not a nutrition plan. Keep them small, protein-rich, and occasional, and your cat gets the best of both worlds.
Frequently asked questions
Can cats eat peanut butter?
It is not toxic in tiny amounts, but it is not ideal for most cats. Peanut butter is calorie-dense, can contain added sugar or salt, and some brands may include xylitol, which is dangerous. Cats generally do better with meat-based treats.
Is tuna safe for cats?
Tuna can be used as an occasional treat, especially tuna packed in water. Keep portions small and avoid making it a daily habit. Two common reasons: tuna is not a complete food, and it tends to be higher in mercury than many other fish. Also, even “no salt added” canned fish can still contain notable sodium, so check labels and rotate with non-fish treats.
Simple rule: If your cat loves fish, aim for fish-based treats no more than 1 to 2 times per week for most cats, unless your veterinarian recommends otherwise.
Can I use raw meat for homemade treats?
Some owners choose raw, but from a food safety perspective, raw meat can carry pathogens that affect both pets and people. If you have children, seniors, or immunocompromised individuals in the home, cooked treats are the safer option. Ask your veterinarian what fits your household risk level.