
Trim your cat’s nails at home with calm, vet-approved techniques. Learn nail anatomy, the best clippers, how far to cut, low-stress handling, and what to d...
Article
•
Designer Mixes
Daily Cat Nail Care Tips

Shari Shidate
Designer Mixes contributor
As a veterinary assistant here in Frisco, Texas, I can tell you this: most “cat nail emergencies” start with small, easy-to-miss problems. A tiny snag becomes a torn nail. A long nail starts catching on carpet. A stressful trim turns into a battle that makes everyone dread the next time. The good news is that gentle daily nail care is less about cutting every day and more about checking, preventing, and keeping your cat comfortable.
Below are simple, vet-informed tips you can use daily, plus a trimming routine that keeps nails short without stress.
What daily nail care means
Most cats do not need their nails cut every day. But a quick daily check helps you catch issues early and makes trimming easier when it is actually needed.
- Look: Are any nails visibly long, curling, or snagging on fabric?
- Listen: Do you hear clicking on hard floors? That often means nails are getting long.
- Feel: Gently run a finger along the tip. If it feels sharp like a tiny needle, it is time to plan a trim.
- Check the dewclaws: Those “thumb” nails can overgrow faster and curl into the skin because they do not wear down as much.
- Do not forget the back feet: Many cats need trims back there too, especially indoor cats.
- Extra toes: If your cat is polydactyl, check every nail. Extra nails can hide and overgrow quickly.
Daily checks take 10 to 20 seconds per day. Over time, your cat learns that paw handling is normal, not scary.
How often to trim
For many indoor cats, trimming every 2 to 4 weeks is a common rhythm. Some cats may need weekly trims (fast nail growth, limited scratching, polydactyl cats), and some can go longer. Kittens may need trims more often, and senior cats sometimes do too because nails can get thicker and less likely to shed naturally.
Instead of choosing a strict calendar date, let your daily check guide you. If nails are snagging, clicking, or starting to curve, go ahead and trim.
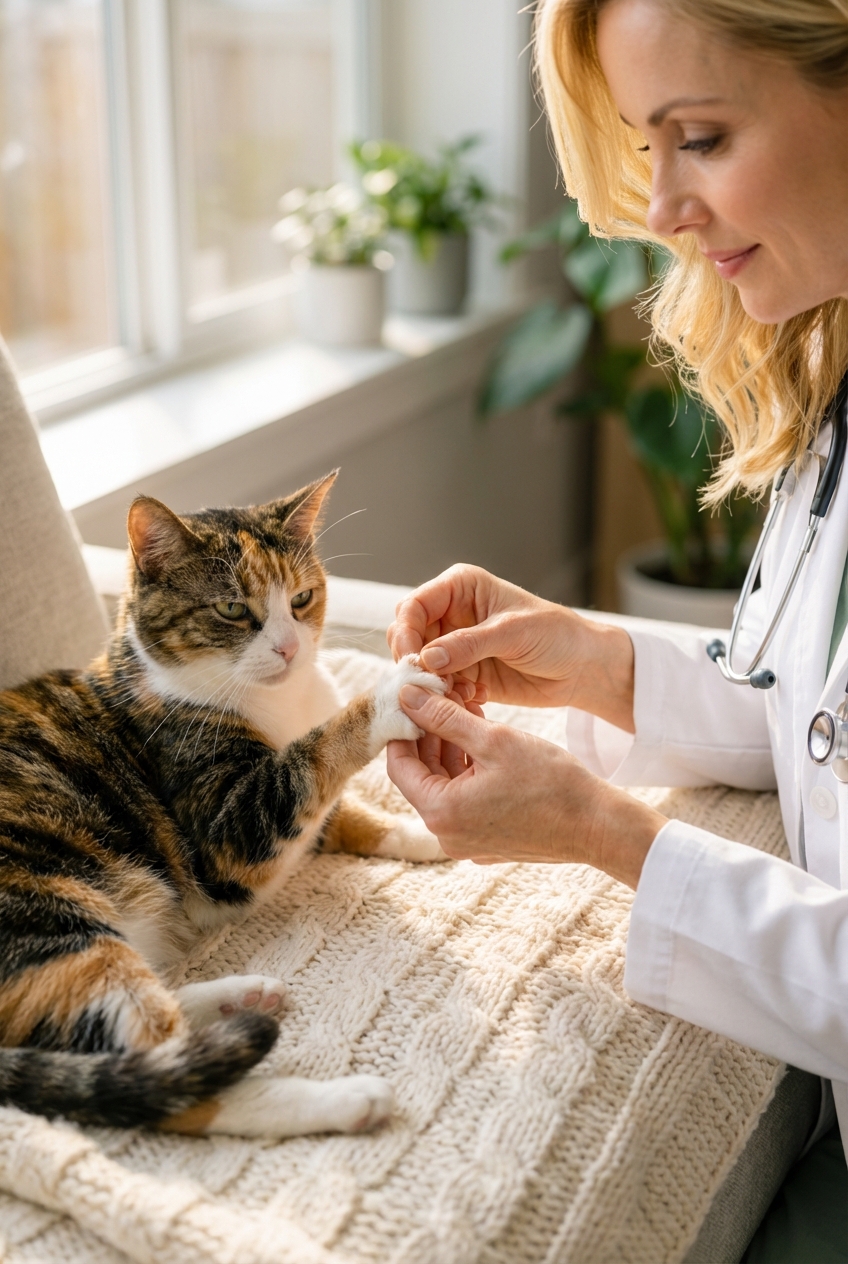
Make paws no big deal
The number one reason nail trims go poorly is that the cat is not used to paw handling. Your daily mini-routine can fix that without forcing anything.
Try this 30-second routine
- Pick a calm time, like after a meal or play.
- Touch one paw briefly, then reward immediately with a treat or a lickable puree.
- Next day, touch two paws. Another day, gently press the toe to extend one nail.
- Stop while your cat is still relaxed. You are building trust, not “finishing the job.”
If your cat is older or has arthritis, paw handling can be uncomfortable. Go slower, keep sessions shorter, and consider having trims done at the clinic if your cat seems painful.
Tools for safer trims
You do not need a fancy setup, but the right tools reduce stress and accidental quick cuts.
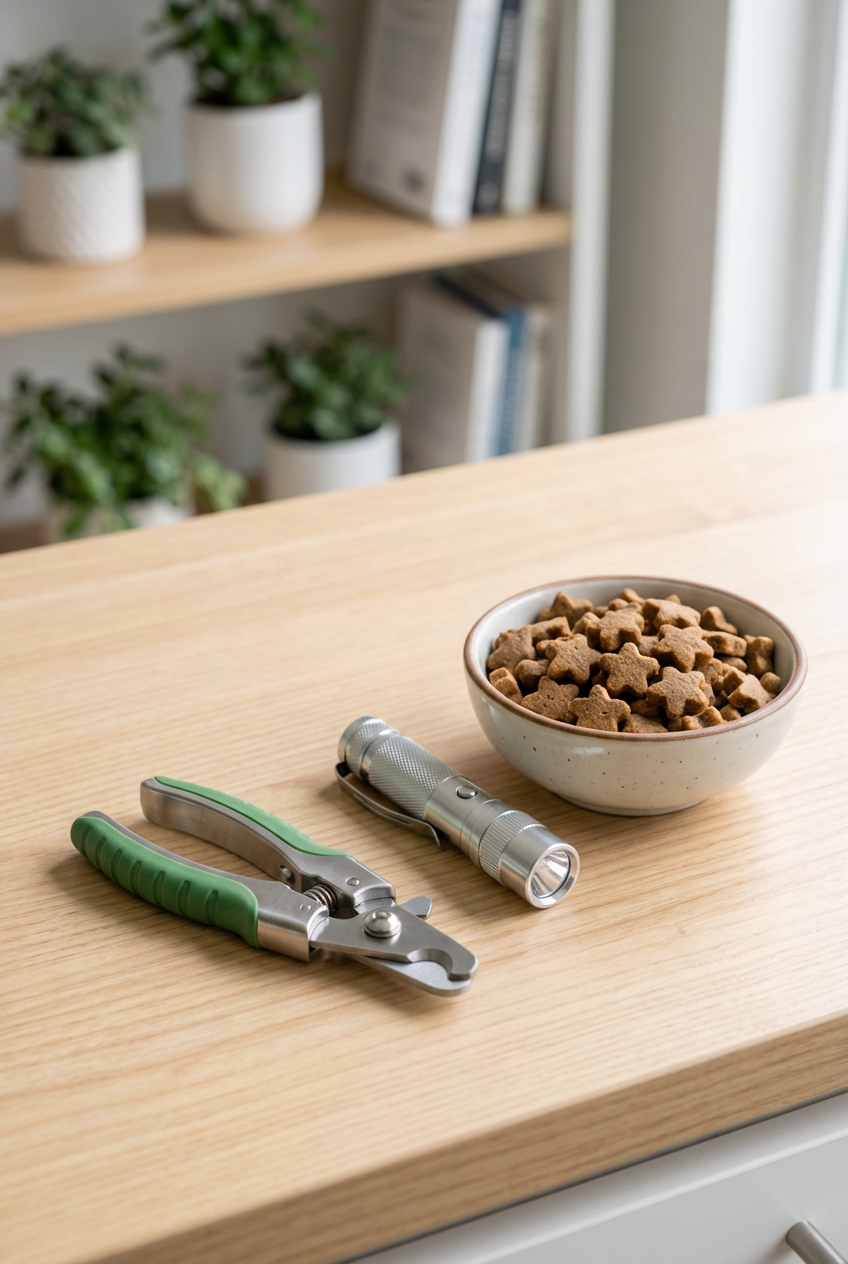
- Cat-specific nail trimmers: Scissor-style or guillotine-style, whichever you control best.
- Bright light: A lamp or small flashlight helps you see the quick, especially in darker nails.
- Styptic powder: Best for minor bleeding if the quick gets nicked.
- Cornstarch: In a pinch, it can help with minor bleeding, but it is not as effective as styptic powder.
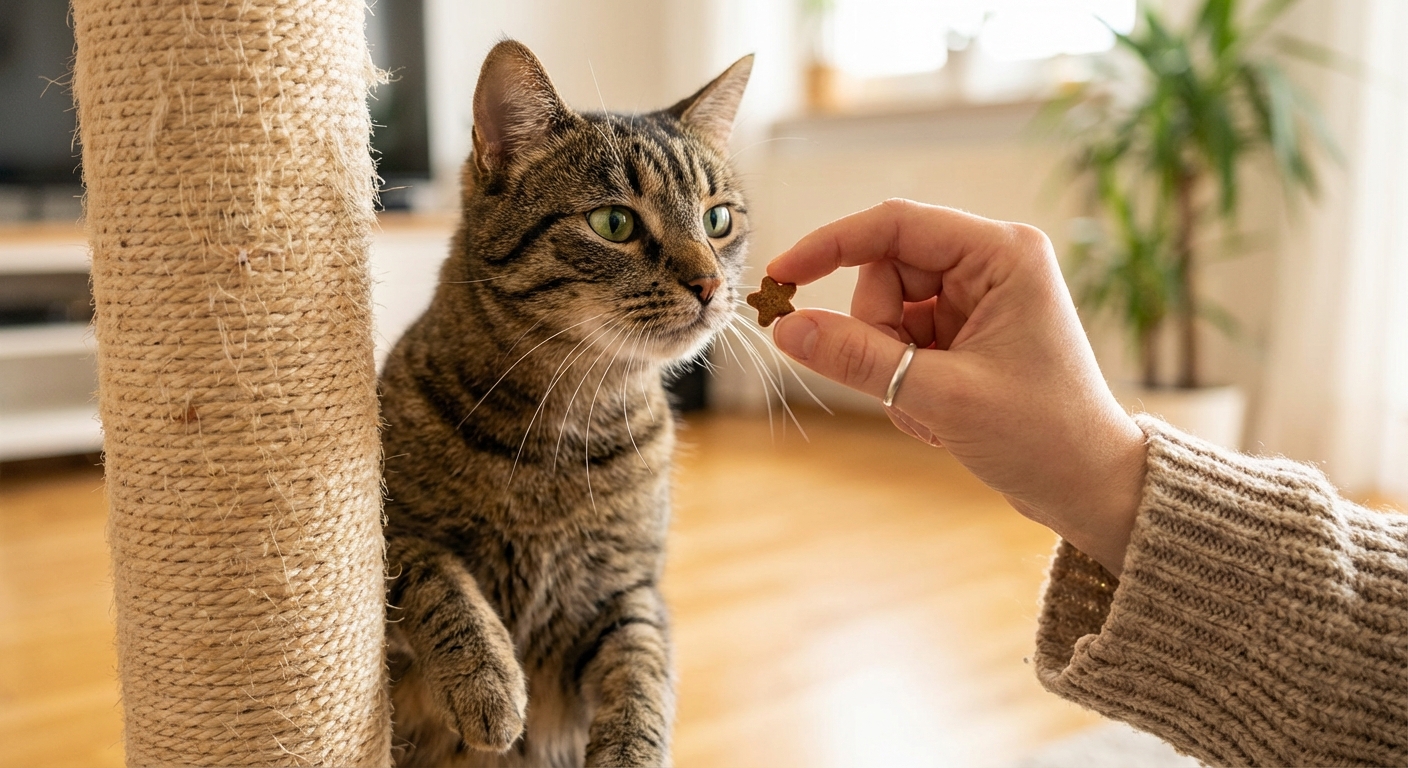
- Treats: Use high-value rewards that your cat only gets during nail care.
- Scratching surfaces: A tall sturdy post plus a horizontal scratcher helps nails shed naturally.
Safety note: Avoid human nail clippers. They can crush and split cat nails. If your cat is struggling hard, stop and reset later. Forcing a trim increases the risk of injury to you and your cat.
How to trim safely
A cat’s nail has a blood vessel and nerve inside called the quick. Cutting into it hurts and can bleed, so the goal is to trim only the sharp tip.
Step by step
- Settle your cat on a non-slip surface. Calm and cozy beats “held down.”
- Extend the nail by gently pressing the toe pad.
- Find the safe zone.
- On light nails, you will often see the pink quick. Leave a clear margin and trim just the sharp tip.
- On dark nails, trim tiny slivers at a time. Use bright light, and check the cut surface as you go. If the center starts to look darker, softer, or moist, stop and do not take more off that nail.
- Clip the tip at a slight angle, taking off just the sharp point.
- Reward after each nail, or even after each paw.
Pro tip: You do not have to do all the nails in one session. One or two nails a day is still a win, especially for cats who are learning.
If you nick the quick
It happens, even to experienced people. Stay calm.
- Apply styptic powder to the nail tip and hold gentle pressure with a cotton pad for 1 to 2 minutes.
- Keep your cat on a clean surface until the bleeding stops so it does not track around the house.
- Call your veterinarian if bleeding does not stop within a few minutes, if the nail is cracked up into the toe, or if your cat is very painful.
Daily warning signs
During your daily check, look for these issues. They are common, and addressing them early prevents pain.
- Snagging or splitting: A cracked nail can catch and tear further.
- Limping or licking a paw: Could be a torn nail, infection, or something stuck.
- Swelling, redness, odor, or discharge: These can suggest infection around the nail bed.
- Curled nail (especially dewclaws): Risk of growing into the pad.
If you see bleeding that will not stop, obvious swelling, a dangling nail, or your cat is suddenly painful, call your veterinarian. Nail issues can look small but feel big to your cat.
Use scratching to help
Scratching is normal and healthy. It helps remove the outer nail sheath and keeps muscles and joints moving. Daily nail care includes setting your cat up to scratch in the right places.
- Offer both vertical and horizontal scratchers.
- Choose sturdy posts that do not wobble. Many cats avoid flimsy ones.
- Place scratchers where your cat already likes to stretch, like near sleeping spots or main walkways.
- Refresh with catnip or silvervine if your cat enjoys it.
If your cat hates trims
You are not alone. Some cats have had a scary experience, or they are just sensitive about their feet. Start with the smallest possible step and build up.
Gentle strategies
- Keep sessions short: 30 to 60 seconds is plenty at first.
- Use treat pacing: Treat, touch paw, treat, release, treat again.
- Try a towel wrap: Some cats feel safer contained, but keep it loose and calm.
- Consider a helper: One person feeds treats while the other clips.
- Ask your vet about fear-free handling or medication options for truly panicked cats.
Having nail trims done in-clinic is also a totally valid option. Sometimes keeping it professional helps your bond at home stay positive.
Quick daily checklist
- Do a 10-second paw and nail check.
- Look closely at dewclaws and any extra toes.
- Check back feet too.
- Offer a scratching session or treat near scratchers.
- Practice one gentle paw touch and reward.
The bottom line: calm, consistent mini-habits make nail trims easier, safer, and less stressful for both of you.
Veterinary notes
- This article is general education and not a substitute for veterinary care.
- If your cat has pain, limping, swelling, repeated nail breaks, or a nail growing into the pad, please contact your veterinarian promptly.
- Declawing is not a nail trim. It is an amputation procedure with serious welfare concerns. If scratching is an issue, talk with your vet about scratcher setup, nail trims, and behavior support.
Helpful references: American Association of Feline Practitioners (AAFP) and Fear Free Pets offer cat-friendly handling and care guidance.