From “coffee ground” ear debris to nonstop scratching, learn how vets diagnose ear mites and the most effective treatments, safe ear cleaning steps, and ...
Article
•
Designer Mixes
Cat Ear Mite Home Remedies

Shari Shidate
Designer Mixes contributor
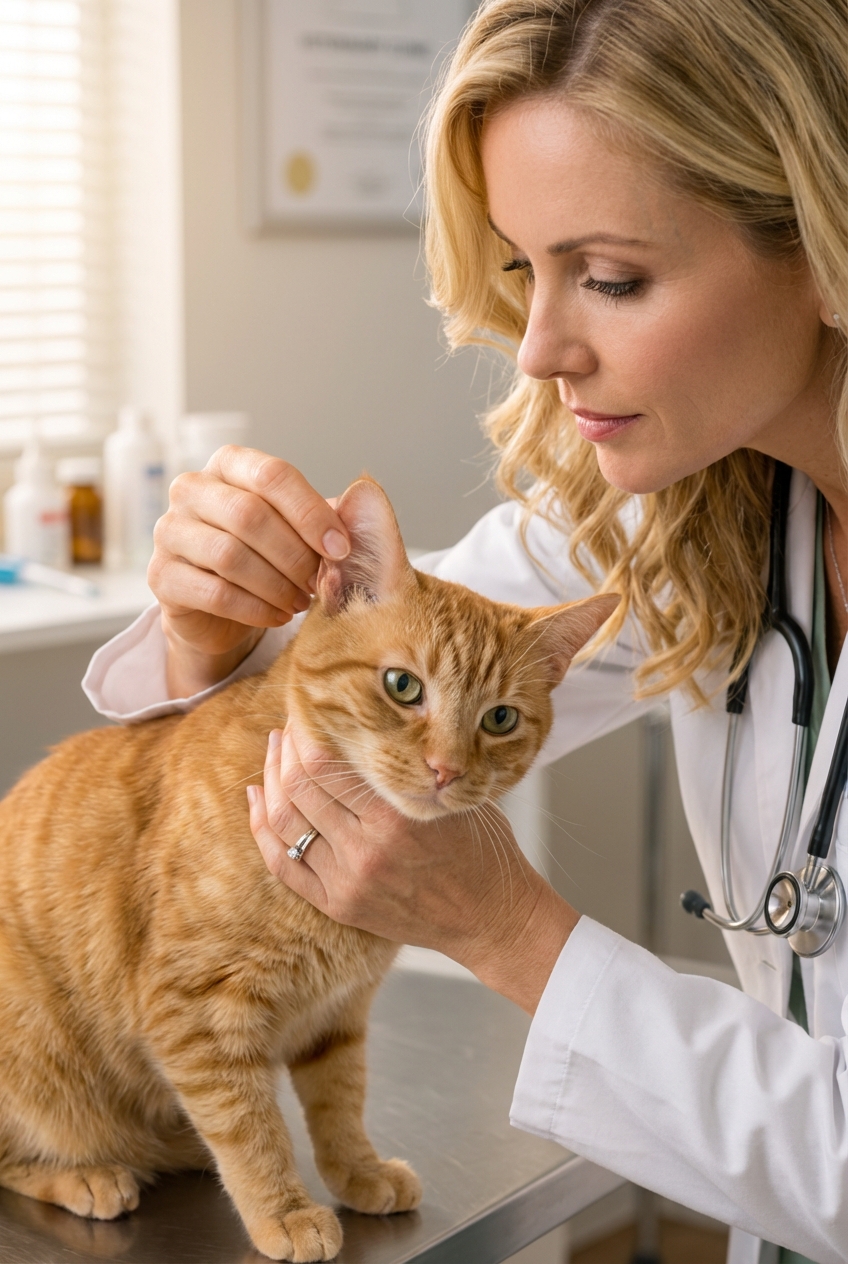
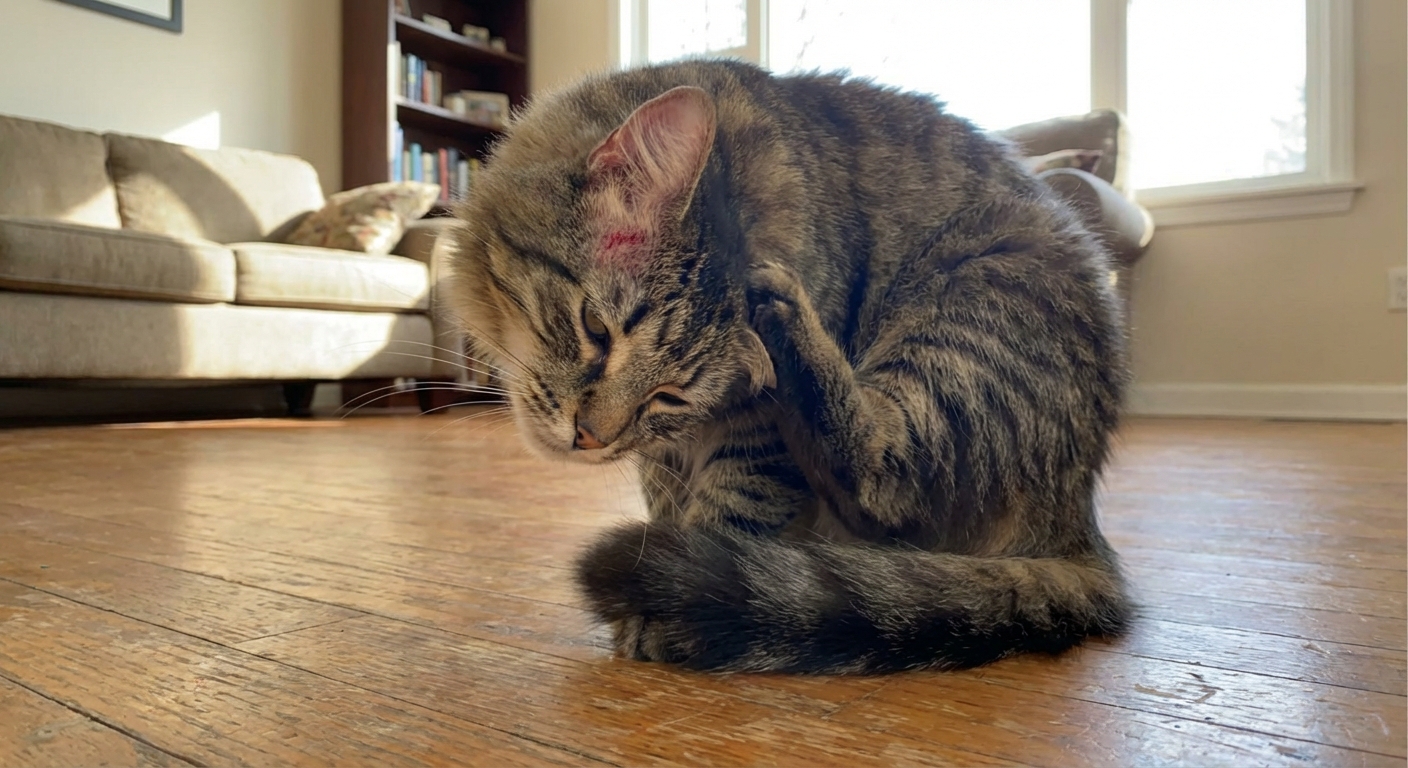
If your cat is shaking their head, scratching like crazy, or you are seeing dark, crumbly ear debris that looks a bit like coffee grounds, ear mites are a top possibility. I am Shari Shidate, a veterinary assistant in Frisco, Texas, and I want to help you tackle this the safe, evidence-based way. The truth is: ear mites can sometimes be handled with at-home care after confirmation (ideally by your veterinarian) and with vet-recommended medication. Misdiagnosis is common, and treating the wrong ear problem at home can delay relief and make pain worse.
This guide walks you through what to do at home, what to avoid, and when to call your veterinarian so your cat gets relief quickly and safely.
What ear mites look like
The most common ear mite in cats is Otodectes cynotis. These tiny parasites live in the ear canal and feed on debris and skin oils, causing intense itchiness and inflammation.
Common signs
- Constant scratching at ears or rubbing face on furniture
- Frequent head shaking
- Red, irritated ear canals
- Dark brown or black waxy debris, often described as “coffee grounds”
- Crusts or scabs around the ear from self-trauma
- Ear odor (often worse if a secondary infection develops)
Important: These signs can also happen with yeast infections, bacterial infections, allergies, ear polyps, or foreign material in the ear. Indoor cats can still get ear mites too, often from a new pet, a shelter or rescue situation, or contact with other animals.
Before you treat at home
1) Confirm it is ear mites
The gold standard is a veterinary ear exam with an otoscope and microscopic evaluation of ear debris. Many clinics can confirm mites quickly. One quick note from what I see in-clinic: mites can occasionally be missed on a single sample, so your veterinarian may treat based on classic signs even if mites are not seen right away.
This matters because cats with painful infections may fight ear handling, and if the eardrum is damaged, putting liquid in the ear can be risky.
2) Check for red flags
If you notice any of the following, skip home treatment and contact your vet urgently. Head tilt or balance issues can be an emergency.
- Head tilt, stumbling, loss of balance
- Severe pain when the ear is touched
- Swelling of the ear flap (possible aural hematoma)
- Pus, bleeding, or a strong foul smell
- Symptoms in a kitten under 8 weeks
- Your cat is lethargic, not eating, or hiding more than usual
When those signs show up, we worry about deeper infection, complications, or a problem that needs prescription medication.
What “home remedy” should mean
When people search “cat ear mite home remedy,” they often mean one of two things:
- Cleaning and soothing the ear to remove debris and reduce irritation
- Trying to kill mites with household oils or liquids
Here is the honest, evidence-based take: the safest and most reliable mite-killing treatments are veterinarian-recommended parasiticides (often prescription, sometimes over-the-counter depending on region) such as topical spot-ons. In practice, vets often reach for products with proven mite coverage, commonly in the isoxazoline family or other vet-approved topical options. Many “natural killers” are not well-studied in cats, and cats are especially sensitive to certain compounds.
The best at-home approach: gentle ear cleaning plus getting on a proven mite treatment (and treating all pets in the household when recommended by your vet).
Extra safety note: Cats in pain can bite or scratch. If your cat is stressed, have a second person help, use a towel wrap, and stop if anyone is at risk of getting hurt.
How to clean ears safely
Cleaning helps remove the debris that mites live in and can improve comfort. It also helps medication work better.
What you need
- Cat-specific ear cleanser (preferred) from your veterinarian or a reputable pet brand
- Cotton balls or soft gauze squares
- Towel (for a “kitty burrito” wrap)
- Treats for positive reinforcement
Do not use: Q-tips in the ear canal, hydrogen peroxide, alcohol, vinegar mixes, or essential oils. These can irritate tissue, push debris deeper, and increase risk of injury.
Do not put any liquid in the ear if you suspect a ruptured eardrum or your cat has severe pain, head tilt, or balance issues. Call your veterinarian.
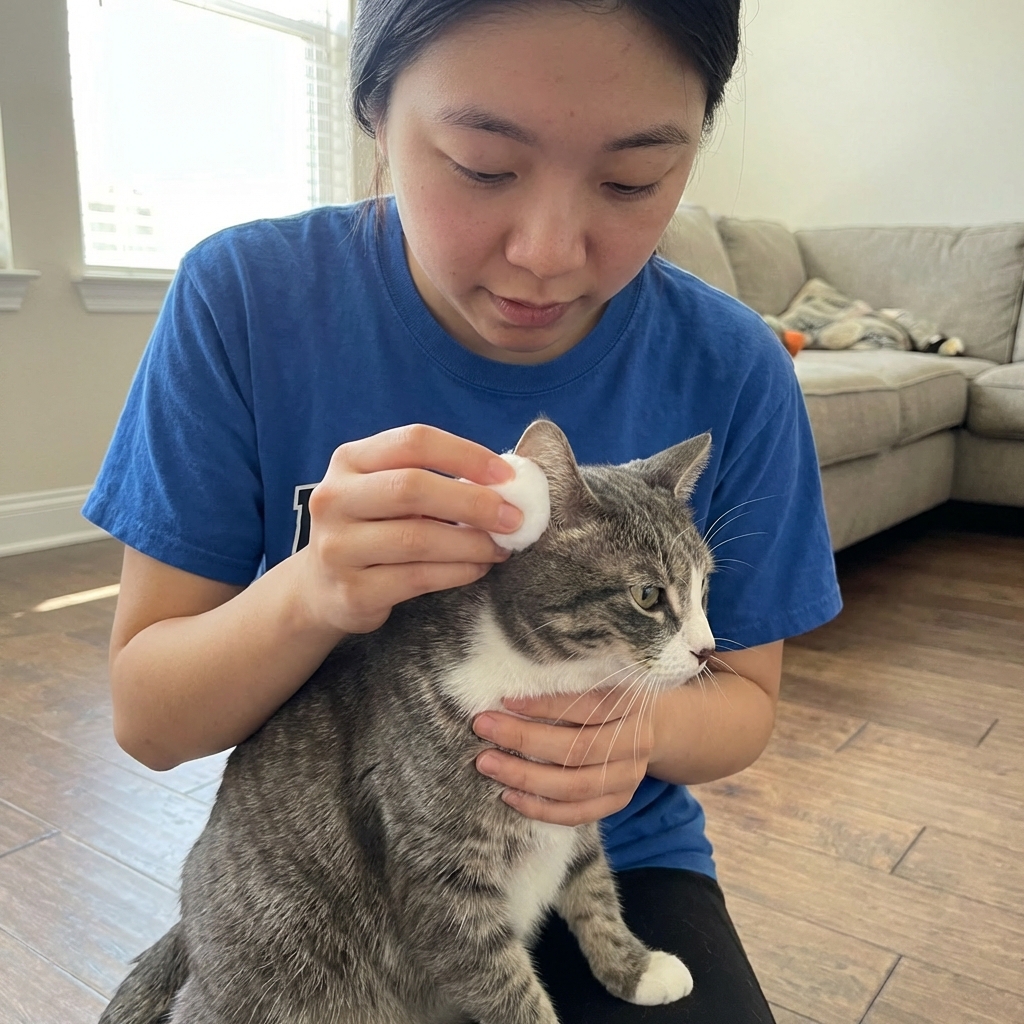
Step-by-step
Set up a calm space. Choose a quiet room. Place your cat on a non-slip surface or your lap.
Wrap if needed. Gently wrap your cat in a towel with just the head out. This keeps everyone safe.
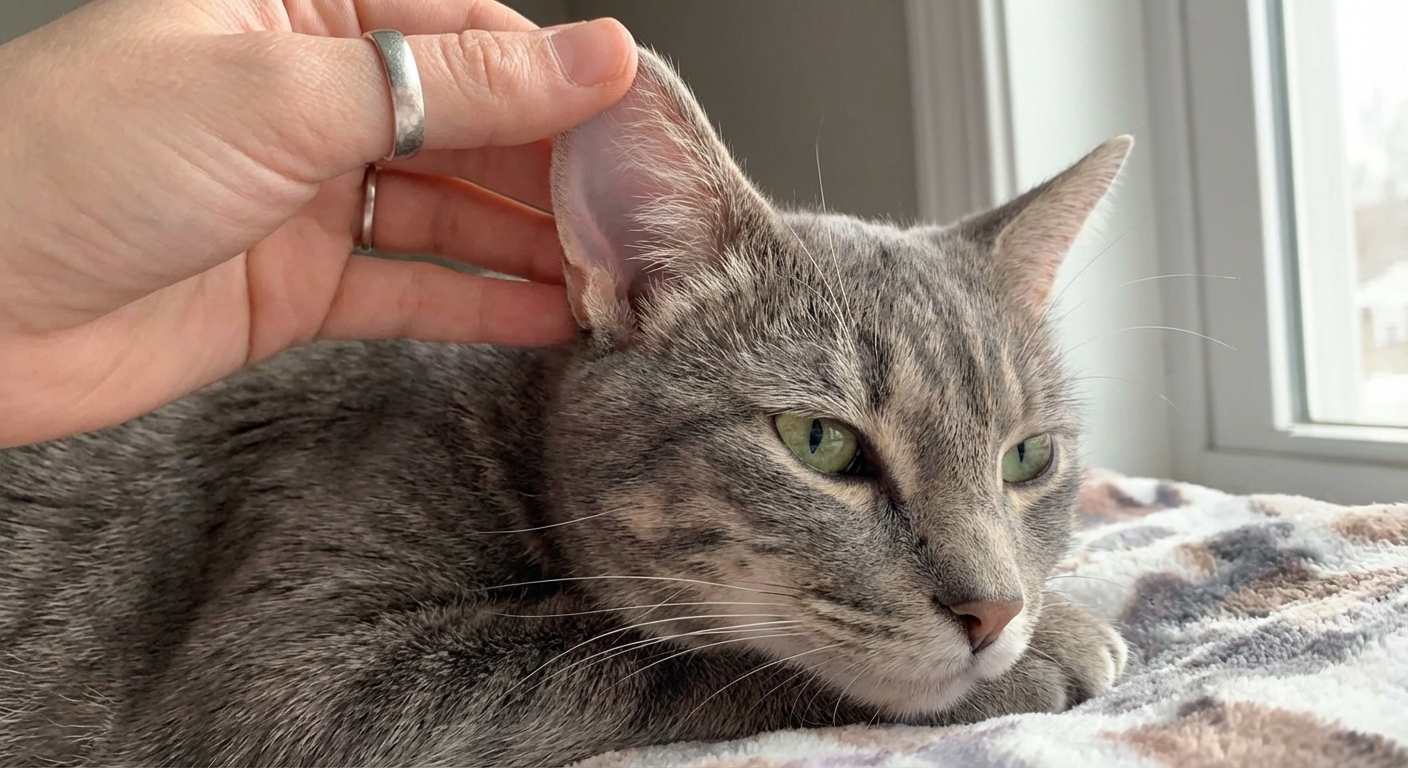
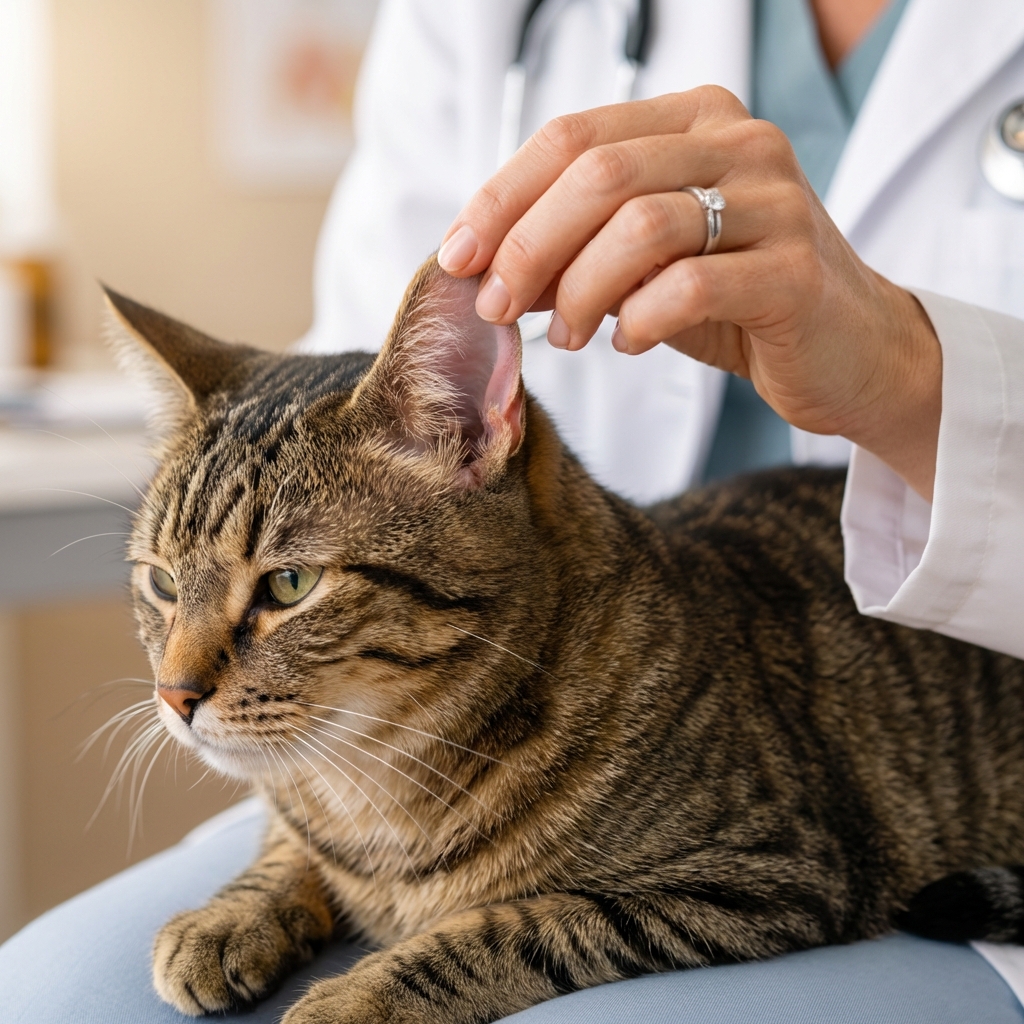
Lift the ear flap. Look for redness, swelling, or thick discharge. If your cat cries out, seems dizzy, or tries to bite, stop and call your vet.
Add cleanser. Fill the ear canal with the ear cleanser per label directions.
Massage the base of the ear. Massage for 20 to 30 seconds. You should hear a soft “squish” sound as debris loosens.
Let your cat shake. Step back and allow head shaking. This brings debris outward.
Wipe the outer canal. Use a cotton ball or gauze to wipe away debris you can see. Only clean what your finger can reach comfortably.
Repeat on the other ear. Even if one ear looks worse, mites often affect both.
How often?
Your veterinarian may recommend cleaning daily at first, or less often depending on how inflamed the ear is and what medication you are using. Some cats get more irritated with frequent cleaning. If you notice increasing redness, pain, bleeding, or swelling, stop cleaning and call your vet for guidance.
Home remedies to avoid
I know the internet is full of DIY ear mite hacks. Some can cause real harm in cats.
- Essential oils (tea tree, eucalyptus, peppermint, etc.). Cats are highly sensitive. Toxicity can occur, and oils can severely irritate inflamed ear tissue.
- Vinegar or alcohol mixes. These can sting badly in inflamed ears and worsen irritation.
- Hydrogen peroxide. Can damage delicate ear canal tissue and delay healing.
- Garlic-infused oils. Garlic is not a safe “in-ear” treatment and ingestion risks exist if your cat grooms it.
- Q-tips in the ear canal. Risk of pushing debris deeper or injuring the ear canal and eardrum.
If you want a natural-leaning approach, focus on safe cleaning and talk to your veterinarian about a proven parasiticide that fits your cat’s age, weight, and health status.
Proven treatments to ask about
Ear mites are contagious, and a successful plan usually includes treating the mites systemically or topically, not just cleaning. They spread easily between cats and dogs, and some pets can carry mites with mild or no signs.
What vets commonly use
- Topical spot-on parasiticides (applied to the skin at the back of the neck). These often treat ear mites and may also cover fleas and some intestinal parasites.
- Prescription ear drops designed to kill mites and soothe inflammation.
- Treatment for secondary infections if bacteria or yeast are present, which is very common after days of scratching.
Key tip: Ask your veterinarian if all pets in the household should be treated. Dogs and cats can pass ear mites back and forth.
Special situations: Medication choices can differ for very young kittens, pregnant or nursing cats, and cats with certain neurologic problems. This is another reason confirmation and product selection matter.
How long treatment takes
With the right medication, many cats feel better within a few days, but full resolution often takes 2 to 4 weeks depending on the product, the amount of inflammation and debris present, and whether secondary infection is involved. Some products require repeat dosing or monthly application. Follow your veterinarian’s schedule and the label directions exactly.
What to monitor
- Less head shaking and scratching
- Decreasing dark debris
- Ears becoming less red and irritated
- Improved mood and sleep
If symptoms are not improving within 5 to 7 days of treatment, call your veterinarian. That is often a sign of secondary infection, incorrect diagnosis, reinfestation from untreated pets, or inconsistent product use.
Prevent reinfestation
Ear mites do not live long off the host (often just a few days), and the biggest issue is untreated animals in the household or new exposure.
- Treat all pets as recommended by your veterinarian
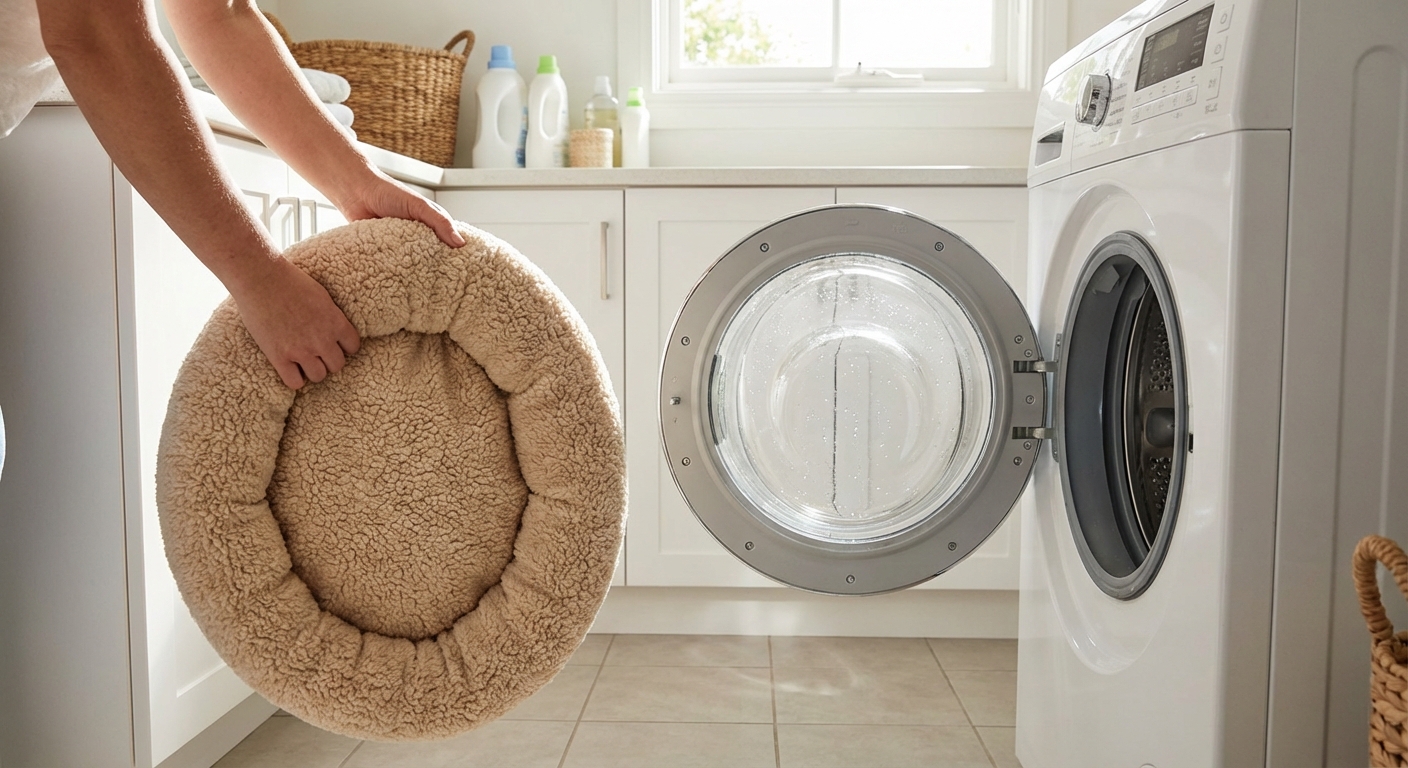
- Wash bedding in hot water weekly during treatment
- Vacuum carpets and furniture where pets nap
- Trim nails to reduce self-trauma while ears heal
- Use an e-collar if your cat is causing sores from scratching
Quick checklist
If your cat seems itchy: get ear mites confirmed when possible, clean gently with a cat-safe cleanser, use a proven veterinarian-recommended mite treatment, and treat all pets when advised.
- Do: gentle cleaning with a cat ear cleanser
- Do: seek vet confirmation when possible
- Do: use proven parasiticides as directed
- Do not: use essential oils, alcohol, vinegar mixes, peroxide, or Q-tips in the canal
When to call the vet
Please call your veterinarian if:
- Your cat is in pain or cannot tolerate ear handling
- There is a bad odor, pus, or worsening redness
- You see head tilt or balance problems
- Symptoms return soon after treatment
- Your cat has recurring ear issues (allergies are a common hidden cause)
Ear mites are miserable, but they are also very treatable. With gentle cleaning, the right medication, and a little patience, most cats get their comfort back quickly.