A calm, pet-friendly guide to cleaning your dog’s ears at home: safety checks, supplies to use (and avoid), step-by-step technique, frequency tips, and vet...
Article
•
Designer Mixes
Best Way to Clean Dog Ears

Shari Shidate
Designer Mixes contributor
As a veterinary assistant here in Frisco, Texas, I can tell you this is one of the most common (and most fixable) issues I see: irritated ears that can start as simple wax and moisture buildup and then spiral into a painful ear flare-up. The good news is that with the right supplies, the right technique, and a little consistency, many pet parents can support healthy ears at home and catch problems early.
This guide covers veterinarian-approved ear cleaning: what to use, what to avoid, how often to clean, and when it is time to stop and call your vet.
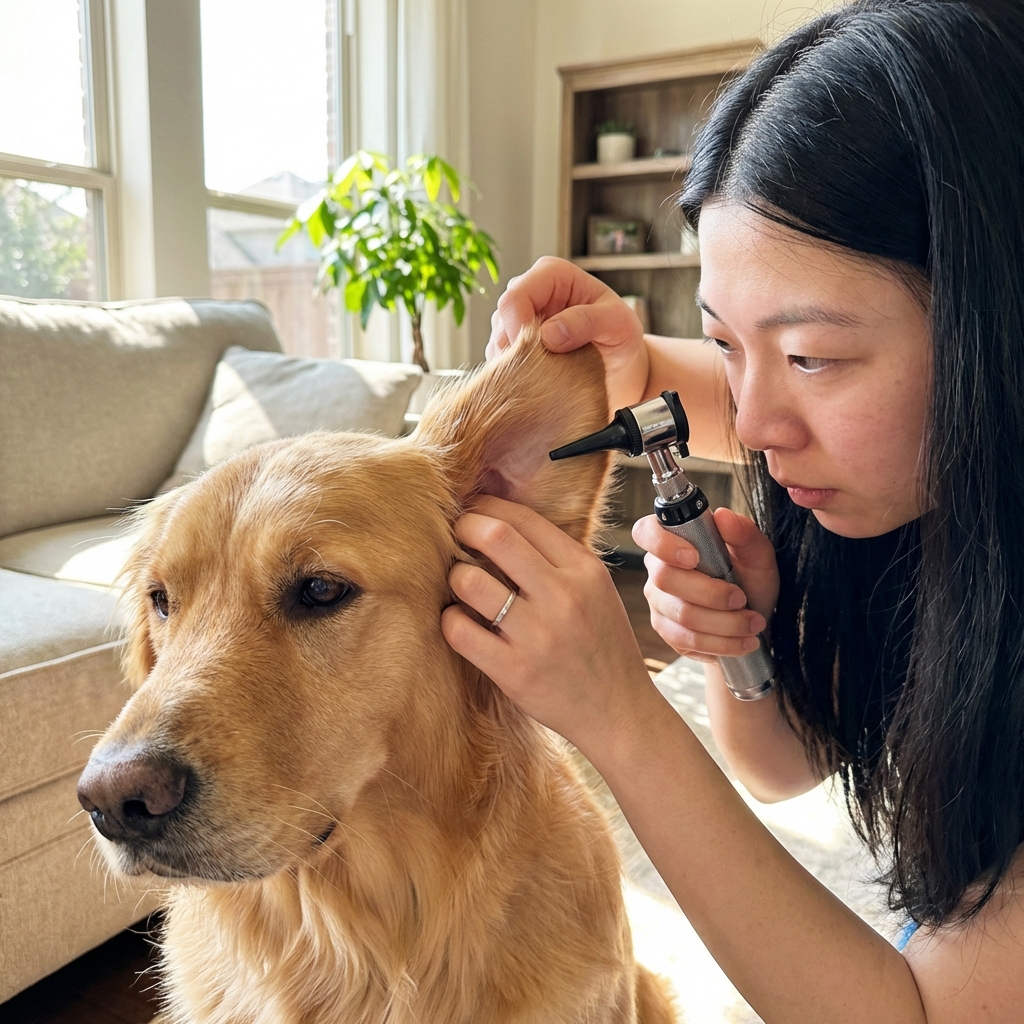
Quick safety check first
Before you clean, do a quick look and sniff test. Healthy ears usually look pink to light pink (color can vary with breed and pigmentation), smell neutral, and have only a light amount of wax.
Do not clean at home if you notice
- Severe pain, yelping, or your dog will not let you touch the ear
- Head tilt, loss of balance, rapid eye movements, or stumbling (these can suggest middle or inner ear involvement and need urgent vet attention)
- Heavy discharge that is pus-like, bloody, or looks like coffee grounds (this can be mites, old blood, or severe debris and needs a vet exam)
- Swelling of the ear flap or ear canal
- Strong odor plus redness and moisture, especially if it comes back quickly
- A history of a ruptured eardrum or chronic ear disease unless your vet has cleared home cleaning
Those are signs your dog may need an ear cytology (a quick microscope test of the debris) and prescription treatment. Cleaning alone will not fix an active bacterial or yeast infection, and cleaning too aggressively can make inflamed ears more painful.
Tip: If signs are mild but persistent, it is still worth calling. If there is severe pain or any neurologic signs (tilt, wobbliness, rapid eye movements), treat it as same-day or urgent.
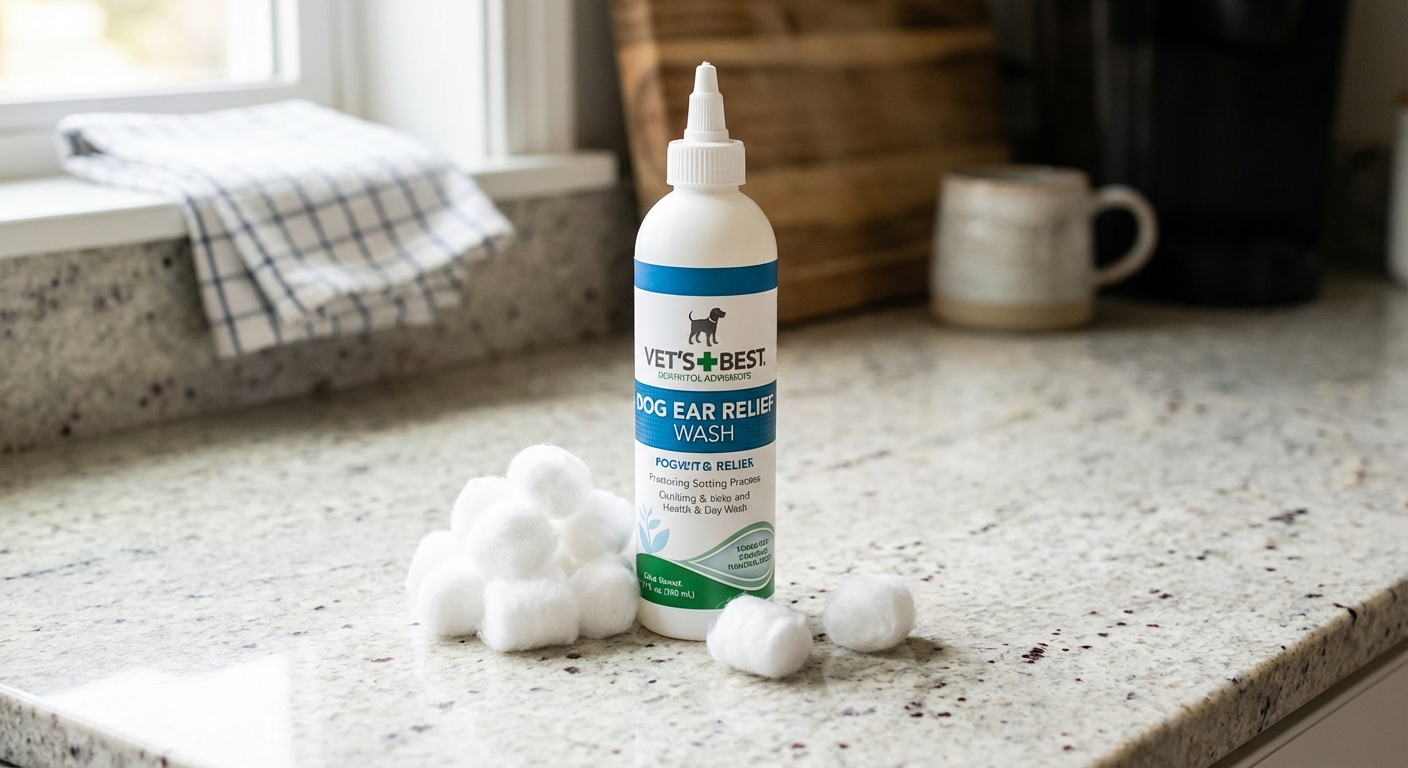
What vets recommend using
Use a veterinarian-recommended ear cleaner
The best ear cleaners are formulated to break up wax, dry excess moisture, and support a healthy ear canal environment. Some are meant for routine maintenance, and others are meant to support an infection treatment plan.
- Routine maintenance cleaners: helpful for dogs that swim, have floppy ears, or build up wax
- Drying cleaners: often used after baths or swimming, especially for dogs prone to yeast
- Medicated or treatment-support cleaners: may include drying or acidifying ingredients and can support a veterinarian’s plan, but they do not replace prescription medication when an infection is present
If your dog has frequent ear issues, ask your veterinarian which formula fits your dog’s pattern. Ear infections are not one-size-fits-all.
Two quick product notes: Use the cleaner exactly as the label directs, and keep it at room temperature (cold solution can be uncomfortable and make some dogs resist).
Skip these common DIY options
- Hydrogen peroxide: can be irritating and damaging to delicate tissue
- Rubbing alcohol: stings inflamed skin and can worsen irritation
- Vinegar mixtures: sometimes suggested online, but not appropriate for many dogs and can burn if the skin is inflamed
- Essential oils: high risk for irritation and toxicity if used incorrectly
- Q-tips in the canal: you can push debris deeper and risk injury
When you are unsure, choose a veterinary ear cleaner and keep the cleaning gentle. Most ear problems get worse from harsh products and overly deep cleaning.
Supplies you will want
- Veterinary ear cleaning solution
- Cotton balls or soft gauze squares
- Towel (ears love to fling cleaner during the shake)
- Treats for positive reinforcement
- Optional: disposable gloves if there is a lot of debris or odor
Step-by-step ear cleaning
If you learn only one thing, let it be this: fill, massage, let them shake, then wipe what you can see. The shake is part of the process. It helps bring loosened debris out of the canal.
1) Set up a calm space
Choose an easy-to-clean spot like a bathroom or laundry room, put a towel down, and have treats ready. If your dog is nervous, do one ear at a time and take breaks.
2) Look at the ear first
Lift the ear flap and check for redness, swelling, discharge, or a strong smell. If anything looks severe, stop and call your vet.
3) Add ear cleaner correctly
Hold the ear flap up to straighten the canal. Place the nozzle just at the opening of the canal. Do not insert the tip deep. Squeeze until you hear a gentle squishing sound inside, meaning there is enough fluid to coat the canal.
4) Massage the base for 20 to 30 seconds
Massage where the ear meets the head. You should hear a soft squish. This is what breaks up wax and debris safely.
5) Step back and let your dog shake
Shaking is normal. That is why we use a towel.
6) Wipe only what you can see
Use cotton balls or gauze to wipe the inside of the ear flap and the visible part of the canal opening. Repeat with fresh cotton until it comes away mostly clean.
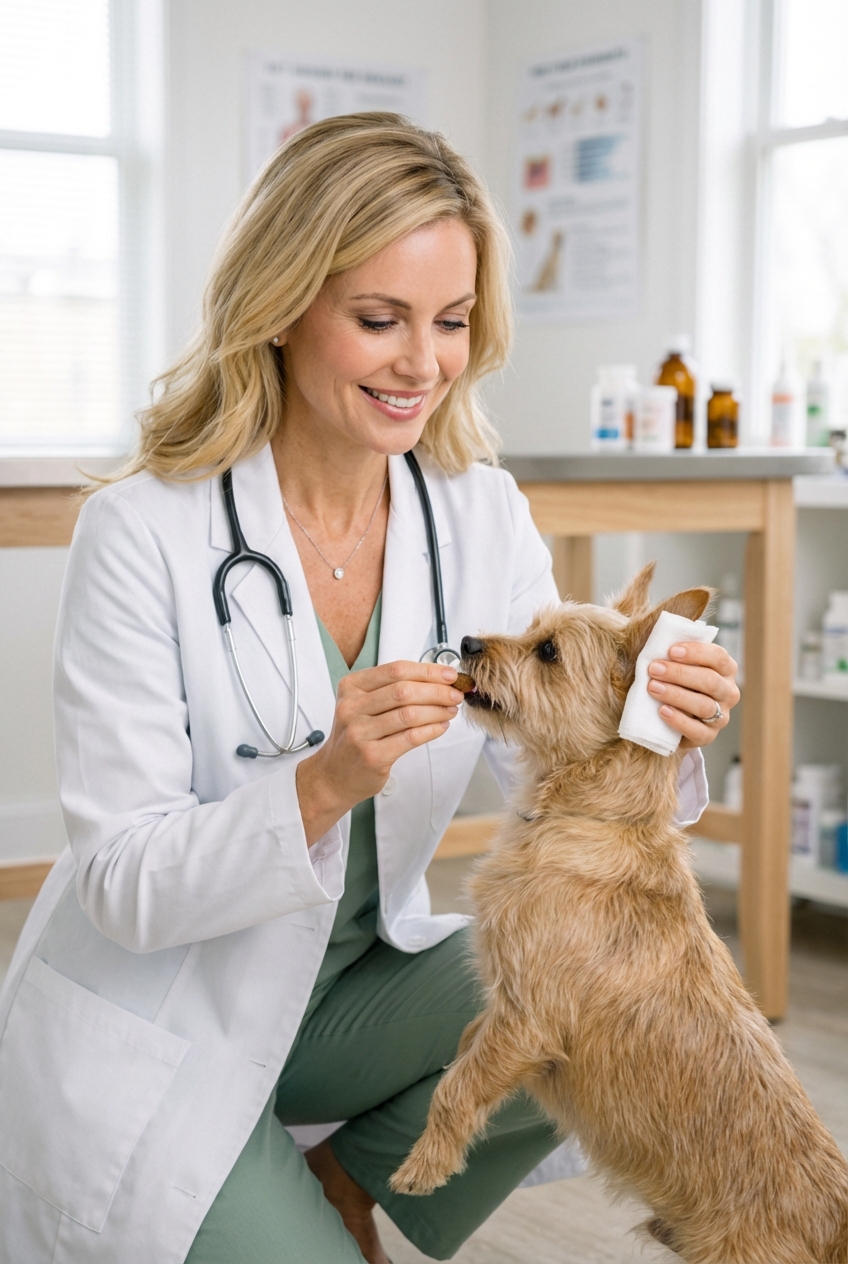
7) Reward and end on a good note
Give a treat, praise, and a break. Consistency is easier when your dog learns that ear cleaning always ends with something positive.

How often to clean
The honest, evidence-based answer is: it depends on your dog’s ears and lifestyle. Over-cleaning can irritate the ear canal, but under-cleaning can let wax and moisture build up. Use these as starting points, then adjust with your veterinarian.
General frequency starting points
- Most dogs: every 2 to 4 weeks, or as needed when wax builds up
- Swimmers or frequent bath dogs: after swimming or baths, using a vet-approved drying cleaner if recommended
- Dogs with floppy ears or heavy ear hair: weekly to every other week may help, depending on wax and humidity
- Dogs with chronic ear infections: follow your veterinarian’s plan, which may include routine cleanings and rechecks
If you are not sure, ask your vet to show you what “normal wax” looks like for your dog at your next visit. It is one of my favorite things to teach in the exam room because it prevents so many future infections.
Cleaning vs treating infection
Cleaning is supportive care. It helps remove debris and improves airflow. But if your dog has an infection (most are otitis externa, meaning the outer ear canal), many cases still need medication. If an infection spreads deeper to the middle or inner ear, it can become more serious and may cause balance issues or other neurologic signs.
Common signs of infection
- Frequent head shaking or ear scratching
- Strong odor
- Redness and warmth
- Moist debris, yellow discharge, or dark wax buildup
- Sensitivity or pain when the ear is touched
Veterinarians often diagnose ear infections by doing an ear cytology, which identifies yeast, bacteria, and inflammation. This helps your vet choose the right medication instead of guessing. Some ear cleaners can support treatment, but they are not a substitute for prescription medication when an infection is present.
Special situations
Puppies
Keep it gentle and minimal. Puppies usually need less cleaning. The goal is building comfort, not scrubbing.
Dogs with allergies
Allergies are one of the biggest drivers of chronic ear issues. If your dog’s ears flare up seasonally or alongside itchy skin and paw licking, talk to your vet about an allergy plan. Cleaning helps, but controlling the underlying allergy is the long-term win.
Ear hair and plucking
This one comes up a lot. In general, do not routinely pluck ear hair unless your veterinarian recommends it for your dog. Plucking can irritate the ear canal and, in some dogs, can make inflammation worse. If grooming is part of your dog’s ear plan, ask your vet (or a trusted groomer working with your vet) what is appropriate.
Dogs that hate ear cleaning
- Use high-value treats and do short sessions
- Practice touching the ears without cleaning, then reward
- Try cleaning after a walk when your dog is calmer
- If your dog becomes fearful or reactive, ask your vet about fear-free handling tips or calming aids
Common mistakes
- Cleaning too deep: wipe what you can see, never dig into the canal
- Using harsh products: alcohol and peroxide can worsen inflammation
- Not massaging: the massage is what loosens debris effectively
- Skipping the shake: letting your dog shake helps remove loosened wax
- Waiting too long: mild irritation can become a painful infection quickly, especially in humid weather
- Adding more moisture: water or saline is not ideal for routine ear cleaning, since trapped moisture can worsen flare-ups in dogs prone to otitis
FAQs
Should I clean right before a vet visit?
If you are coming in because you suspect an infection, it is often better not to clean right beforehand so your vet can see the discharge and collect a good sample for cytology. If your dog is very uncomfortable, call your clinic and ask what they prefer.
Can I just use water or saline?
Usually not. Extra moisture in the ear canal can feed yeast and bacteria in sensitive dogs. If you are out of ear cleaner and your dog seems painful, the safest move is to pause and call your vet.
When to see your vet
Please schedule a vet visit if:
- Your dog’s symptoms last more than 24 to 48 hours
- There is pain, swelling, or bleeding
- The odor is strong or returns quickly after cleaning
- Your dog has repeated ear infections (more than 2 to 3 per year)
- You suspect a foreign object like a foxtail
If you see severe pain or any neurologic signs (head tilt, stumbling, rapid eye movements), seek same-day or urgent care.
Ear disease can progress from outer ear infection to middle ear involvement. The earlier you treat it, the easier and more comfortable it is for your dog.
Bottom line
The veterinarian-approved best way to clean your dog’s ears is simple and gentle: use a proper canine ear cleaner, fill the canal, massage the base, let your dog shake, and wipe only what you can see. If you notice pain, strong odor, heavy discharge, neurologic signs, or recurring issues, skip the home remedies and get your vet involved. Clean ears are not about perfection. They are about comfort, prevention, and catching problems early.