A vet-assistant guide to cleaning your dog’s ears the safe way—what to use, what to avoid, step-by-step technique, how often to clean, and when to call y...
Article
•
Designer Mixes
Best Way to Clean a Dog’s Ears

Shari Shidate
Designer Mixes contributor
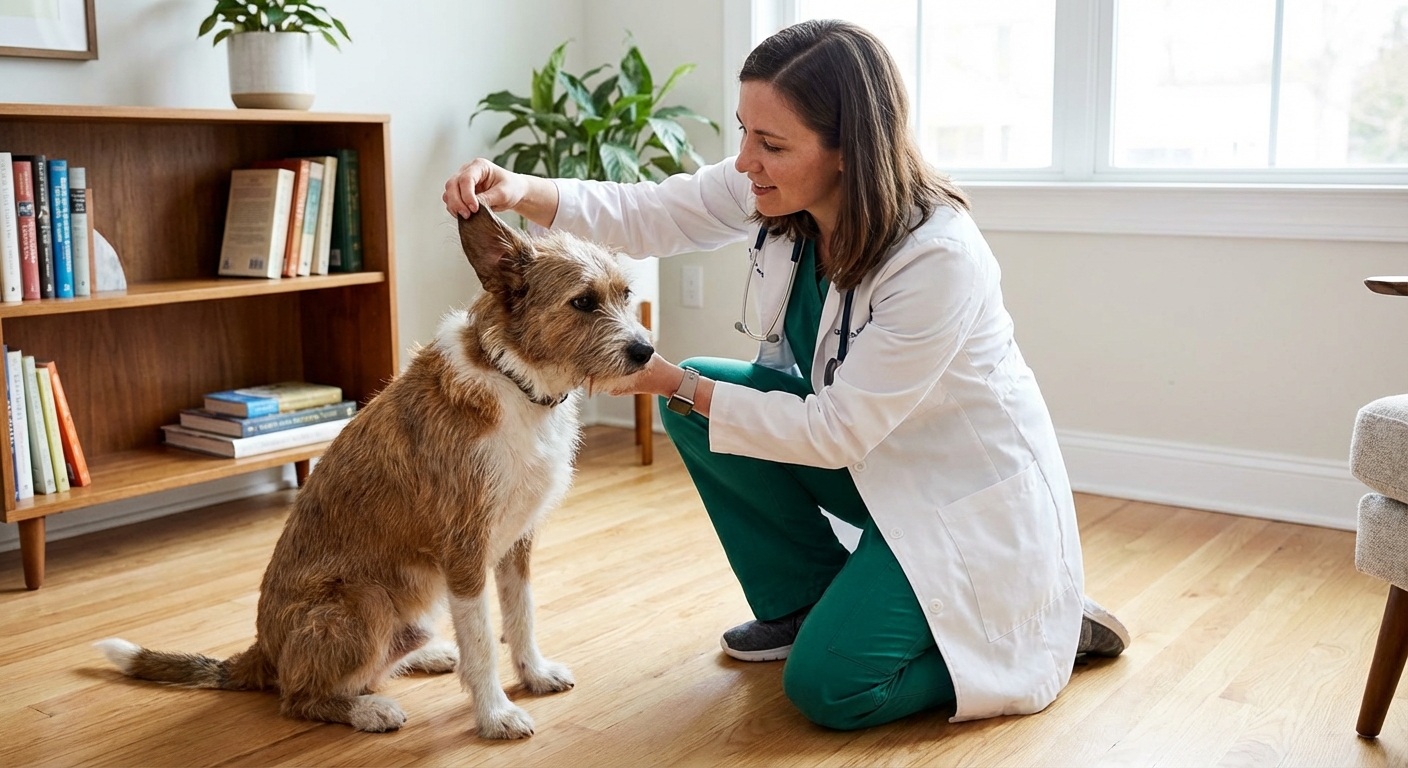
Ear problems are among the most common issues I see in vet clinics, and the good news is that gentle, consistent ear care can prevent a lot of itching, odor, and infections. The best way to clean your dog’s ears is simple: use the right solution, use enough of it, and let your dog shake. If you have ever worried you might hurt your pup, you are not alone. I will walk you through a quick, safe routine you can do at home.
Before you start: What normal looks like
A healthy ear usually looks pale pink inside, with no strong smell. Some dogs have a small amount of light brown wax even when everything is normal, especially floppy-eared dogs, swimmers, and active pups.
Skip at-home cleaning and call your vet if you notice:
- Strong odor, especially yeasty or sour smell
- Redness, swelling, heat, or bleeding
- Thick discharge (yellow, green, gray, or pus-like)
- Head tilt, loss of balance, or pain when you touch the ear
- Frequent head shaking or ear scratching that seems intense
- A history of chronic ear infections or a ruptured eardrum
These signs can mean infection, ear mites, a foreign body, or a ruptured tympanic membrane. Cleaning the wrong way can push debris deeper or make pain worse, so it is worth getting checked.
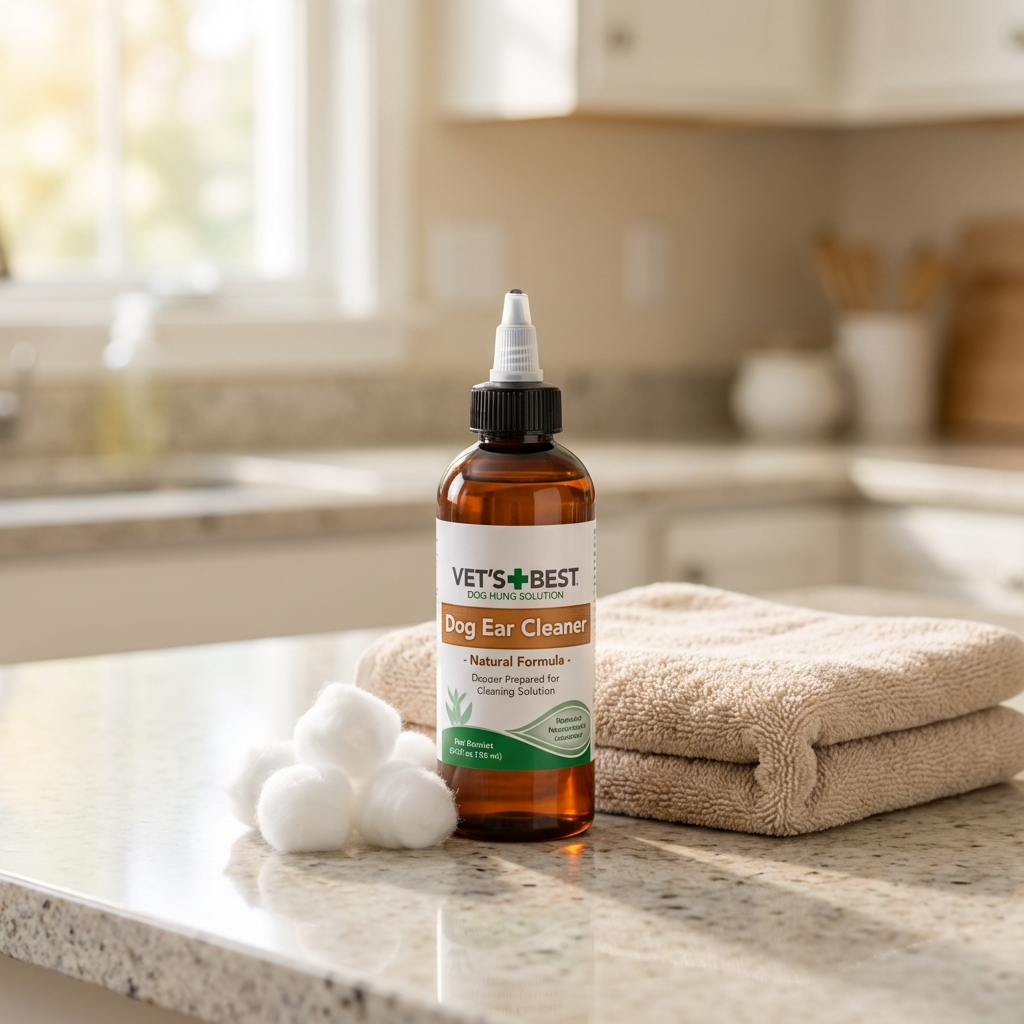
What you need
- Veterinarian-approved ear cleaner for dogs (not hydrogen peroxide, not alcohol)
- Cotton balls or gauze squares
- Towel for the shake
- Treats to make this a positive routine
Avoid cotton swabs inside the ear canal. They can compact wax and debris, and they can injure the canal.
Also skip DIY mixes and essential oils. Even “natural” ingredients can sting or cause irritation, especially if the ear is already inflamed. If your vet recommends an acidifying or drying product (which may include acetic acid for some dogs), use the exact product and directions they give you.
Step-by-step: The safest method
1) Pick a calm spot
Sit on the floor or place your dog on a stable surface. For wiggly pups, it helps to have a second person offer treats and gentle reassurance.
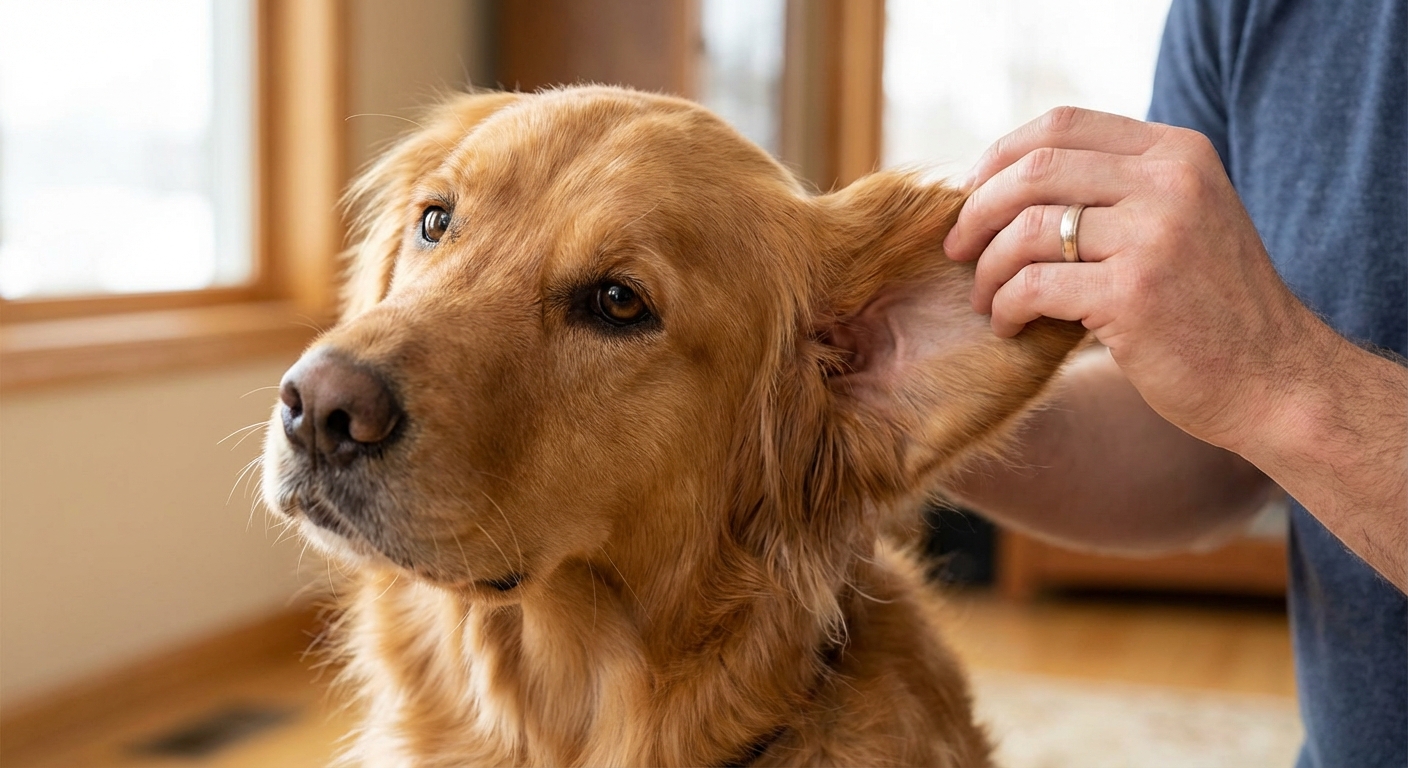
2) Lift the ear flap and look first
Check for obvious redness, discharge, swelling, or a foxtail or other debris. If you see something sharp or stuck deep, stop and call your vet.
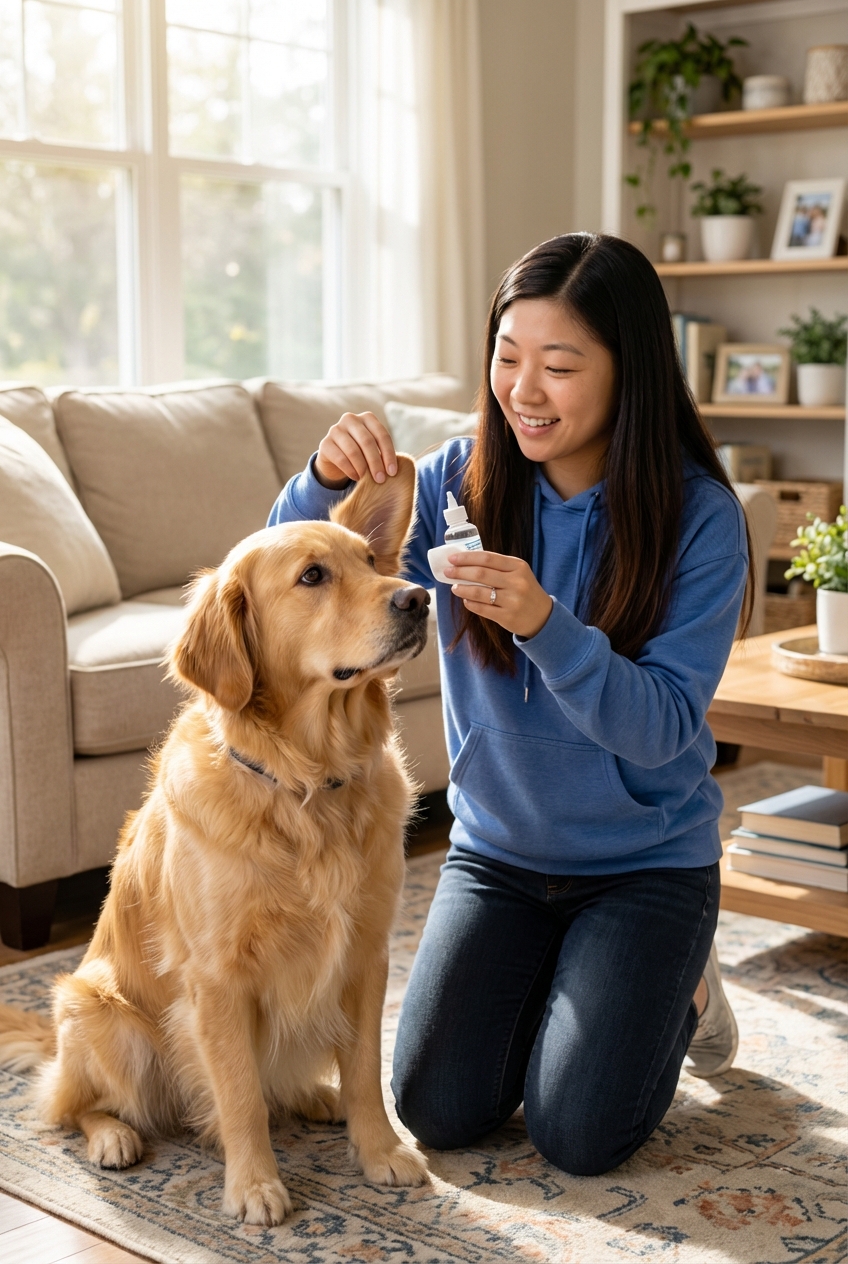
3) Fill the ear canal with cleaner
This is the step most people underdo. Hold the ear flap up, place the tip of the bottle near the opening (do not insert it), and gently squeeze until the canal is comfortably filled. You may see the liquid rise near the opening.
Tip: Try not to let the bottle tip touch the ear. It helps keep the bottle clean and avoids spreading infection from one ear to the other.
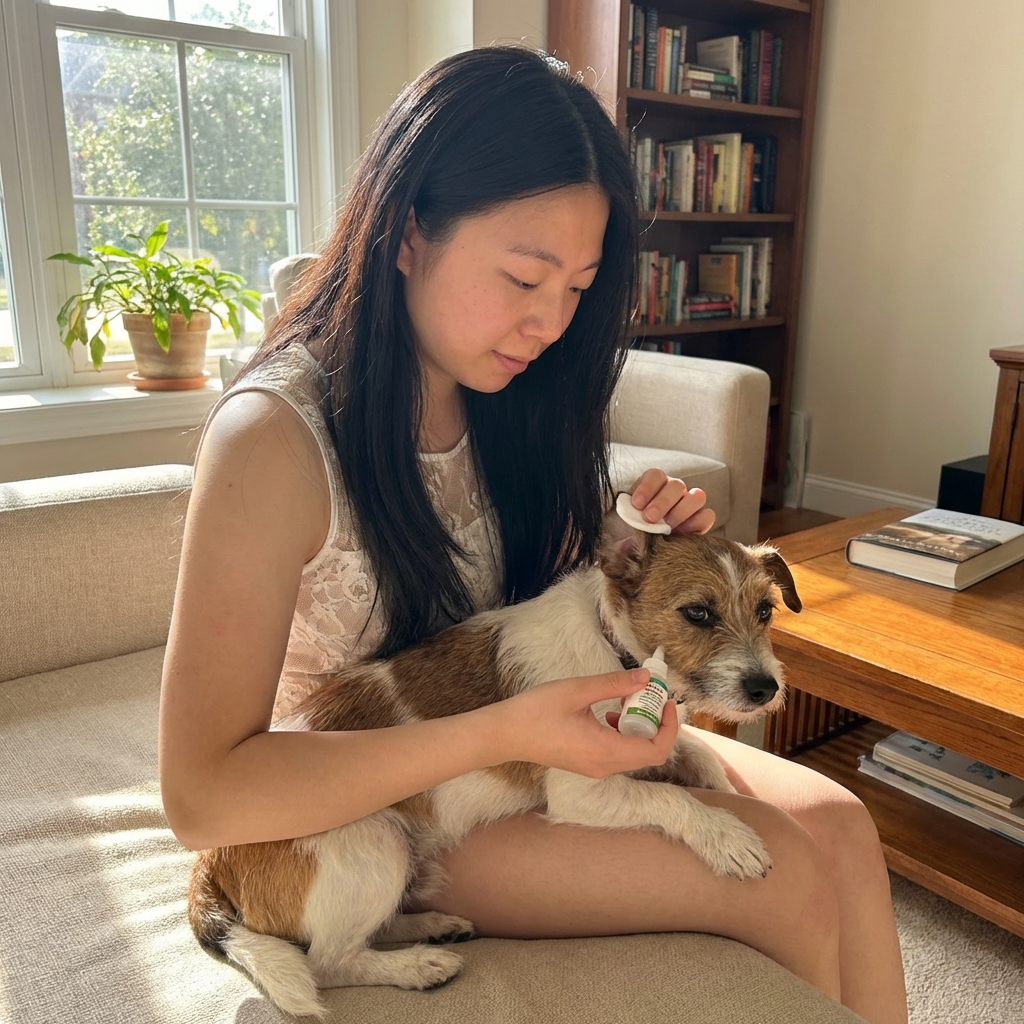
4) Massage the base for 20 to 30 seconds
Use your fingers to massage the firm area where the ear meets the head. You should hear a wet squishy sound. This helps the cleaner break up wax and moves debris upward where it can be wiped away.
5) Let your dog shake
Step back and let them do what dogs do. Shaking helps move loosened debris out of the canal. This is why the towel is your best friend.
6) Wipe only what you can see
Use a cotton ball or gauze to wipe the inside of the ear flap and the parts you can see at the entrance of the canal. Do not dig down into the canal.
7) Reward and repeat
Even if only one ear seems dirty, many dogs do best when the routine is consistent and positive. Finish with praise and a small treat.
If your dog’s ears are very waxy, you may need a second round of solution and massage, then wipe again. Gentle and thorough beats aggressive and fast.
How often to clean
There is no one schedule for every dog. Some dogs never need routine cleaning, while others need it weekly. In general:
- After swimming or bathing: Many dogs benefit from a gentle cleaning or drying routine, especially floppy-eared breeds.
- Floppy ears or hairy ear canals: Often about once a week, depending on wax and odor.
- Allergy-prone dogs: Your vet may recommend regular cleaning during flare-ups.
If you find yourself cleaning more than 2 to 3 times per week to control odor or gunk, that is often a sign something deeper may be going on, like allergies or infection. The exception is when your veterinarian has you on a specific treatment plan that calls for more frequent cleaning. Follow your vet’s directions if they have prescribed a schedule.
Common mistakes
- Using alcohol or peroxide which can sting and inflame tissue
- DIY vinegar mixes unless specifically prescribed by your veterinarian
- Not using enough cleaner so wax never loosens, and wiping becomes abrasive
- Scrubbing hard with cotton which irritates the skin and can worsen inflammation
- Using cotton swabs which can push debris deeper
- Cleaning too often which can dry out the ear canal and disrupt its natural defenses
If your dog cries, snaps, or tries to escape, do not force it. Pain is information. Stop and get guidance from your veterinarian.
Special cases
If your dog has a yeasty smell
A yeasty odor can be tied to moisture, allergies, or infection. Cleaning can help temporarily, but if the smell returns quickly, you likely need a vet exam and possibly ear cytology to identify yeast or bacteria.
If your dog swims a lot
Moisture is the enemy of healthy ears. Ask your vet about a routine cleaner designed for frequent swimmers. Avoid putting anything in the ear unless it is labeled for dogs and your vet says it is safe for your pet.
If your dog is prone to infections
Chronic ear issues often have a root cause such as environmental allergies, food sensitivities, endocrine disease, or anatomy. Ear cleaning is part of management, but it is rarely the whole solution.
If someone suggests ear hair plucking
Ear hair plucking is not one-size-fits-all. For some dogs it can irritate the canal and make inflammation worse. For others it can help airflow. If you are considering it, ask your vet or a trusted groomer what makes sense for your dog specifically.

What to expect after cleaning
- Normal: a little brown debris on the cotton, a mild wet-dog smell, and brief pinkness from rubbing
- Not normal: worsening redness, swelling, significant pain, bleeding, head tilt, or discharge
If your dog seems more uncomfortable after cleaning, or if odor and debris are back within 24 to 48 hours, call your veterinarian. That usually means infection or inflammation needs targeted treatment, not more scrubbing.
Make it a habit
When you keep it gentle, predictable, and treat-based, most dogs learn to tolerate ear cleaning well. Start slow, do one ear at a time if needed, and keep sessions short. You are not just cleaning wax. You are catching problems early, before your dog is miserable and before treatment gets more expensive.
If you are ever unsure, bring your ear cleaner and your technique to your next vet visit and ask for a quick demo. In my experience, a two-minute coaching session can make a world of difference.